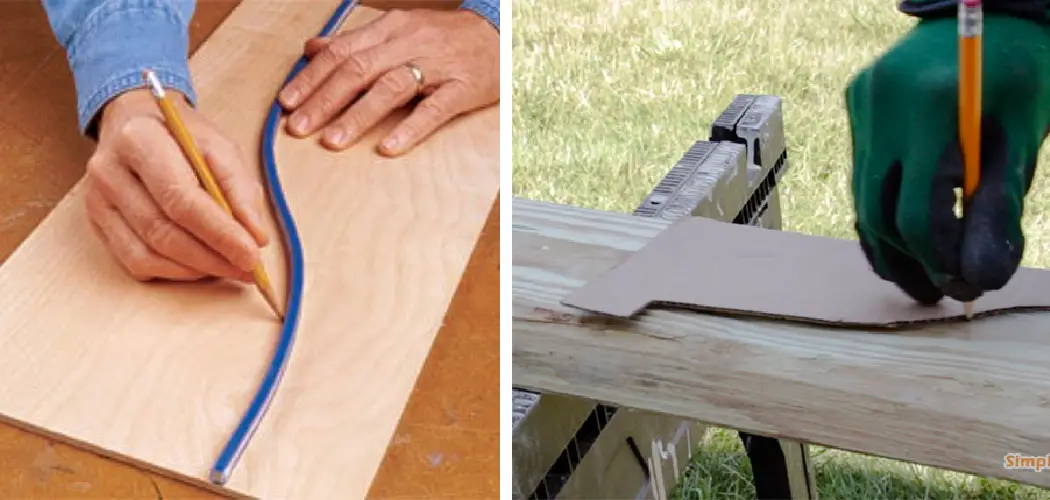
If you’re looking for a fun, unique, and challenging project to work on, try copying a curved shape into wood. This involves taking a template of the desired curve shape and transferring it onto a piece of wood before cutting it out. It’s definitely a more advanced carpentry project, but the results are worth it!
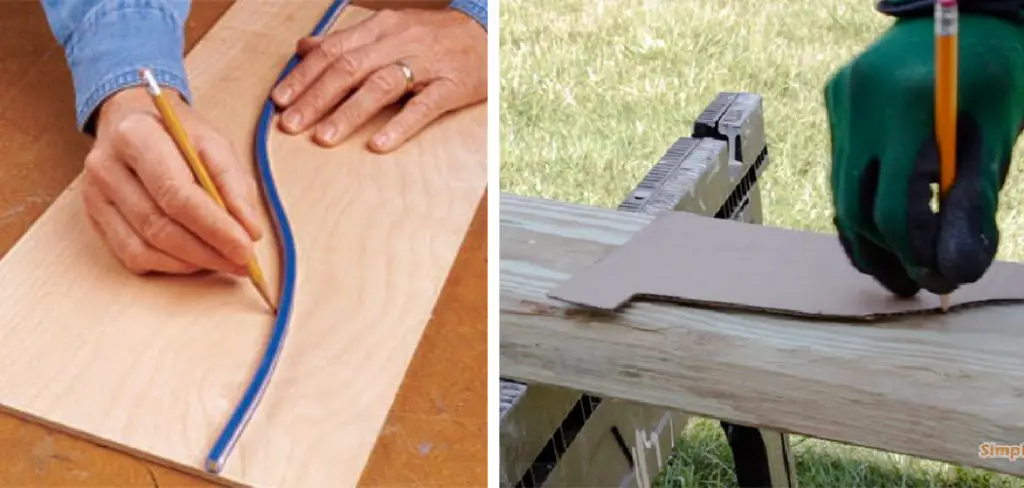
In this blog post, we’ll walk you through the steps involved in how to copy a curve shape into wood. We’ll also provide some tips on how to make the process easier. So, if you’re up for the challenge, keep reading! With just a few simple steps, you can easily create beautiful curves that will enhance the look of your project. So grab your tools and get started!
12 Methods on How to Copy a Curve Shape Into Wood:
1. Find the Center of Your Curve:
To find the center of your curve, measure the widest part of your curve and mark it in the middle with a pencil. Next, place a ruler or a straight edge on either side of the mark and draw a line perpendicular to the curved surface. The point where the two lines intersect is the center of your curve.
2. Place a Piece of Carbon Paper Underneath the Curve:
Place a piece of carbon paper underneath the curve. Make sure the carbon paper is placed so that the dull side faces up. This will ensure that you get a good transfer of the pencil lines from the template to the wood.
3. Trace Over the Curve With a Pencil:
Trace over the curve with a pencil, pressing firmly so that the pencil leaves an impression on the wood. Work slowly and avoid moving the carbon paper, resulting in an inaccurately copied curve.
4. Cut Out the Curve:
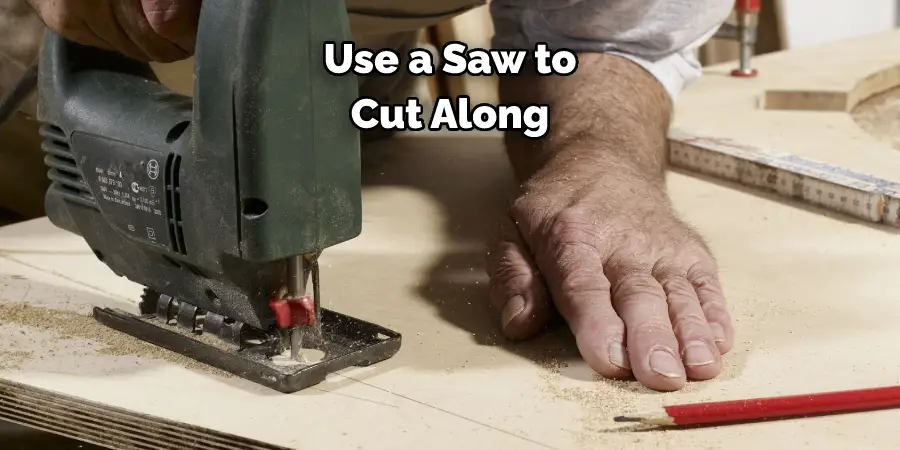
Use a saw to cut out the curve along the pencil line. If the saw is not large enough to cut the entire curve at once, you can make multiple passes. Just line up the blade with the previous cut on each pass.
5. Smooth the Curve:
Use a file, rasp, or sandpaper to smooth the curve. If you’re using a file or rasp, be sure to hold it at the correct angle so you don’t create divots in the wood. Work slowly and carefully until the curve is as smooth as you want it.
6. Make a Pattern:
Once the curve is smooth, use it to trace a pattern onto a piece of paper or thin cardboard. Make sure the pattern is big enough to include whatever markings or details you want to transfer to the wood.
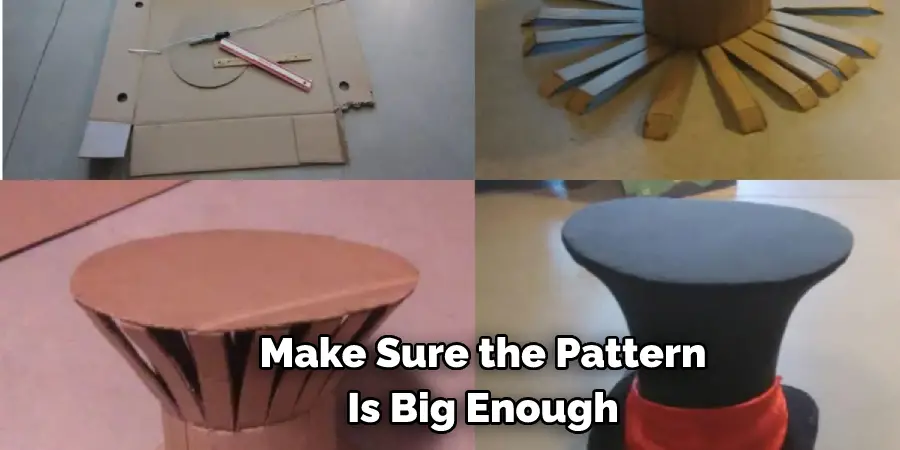
7. Place the Pattern on the wood:
Once you have your pattern on the wood, it’s time to start tracing. Start by holding the pattern down in one spot with one hand. Then, use a pencil in your other hand to trace the pattern’s edge. Apply enough pressure to make a visible line, but don’t press so hard that you break through the paper.
8. Draw Over the Faint Pencil Line With a Sharpie:
Use a black Sharpie to trace over the faint pencil line. This will make the line easier to see when you’re ready to start cutting.
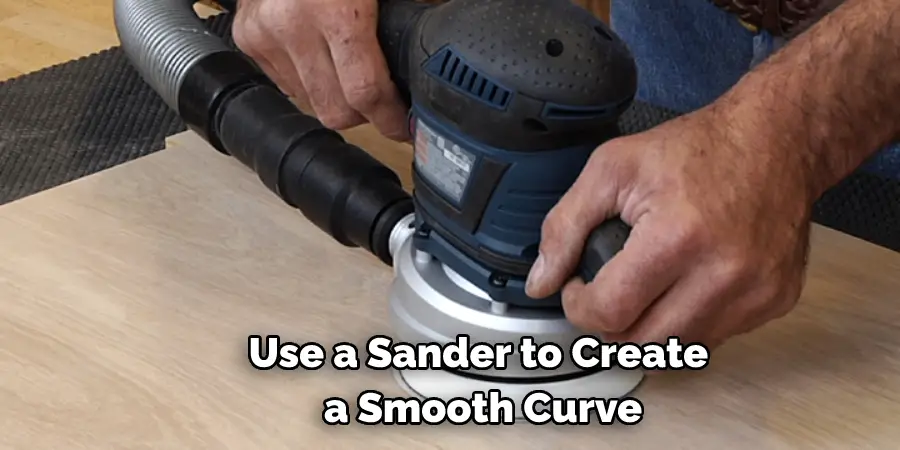
9. Use a Sander:
If you want to create a very smooth and precise curve, then using a sander is the way to go. You’ll need to use a guide (or template) to help you keep the sander on track, but this method is quite easy once you have the hang of it. Trace your desired curve onto a piece of wood, and then use a sander to follow the line. Be sure to move slowly and evenly to avoid creating any unevenness in the curve.
10. Drill a Pilot Hole:
When you’re ready to cut, drill a small pilot hole into the workpiece at the point where the curve begins. This will help to prevent the saw blade from wandering as you start the cut.
11. Saw Along the Curve:
Start the saw and slowly guide it along the curve of the template, keeping the blade as close to the template as possible. If you have a steady hand, you can follow the line of the template directly with the saw blade. Otherwise, it’s best to stay just a bit outside of the line so you don’t accidentally veer off course.
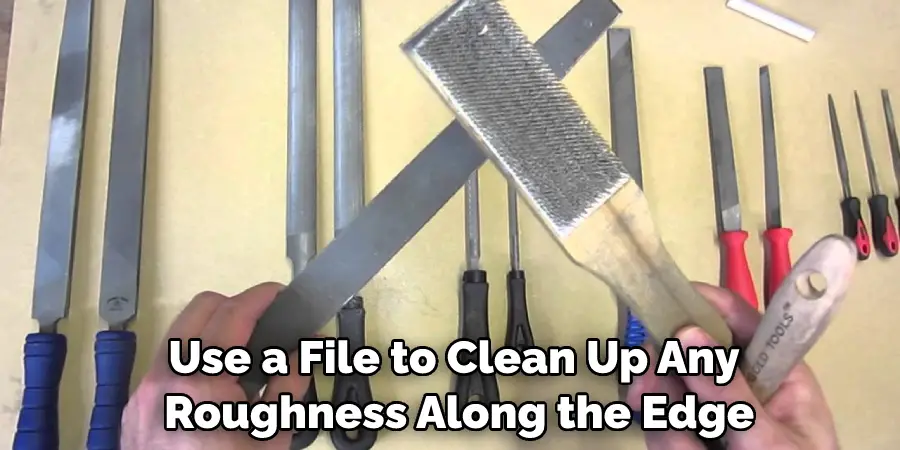
12. Clean Up the Edge With a File:
Once you’ve cut around the curve, use a file to clean up any roughness along the edge. Start with a coarse file and then move to a finer one until the edge is smooth. Then, sandpaper is used to smooth the surface of the wood.
Step-by-Step Process: How to Copy a Curve Shape Into Wood
Step 1: Cut a Piece of Wood.
Cut a piece of wood that is longer and wider than the piece you want to end up with. This will give you something to work with and make it easier to get the desired shape. Make sure to sand down any rough edges and smooth the surface of the wood. Otherwise, you may have a harder time transferring the curve shape. It’s also a good idea to mark the center of your wood piece so that you have a reference point later on. You can use a ruler or straight edge to find the center.
Step 2: Find the Center Point of Your Wood.
Use a ruler or a measuring tape to find the center point of your wood. Once you have found the center, mark it with a pencil so that you can easily find it again. The center point will be used as a reference when transferring the curve shape. If you’re working with a very large piece of wood, you may need to use more than one reference point. It’s always better to have more than one point of reference when working on a project.
Step 3: Connect the Center Points.
Draw a line from the center point of your wood to the center point of the curve you want to copy. This line will be used as a guide to cut your wood. If your wood is too thick to draw on, you can use a thin piece of paper or tape as a guide. Simply lay the paper or tape on top of the wood and make sure it lines up with the center points. Then, draw your line and remove the paper or tape. You should now have a center line on your wood that will be your guide for cutting.
Step 4: Trace the Curve.
Place the piece of wood on top of the curve you want to copy. Use a pencil to trace the curve onto the wood. Try to keep the pencil as close to the edge of the curve as possible so that your tracing is accurate. You can also use a ruler or straight edge to help you trace the curve if needed. Once your tracing is complete, remove the wood from the top of the curve. You should now have a faint outline of the curve on your wood.
Step 5: Cut Out the Curve.
Use a saw to cut along the line you just drew, being careful to stay as close to the line as possible. If you have a band saw, this would be the time to use it. Otherwise, any type of hand saw will do, although a coping saw will give you the most control. If your curve is very intricate or tight, you may need to make multiple passes with the saw. Just be sure to line up the blade with the previous cut each time. It’s also important to work slowly and carefully so that you don’t accidentally cut too far or make any mistakes.
Step 6: Sand the Edges.
Use a piece of sandpaper to sand down the edges of the curve. This will help smooth out the curve and give it a more finished look. Try to sand in a straight line along the curve for a more polished look. If you want a more rustic or natural look, you can sand in an uneven pattern. Just be sure to remove any rough edges or splinters so that your final piece is smooth and safe.
Step 7: Finish the Curve.
Use a router or other tool to finish the curve. This will give you a nice, clean edge. You can also use a hand saw or a power saw to finish the curve, but it will take more time and effort. If you’re using a router, set the bit to the desired depth and make several passes until the entire curve is complete. If you’re using a hand saw, start at the top of the curve and work your way down. Use a guide or a straight edge to keep your cuts straight. If you’re using a power saw, follow the same steps as with a hand saw but with more caution and precision.
Step 8: Draw Over the Faint Pencil Line With a Sharpie.
Use a black Sharpie to trace over the faint pencil line on the curve. This will make it easier to see when you’re ready to start cutting and will help guide your saw along the line. Be sure to use a sharpie or another dark colored pen so that the line is clearly visible. Once you’ve traced over the line, you can use scissors or a utility knife to carefully cut along the marked line.
Step 9: Cut Along the Line with a Jigsaw.
Using a jigsaw, carefully cut along the line you traced with the Sharpie. Keep in mind that this method may not be as precise as using a router or hand saw, so be patient and take your time to ensure accuracy. If you’re struggling to stay on the line, try using a guide or following the curve from both sides. You can also use a smaller blade for more control and precision.
Step 10: Sand Down Any Rough Edges and Finish.
After cutting out the curve with a jigsaw, use sandpaper to smooth down any rough edges or impections. Then finish the wood with your desired stain or paint to complete the project. You now have a perfect curve shape cut into your piece of wood! You can use this method for any curved design you want to create on wood, whether it’s for furniture, home deco or crafts.
You should have a perfect copy of the curve shape that you started with when you’re finished. Now, you can use this piece of wood to create whatever you like!
Some Helpful Tips and Suggestions:
1. Use a pencil to lightly sketch the curve you want to copy onto the wood. This will help you keep track of where you need to make your cuts.
2. Use a saw to cut along the pencil line. If you don’t have a saw, you can use a piece of string or twine to follow the pencil line and then cut along it with a sharp knife.
3. Use a file or sandpaper to smooth out any rough edges.
4. If you want to paint or stain the wood, do so before you start copying the curve shape. This will make it easier to see where you need to make your cuts.
5. When you’re ready to copy the curve shape, use a template or stencil to trace the outline onto the wood. You can also freehand the shape if you’re feeling confident.
6. Use a saw or knife to cut along the traced line carefully.
7. Smooth out any rough edges with a file or sandpaper.
8. If you want, you can paint or stain the wood to match the rest of your project.
How Do You Cut Smooth Curves in Wood?
You can use a coping saw, jigsaw, or band saw to cut curves in wood. A coping saw is the easiest to control, but it takes longer to make the cuts. A jigsaw is faster, but keeping the blade on the line you’re trying to follow is harder. A band saw is the best tool for cutting curves, but it’s also the most dangerous.
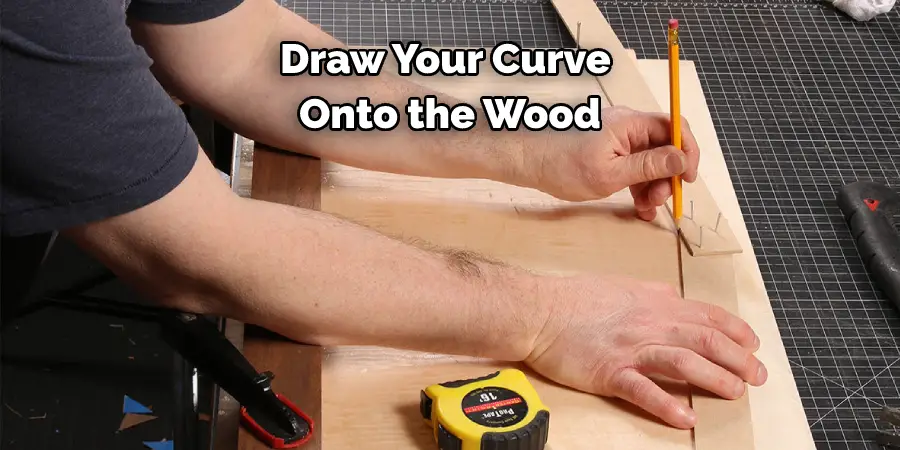
1. To start, you’ll need to draw your curve onto the wood. You can use a pencil or a felt-tip pen. If you’re using a pencil, make sure the lead is sharp to clear your lines.
2. Once you’ve drawn your curve, it’s time to start cutting. If you’re using a coping saw, make sure the blade is installed correctly. The teeth of the blade should point away from the handle.
3. Start by making a small cut at the beginning of your line. Then, slowly guide the blade along the line. It’s important to go slowly so as not to veer off course.
4. As you get closer to the end of the line, you can start to speed up. Just be careful not to go too fast, or you might make a mistake.
5. When you reach the end of the line, stop cutting and carefully remove the saw from the wood.
You Can Check It Out To Remove Felt From Wood
Frequently Asked Questions:
Q: Can I Use a Scroll Saw to Cut Curves in Wood?
A: Yes, you can use a scroll saw to cut curves in wood. However, it is better suited for smaller, more intricate cuts rather than larger curves. If you’re planning on cutting larger curves, a band saw or jigsaw would be a better choice.
Q: Do I Need Special Blades to Cut Curves?
A: Yes, for best results, it’s recommended to use specialized blades when cutting curves in wood. A scroll saw blade or a band saw blade with smaller teeth will result in smoother cuts and less splintering of the wood.
Q: Can I Copy a Curve Shape Without Cutting?
A: Yes, you can use a variety of techniques to transfer a curved shape onto wood without cutting it. These methods include using tracing paper, transfer paper, or even carbon paper. You can also use templates or stencils to trace the outline onto the wood. Once transferred, you can use a wood burner or engraving tool to create a curve shape without cutting.
Q: Is It Necessary to Sand the Edges of the Curve?
A: It is recommended to sand the edges of the curve shape after cutting in order to achieve a smooth and finished look. This also helps to remove any rough or jagged edges that can cause splintering. Additionally, sanding can help blend any imperfections or inconsistencies in the cut line for a more polished result.
Conclusion:
Copy a curve shape into the wood by using a coping saw. This is an easy process that can be completed in minutes with the right tools. Coping saws are available at most hardware stores and home improvement centers. The blade on the coping saw should be fine-tooth to allow for greater accuracy when cutting curves.
So there you have it! Your very own guide on how to copy a curve shape into wood. With just a few simple steps and the right tools, you can create beautifully curved shapes in your woodworking projects. We hope you found this article helpful and that you’ll give copying curves a try in your next woodworking project.
You Can Check it Out to Attach Chicken Wire to Wood Without Staples

