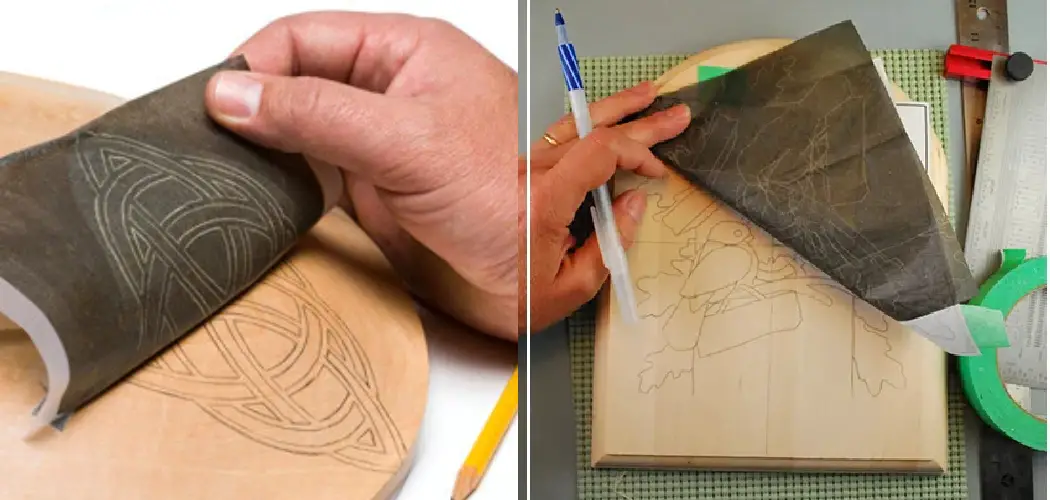
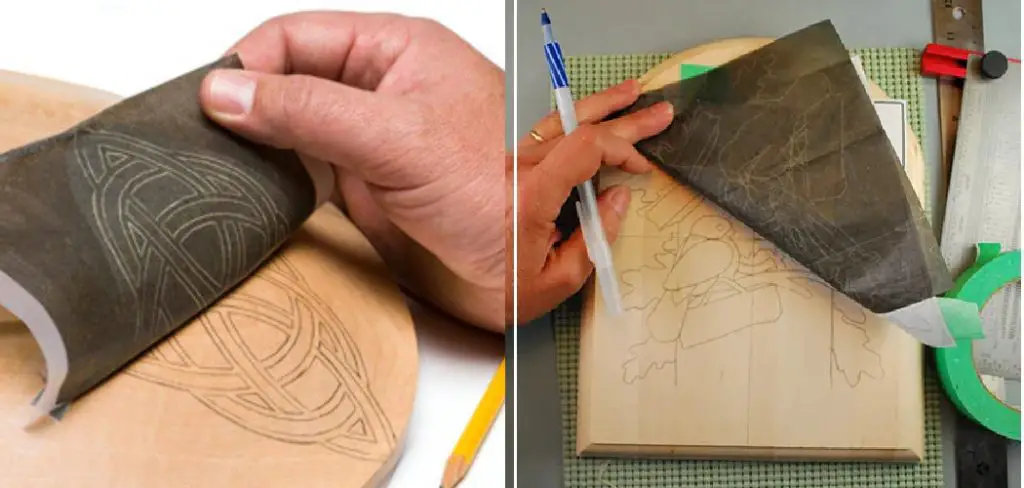
Have you ever wanted to transfer a design or pattern from paper to wood? It’s actually a lot easier than you might think, especially if you use carbon paper! In this tutorial, we’ll show you how to use carbon paper on wood. So get your supplies ready, and let’s get started!
Summary: Carbon paper is a great way to get a smooth finish on your wood projects. Follow these simple steps to get the perfect finish every time: 1. Start by cutting the carbon paper to the size you need. 2. Apply the carbon paper to your wood project in the desired position. 3. Use a pencil or ruler to make sure the carbon paper is perfectly aligned with the wood.
What Is Carbon Paper?
Carbon paper is a type of paper that is coated with a dark material, usually carbon black. When pressure is applied to the paper, the carbon transfers from the paper onto another surface, leaving a copy of the original image; carbon paper is often used for making duplicates of handwritten documents. It can also be used for tracing images or patterns.
In addition to carbon black, other materials, such as graphite or iron oxide, can be used to coat carbon paper. The type of coating will determine the darkness of the transfer. In addition, carbon paper can be bought in various grades of density, affecting the image’s opacity and sharpness.
Images produced with carbon paper are often not as clear as those produced with photocopies or scanners. Still, they can be useful for making quick copies of documents or creating simple sketches.
Why Might You Need to Use Carbon Paper on Wood?
Carbon paper is popularly known as a way to transfer text from one piece of paper to another. However, carbon paper can also be used for other purposes, such as transferring images onto wood. When using carbon paper to transfer an image onto wood, it is important to use a piece of wax paper or parchment paper first.
This will help prevent the carbon paper from sticking to the wood and making it difficult to remove. Once the image has been transferred, the carbon paper can then be removed. The result will be a clear and precise transfer that can be used as a guide for carving or painting.
While it may take a bit of practice to get the hang of using carbon paper, it is a valuable tool for anyone looking to create professional-looking results.
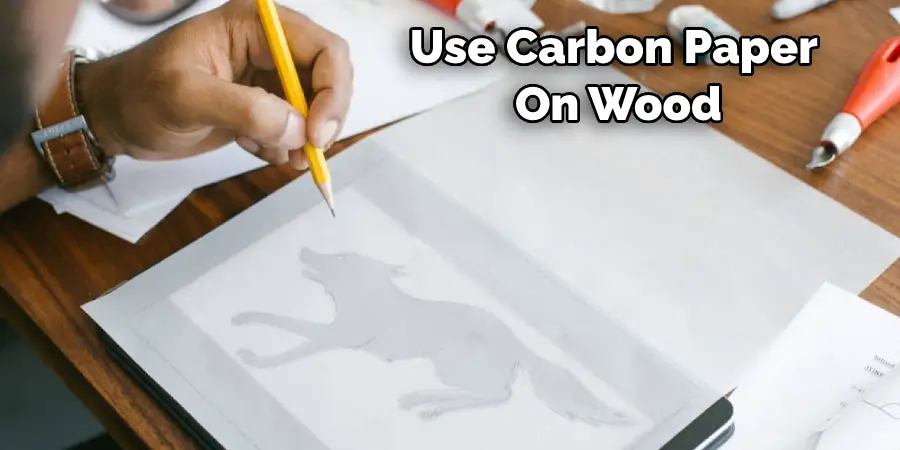
How to Use Carbon Paper on Wood Step-by-Step Guide
Carbon paper is a great way to transfer a design or image onto wood. It can be used to create a copy of a picture or add a design to a piece of wood. Here are the steps to use carbon paper on wood:
Step 1: Choose the Image or Design You Want to Trace
The first step is to decide what you want to transfer onto your wood surface. You can use carbon paper to transfer any image or design, so long as it is small enough to fit on the sheet of carbon paper. If you’re not sure how big your design should be, it’s always better to err on the side of caution and make it smaller, as you can always enlarge it later.
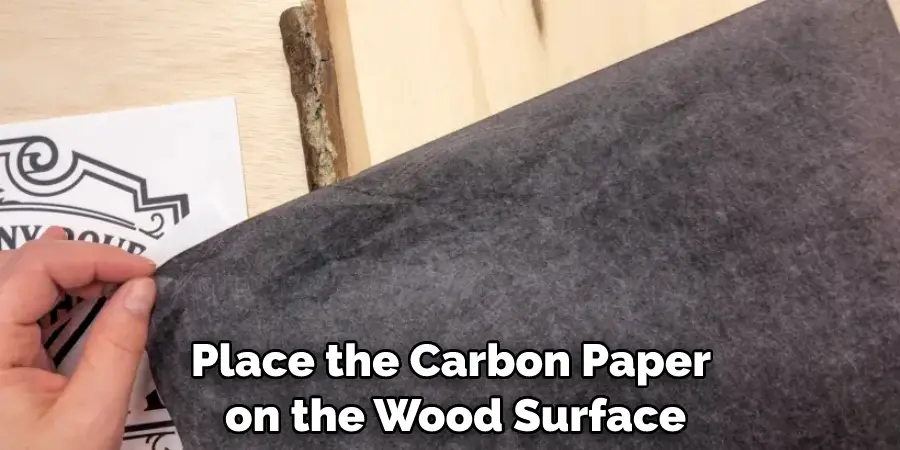
Step 2: Place the Carbon Paper on the Wood Surface
Once your image or design is ready, place the carbon paper on the wood surface. If you’re using a pre-cut piece of carbon paper, make sure that the shiny side is facing down. If you’re using a roll of carbon paper, cut a piece that is large enough to accommodate your design.
Step 3: Trace the Image or Design onto the Carbon Paper
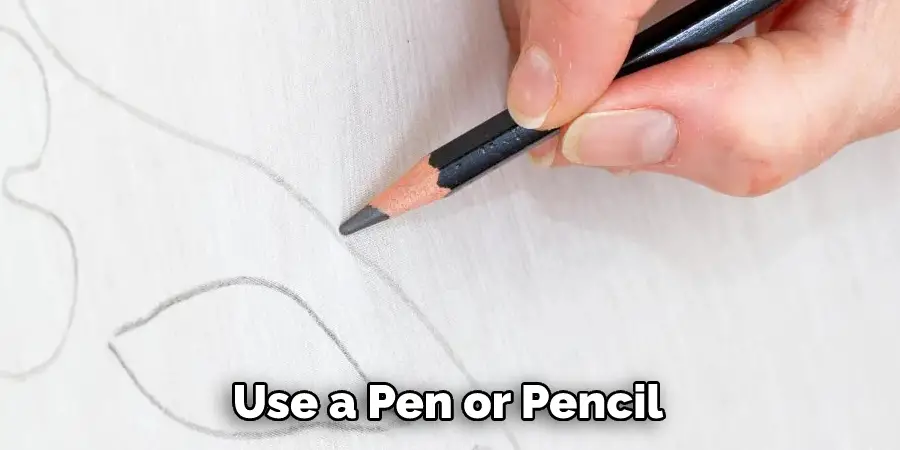
Now it’s time to start tracing! Use a pen or pencil to trace the outline of your image or design onto the carbon paper. Be sure to apply enough pressure, so the carbon paper transfers the image onto the wood surface below. If necessary, you can use a lightbox to help you see the image more clearly.
Step 4: Remove the Carbon Paper
Once you’ve finished tracing your image or design onto the wood, you can remove the carbon paper. Be careful not to tear or damage the wood surface as you peel away the paper. If any carbon residue is left behind, you can use a damp cloth to rub it away gently.
Step 5: Finish Tracing the Image or Design (optional)
You can now go back and finish tracing the image or design onto the wood surface if you want. This step is optional, but it can help make your design’s lines more visible. Use a pen or pencil to trace the lines that you transferred with the carbon paper.
Step 6: Enjoy Your New Wood Design!
You’re now ready to enjoy your new wood design! You can use it as is or add further embellishments as desired. Of course, if you want to protect your design, you can always seal it with a clear coat of varnish or polyurethane.
That’s it! You’ve now learned how to use carbon paper on wood. With this easy technique, you can add any image or design to a piece of wood quickly and easily. So get creative and see what you can come up with!
Tips for Getting the Best Results with Carbon Paper
When it comes to carbon paper, there are a few things to keep in mind to get the best results. First, it’s important to understand that carbon paper is not reusable – once you’ve used it, you’ll need to get a new sheet.
Second, carbon paper works best on smooth surfaces – so if you’re using it on textured paper or cardstock, you may not get a clear transfer. Finally, carbon paper is temporary if you need a more permanent solution, you’ll need to use an alley or embossing pen.
But if you keep these things in mind, carbon paper can be a great way to add some extra detail to your project.
How to Use Carbon Paper on Different Types of Wood Projects
Carbon paper is an easy way to transfer a design onto another surface. It’s mess-free and simple to use, making it a favorite among crafters, woodworkers, and artists. Whether you’re trying to add some extra flair to a sign or want to replicate a pattern onto a larger piece of wood, carbon paper is the way to go.
Here’s a quick guide on using carbon paper for different types of wood projects.
For signs and other small projects, free-handing is the way to go. Simply position the carbon paper where you want the design to be transferred, then trace over it with a pencil or pen. The pressure from tracing will transfer the ink onto the wood, allowing you to see exactly where your design will go.
For larger projects, it’s best to put the carbon paper underneath the top piece of wood. This will help prevent smudging and give you a more accurate outline to work with. Using carbon paper this way, secure it with painter’s tape, so it doesn’t move around while you’re tracing.
Whether you’re a seasoned DIYer or just getting started with crafts, carbon paper is a must-have item for anyone who likes to work with wood. With a little practice, you’ll be able to use it like a pro in no time!
Why Would You Use Carbon Paper on Wood?
Carbon paper is a thin paper coated with a dark pigment, usually carbon black. It transfers an image or design onto another surface, often wood. When pressure is applied to the carbon paper, the pigment is transferred onto the surface beneath it. This makes carbon paper an ideal tool for tracing patterns and transferring designs.
It is also useful for creating temporary markings on wood that can be easily removed later. Carbon paper is inexpensive and widely available, making it a popular choice for many woodworkers. However, it is important to use carbon paper sparingly, as too much pressure can damage the wood or cause the pigment to bleed.
For best results, use a light touch when working with carbon paper. Keep reading for more information about how to use carbon paper on wood.
Is Carbon Paper Necessary when Transferring a Design onto Wood?
When it comes to woodworking, many different methods and materials can be used to transfer a design onto the wood. One popular method is to use carbon paper. Carbon paper is a thin sheet of paper that is coated with carbon. When you place the carbon paper against the wood and trace over the design, the carbon transfers onto the wood, leaving a faint outline of the design.
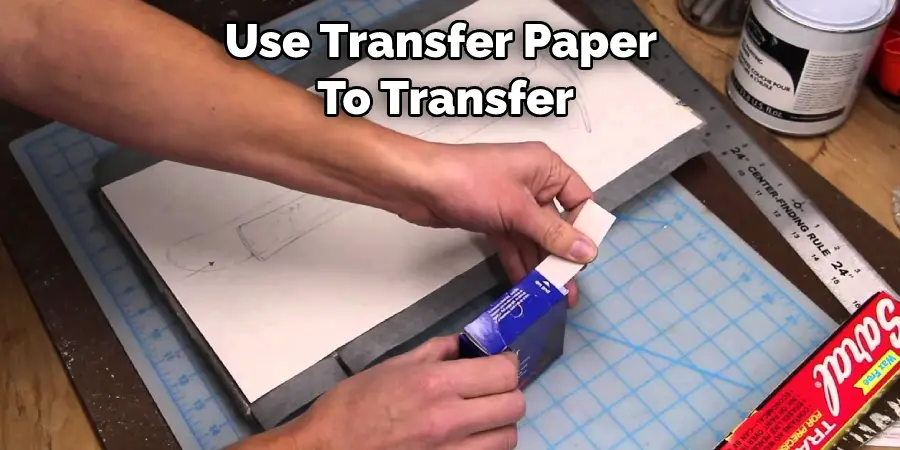
However, some woodworkers argue that carbon paper is unnecessary and that there are other ways to transfer a design onto the wood. For example, you could use pencils or pens to trace the design directly onto the wood. Or you could print the design onto regular paper and use transfer paper to transfer the image onto the wood.
Ultimately, it comes down to personal preference and what works best for you. So, if you’re wondering whether or not you should use carbon paper when transferring a design onto the wood, the answer is that it’s up to you.
Does Carbon Transfer Paper Work on Wood?
Carbon transfer paper is a type of paper that is used to transfer or trace images, designs, or text onto various surfaces, including wood. The process of transferring involves placing the carbon paper face down on the wooden surface, with the image or design on top of it.
Pressure is then applied to the paper through either handwriting or drawing, which causes the carbon pigment to transfer onto the wood surface, leaving behind the image or design.
The success of using carbon transfer paper on wood depends on a few factors. One of the most important factors is the type of wood that is being used. Some woods have a rough texture, which can cause the carbon paper not to adhere properly, resulting in an incomplete transfer.
Choosing a smooth, even surface is important to ensure a clean transfer onto the wood. Another factor is the type of carbon paper being used. Different types of carbon paper are available in the market, each with different properties and weights. Choosing the correct carbon paper suitable for the wooden surface is important to ensure a successful transfer.
What is the Best Way to Transfer Letters to Wood?
When it comes to transferring letters or designs onto wood, there are a few different methods that can be used. The technique that works best for you will depend on your personal preferences, the materials you have on hand, and the desired outcome of the project.
One popular method is to use carbon paper to transfer the design onto the wood. Simply print out a mirror image of your design, place it face down on the wood, and then place the carbon paper on top. Trace over the design with a pen or pencil, and the carbon paper will leave a transferred image on the wood that can then be filled in with paint or wood-burning tools.
Regardless of the method you choose, it is important to ensure that your wood is properly prepared by sanding it smooth and applying a base coat of primer or sealant to help your transferred design adhere properly.
Is Carbon Paper Permanent?
Carbon paper is a type of paper that has been coated with carbon or another dark dye on one side. It is commonly used as a means of creating a duplicate of a document while it is being written or typed. Once the document has been created, the pressure of writing or typing transfers the carbon or dye onto a second sheet of paper, creating a copy of the original.
However, the permanence of carbon paper can vary depending on a few different factors. Generally, carbon paper is not considered to be a permanent means of duplication. The carbon or dye may fade over time, and it can be subject to smudging or fading if the paper is exposed to moisture, sunlight, or other environmental factors.
Additionally, the quality of the carbon paper can play a role in how long it lasts. Low-quality carbon paper may not hold up as well over time, and it may be more prone to smudging, bleeding, or fading. On the other hand, high-quality carbon paper may be more durable and long-lasting.
What Are Some Tips for Using Carbon Paper Successfully?
Carbon paper is a thin sheet of paper coated with a dark pigment that is used to transfer text or images onto another surface. It is often used to make copies of documents, records, or forms. When using carbon paper, it is important to use a light touch so that the image is not smeared or blurred.
In addition, it is helpful to use a firm writing surface so that the pressure from the pen does not distort the copy. Finally, aligning the carbon paper and the surface you are copying onto to transfer the image to the desired location is important.
With these tips in mind, you can successfully use carbon paper to make copies of documents, records, or forms.
Frequently Asked Question
Does Carbon Transfer Paper Work on Wood?
Yes, carbon transfer paper works on wood. To use it, place the carbon paper face down on the piece of wood that you want to transfer the image. Then, using a pen or other sharp object, trace over the image that you want to transfer. The carbon paper will transfer the image to the wood.
What Is the Easiest Way to Transfer a Design onto Wood?
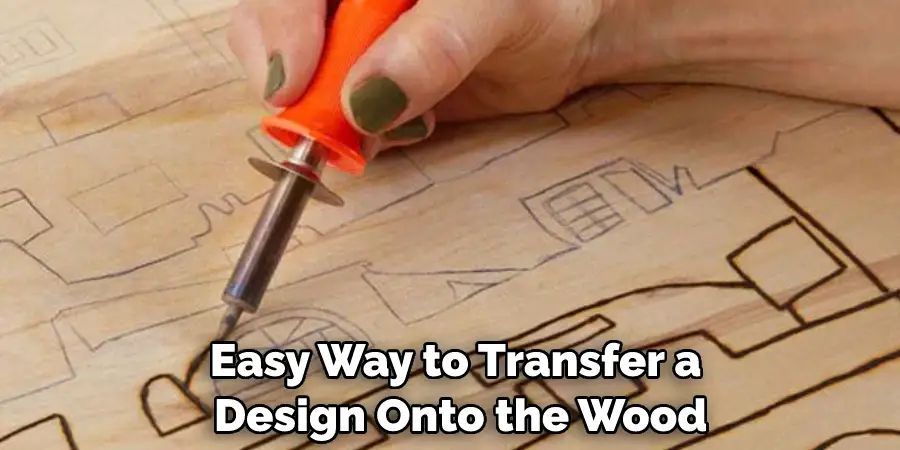
There is no one easy way to transfer a design onto the wood, as each method has its advantages and disadvantages. Some of the most common ways to do this include using carbon paper, a projector, or a tracing table.
Carbon paper is probably the oldest and most commonly used method of transferring designs to wood. It is a simple process that anyone can do; all you need is a piece of carbon paper and a pencil.
What Does Carbon Paper Do?
Carbon paper can transfer an image or text from one surface to another. The most common use for carbon paper is to duplicate an original document onto a photocopy machine. However, carbon paper can also be used on wood surfaces.
Conclusion
So there you have it – everything you need to know about using carbon paper on wood! We hope this article was helpful and that you are now ready to go out and start transferring your designs onto beautiful pieces of wooden furniture.
As always, if you have any questions or run into any problems while trying this technique, please let us know in the comments section below. Thanks for reading our post about how to use carbon paper on wood.

