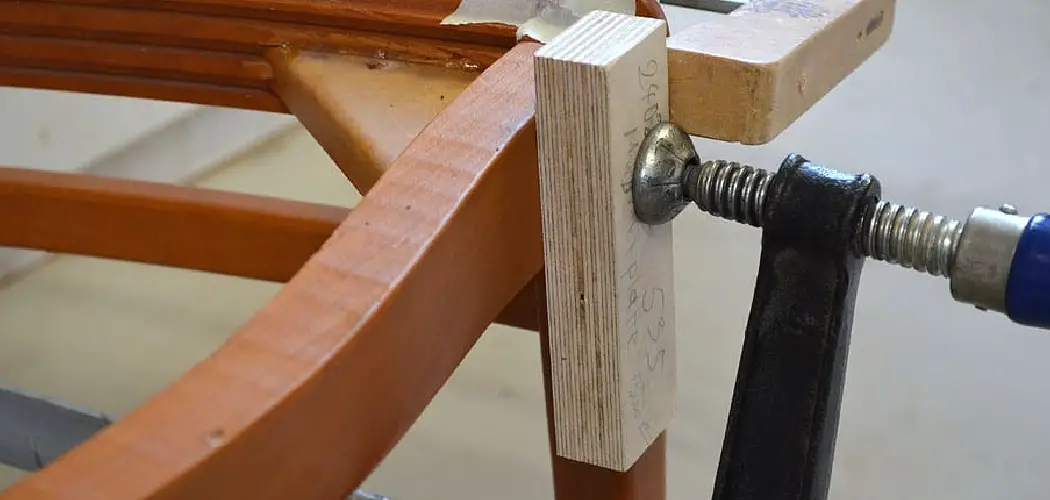
When constructing a new building, one of the most important decisions is what material to use for the frame. Steel is a popular option because it is strong and durable. However, attaching plywood to a steel frame can be tricky.
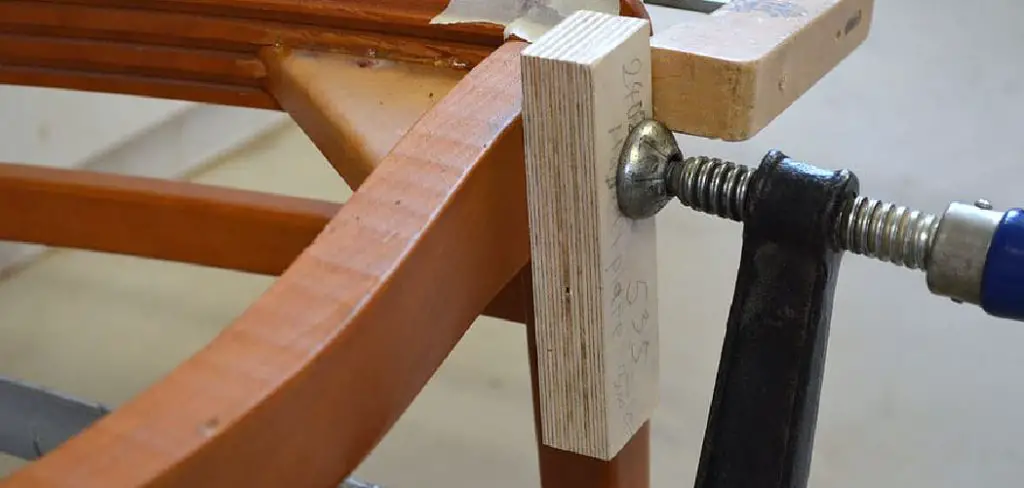
When attaching plywood to a steel frame, there are a few things you need to take into consideration. By following the right steps, you can ensure that your plywood is securely attached and will last for years. In this blog post, we’ll walk you through the steps necessary on how to attach plywood to steel frame. Let’s get started!
12 Ways on How to Attach Plywood to Steel Frame:
1. Use Washers:
If you’re attaching plywood to a steel frame for a project, using washers is one way to do it. You’ll need to use large washers that are at least 1/4″ thick for them to be effective. Drill holes in the plywood that are slightly larger than the diameter of the washers. Place a washer over each hole and then use a bolt to secure the washer and plywood to the steel frame.
2. Use Nuts and Bolts:
Another way to attach plywood to a steel frame is nuts and bolts. You’ll need to drill holes in the plywood that are slightly larger than the diameter of the bolts. Place a bolt through each hole and then secure it with a nut. You may need to use a wrench to tighten the nuts properly.
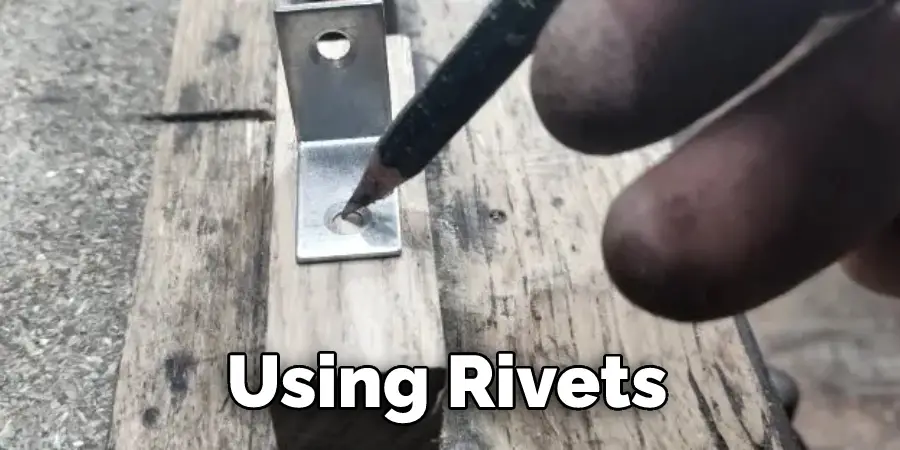
3. Use Rivets:
If you want a more permanent way to attach plywood to a steel frame, using rivets is an option. You’ll need to drill holes in the plywood that are slightly larger than the diameter of the rivets. Place a rivet through each hole and then use a hammer to flatten the other end of the rivet to secure the plywood to the frame.
4. Use Screws:
Another way to attach plywood to a steel frame is by using screws. You’ll need to drill pilot holes in the plywood before screwing it into the frame. This will prevent the wood from splitting. Next, use screws that are long enough to go through the plywood and into the steel frame.
5. Create a Jig:
If you’re going to be attaching a lot of plywood to a steel frame, it may be helpful to create a jig. This is basically a template that you can use to drill the holes in the plywood. Once you have the jig, you can quickly and easily attach the plywood to the frame without measuring and drilling each hole individually.
6. Use Adhesive:
If you want to attach plywood to a steel frame without using fasteners, you can try using an adhesive. There are adhesives made specifically for attaching wood to metal. Apply the adhesive to both the plywood and the frame, and firmly press the two together. The adhesive should hold the plywood in place.
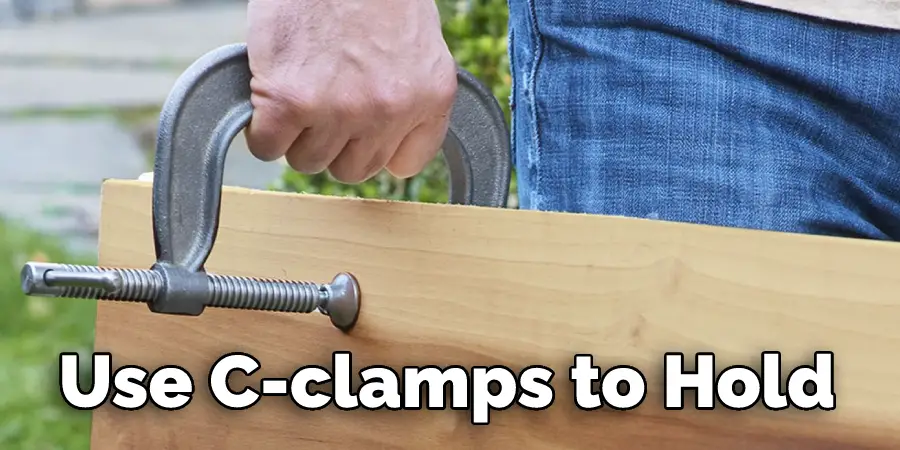
7. Use C-Clamps:
If you’re attaching a small piece of plywood to a steel frame, you can use C-clamps to hold it in place while the adhesive dries. First, place a generous amount of adhesive on both the plywood and the frame, then clamp the two together. The C-clamps will hold the plywood in place until the adhesive dries.
8. Use Threaded Rod:
If you want to attach plywood to a steel frame to allow the plywood to be easily removed, you can use the threaded rod. Drill holes in the plywood that are slightly larger than the diameter of the rod. Thread the rod through the holes, then secure it in place with nuts on each end. The plywood can then be easily removed by unscrewing the nuts.
9. Use Zip Ties:
Another way to attach plywood to a steel frame is by zip ties. This method is not as permanent as others, but it’s quick and easy. Simply loop a zip tie around the frame and through a hole in the plywood, then pull it tight and secure it in place. Repeat this process for each hole.
10. Use a Steel Plate:
If you’re attaching large plywood to a steel frame, you may want to use a steel plate. Drill holes in the plate that are slightly larger than the diameter of the bolts. Place the plate over the plywood, then use bolts to secure it. The steel plate will help distribute the load evenly and prevent the plywood from splitting.

11. Use Machine Screws:
Another way to attach plywood to a steel frame is by using machine screws. You’ll need to drill pilot holes in the plywood before screwing it into the frame. This will prevent the wood from splitting. Use screws that are long enough to go through the plywood and into the steel frame.
12. Weld the Plywood to the frame:
If you’re experienced with welding, you can weld the plywood to the steel frame. This is a permanent attachment, so make sure that you’re happy with the location of the plywood before you weld it in place.
Step-by-Step Guide: How to Attach Plywood to Steel Frame
Step 1: Cut Your Plywood to Size.
Using a power saw, cut your plywood down to the dimensions that you need. Make sure that the cuts are precise, as even the slightest discrepancy could cause problems later on. Otherwise, you can have the plywood cut to size at your local hardware store. It’s important to note that most hardware stores won’t cut pressure-treated plywood, so make sure you get the right kind.
Step 2: Mark Where You Will Attach the Plywood.
Using a pencil or a marker, mark where you will attach the plywood to the steel frame. Make sure that the marks are level and even. It’s also a good idea to label each mark with a number or letter so that you know where each piece of plywood will go.
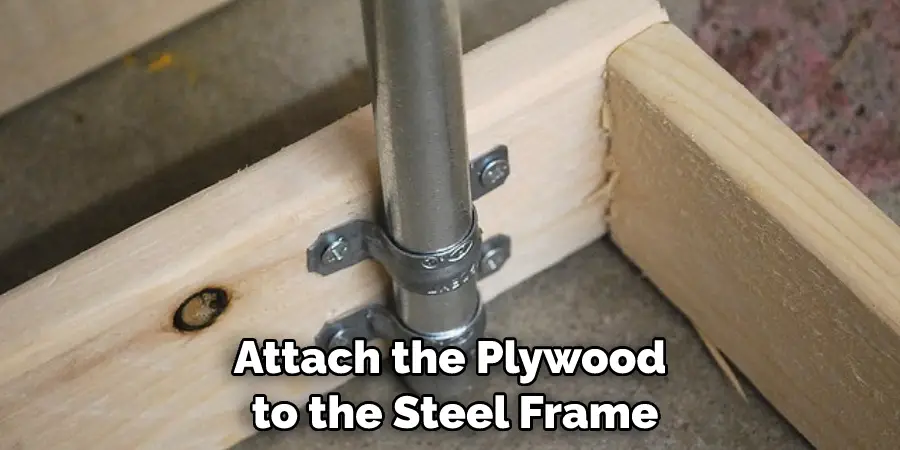
Step 3: Drill Holes for the Screws.
Drill holes for the screws at the marked locations using a power drill. Be sure to use a drill bit that is slightly smaller in diameter than the screws. You don’t want the holes to be too big, as this could cause the screws to loosen over time. The holes should be deep enough to accommodate the screws without going all the way through the plywood.
Step 4: Prep the Steel Frame.
To attach the plywood to the frame, you will need to use adhesive. If the steel frame is painted, you will need a wire brush to remove any loose paint or rust. If the steel frame is not painted, you can skip this step. Make sure the surface is clean before applying adhesive. Otherwise, the adhesive will not bond well.
Step 5: Attach the Plywood to the Frame.
Using screws and washers, attach the plywood to the steel frame. Be sure to use a screw that is long enough to penetrate the steel and the plywood. Use two screws per connection point. At each connection point, use a washer on each plywood side. This will help to distribute the load and prevent the screw from tearing through the plywood.
Step 6: Add Reinforcing Plates.
If desired, you can add reinforcing plates to the corners or other areas of the plywood for added strength. To do this, drill holes and then use bolts, washers, and nuts to attach the plates to the desired areas. This step is optional but may be helpful for larger pieces of plywood. You can also use threaded rods or machine screws for additional reinforcement.
Step 7: Apply Adhesive.
Once you have the plywood cut to size and the reinforcing plates in place (if desired), it’s time to apply the adhesive. Again, be generous with the adhesive – you want a good amount of it between the plywood and the steel frame. Follow the manufacturer’s instructions for drying time. It’s a good idea to use clamps to hold the plywood in place while the adhesive dries.
Step 8: Press the Plywood into Place.
Press the plywood into place on the steel frame using your hands or a clamp. There should be a snug fit, with the plywood resting flush against the frame. If there are any gaps, adjust the plywood until it sits flush against the frame. The adhesive should hold the plywood in place while it dries. The clamps can be removed once the adhesive is completely dry.
Step 9: Allow the Adhesive to Dry.
Once the adhesive is in place, allow it to dry for at least 24 hours. This will give the adhesive time to set and create a strong bond between the plywood and steel. If you are in a hurry, you can use a hairdryer to speed up the drying process. Just be sure to keep the hairdryer moving so that you don’t overheat and damage the adhesive.
Step 10: Attach the Plywood Sheets.
After the adhesive has dried, it’s time to attach the plywood sheets. Start by attaching one sheet to the steel frame using screws or nails. Be sure to predrill holes in the plywood so that you don’t damage it when you screw it in place. Repeat this process until all plywood sheets are attached to the frame.
Do You Need to Use Professionals?
Attaching plywood to a steel frame can be done as a DIY project, but it does require some skill and experience. If you’re not comfortable with power tools or have never worked with metal before, it may be best to leave this job to professionals. They will have the necessary tools, expertise, and safety equipment to ensure that the attachment is done correctly and safely.
Additionally, hiring professionals can save you time and effort in the long run. However, if you feel confident in your abilities and have all the necessary tools and equipment, then go ahead and tackle this project yourself! Just be sure to follow all safety precautions and procedures.
How Long Does it Take to Attach Plywood to a Steel Frame?
The time it takes to attach plywood to a steel frame will depend on several factors such as your level of experience, the size and complexity of the project, and the tools and equipment you have available. It can take anywhere from a few hours to a full day.
If you’re an experienced DIYer with all the necessary tools and equipment, you may be able to complete this project in a few hours. However, if you’re new to DIY projects or are working on a large and complex attachment, it may take longer. It’s important not to rush the process and ensure that all steps are done carefully and correctly for a strong and secure attachment.
So, take your time and don’t hesitate to ask for help if needed. With patience and attention to detail, you can successfully attach plywood to a steel frame and create a sturdy and reliable structure. Keep in mind that it’s always better to take your time and do the job right rather than rush through it and risk making mistakes.
You Can Check It Out To Attach Metal to Wood
How Much Will It Cost?
The cost of attaching plywood to a steel frame will depend on the size and complexity of your project, as well as the type of adhesive and reinforcing plates you choose to use. On average, it can cost anywhere from $50-150 for materials. However, if you hire professionals to do the job, the cost can vary greatly depending on their rates. Be sure to get quotes from multiple professionals to find the best deal for your budget.
It’s also important to consider the long-term cost of not attaching plywood to a steel frame properly. If the attachment is weak or poorly done, it can lead to structural issues and costly repairs in the future. So, investing in quality materials and taking your time during installation can save you money in the long run.
You Can Check It Out To Bend Wood with Water
Some Helpful Tips and Suggestions:
1. Ensure the steel frame is clean and free of debris before attaching the plywood. This will ensure that the plywood adheres properly to the frame.
2. Use screws or bolts to attach the plywood to the steel frame. Avoid using nails, as they may not provide a secure connection.
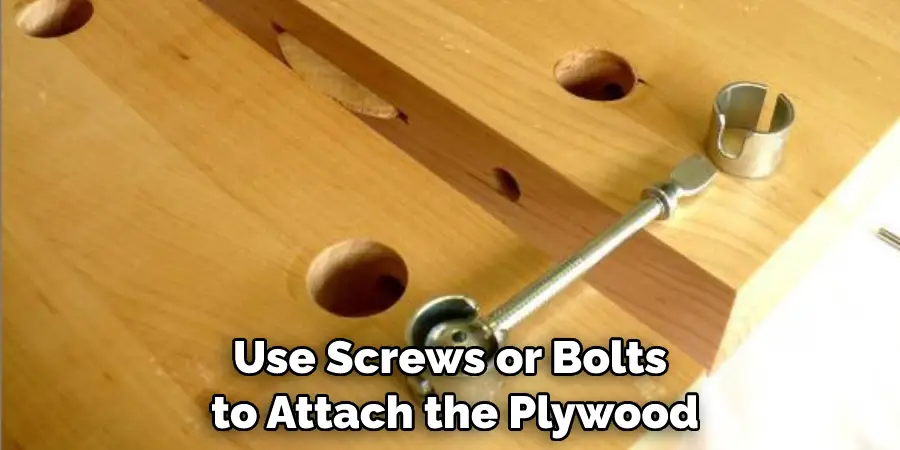
3. If using screws, predrill holes in the plywood before attaching it to the frame. This will make it easier to drive the screws into the plywood and prevent the wood from splitting.
4. Use washers between the screw head and the plywood to distribute the load evenly and prevent the screw from pulling through the wood.
5. Apply a sealant or paint to the plywood before attaching it to the frame. This will help protect the wood from weathering and moisture.
6. Use a level to ensure the plywood is attached evenly to the frame. This will ensure that the finished product looks professional and is stable.
You Can Check It Out to Make a King Size Pallet Bed
Frequently Asked Questions:
Q: Can I Attach Plywood to a Steel Frame Without Using Adhesive?
A: Yes, there are other methods such as using bolts or welding the plywood to the frame that do not require adhesive. But using adhesive can provide a more secure and permanent attachment. It is also recommended to use adhesive as an extra precautionary measure, even when using other attachment methods.
Q: What Type of Adhesive Should I Use?
A: For attaching plywood to a steel frame, it is recommended to use an industrial-strength adhesive such as construction adhesive or epoxy. Make sure to read the manufacturer’s instructions and follow all safety precautions when using any type of adhesive.
Q: How Can I Protect the Plywood from Damage?
A: To protect the plywood from damage, you can apply a sealant or paint to the surface before attaching it to the steel frame. This will help prevent moisture and weathering from damaging the wood. Additionally, adding reinforcing plates or using thicker plywood can also add extra protection against potential damage.
Q: Can I Weld Plywood Into a Steel Frame?
A: Yes, welding is a possible method for attaching plywood to a steel frame. However, this may require specialized equipment and expertise, so it is recommended to consult with a professional welder before attempting this method. Welding also has the potential to damage the wood, so using adhesive or bolts as an alternative may be a better option.
Q: Is There a Maximum Thickness for the Plywood That Can Be Attached to a Steel Frame?
A: This can vary depending on the strength of the steel frame and the intended use of the structure. Generally, plywood with a thickness between 3/4 inch and 1 1/4 inches is recommended for attaching to a steel frame. It is always best to consult with a structural engineer or contractor for specific recommendations based on your project. Overall, the key is to ensure that the plywood is securely attached and able to handle any intended weight or load.
Conclusion:
When attaching plywood to a steel frame, there are a few things you need to keep in mind. First, make sure the plywood is cut to size and that the screws are long enough to go through both pieces of wood. Drill pilot holes before screwing the plywood into place, and use washers on the screws for extra support.
We hope this blog post has helped guide you how to attach plywood to steel frame. This method will provide a sturdy surface for your project if done correctly. Have you tried this method before? What challenges did you encounter? Let us know in the comments below!
You may read also How to Stop Wood From Leaking Sap

