Are you looking to add the perfect finishing touch to your outdoor living space? Building bench seating can be a great way to bring both beauty and function to your backyard or front porch. With careful planning and consideration of materials, you can quickly create a comfortable area that adds visual appeal without sacrificing quality.

In this blog post, we will walk through how to build durable benchmark seating with materials that are easy to find at any local home improvement store. Read on for step-by-step instructions on how to build bench seating suited to your needs!
Why Bench Seating is a Need
1. Add Style
When planning outdoor seating, bench seating is a great option for several reasons. In addition to its versatility and classic look, it can be used in nearly any size space—from the small front porch to the large backyard. Bench seating also provides an inviting atmosphere that encourages conversation and relaxation.
2. Save Space
Bench seating is also a great choice when you’re trying to save space, as it takes up less room than traditional individual chairs or couches. This makes bench seating perfect for smaller outdoor areas where space is a priority. Additionally, bench seating can be used both indoors and outdoors, making it a highly versatile option.
3. Material Selection
When it comes to materials, you’ll have many options to choose from when building your bench seating. You can opt for wood, metal, or plastic—all of which are available at local home improvement stores and online retailers. Additionally, there are a variety of colors and finishes that can be used to customize your seating and make it fit perfectly with the style of any space.
Choosing the Best Wood for Bench Seating
When it comes to wood, there are several factors you’ll need to consider. The type of wood will determine the durability and strength of your bench seating, so be sure to pick a quality material that can withstand the elements.
1. Hardwoods
Hardwoods such as oak or maple are one of the best options for outdoor bench seating, as they are highly durable and resistant to moisture. Additionally, hardwoods offer a classic look that can be stained or painted to match the style of your outdoor space.
2. Softwoods
Softwoods such as pine or cypress are also great options for building bench seating, although they tend not to be as durable in outdoor environments. Softwoods, however, are often more affordable and easier to work with than hardwoods.
3. Composite Materials
Composite materials such as laminated wood or particle board are also great options for outdoor bench seating. These materials are designed to be highly durable and resistant to moisture, making them perfect for outdoor furniture that will be exposed to the elements.
Creating a Design Plan
Once you’ve chosen your materials, it’s time to start planning out the design of your bench seating. It’s important to measure both the space where you will be building your bench and the materials that you have chosen—this will help ensure that everything fits correctly and looks great once completed.

You may also want to consider adding some additional features, such as armrests or back support, as these can make your bench seating more comfortable and inviting. Additionally, adding cushions or pillows can add both comfort and style to your seating area.
Required Materials and Tools
The materials you’ll need to build your bench seating will depend on the size of your project, but generally, you should have the following items:
- Wood boards
- Lumber
- Screws/nails
- Power saw/hand saw
- Drill
- Sandpaper
- Safety glasses/gloves
- Paint/stain (optional)
- Cushions/pillows (optional)
10 Instructions for How to Build Bench Seating
1. Measure the Space
Measure the space where you will be building your bench seating to determine how many materials and tools you’ll need. Measuring the dimensions of your space will also help you plan out the design and ensure that everything fits correctly.
2. Gather Materials & Tools
Gather all of the materials and tools you’ll need for your project, including wood boards, lumber, screws/nails, power saw/hand saw, drill, sandpaper, safety glasses/gloves, paint/stain (optional), and cushions/pillows (optional).
3. Cut the Wood
Using a power saw or hand saw, cut the wood to the desired size for your bench seating. If you’re using composite materials such as laminated wood or particle board, be sure to measure twice before making any cuts.

4. Assemble the Frame
Using screws or nails, assemble the frame of your bench seating by connecting the cut pieces of wood together. Be sure to use a drill for any screw connections and wear safety glasses/gloves when handling sharp tools.
5. Sand & Paint
Once the frame is assembled, you may want to sand and paint or stain your bench seating for a professional-looking finish. Be sure to use protective gear when using power tools like the drill. Sanding will help ensure a smooth finish for the paint or stain.
6. Attach Legs & Armrests
If you’re adding additional features, such as armrests or back support, now is the time to attach them to your bench frame. Make sure to use the correct screws/nails and drill holes in the frame for any screws.
7. Add Cushions/Pillows
If you’d like to add cushions or pillows to your bench seating, now is the time to do so. Make sure that the cushion sizes fit correctly with the frame and that any corner seams are secure. Cushion covers can be washed or replaced if needed.
8. Place Bench Seating
Once your bench seating is complete, place it in the desired location and make sure that it’s level and secure. You may want to add a few extra screws or nails for added safety.
9. Enjoy
Now that your bench seating is complete, you can sit back and enjoy it! Make sure to keep the area around your bench clean and free of debris to ensure it lasts for many years. Enjoying the comfort and style of your bench seating is one of the greatest parts of this project.
10. Maintain Your Bench Seating
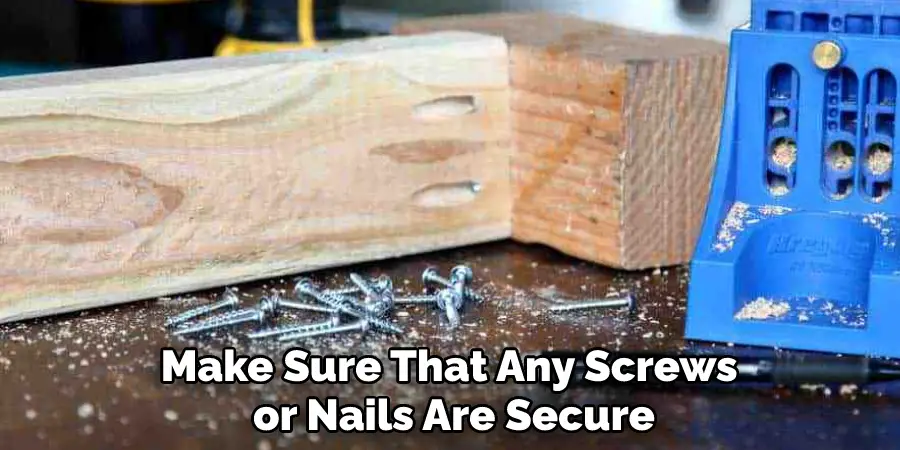
Maintaining your bench seating is important for keeping it looking great. Regularly inspect the frame and make sure that any screws or nails are secure. Additionally, wash or replace cushion covers as needed and be sure to clean the area around your bench seating. By following these simple steps, you can ensure that your bench seating will last for years.
Building bench seating is a great way to add extra comfort and style to any space. With the right materials and tools, it’s easy to create beautiful and functional seating in no time. Follow these steps and enjoy your new bench seating for years to come!
7 Safety Measures to Take
1. Wear safety goggles, a dust mask, and work gloves when working with power tools. The safety wear will protect eyes, lungs, and hands from wood chips and other debris. Also, remember to unplug power tools when not in use.
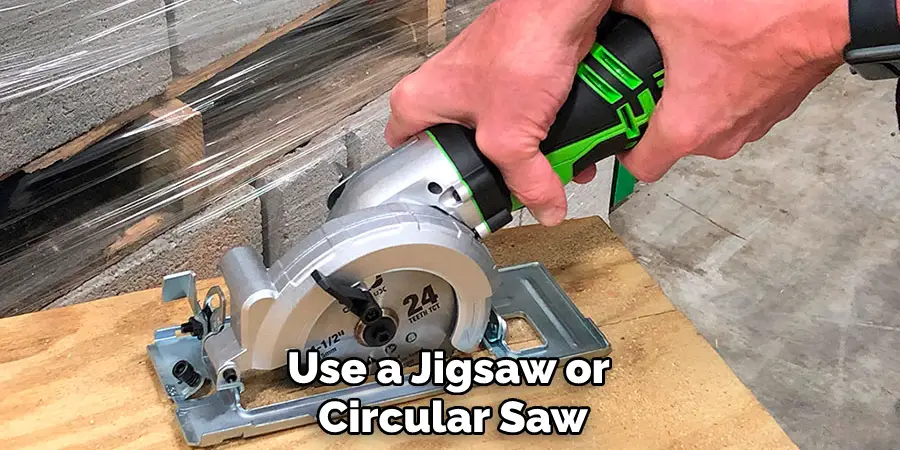
2. When cutting lumber, use a jigsaw or circular saw for accuracy and to reduce the chance of injury. Make sure you have a firm grip on the tool and keep cut pieces away from your body. While cutting, always stand to the side of the saw and push lumber away from yourself.
3. Use clamps to secure wood while drilling or cutting with a power tool. This will prevent slips and reduce your risk of injury. You must remember to use the appropriate clamp for each job, as some are better suited for one task than another.
4. Make sure the bench seating is stable before beginning work. If building on an uneven surface, use shims or scrap wood to level it out and ensure that the structure is secure. Also, make sure to use the proper screws and fasteners for each job.
5. When sanding, use a lower grit paper to start and gradually increase grit as you go to ensure smooth edges. Be sure to wear a dust mask when sanding, as fine particles of wood can be hazardous if inhaled. Also, remember to keep your hands away from the sandpaper and power sander.
6. Never reach across a saw blade, as this can lead to serious injury. Instead, use either a push stick or a feather board to help guide wood into the blade securely. This will reduce the chance of kickback and unexpected movements of the wood.
7. Always keep your workspace clean and organized. This will help prevent accidents, as well as make your project go more smoothly. Put tools away when not in use, so they are ready to go when you need them. Also, be sure to unplug power tools before cleaning the area.
By following these safety measures, you can ensure that building your bench seating is a safe and rewarding experience. Building your own furniture can be both fun and satisfying, so make sure to take the necessary precautions to stay safe while tackling this project.
Conclusion
All in all, building your own bench seating can be a great way to provide some extra seating for an event or simply spruce up the look of your space. With the steps provided above, you should have all the information needed to build your own custom seating with confidence. Before getting started, however, always double-check your measurements so that everything fits properly!
You may also want to consider using a sealant and adding cushions for aesthetic and comfort reasons. When it comes to benches, DIY projects can be surprisingly easy and rewarding- it’s just a matter of investing some time into pre-planning and researching! Hope this guide on how to build bench seating will be a great help. Just remember all the trips and tricks.

