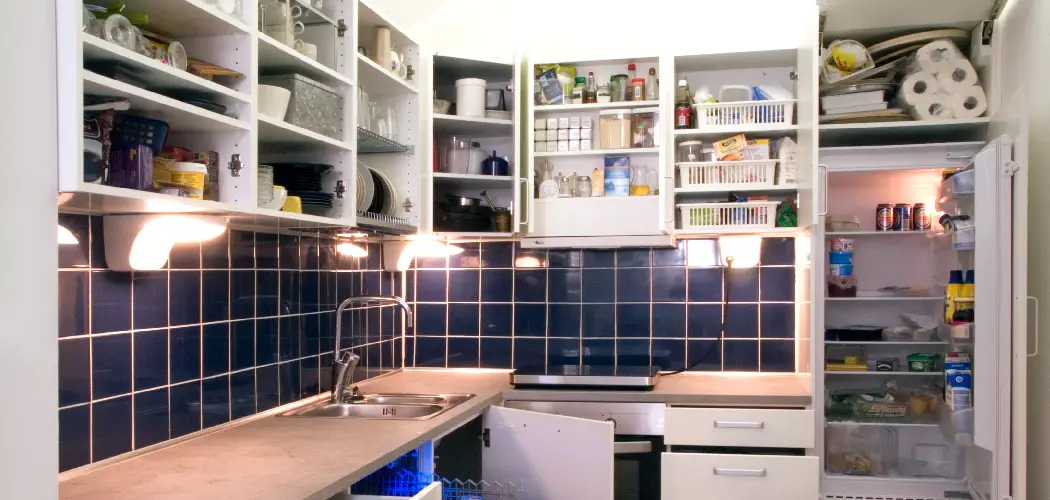
Adding a shelf to an existing cabinet is a great way to make more room for storage in your home. But installing the shelf can be intimidating if you don’t have experience with DIY projects like this one. Don’t worry—we’ll show you how! With some basic tools, our step-by-step guide will help you transform any drab cabinet into an organized space that won’t just look great but will save time and money as well. In no time at all, you’ll see just how easy it is to build shelves indoors or out!
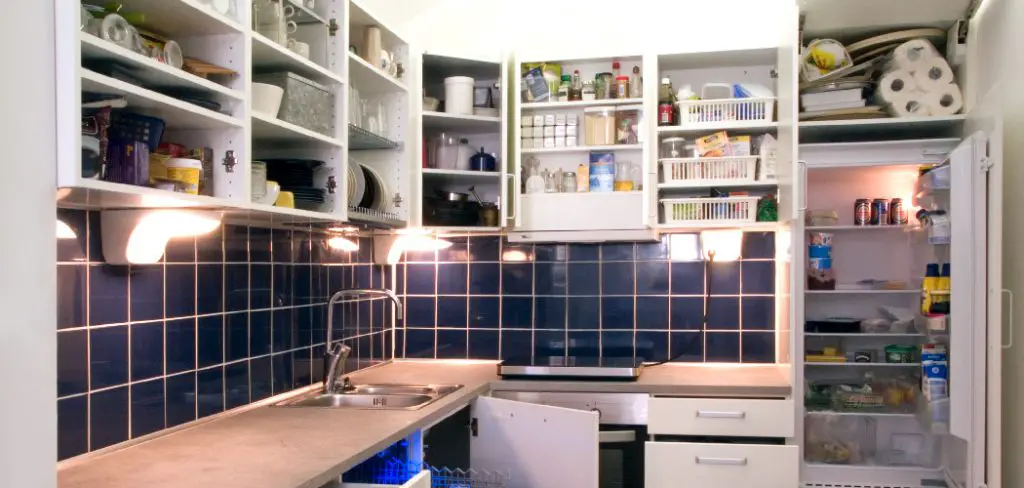
If you’re looking for an easy and inexpensive way to increase the storage space in your kitchen or bathroom, adding a shelf to your existing cabinets can be a great solution. You don’t have to hire a professional carpenter or buy expensive custom shelving – with some basic tools and supplies, you can install additional shelves yourself. Read on for our step-by-step guide on how to add a shelf to a cabinet without long waiting times or high costs!
The Benefits of Adding a Shelf to a Cabinet
1. Cost Effective
Adding a shelf to a cabinet can be an easy and cost-effective way to increase the storage space in your home. With just a few tools, you can create more room for items such as books, dishes, cookware, or other personal belongings. Not only will this save you time and money on organizing and storing your items, but it also helps to keep your home looking neat and organized.
2. Reduces Clutter
Adding a shelf to your cabinets can help reduce the clutter that accumulates in areas such as kitchens or bathrooms over time. With additional storage space, you’ll be able to find items faster and easier, making daily tasks like cooking or cleaning much more efficient.
3. Customizable
When adding a shelf to your cabinets, you can customize the look and feel of it according to your own personal preferences. Choose from different materials, colors, and sizes to create an attractive and practical storage solution that blends seamlessly into any interior design.
Now that you know the benefits of adding a shelf to a cabinet, let’s take a look at how you can do it yourself.
Things to Consider While Adding a Shelf to a Cabinet
1. Choosing the Best Wood
When selecting wood for shelf boards, it’s important to find a material that is strong and durable. Typically, plywood, particleboard, or MDF work best—they’re sturdy enough to hold heavy items but will also look great in any interior design.
2. Choosing the Right Size
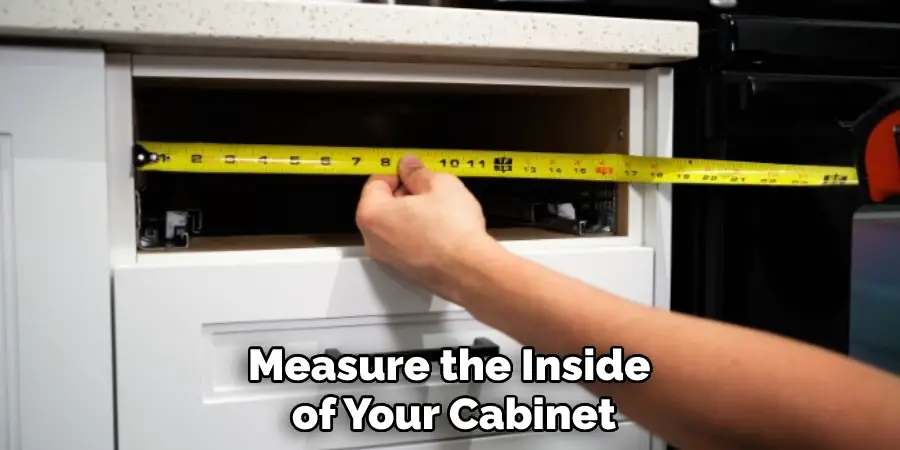
Before you start cutting your shelf board, make sure to measure the inside of your cabinet and choose a size that will fit properly. It’s best to leave some room for maneuvering when adding the shelf. Leave 1-2 inches on either side of the cabinet walls for a snug but dependable fit.
3. Leveling the Shelf
Make sure the shelf is level before you start drilling the screws in. This will ensure that it’s secure and won’t move or wobble when items are placed on it. Leveling is also important for aesthetic purposes; it will create a balanced and organized look inside your cabinet.
Tools and Supplies Needed
- Measuring tape
- Level
- Saw (hand saw or power saw)
- Screwdriver/drill
- Shelf board(s) of desired size
10 Ways How to Add a Shelf to a Cabinet
1. Measurement
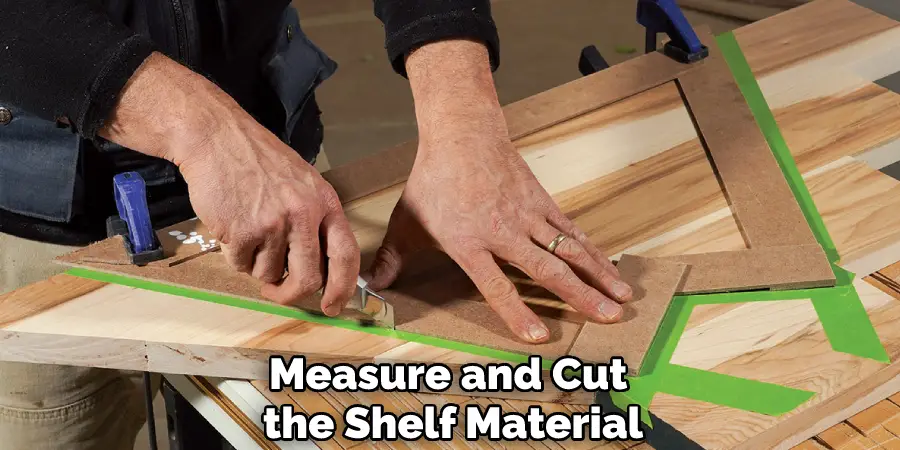
Measure the inside of the cabinet to determine the size of the shelf board. The right measurement should leave a minimum of 1-2 inches on either side of the walls. Remember to measure twice, just to be sure!
2. Cut the Board
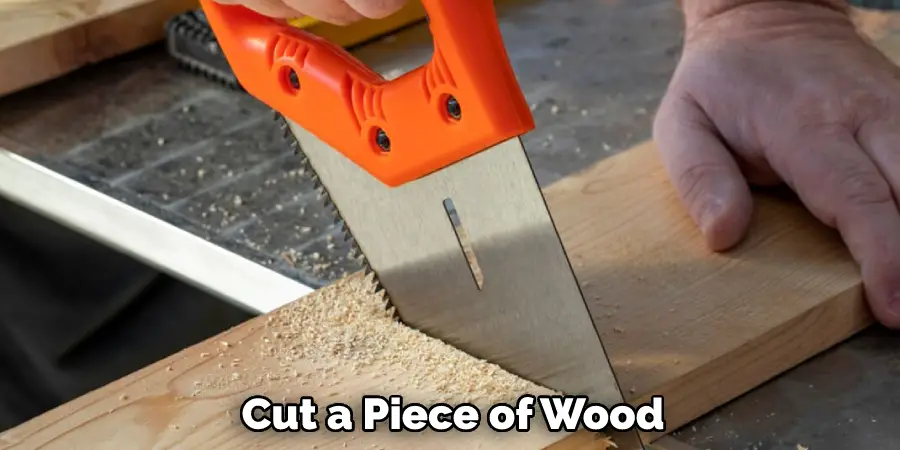
Once you have determined the measurements, cut your shelf board according to size using a hand or power saw. Make sure all corners are as precise and straight as possible. The board should fit perfectly inside the cabinet.
3. Sand and Stain
Sand down any rough or jagged edges on the shelf board for a smooth finish. You can also stain or paint it for a more attractive look—this will help it blend in with your cabinets seamlessly. Sanding would also help to prepare the surface for stain or paint.
4. Position and Level
Position the shelf board inside the cabinet, making sure it’s even on both sides. Use a level to check if it is straight—this will ensure that your shelf is secure and won’t wobble when items are placed on top of it.
5. Mark the Holes
Mark where you plan to drill the holes for the screws. Make sure to find a spot that is as close to level as possible so your shelf will be sturdy and secure once it’s in place. Marking the holes beforehand will also ensure that you don’t accidentally drill into any wires or pipes.
6. Drill the Holes
Using a screwdriver or a drill, carefully drill the holes where you marked them. Make sure to go slow and steady—oversized holes can cause instability in the shelf.

7. Insert the Screws
Once the holes are drilled, insert the screws into them. Make sure they’re secure and not too loose or tight. Inserting the screws slowly and carefully will help to ensure that they are level.
8. Place the Shelf in Place
Carefully place the shelf into the cabinet, making sure that it is straight and secure. If necessary, use a hammer or mallet to gently tap it into place. Check to make sure that all of the screws are secure and the shelf is level.
9. Finish
Once your shelf has been placed and secured, it’s time to finish up with any touch-ups—staining or painting if desired. Make sure that all of the edges are sanded down, and the paint or stain looks even on all sides.
10. Enjoy!
Once you’ve finished adding a shelf to your cabinet, all that’s left is to enjoy the fruits of your labor! You can now organize and store items in a neat, organized way. Your cabinets will look great and be much more efficient with the additional storage space.
8 Safety Precautions to Take
1. Wear safety goggles and gloves when cutting materials. Safety wear can help protect your eyes and hands from sharp objects or tools. Also, remember to tie back long hair.
2. Measure the space in the cabinet you’d like to add a shelf too, taking into account any obstructions or irregularities that exist within the cabinet. The right measurement will help ensure you get the best fit possible.
3. Cut a piece of wood that is slightly smaller than your measurements because it’s easier to make a small shelf bigger if needed than to try and make a large one fit into the cabinet space.
4. Don’t forget the sides of the shelf. You’ll need to make thin strips of wood or metal that will support the shelf and keep it level. The sides are also important for keeping items from sliding off the shelf.
5. While cutting the wood, use a saw horse or some other form of support to ensure stability and accuracy in your cuts. Make sure that the saw and cutting surface are clean and have no splinters.
6. Hammer in nails or screws to attach the shelf, depending on which you decide is best for your project. Nails can be easier to place if you practice proper sawing technique.
6. Be careful about driving nails too far into the wood, as this can cause them to slip out of place. To secure the shelf, use glue or special brackets to make sure that it doesn’t move.
7. Sand down any rough edges with fine-grit sandpaper to prevent splinters and make the shelf look nice. It will definitely be worth the extra effort in the end.
8. When you’re done, inspect your shelf to make sure that it is secure and there are no sharp edges or splinters before putting any items onto it.
Now that you know how to add a shelf to a cabinet, you can get started on your project with confidence!
Frequently Asked Questions
How Long Will It Take to Finish the Project?
The time required to add a shelf to a cabinet will depend on the size of the cabinet and complexity of the installation, but it should take no more than an hour or two. It depends solely on how quickly you can measure, cut and install the shelf.
What Materials Will I Need?
You will need wood or another material to use as the shelf, screws, and appropriate tools for cutting and drilling holes. You may also need a level, tape measure, drill bits, and other materials depending on your specific project.
Can I Add a Shelf to an Already Installed Cabinet?
Yes, it is possible to add a shelf to an already-installed cabinet. The process is the same as installing a shelf in a new cabinet. You will just need to measure and cut the shelf material to fit the existing cabinet before installing it securely with screws.
Conclusion
Adding a shelf to a cabinet can be an intimidating task, but with the help of this article, you now have the steps necessary for how to add a shelf to a cabinet to complete the task in just one afternoon. From measuring the space for your shelf to attaching it safely, you’re now ready to accessorize and revamp your cabinets. Don’t forget about using an adhesive remover if you ever want to take down any shelves in the future!
With that said, don’t let a lack of skill or confidence stop you from improving your home; try out adding some shelves for yourself and watch how quickly the space transforms. Just be sure to wear protective gear such as gloves and goggles during installation so you stay safe! You’ll be proud of yourself once it’s all done and will have newfound skills on how to add shelves to any cabinet.

