Nothing refreshes a room like new wall paneling. If you want to update your home, adding wood panels is a great way to do it. But before you start tearing down walls, there are a few things you need to know. We will walk you through the process of cutting wood wall paneling. Read on for tips and tricks on how to make the job easy and get the results you want.

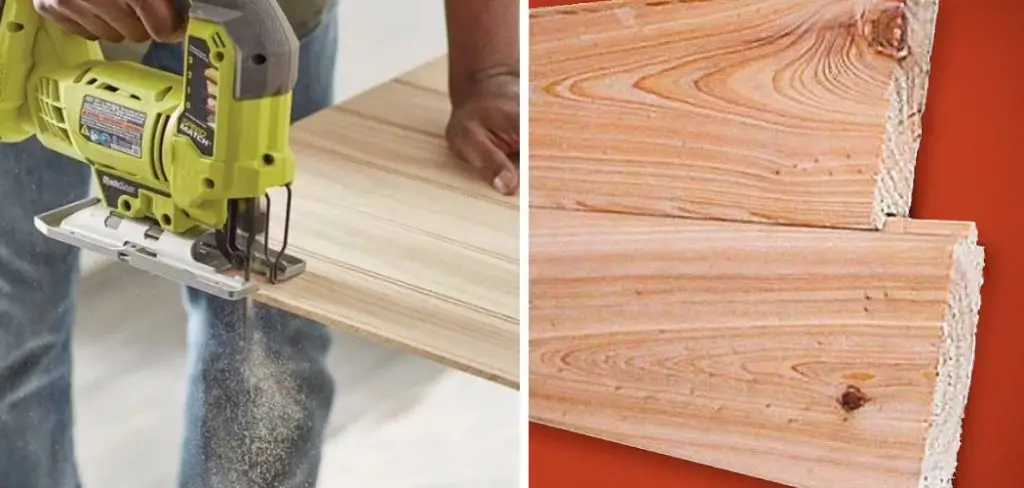
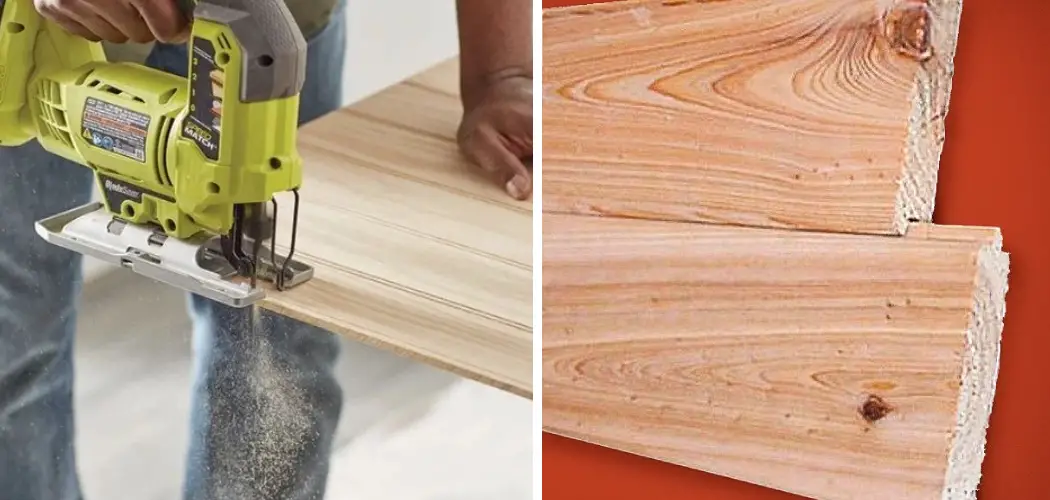
If you’re looking for a way to add some character to your walls, consider cutting wood wall paneling. It’s a simple project that can be completed in just a few hours, and the results are well worth the effort. In this tutorial, we’ll show you how to cut wood wall paneling using a jigsaw and straight edge. Let’s get started!
How to Choose Wood for Wood Wall Paneling?
When it comes to wood wall paneling, a few different options are available. The most common type of wood used for paneling is pine, although other woods, such as cedar and oak, are also popular choices. If you’re looking for a unique look, you could also opt for reclaimed lumber or even bamboo.
No matter what type of wood you choose, make sure it is of the highest quality. You don’t want your paneling to warp or crack over time, so it’s worth spending a little extra to get something that will last.
Once you’ve decided on the material you want to use, it’s time to get started on the project. The first step is to measure the area where you will be installing the paneling. Then, use a straight edge and jigsaw to cut the pieces to size.
If you’re not experienced with using a jigsaw, don’t worry – it’s really not that difficult. Just take your time and be careful not to force the blade. It’s also a good idea to practice on a piece of scrap wood before cutting it into your paneling.
Once all of your pieces are cut, it’s time to install them. Start by attaching furring strips to the wall using screws or nails. Then, simply line up the edges of the paneling with the furring strips and secure in place.
That’s all there is to it! With just a few simple tools and some elbow grease, you can transform your walls with wood paneling. Give it a try today and see for yourself how easy and rewarding it can be.
Types of Material You Need for Wood Wall Paneling:
- Pinewood
- Cedarwood
- Oak wood-Bamboo (if you want a unique look)Tools you need for the project
- Jigsaw
- Straight edge
- Furring strips
- Screws or nails (to attach furring strips to the wall)
10 Steps How to Cut Wood Wall Paneling:
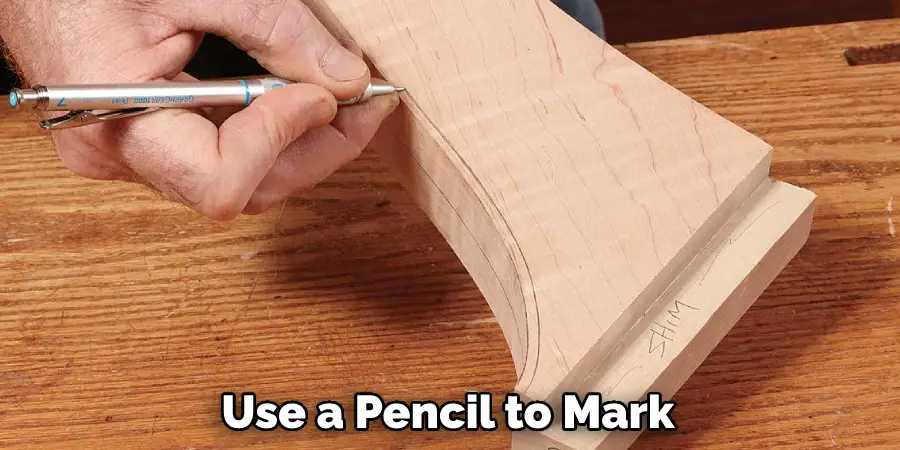
Step 1: Use a Pencil
Use a pencil to mark the cutting line on the wall paneling. Then use a straight edge to connect the marks. This will give you a clean, straight line to follow when cutting. If you have a large area to panel, it might be easier to use a chalk line instead of a pencil. Make sure the chalk line is taut before snapping it, so you get a straight line.

Step 2: Use a Tape Measure
Measure the length and width of the area where you will be installing the paneling. Then use a tape measure to transfer those measurements to the paneling. Make sure to leave enough room for expansion and contraction. We recommend adding an extra 1/4 inch to your measurements. This will give you some wiggle room when cutting and installing the paneling.
Step 3: Use a Saw
If you’re working with large pieces of paneling, it might be easier to use a saw instead of a jigsaw. You can use a hand saw or power saw, but we recommend using a power saw for the best results. Just be careful not to force the blade when cutting, or you could damage the paneling.
Step 4: Use a Jigsaw
For smaller pieces of paneling, a jigsaw is the best tool for the job. When cutting with a jigsaw, it’s important to use a sharp blade. This will help prevent the blade from binding and potentially breaking. We also recommend following the line slowly and carefully to avoid mistakes.
You Can Check It Out to Remove a Pet Door

Step 5: Use Clamps
If you’re working with large pieces of paneling, it might be helpful to use clamps to hold the paneling in place while you cut. This will help prevent the paneling from moving around while you’re cutting, which could lead to mistakes. If you don’t have clamps, you can also ask a friend or family member to hold the paneling for you.
Step 6: Use a Saw Horse
If you don’t have clamps, saw horses are a great alternative. Just make sure the saw horses are stable and level before setting the paneling on them. This will help prevent the paneling from moving around while you’re cutting. If you don’t have saw horses, you can also use a table or countertop.
Step 7: Use a Straight Edge
When using a jigsaw, it’s important to have a straight edge to guide the blade. This will help you avoid mistakes and produce clean, straight cuts. You can use a tape measure, chalk line, or even another piece of wood as a straight edge. Just make sure whatever you use is long enough to reach across the entire piece of paneling.
Step 8: Use a Dust Mask
When cutting wood, it’s important to wear a dust mask to avoid inhaling the particles. This is especially important when using a power saw, as the particles can be harmful to your lungs. If you don’t have a dust mask, you can also use a bandana or scarf to cover your nose and mouth.
Step 9: Use Safety Goggles
Whenever you’re using a power saw, it’s important to wear safety goggles to protect your eyes from the blade. If you don’t have safety goggles, you can also use regular glasses or sunglasses. Just make sure whatever you use provides enough coverage so that the blade can’t get through.

Step 10: Take Your Time
When cutting the paneling, it’s important to take your time and avoid rushing. This will help you avoid mistakes and produce clean, straight cuts. If you’re having trouble following the line, go slowly and carefully until you get the hang of it. And if you make a mistake, don’t worry—you can always fix it with a little sanding.
Can You Use a Jigsaw to Cut Wood Wall Paneling?
Yes, you can use a jigsaw to cut wood wall paneling. Just make sure to use a sharp blade and follow the line slowly and carefully to avoid mistakes. You can also use a saw or clamps to hold the paneling in place while you cut. And if you don’t have clamps, you can always ask a friend or family member to hold the paneling for you.
Can I Use a Finish Nailer for Wood Wall Paneling?
Yes, you can use a finish nailer for wood wall paneling. Just make sure to use the proper size nails and follow the manufacturer’s instructions. You should also be aware that using a finish nailer can leave marks on the wood. If you’re not careful, these marks can be visible after the paneling is installed.
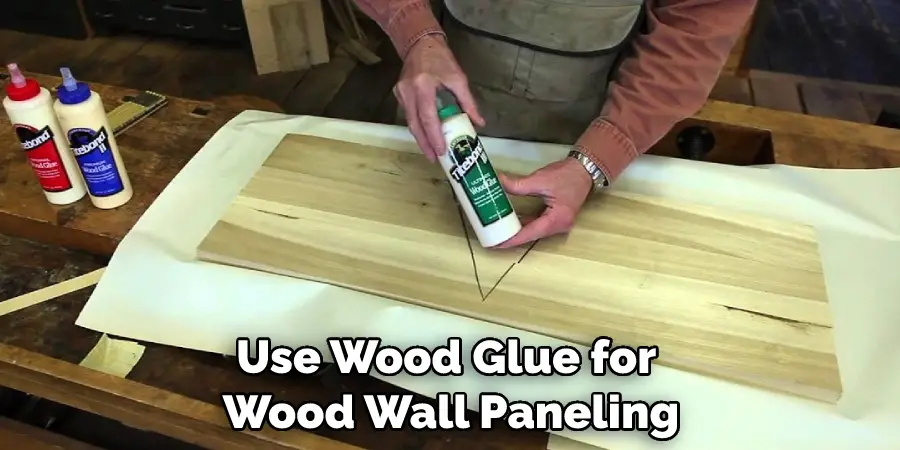
Can I Use Wood Glue for Wood Wall Paneling?
Yes, you can use wood glue for wood wall paneling. Just make sure to follow the manufacturer’s instructions. You should also be aware that using too much glue can cause the paneling to warp or buckle. And if you’re not careful, the glue can also seep through the cracks and ruin your paint job. If you’re not sure how much glue to use, we recommend starting with a small amount and gradually adding more as needed.

What’s the Best Way to Cut Wood Wall Paneling?
The best way to cut wood wall paneling is with a sharp blade and a straight edge. You can also use clamps or saw horses to hold the paneling in place while you cut. And if you don’t have clamps, you can always ask a friend or family member to hold the paneling for you. Just make sure to take your time and avoid rushing to avoid mistakes.
Can I Use a Hammer for Wood Wall Paneling?
Yes, you can use a hammer for wood wall paneling. Just make sure to use the proper size nails and follow the manufacturer’s instructions. You should also be aware that using a hammer can leave marks on the wood. If you’re not careful, these marks can be visible after the paneling is installed.
Conclusion
Now that you know how to cut wood wall paneling, you can get started on your home improvement project. Be sure to measure twice and cut once to avoid any costly mistakes. With a little time and effort, you’ll have beautiful new wood paneling in no time.
With these tips in mind, you’ll be able to transform any room in no time. So what are you waiting for? Get started on your project today!
You Can Check It Out to Stain Wood Shelves

