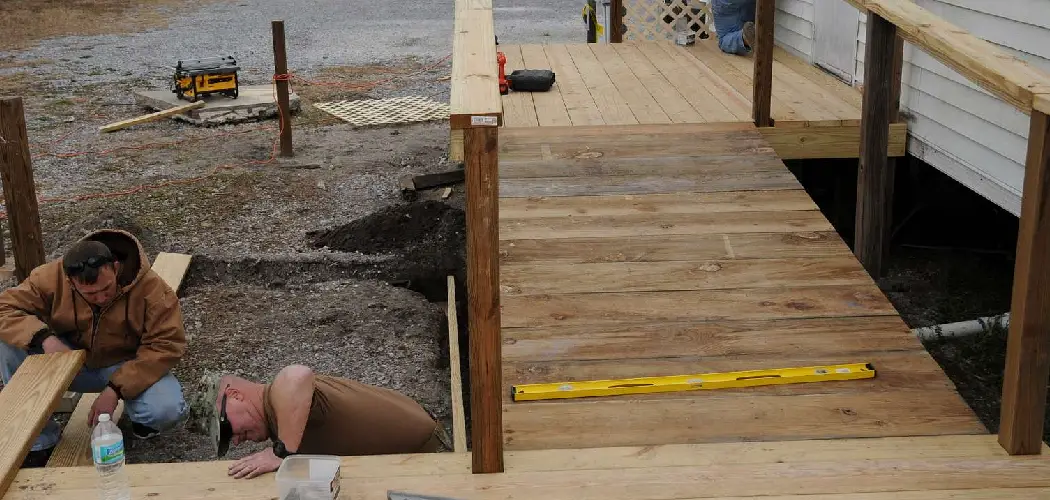
If you have a disability or are elderly, then getting in and out of your home can be a real challenge. One way to make things easier is to build a ramp over your steps. This way, you won’t have to worry about negotiating any stairs. Building a wooden ramp is actually quite simple and can be done in just a few hours. You should know how to build a wooden ramp over steps. Here’s what you need to do.
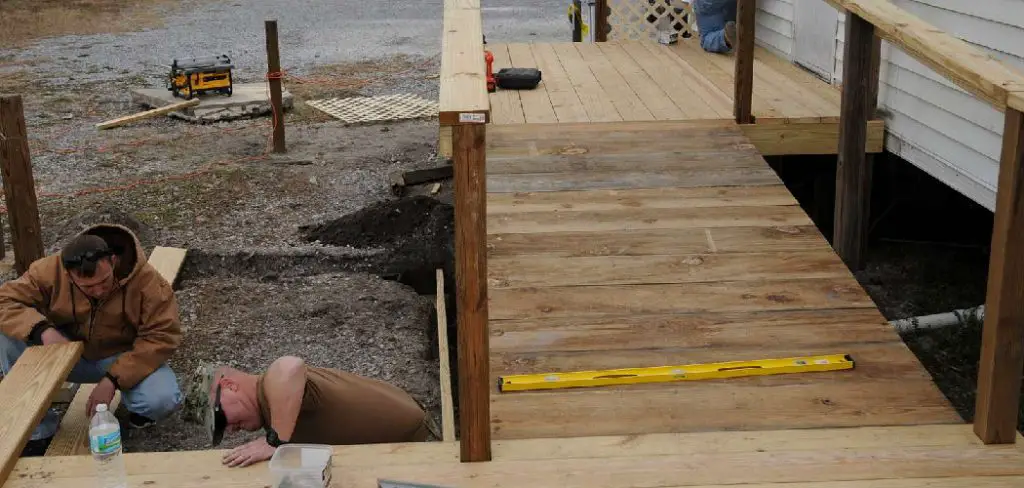
What is a Wooden Ramp?
A wooden ramp is simply a flat surface that slopes gently upwards, allowing for easy access to an elevated area. It can be built over existing steps or on its own, depending on your needs and the layout of your home. Wooden ramps are often used as a means of accessibility for those with mobility limitations.
You can build a wooden ramp over steps in several ways, but the most common method involves using pressure-treated lumber and basic carpentry tools. The end result is a sturdy and durable ramp that will last for years to come.
Why Build a Wooden Ramp Over Steps?
There are many benefits to building a wooden ramp over steps. First and foremost, it provides easy access for those with disabilities or mobility limitations. This can make a huge difference in their daily lives, allowing them to enter and exit their homes without any obstacles.
Additionally, a wooden ramp is safer than stairs as there is less risk of tripping or falling. It also allows for the use of mobility aids such as walkers, wheelchairs, and scooters without any hassle.
Another advantage is that a wooden ramp can add value to your home. If you ever decide to sell your house, potential buyers will appreciate the added accessibility and convenience of a ramp.
Materials You Will Need
Lumber:
Treated lumber is the best choice for building a wooden ramp. This type of wood resists rot, decay and insects making it incredibly durable. You will need 2×6’s for the ramp frame and 5/4×6 deck boards for the ramp surface.
Fasteners:
For fastening together your wooden ramp, you will need to use galvanized screws or nails. These are treated with a special coating that prevents them from rusting or corroding, which is important for outdoor projects.
Tools You Will Need:
Circular Saw or Hand Saw:
To cut the lumber, you will need either a circular saw or a hand saw. A circular saw is recommended for its speed and efficiency.
Drill:
You’ll need a drill to create pilot holes for your screws or nails in order to prevent the wood from splitting.
Screwdriver or Hammer:
Depending on what type of fasteners you are using, you will need either a screwdriver or hammer to drive them into the wood.
Level:
A level will help ensure that your ramp is built evenly and with proper support.
Measuring Tape:
Before you start building, it’s important to measure the dimensions of your ramp so that it fits properly over your steps.
9 Steps Guide on How to Build a Wooden Ramp Over Steps
Step 1: Decide on the Location of the Ramp
The first step is to decide where you want to build the ramp. It’s important to choose a spot that is level and has firm footing. You also need to make sure there is enough room for the ramp itself as well as any handrails that you plan on installing. You can mark out the location with stakes and string to get a clear idea of the dimensions. But be sure to check with your local building codes and regulations before starting any construction. Otherwise, you may need to obtain a permit.
Step 2: Cut the Lumber to Size
Once you know where you’re going to build the ramp, it’s time to cut the lumber to size. You will need four pieces of lumber for the sides of the ramp and two pieces for the flooring. The lengths will depend on the specific dimensions of your steps and how long you want the ramp to be. It’s always a good idea to add a few extra inches to account for any errors. But be sure to follow a proper measurement to ensure the ramp will fit correctly.
Step 3: Set the Posts
After the lumber is cut to size, the next step is to set the posts. You will need two posts for each side of the ramp. The posts should be placed so that they are level and evenly spaced. Once the posts are in place, use concrete to secure them. This will help to provide stability and ensure that the ramp stays in place. The concrete should be left to dry for at least 24 hours before moving on to the next step.
Step 4: Attach the Sides
Once the posts are set, it’s time to attach the sides of the ramp. Place the lumber on each side of the ramp and secure it with screws or nails. It is important to make sure that the lumber is level so that the ramp is stable. You can use a level to check this. But if you don’t have a level, you can use a long, straight piece of wood and measure the distance between the bottom of the ramp and the ground to make sure they are equal.
Step 5: Add the Flooring
The next step is to add the flooring to the ramp. You can use either plywood or decking boards for this. Secure the boards with screws or nails. It is important to make sure that the boards are level and evenly spaced. This will make for a smooth and safe ramp surface. If using plywood, make sure to paint or seal it with a weather-resistant coating to protect it from the elements. It’s also a good idea to add anti-slip tape or paint to prevent any accidents.
Step 6: Install the Handrails
If you plan on using the ramp for disabled or elderly persons, then it’s a good idea to install handrails. Handrails can be placed on both sides of the ramp. The size of the handrails will depend on the specific dimensions of the ramp. Again, make sure to use pressure-treated lumber for durability. It’s also important to make sure that the handrails are secure and level. You can use brackets to attach the handrails to the posts.
Step 7: Test the Ramp
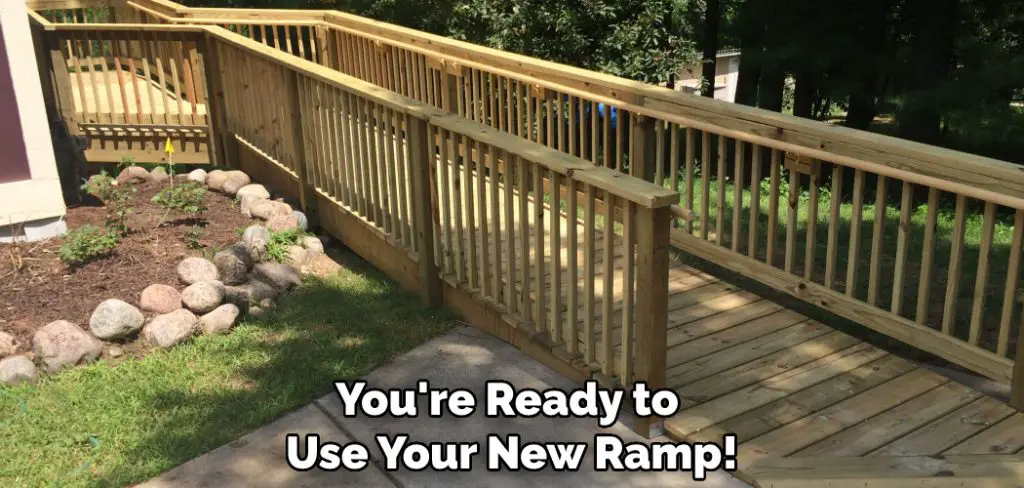
Before you use the ramp, it’s important to test it out to make sure it is safe and secure. Walk up and down the ramp a few times to see how it feels. If everything seems sturdy, then you’re ready to use your new ramp! If not, make any necessary adjustments to ensure the ramp is safe and stable. Why not invite a family member or friend with mobility limitations to test the ramp out as well, and make sure it meets their needs.
Step 8: Paint or Stain the Ramp
To protect your ramp from the elements, it’s a good idea to paint or stain it. This will also add a nice finishing touch and can help prevent the wood from rotting or decaying. The paint or stain should be applied at least every two years to maintain the ramp’s durability. You can also add non-skid strips to the ramp surface for added safety. The strips are especially helpful during wet or icy conditions. Although lumber is resistant to rot, it’s still important to regularly maintain and protect your ramp.
Step 9: Maintain Regularly
It is important to regularly maintain your wooden ramp by checking for any loose screws or nails and making repairs as needed. Keep the ramp clean and free of debris to ensure safe use. The better you maintain your ramp, the longer it will last and provide accessibility and convenience for those who need it.
Building a wooden ramp over your steps is a great way to make your home more accessible. With just a few hours of work, you can build a ramp that will make getting in and out of your home much easier. Follow the steps above and you’ll have a new ramp in no time!
Following these steps on how to build a wooden ramp over steps will also give you a general idea of how to build other wooden structures, such as decks or patios. Remember to always follow proper safety guidelines and check with your local building codes before starting any construction project. And most importantly, have fun with it! Building something with your own two hands can be a rewarding and fulfilling experience. Happy building!
9 Tips for Building a Wooden Ramp Over Steps
1. Measure the rise and run of the steps. The rise is the vertical distance from the top of the last step to the ground. The run is the horizontal distance from the edge of the first step to the edge of the last step.
2. Cut two pressure-treated 2x6s to the length of the stringers. The stringers will support the weight of the ramp and should be long enough to span the entire width of the steps.
3. Place the stringers on top of the concrete pad and mark where they will need to be cut in order to fit flush against the side of the house.
4. Cut a pressure-treated 2×4 to length for the ledger board. The ledger board will be attached to the side of the house and will support one end of the ramp.
5. Attach the ledger board to the side of the house using lag bolts and washers. Drill pilot holes for the lag bolts before inserting them into place.
6. Cut two pressure-treated 4x4s to length for the posts. The posts will support the other end of the ramp and should be long enough so that when they are installed, they are level with the top of the ledger board.
7. Install the posts in concrete footings at least 24 inches deep and 36 inches wide. The footings should be located at least 3 feet away from any existing structures on your property, such as your house or garage.
8. Cut pressure-treated 2x6s or 5/4 decking boards to length for ramps, slats or decking. The slats or decking will form a walking surface on top of the ramp and should be long enough to span from one stringer to another.
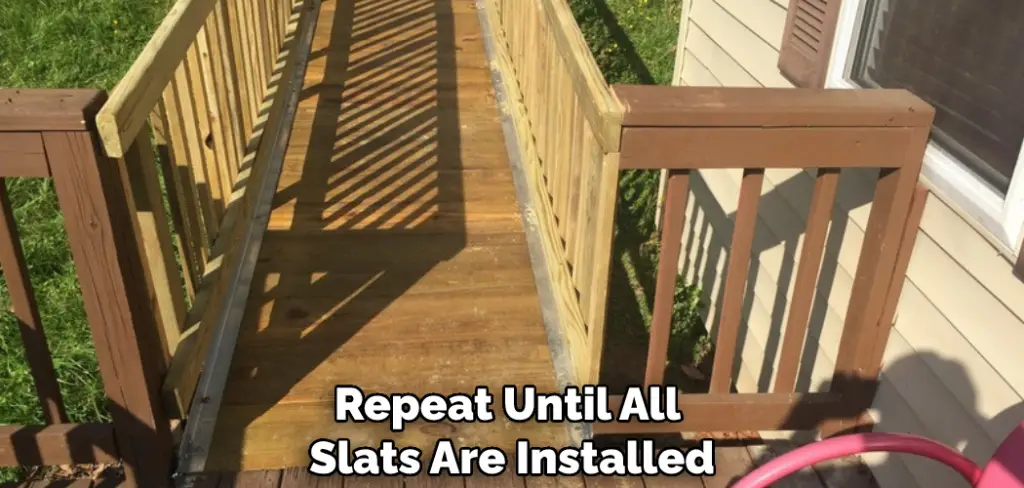
9. Position each slat on top of a stringer so that it overhangs by 1 inch on each side, then secure it in place with screws driven through predrilled pilot holes. Repeat until all slats are installed. If using decking boards, position them so that they are perpendicular to stringers. Secure boards in place with screws driven through predrilled pilot holes.
How to Choose the Right Material for Your Ramp?
If you or a loved one is a wheelchair user, you may be considering adding a ramp to your home. This can provide greater independence and make it easier to navigate your living space. But before you start construction, it’s important to choose the right material for your ramp. Here are a few factors to keep in mind:
First, consider the climate. If you live in an area with extreme temperatures, you’ll want to choose a material that won’t be damaged by heat or cold. Metal ramps can become very hot in the summer, while wooden ramps may warp or crack in extreme cold. Second, think about the surface of the ramp.
If it will be exposed to moisture, you’ll need to choose a material that won’t rot or mildew. Third, consider your budget. Ramp materials can vary widely in price, so it’s important to choose one that fits your needs and budget.
With these factors in mind, you can narrow down your choices and choose the best material for your ramp. By taking the time to select the ideal material, you can ensure that your ramp will provide years of trouble-free use.
How to Calculate the Rise and Run of Your Steps?
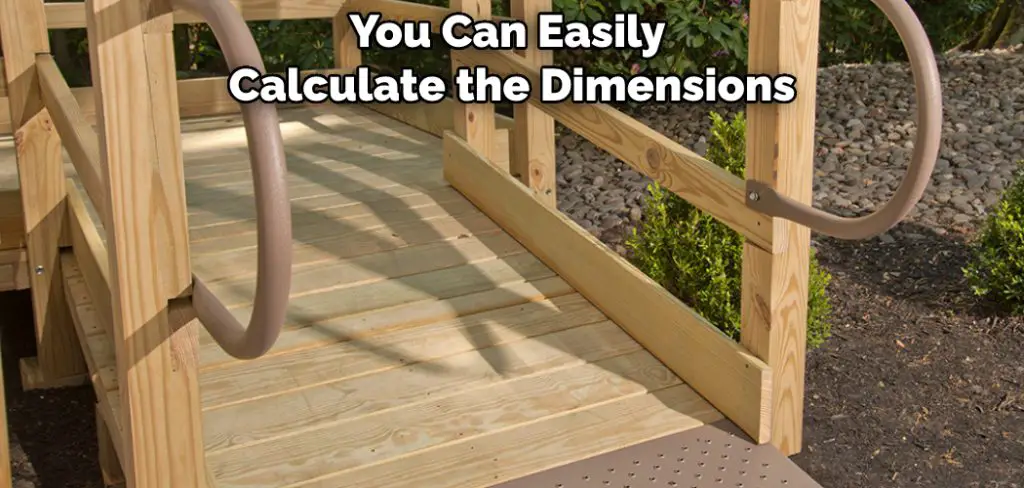
Every staircase is different, but there are some general formulas you can use to figure out the rise and run of your steps. The first step is to measure the total height of the staircase. This is the rise. To get the run, measure the distance from the front of one step to the front of the next.
For a more accurate measurement, take several measurements at different points and average them together. Once you have the rise and run, you can use some simple geometry to calculate the angle of your staircase.
The angle is simply the rise divided by the run. For example, if your staircase has a rise of 10 inches and a run of 6 inches, then the angle would be 10 divided by 6, or 1.67. This method can be used for any type of staircase, whether it’s indoor or outdoor, straight or curved. With a little bit of effort, you can easily calculate the dimensions of your steps.
How to Cut the Stringers for Your Ramp?
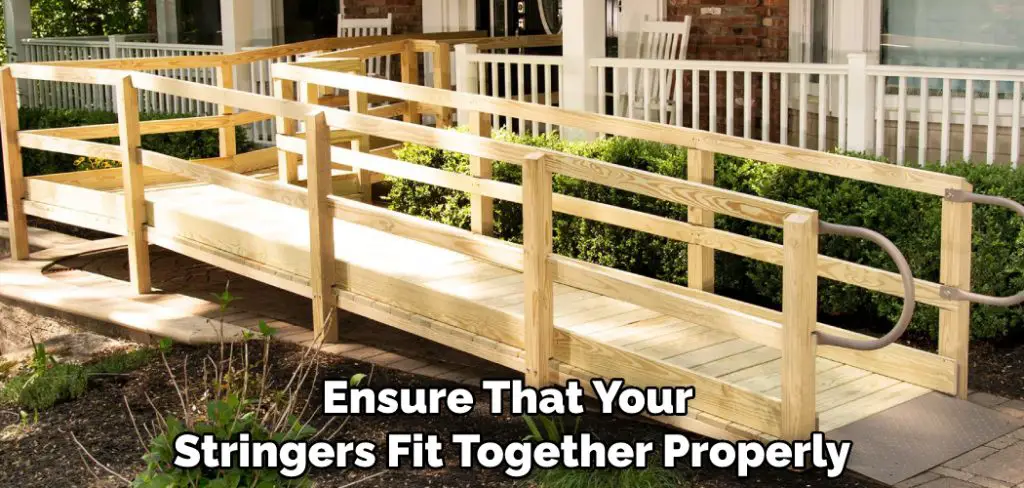
If you’re planning on building a ramp, one of the most important aspects will be cutting the stringers. The stringers are the supports that run along the length of the ramp, and they need to be cut to the correct size in order for the ramp to be safe and functional. Here’s how to do it:
First, measure the length of the ramp. You’ll need to cut two stringers, one for each side. The length of each stringer should be equal to the length of the ramp plus twice the width of the stringer itself.
For example, if you’re building a ramp that is 10 feet long and you’re using 2×6 lumber for the stringers, each stringer should be 14 feet long (10 feet + 2 x 6 inches).
Once you know the length of each stringer, mark out the cuts on the lumber. When making your cuts, be sure to use a sharp saw and make sure that each cut is perpendicular to the edge of the lumber. This will ensure that your stringers fit together properly when you assemble them.
Conclusion
Now that you know how to build a wooden ramp over steps, put your new skills to the test! There you have it—a simple guide to building a wooden ramp over steps! With this handy DIY project, you’ll be able to get in and out of your home with ease, regardless of any mobility issues you may have. So what are you waiting for? Get building!
Carefully follow the instructions and measurements given in this blog post, and you’ll be sure to end up with a sturdy, functional ramp. Do you have any tips for building ramps? Share them with us in the comments below!
You Can Check It Out to Build a Desk Hutch
You Can Check It Out To Install T Molding in Doorway
You Can Check It Out to Build a Freestanding Display Wall
You Can Check it Out to Fill Gap Under Vinyl Fence

