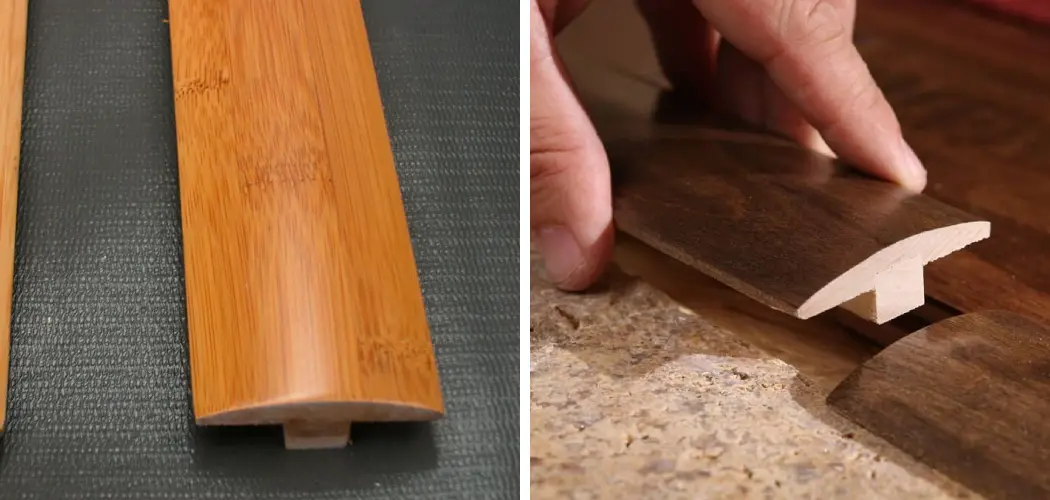
Are you looking to spruce up the look of your interior doorways? Installing t molding not only transforms the look of your space but can also act as a practical trim to cover unfinished edges or be used to decorate other items. Whether you are looking for an extra-special finish in your home or office, our guide will show you how easy and quick it is to install t molding yourself.
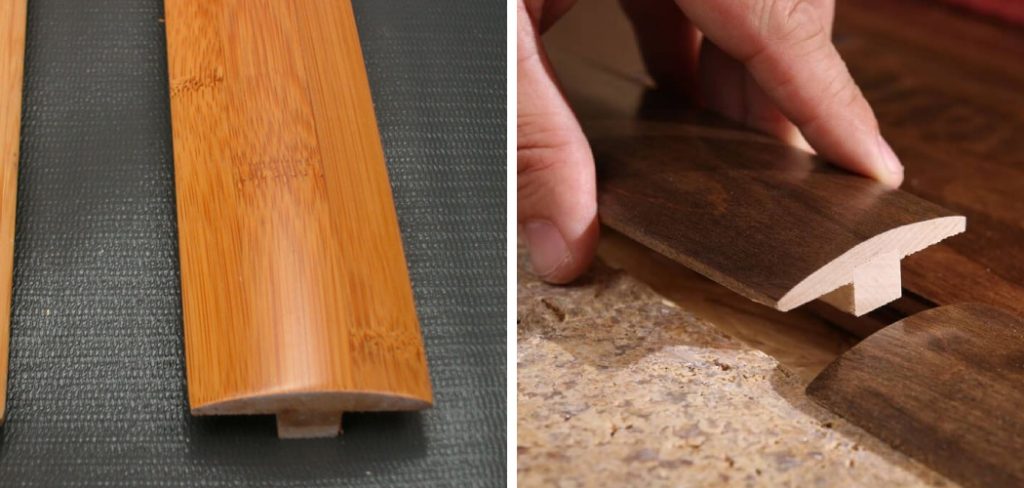
It can be a great way to spice up the look of any home. Whether you’re using it to give your entryway an extra bit of pizazz or adding it as decorative trim on furniture, t molding provides a unique dimension that can transform even the plainest room into something special.
In this blog post, we will discuss how to install t molding in doorway and suggest some creative ways to incorporate this dynamic material into your home décor.
What Will You Need?
Before you get to work, make sure you have the following supplies:
- T-molding
- Tape measure
- Hammer
- Nails
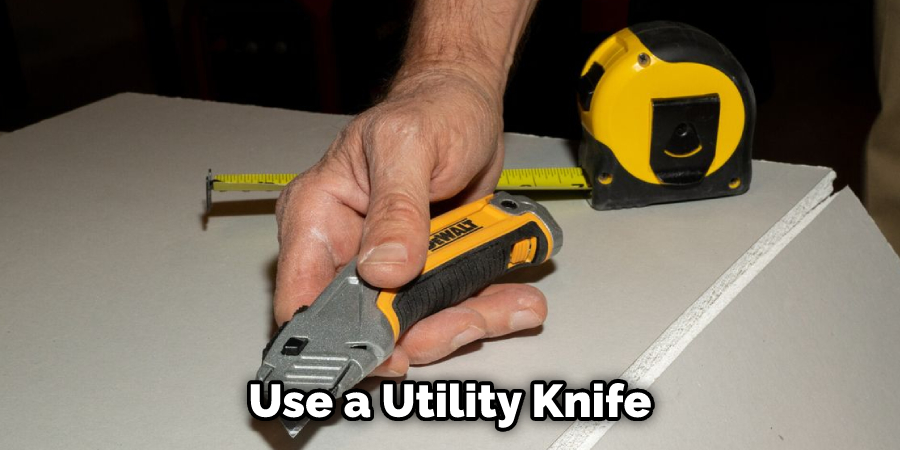
- Utility knife
- Wood glue or construction adhesive
Once you have gathered your supplies, you’re ready to get started!
10 Easy Steps on How to Install T Molding in Doorway
Step 1. Measure the Length and Width of the Doorway
Before you can start, measure the door’s length and width. This will help you determine how much t-molding you need to purchase. It is important that your molding is slightly wider than the doorway itself, so it’s easier to work with when cutting it down to size.
Step 2. Cut Your T-Molding
Once you have purchased your t-molding, use a utility knife or saw to cut it down to size. Make sure that each piece fits perfectly into place before proceeding any further. Because of the t-shaped design, you will need to cut two pieces for each side of the doorway.
Step 3. Attach Your T-Molding
Use a hammer and nails or wood glue/construction adhesive to attach your t-molding to the door’s surface. Make sure that each piece is secure and won’t come loose over time. You can also use a nail gun for this step if you have one available.
Step 4. Smooth Any Rough Edges
If there are any rough edges on your t-molding, use sandpaper or a file to smooth them down before you proceed any further. This will help ensure a professional finish and prevent splinters from forming when in contact with the skin. If you want an even smoother finish, you can use wood putty to fill in any gaps.
Step 5. Measure and Trim Any Excess Molding
Once all pieces have been attached, measure how much excess molding you need to trim off around the entire doorway frame. Use a utility knife or saw to cut this excess away before proceeding any further. Be careful not to cut too much, as this could result in an uneven finish.
Step 6. Apply Wood Glue or Construction Adhesive
Apply wood glue or construction adhesive along the top and bottom of each piece to ensure that they will stay in place. This will also help prevent any gaps from forming over time. Instead of using nails, you can use tape or staples to secure the pieces.
Step 7. Secure Molding with Nails
Once all pieces have been coated with adhesive, use a hammer and nails to attach the molding to the door frame securely. Make sure you use enough nails so that no gaps form between the pieces when trimming off any excess material. Don’t forget to use a nail punch to prevent any damage to the door frame.
Step 8. Caulk Any Gaps
If there are any gaps between your t-molding and the door frame, fill them with caulk before proceeding any further. This will help ensure a more finished look when all is said and done. Additionally, the caulk will help keep moisture and dust from getting inside the molding.
Step 9. Finish the Edges
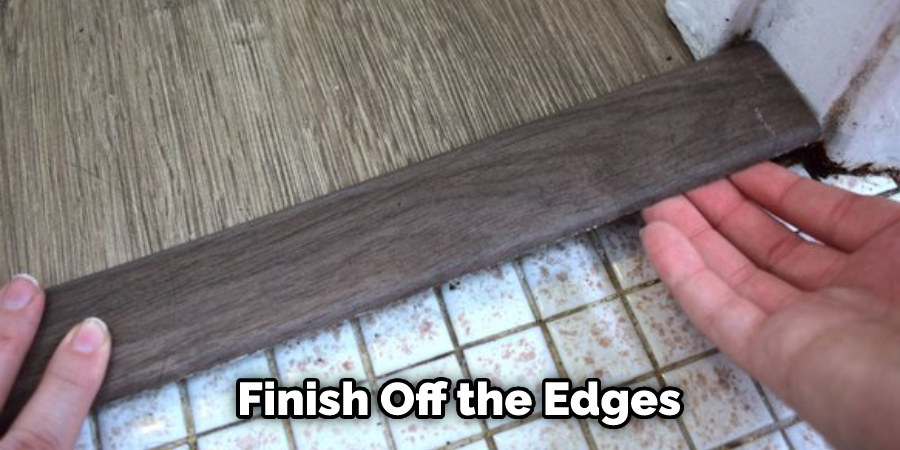
Once you have filled any gaps, use sandpaper or a file to finish off the edges of your t-molding for a more polished look. Make sure you are taking extra care not to damage the molding itself in this step. Use a wood putty to fill any extra gaps between the molding and the door frame.
Step 10. Enjoy Your New Look!
You can now sit back and admire how different your space looks with the addition of t-molding! It’s a great way to instantly add personality and charm to even the most mundane of spaces in your home or office. Remember to take extra care when cleaning or dusting the molding to prevent any damage.
By following these steps, you can easily install t-molding in the doorway for a unique and eye-catching look. Have fun experimenting with different colors and styles to find the perfect fit for your space!
5 Additional Tips and Tricks
- Measure the doorway accurately and purchase enough t-molding to cover its entire length.
- To create a clean, finished look, use a miter saw to cut 45-degree angles on both ends of each strip of t-molding before installation.
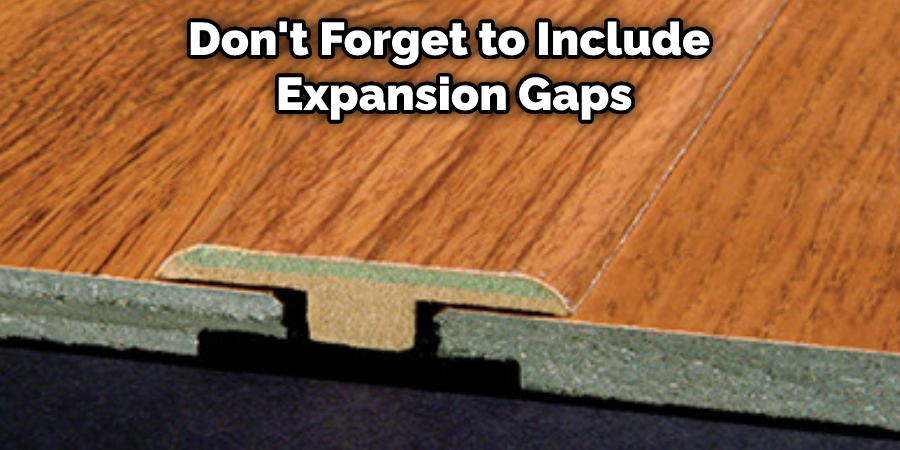
- Don’t forget to include expansion gaps in your measurements – usually, 1/8 inch between the end of the molding and the edge of the doorframe is recommended.
- Lay down the painter’s tape along the inside lip of both sides of the doorjamb to avoid accidental staining while hammering in nails or screws.
- Before nailing or screwing in each piece of t-molding, make sure it lines up with adjacent pieces and is properly secured into the groove of the doorframe. If possible, use a pneumatic nailer or electric screwdriver to make installation faster and easier.
Once you have finished installing your t-molding in your doorway, sit back and admire your handiwork! With careful planning and preparation, adding t-molding is an easy way to finish off any doorway stylishly. Good luck with your project – we can’t wait to see what it looks like!
5 Safety Precautions
- Always wear safety glasses, gloves, and ear protection when cutting or working with t-molding.
- Always measure twice and cut once when installing t-molding to avoid any mistakes that may be difficult to correct later on.
- Avoid crosscutting the molding pieces if possible — instead, use a miter saw for accuracy and a cleaner finish.
- Secure all edges of the t-molding into place before nailing them down so they won’t move while you work.
- Be careful when attaching the molding piece around an archway — it needs to fit snugly inside the arch for it to look professional and last longer without warping from heat or moisture.
Following these safety precautions can help ensure that your t-molding installation is successful and looks great!
What is the Difference Between T-molding and Threshold?
T-molding and threshold are two different types of edging used to finish doorways, and though they may look similar, there is a key difference between them. T-molding is typically used to bridge the gap between two flooring surfaces that meet at an angle, while thresholds are used to bridge the gap between two floors with a small lip on one side.
Thresholds also often feature a rubber flap or insert, which helps keep out sound, drafts, and moisture. Additionally, thresholds tend to be wider than t-moldings and come in many sizes and materials like metal, wood, or plastic.
T-molding can be used indoors or outdoors in residential or commercial settings and works best when transitioning between hard surfaces like laminate, vinyl, tile or hardwood. Thresholds are usually used in residential settings to transition between two different flooring types and can be used with most flooring materials, including carpet.
Regardless of which type you choose for your project, both t-molding and thresholds are great choices for adding a stylish edge to any doorway!

With a little bit of planning and preparation, you can easily install either type of edging to achieve the perfect look for your space. Have fun experimenting with different colors and styles to find the perfect fit for your space!
Conclusion
After installing t molding in your doorway, you can be sure that you’ve added an aesthetically pleasing feature to your home and an upgrade in functionality. Depending on the type of t molding you choose, this simple job can provide you with a nice finished look, contribute greatly to noise reduction, and even marginally increase energy efficiency. With the right supplies and a willing mindset, it is possible to tackle the job of installing t molding without worrying about losing out on the quality of workmanship or durability.
You now have all of the information and resources necessary to make t molding installation easier than ever before. So, grab your tools and begin making your way towards successfully finishing this worthwhile project!
Hopefully, the article on how to install t molding in doorway has provided you with a better understanding of the process and given you the confidence to try this project on your own. Good luck!
You Can Check It Out to Hang a Round Wooden Sign

