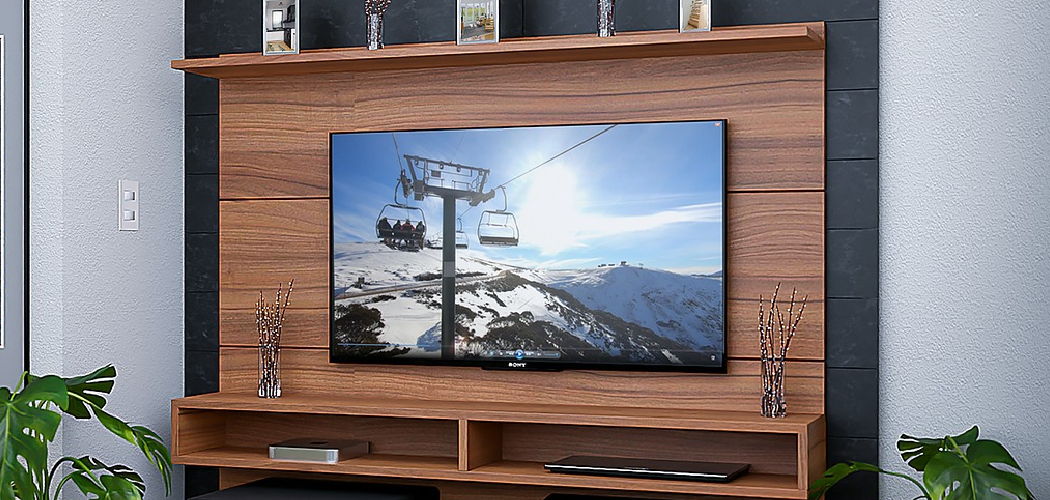
Do you want to take your living room design and functionality up a notch? Building a wall-mounted TV unit can be a great way to optimize the space in your home. Not only does it give you a place for all of your electronics, but it also creates an eye-catching feature that attracts attention and makes watching movies with friends or family members more enjoyable.
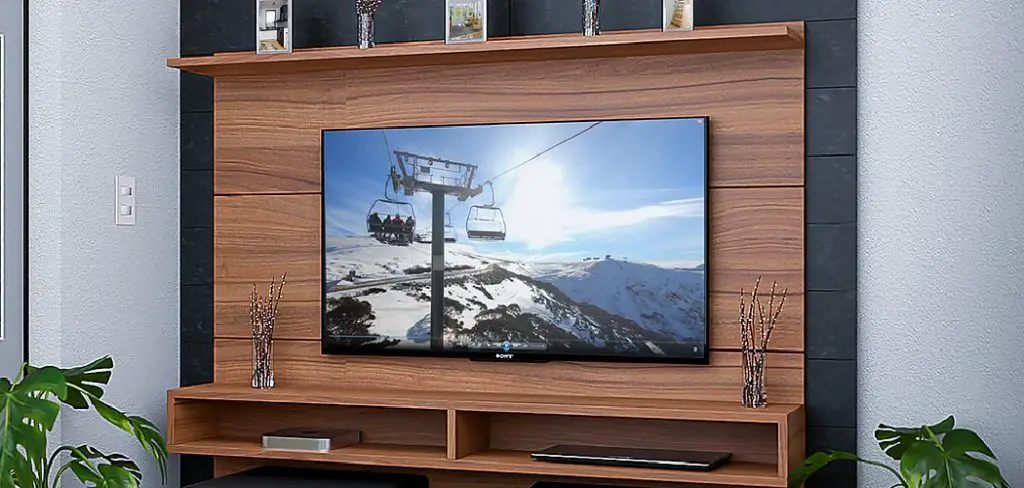
In this post, we’ll show you how to build a wall unit for tv as attractive and sturdy possible TV from start to finish! We’ll explore tips on choosing materials and tools and starting construction, as well as options for customizing the look so that you end up with something unique. Read on if you’re ready to get started!
Step-by-step Guidelines on How to Build a Wall Unit for TV
Step 1: Choose the Right Material and Tools
Choose materials that are appropriate for your vision. Plywood is a popular option, as it can be cut and shaped easily, but solid wood or metal can also be used depending on the style you’re aiming for. Once you have chosen your material, stock up on essential tools such as saws, drills, and screws. It is also a good idea to have a measuring tape, level, and pencil on hand. That way, you can ensure that your cuts are precise and accurate.
Step 2: Create a Solid Design Plan
Plan the layout of your unit, taking into account its size and shape. Make sure to measure everything accurately so that you can cut the pieces correctly. Consider how many drawers or shelves you need, as well as any other features such as lighting or soundproofing material. But most importantly, decide where the TV will be mounted and make sure that there is enough space for it.
Step 3: Cut the Pieces to size
Using a circular saw or jigsaw, cut your material pieces to the sizes you need. Make sure that all of the edges are smooth and square. Use a router to create any decorative details if desired. Be sure to use proper safety precautions when working with power tools. Make sure to measure twice and cut once! It is better to have the pieces slightly over-sized than too small. But be careful not to waste the material.
Step 4: Assemble the Frame
To make the frame for your unit, use a biscuit joiner or pocket hole jig to join two pieces of wood together at 45-degree angles. If you’re using metal for the frame, assemble it first before attaching it to the wall. But if you’re using wood, attach it to the wall first, then assemble it. That way, you can make sure that the frame is level. If you’re not sure how to do this, consult a professional or follow an online tutorial.
Step 5: Attach Support Brackets
Attach support brackets to both sides of each joint in order to reinforce them and ensure that they will be able to handle the weight of the TV. That way, you can be sure that the unit is sturdy and secure. Make sure to use heavy-duty brackets for extra support. You may want to drill pilot holes first and use heavy-duty screws or anchors as needed. Use a level to make sure that the brackets are even.
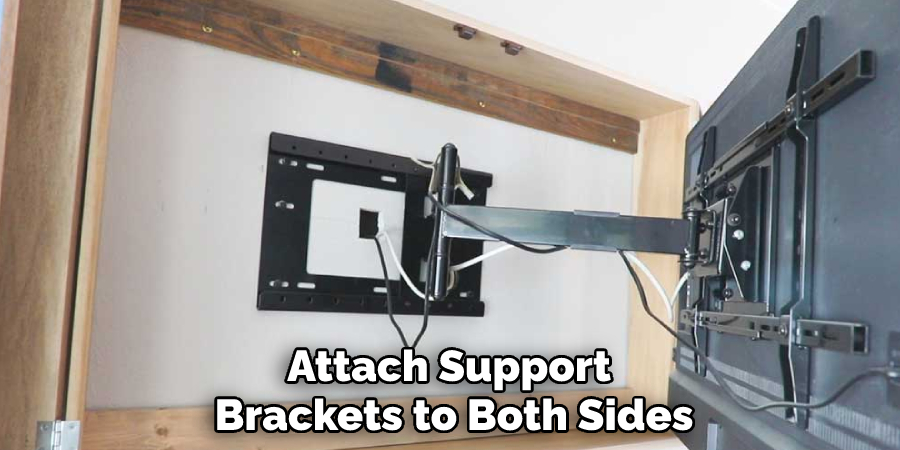
Step 6: Secure the Frame to the Wall
Using a level and a drill, attach your frame securely to studs in the wall using long screws. Make sure that all of the fasteners are tight and secure. If you’re not sure how to find the studs, consult a professional or use an electronic stud finder. It is important to make sure that the frame is properly secured in order to prevent any accidents. So take your time and make sure that it is done correctly.
Step 7: Add Shelves or Drawers
Once your frame is secured to the wall, you can add shelves or drawers according to your design plan. Use pocket hole jigs or biscuit joinery techniques to attach them securely. It is a good idea to use wood glue along with the screws or nails to ensure that they are firmly in place.
Make sure to measure before you cut the pieces to make sure that they fit correctly. But be careful not to overtighten the screws, as this can cause damage. This is a great time to add any additional decorative details or hardware if desired.
Step 8: Add Finishing Touches
Add any other features such as lighting fixtures, soundproofing material, or wood trim for decorative effect. What you add is up to you, and it can help give your wall unit an extra special touch.
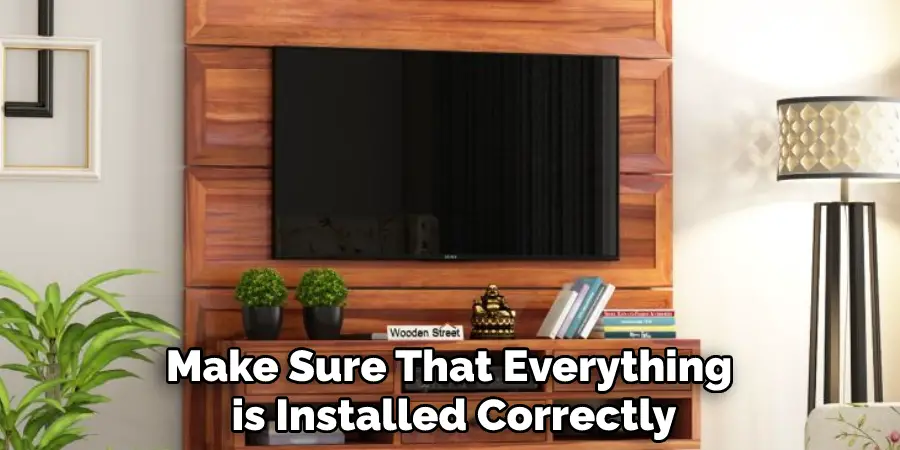
Be sure to take your time and make sure that everything is installed correctly. If you need help with electrical wiring, it is best to consult a professional. If not, be sure to use proper safety precautions when working with electricity.
Step 9: Pre-paint or Stain
Before assembling the unit, pre-paint or stain all of the pieces to give it a finished look. Be sure to use appropriate materials for your particular type of wood. This will also help protect the wood from any wear and tear. That way, your unit will look great for years to come. It is best to do this before assembling the unit so you can make sure that all of the pieces are properly coated.
Step 10: Assemble and Secure
Assemble the frame and shelves according to your plan. Make sure everything is level before securing it with screws or nails. But be careful not to overtighten the screws, as this can cause damage. Once everything is in place, attach the TV to the frame using the appropriate mounting hardware. Make sure to follow the manufacturer’s instructions so that it is installed correctly and safely.
Step 11: Install Fixtures
Install any fixtures such as lights or soundproofing material if desired. Secure them in place using screws and be sure that they are wired properly. That way, you can be sure that they are safe and secure. It is also a good idea to use electrical tape around the wires for added protection. That way, you can be sure that you won’t have any electrical problems down the line.
Step 12: Enjoy Your New Wall Unit!
Once you have completed assembly and installation, enjoy your new wall unit! It should be sturdy and attractive, adding functionality and style to your space while optimizing the use of wall space.
Make sure to follow the manufacturer’s instructions for any lighting fixtures, soundproofing material, or electrical wiring. And take a few moments to admire your work. You have just completed a great project and now you can relax and enjoy it! Congratulations!
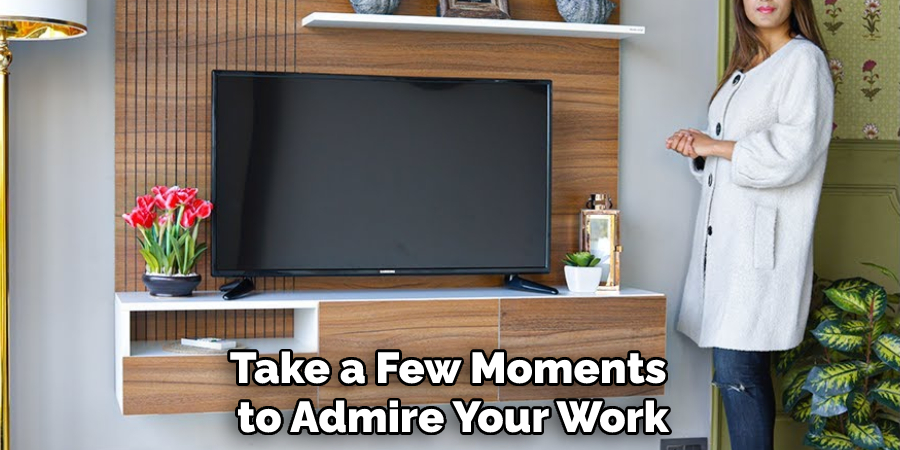
Following these steps on how to build a wall unit for tv, can help you to create a wall unit that is designed to fit your space and needs while looking great too. With the right materials and tools and some patience, anyone can build their own custom wall unit for TV!
Do You Need to Use Professionals?
In most cases, it is not necessary to use professional help in order to build a wall unit for a tv. However, if you are concerned about the safety of any wiring or if you need help with electrical components, it may be a good idea to hire a qualified electrician.
Also, if you are uncomfortable completing the project yourself, there are many skilled professionals who can help you build your wall unit for tv. Taking on this kind of project can be very rewarding and provide many years of service and enjoyment.
Frequently Asked Questions
Q: Is It Difficult to Build a Wall Unit for TV?
A: Building a wall unit is not necessarily difficult, but it does require some time and effort. You will need to have basic knowledge of carpentry and woodworking tools as well as appropriate hardware and supplies. Also, if you are adding any lighting fixtures or soundproofing material, it is best to consult a professional.
Q: What Tools Do I Need to Build a Wall Unit for TV?
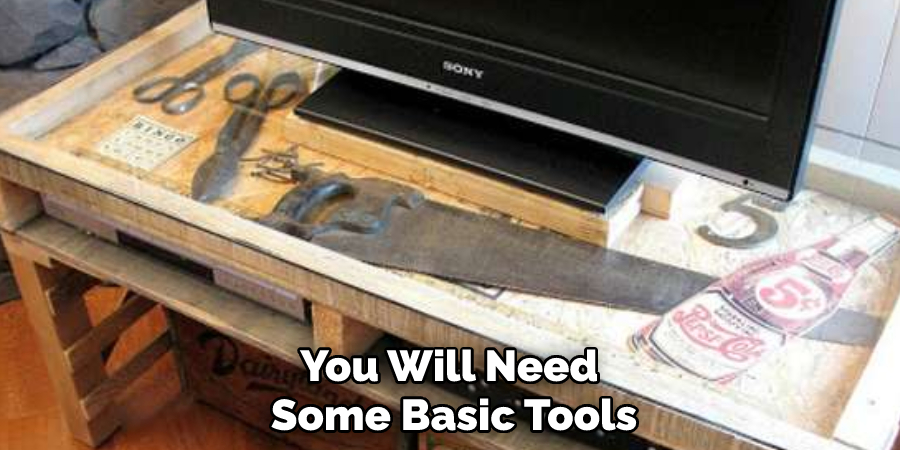
A: In order to build your own wall unit for tv, you will need some basic tools such as a drill, saws, clamps and wood glue. Additionally, if you are working with any electrical components, you should consult a professional electrician to ensure safety.
Q: What Are the Benefits of Building My Own Wall Unit for TV?
A: By building your own wall unit for tv, you can create a customized storage solution that works perfectly in your space. Additionally, you will be able to save money by avoiding the costs associated with purchasing and installing pre-made units. Plus, you can enjoy the satisfaction of a job well done!
Q: How Long Does It Take to Build a Wall Unit for TV?
A: The time required to complete this project will vary depending on the size and complexity of your wall unit. Generally, it takes at least a couple of hours to assemble the frame and shelves and attach any fixtures. However, if you are working with electrical components or soundproofing material, it will take more time.
Conclusion
Thanks for reading this article on how to build a wall unit for tv. Building a wall unit for your TV doesn’t have to be a daunting task. All it requires is a few simple steps, some careful measurements, and the right planning beforehand.
After getting some ideas down on paper, measure out the area where the wall unit will be constructed and create a plan of attack. Once you have all the materials to hand, assembling it together is surprisingly easy and there are only 4 main steps involved: cutting the pieces to size, creating drill holes for fastening, attaching them together and finally installing them with anchors if needed.
With perseverance and precision, it won’t be too long before your well-built wall unit is installed and ready for use! So if you’re looking for a challenge that allows you to flex your creative muscles too, building a wall unit for your TV could be just the project for you!

