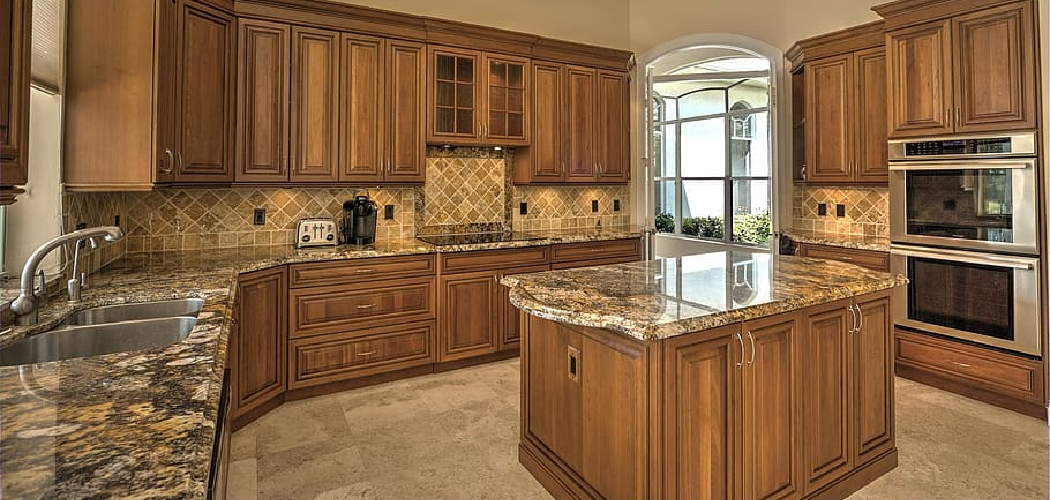
Do you want to create a multi-functional kitchen island that adds style and extra storage space? You can build your own custom island with cabinets, so you can make it fit perfectly in your kitchen.
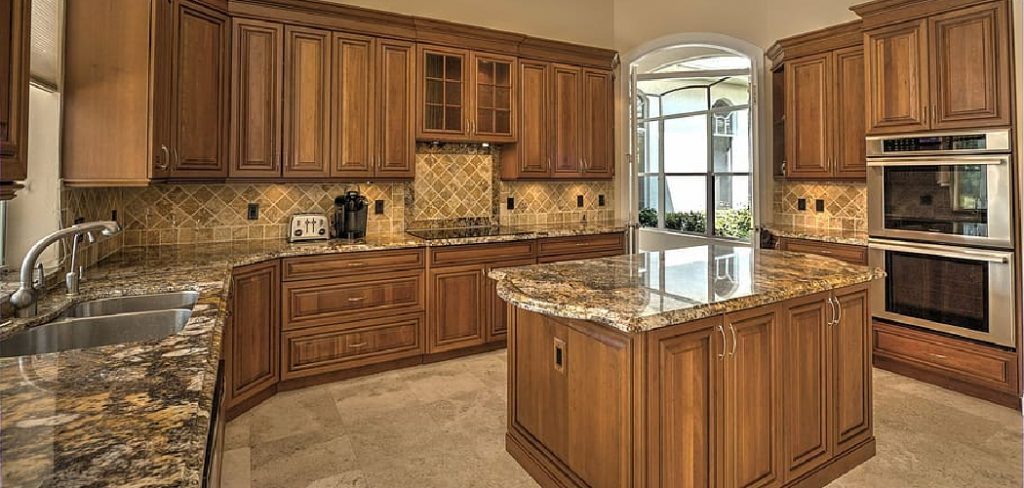
Having a great-looking kitchen island is invaluable for preparing meals or entertaining guests. Not only is it a stylish addition to the room, but cabinetry can offer lots of additional organization options, convenience features, and work surfaces.
Read on to learn how to build a kitchen island with cabinets and make the most of your space.
Step by Step Guidelines on How to Build a Kitchen Island With Cabinets
Step 1: Choose the Materials
The first step is to decide what kind of cabinets you want in your kitchen island. You can use pre-made stock cabinets or build custom ones from scratch. They come in a variety of materials and finishes, so evaluate each one carefully to determine which will best meet your needs. You will need to choose the right type of wood, finish, and door style for your island.
Step 2: Take Measurements
Take measurements of your kitchen space and write them down so you can calculate the size of your kitchen island. Remember to leave enough room for the countertop overhang and seating area. If you’re using pre-made cabinets, make sure to take note of the size and depth. Also, consider how you want to accessorize your island with drawers and shelves.
Step 3: Plan the Design
Once you’ve measured your space and chosen the materials, it’s time to plan the design of your kitchen island. Sketch out a few different ideas and decide which one will best suit your space and needs. Make sure to take any countertop overhang into account when planning the design of the island.
Step 4: Assemble the Cabinets
Now it’s time to assemble the cabinets, whether they’re pre-made or custom-built. If you’re using pre-made cabinets, follow the instructions included with them. Be sure to secure each cabinet unit to the wall studs or floor joists so that they don’t move when in use. While assembling the cabinets, make sure to leave room for the countertop overhang.
Step 5: Install Countertop
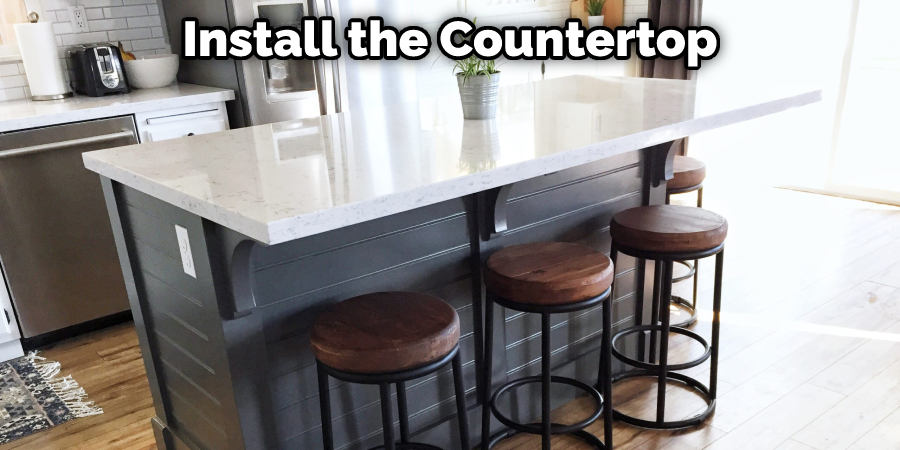
Once all of the cabinets have been secured to the wall or floor, it’s time to install the countertop. Measure and cut your countertop to fit the dimensions of the island, then secure it using a strong adhesive. Be sure to sand down any rough edges before applying the finish. Installing the countertop will also help to provide extra support for the island and keep it from shifting or moving.
Step 6: Add Accessories
Finally, add any accessories such as drawers, shelves, and knobs to make your kitchen island more functional and stylish. Consider adding a few decorative elements like lights or hanging baskets to give the island some extra flair.
Congratulations! You’ve now learned how to build a kitchen island with cabinets. With a bit of elbow grease and creativity, you can easily create an attractive and functional space that will make your kitchen unique. Good luck and enjoy your new kitchen island!
Additional Tips and Tricks to Build a Kitchen Island With Cabinets
- Make sure you have enough room to accommodate the size of your kitchen island. Measure twice and cut once!
- Take into account the overall design and height of surrounding cabinetry when creating an island layout. You don’t want it to clash with other elements in the kitchen.
- Use pocket hole screws to secure the cabinet boxes together and make sure they are on the level.
- Make sure all doors and drawers fit perfectly before attaching them with hinges and pulls.
- Add a countertop of your choice (such as granite, marble, or wood) for a finishing touch! This can also provide additional storage space in the kitchen.
- If you want to add additional features like an electrical outlet or sink, consult an experienced electrician and plumber for help.
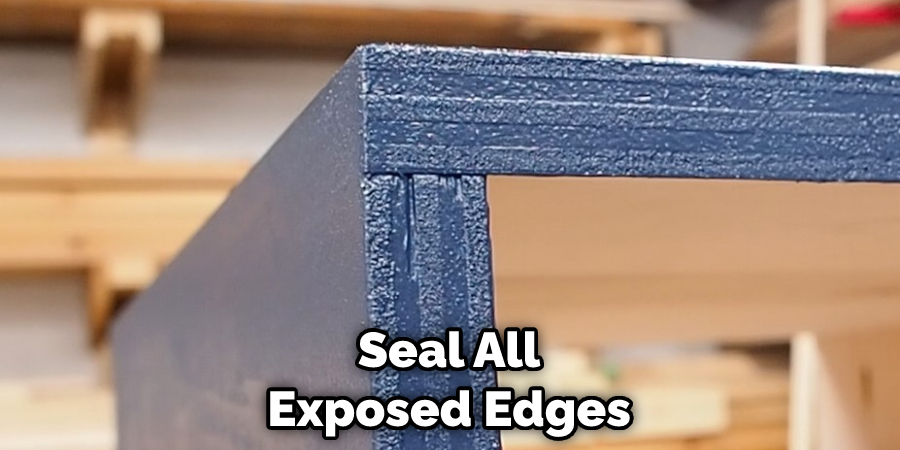
- Seal all exposed edges with a decorative edge banding to give it a professional look and finish.
- Consider adding lighting underneath your island for added visibility in the kitchen.
- Finally, enjoy your new kitchen island! With careful planning and thoughtful design, you can create a beautiful, functional piece of furniture for your home.
With the following tips and tricks, you can easily build a kitchen island with cabinets that will transform your space into a more efficient and stylish cooking area. With the proper tools and knowledge, this DIY project is achievable by even novice do-it-yourselfers! Good luck!
Things You Should Consider While Building a Kitchen Island With Cabinets
1. Plan the Design:
Before you begin building, it’s important to plan out the design of your kitchen island with cabinets. Create a sketch or use computer-aided design (CAD) software to help plan the size, shape, and layout of your island and cabinets. This will help ensure that all pieces fit together properly when assembled.
2. Choose the Right Materials:
When building a kitchen island with cabinets, you’ll need to select materials that are both durable and attractive. Consider your style preferences when selecting wood or other types of material for your project. If the island will be used as an eating area, make sure it is made from easy-to-clean materials that are food-safe.
3. Measure Twice, Cut Once:
Measure your space and the materials you’ve selected two or three times before beginning to cut any pieces of wood. Make sure all measurements are accurate and double-check them as you go to ensure your island fits perfectly in its designated space.
4. Consider Aesthetics:
When building a kitchen island with cabinets, it’s important to consider the overall aesthetic of your kitchen. Select colors and finishes that complement the existing design elements in your kitchen, such as countertops, flooring, and appliances. Consider how the color of the wood or other materials you select will work with these existing elements.
5. Prepare the Area:
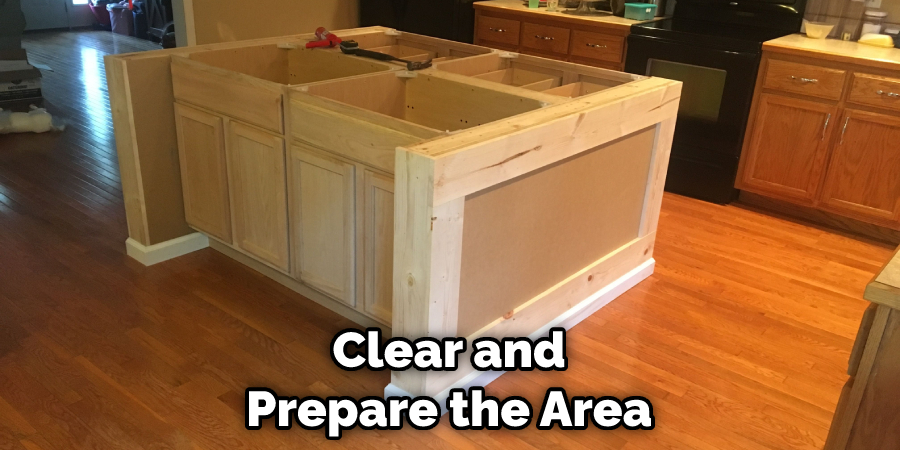
Before you begin building, make sure to clear and prepare the area for construction. This includes measuring twice and marking the spot where your island will be built as well as cleaning up any debris or obstructions in the workspace.
6. Assemble Wisely:
Make sure all pieces of wood are cut correctly and that all hardware is properly secured before you start putting the island together. Carefully assemble the pieces in order, making sure each part fits together tightly. If you need help, enlist a friend or family member to lend an extra hand.
7. Finish the Island:
Once your kitchen island with cabinets is assembled, it’s time to finish the project by adding any additional features such as countertops, handles, or knobs. Make sure to sand and seal the wood so it’s protected from spills and everyday wear and tear.
With the following considerations in mind, you can successfully build a durable and attractive kitchen island with cabinets that will last for years to come. Good luck!
Frequently Asked Questions
What Type of Kitchen Island Should I Build?
The type of kitchen island you choose to build will depend on your needs and the space available in your kitchen. You may opt for a freestanding model or one that is attached to the wall or cabinets. If you want extra counter space, drawers, and cabinets for storage, then a larger island might be the best option. Be sure to measure your kitchen and available space before beginning any project.
What Tools Do I Need for Building a Kitchen Island?
For this project, you will need basic carpentry tools such as a saw, drill, screwdriver, and measuring tape. If you are using pre-made cabinets for the island, you may also need a jigsaw or circular saw.
You may also want to invest in clamps and other equipment to help hold pieces together during assembly. Be sure to read the instructions for any tools or materials that you are using and follow safety protocols when operating them. Finally, use sandpaper to smooth out any rough edges on the wood before staining or painting it.
Do I Need Professional Help With Building a Kitchen Island?

Building a kitchen island is not a difficult task and can usually be completed with just a few tools. However, if you are unsure about how to proceed or would like additional guidance, it is a good idea to consult a professional carpenter.
They can help you determine the best design for your kitchen island and make sure everything is installed correctly. A professional may also have access to specialized tools that can make the job easier.
How Long Does It Take to Build a Kitchen Island?
The amount of time it takes to build a kitchen island will depend on the complexity of your design and the skills of the builder. Generally speaking, it should take no more than a few hours to complete, depending on how large it is and what materials and tools you are using.
For a more complex project, it may take several days or even weeks to complete. Be sure to plan ahead and gather all the necessary supplies before beginning the project.
Can I Install Kitchen Appliances Into My Kitchen Island?
Yes, it is usually possible to install kitchen appliances into your kitchen island. Depending on the size and design, you can add items such as a sink, dishwasher, microwave oven, or cooktop.
Be sure to check the specifications of any appliances that you intend to install in order to ensure they will fit properly. Additionally, make sure to follow all safety protocols when installing electrical components.
Conclusion
Congratulations – you have now successfully completed your project on how to build a kitchen island with cabinets! Not only do you now have more storage space in your home, but you also have the satisfaction of knowing that you completed something that took time and effort.
Plus, it looks great too! To keep your kitchen looking good, it’s a good practice to regularly clean and maintain the materials used on the island.
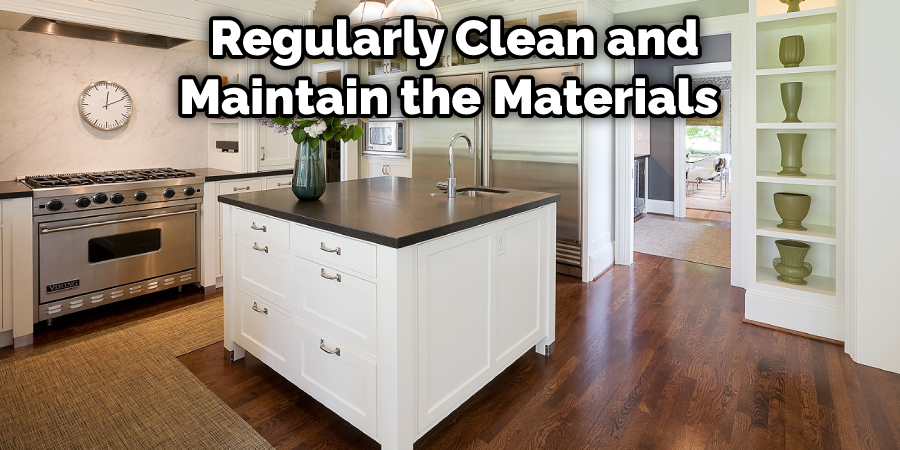
By taking a few moments each month to care for your new addition, it will remain to look pristine for years to come. And if you ever need advice about building or maintaining cabinetry or furniture in general, always get help from experts; there are plenty of online resources available at one’s disposal!
We hope this article has been helpful in inspiring you to make all kinds of new additions, renovations, and improvements for yourself and your home.

