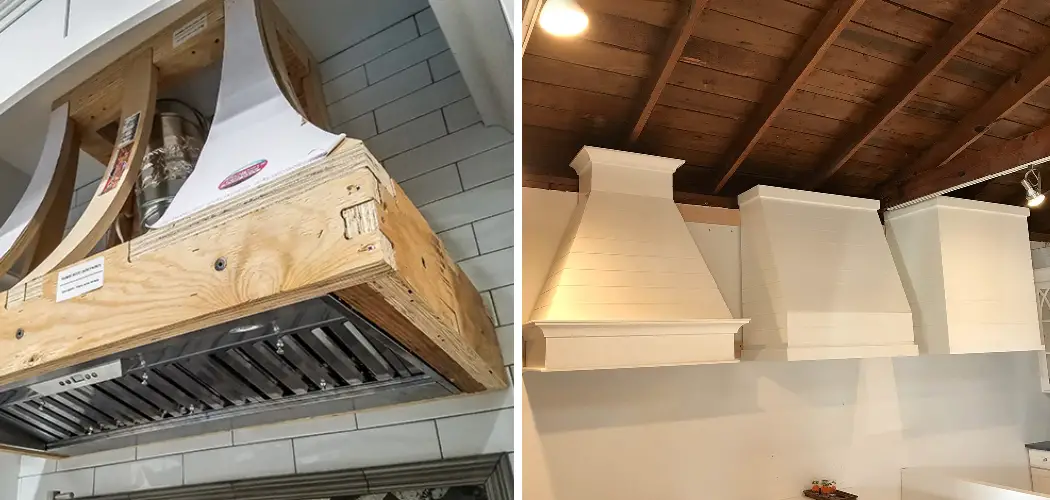
Do you want to update the look of your kitchen with a custom range hood? Range hoods are essential to any kitchen and can add a beautiful and unique style. With some basic tools, materials, creativity, and time, you can have your custom range hood in no time!
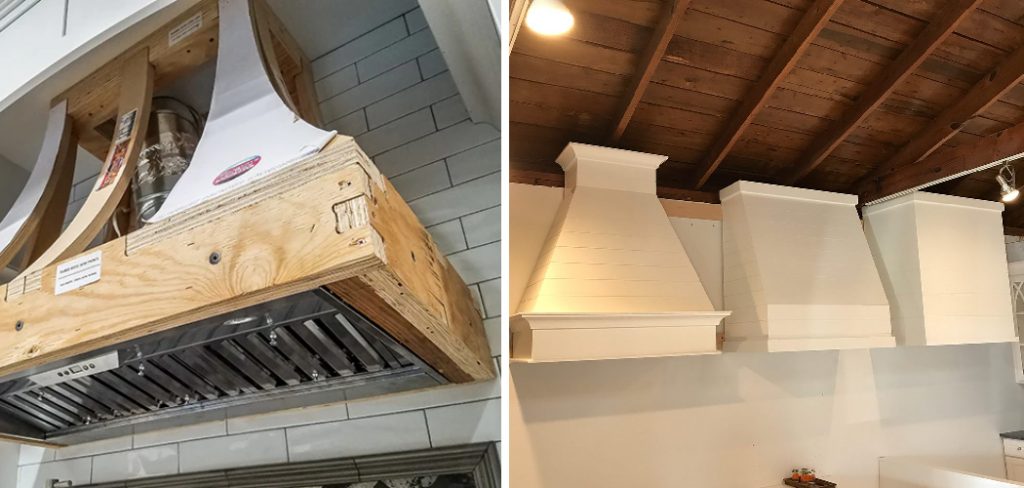
If you’re ready to embrace the benefits of a custom range hood, there’s no better place to start than with this comprehensive guide. Not only will it walk you through every step necessary for building your custom range hood, but it also offers helpful tips and tricks on how to build a custom range hood.
We’ll take you step-by-step through the process so that even if you don’t consider yourself handy around the house, you’ll be ready to build your custom range hood by the end of this post.
What Will You Need?
Before you can get started, make sure to gather all the necessary materials and tools that will be needed. Here’s a list of everything you’ll need:
- Materials: galvanized steel, sheet metal screws, mounting brackets, wood screws
- Tools: drill, jigsaw, hand saw, measuring tape, screwdriver
Once you have all the materials and tools, it’s time to get started on your range hood.
10 Easy Steps on How to Build a Custom Range Hood
Step 1: Measure
The first step to building a custom range hood is to measure the area where it will be installed. Measure the width, length, and height of the space so that you can accurately cut your materials. You can also buy pre-cut materials if you prefer.
Step 2: Cut the Steel
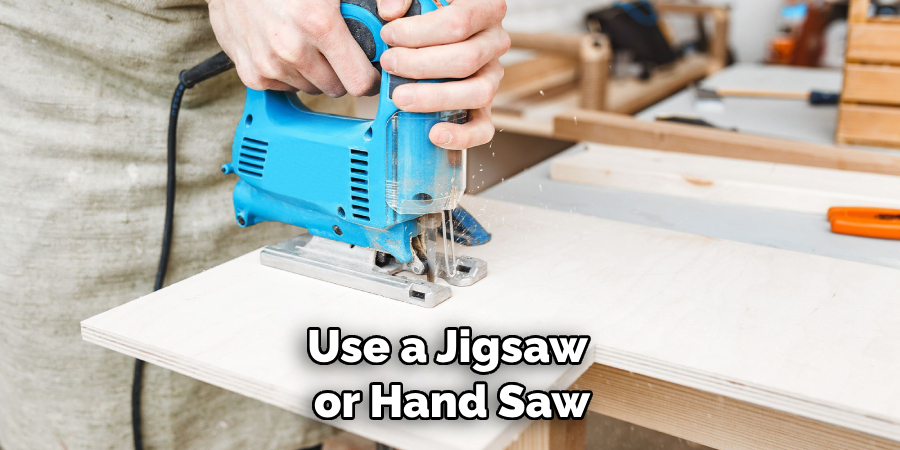
Using your measurements, use a jigsaw or hand saw to cut out two pieces of galvanized steel for the side panels of your hood. For the base, cut out a piece of steel slightly larger than the area you are trying to cover. Be careful not to make the base too large, or it won’t fit.
Step 3: Attach the Base
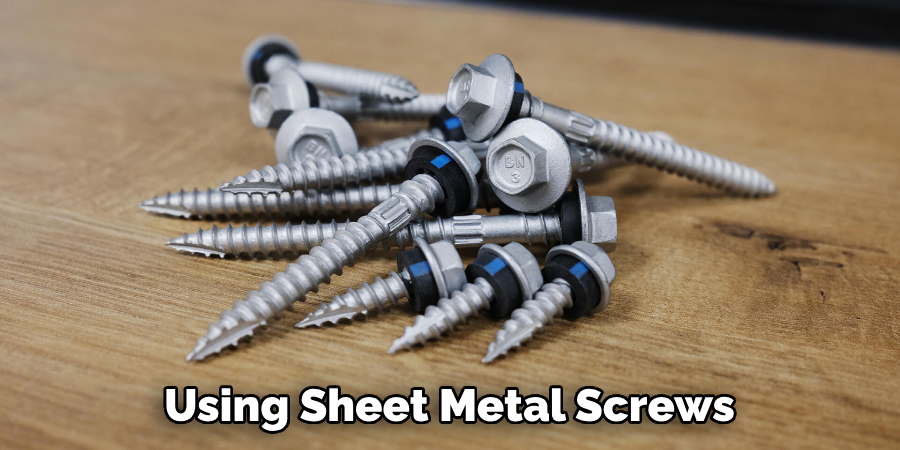
Using sheet metal screws, attach the base of your range hood to the ceiling. Make sure it is secure and level before going further in the process. If you don’t feel comfortable doing this step, consult a professional.
Step 4: Attach Mounting Brackets
Place the mounting brackets onto the side panels and use wood screws to secure them in place. This will help attach the side panels to the base later on. Ensure that the mounting brackets are flush with both sides of the panel.
Step 5: Attach Side Panels
Now that your mounting brackets are secured, you can attach the two side panels of your range hood using sheet metal screws. Make sure the panels are aligned properly with each other and that the base is secure before continuing. As before, if you’re feeling unsure, consult a professional.
Step 6: Attach Filler Pieces
Filler pieces will help complete your range hood and give it a professional finish. Cut two pieces of steel to fit in between the side panels of your hood using a jigsaw or hand saw, then use wood screws to attach the filler pieces in place. Try to keep the spacing even and ensure the pieces are flush with each other.
Step 7: Add Finishing Touches
Once your range hood is assembled, it’s time to add some finishing touches. You can opt for a rustic look by leaving the steel exposed, or you can choose to paint it for an even more unique and personalized touch. Instead of painting, you can use a metal finish or a decorative tile to give your range hood an extra pop.
Step 8: Install Range Hood
Now that your range hood is ready, it’s time to install it. Attach the base of the hood to the ceiling using sheet metal screws and ensure that it is securely in place. Then attach each side panel using wooden screws and make sure everything is level.
Step 9: Connect Ventilation System
Once your range hood is installed, you’ll need to ensure it’s properly connected to a ventilation system. This will allow the smoke and fumes from your kitchen to be safely ventilated outside of your home. The best way to do this is by consulting a professional or reading up on the local building codes for your area.
Step 10: Enjoy!
Now that your range hood is installed and connected to a proper ventilation system, you can enjoy cooking, knowing that any smoke or fumes from your kitchen will be safely vented outside. You can also rest easy knowing that your custom range hood has added beauty and style to your kitchen. Remember to keep it clean and enjoy your new range hood!
With this guide, you have all the information necessary to build your own custom range hood. All that’s left to do is gather your materials and start making a unique home improvement project that will last for years. Good luck with building your own custom range hood!
5 Additional Tips and Tricks
- Measure Twice, Cut Once: You’ll want to ensure that you get your hood’s dimensions perfectly right when cutting it out, or else it won’t fit with the range. Take some extra time measuring and double-checking your measurements before cutting anything out.
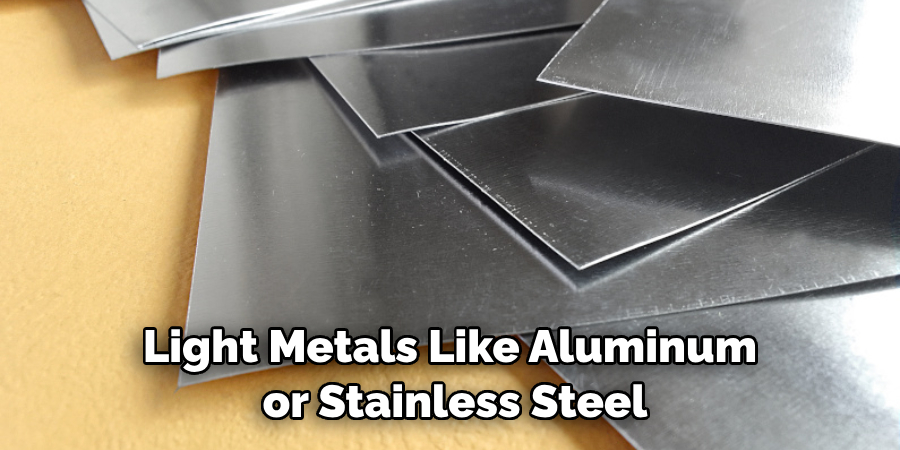
- Choose the Right Materials: Different materials will be better suited for certain range hood parts. For example, light metals like aluminum or stainless steel should be used for any parts that come into contact with heat, while wood is more suitable for trim and facings.
- Use a Template: If you’re not confident in your measuring skills, it might be worth using a template to get an exact guide for where to cut. This way, you can trace the template onto your sheet metal and create perfect cuts every time.
- Ask for Help: If you’re not confident in your ability to build a range hood from scratch, don’t hesitate to ask for help from an expert. They’ll be able to advise you on the best materials and techniques to get the job done correctly.
- Add Some Flair: If you want your custom range hood to stand out, consider adding some decorative touches, such as an engraved design or painted finish. This can make a big difference when making a statement with your kitchen.
With a bit of patience, you can easily create your own custom range hood that will make cooking in your kitchen much more enjoyable. So don’t be afraid to get creative and have fun with it!
5 Things You Should Avoid
- Don’t Skimp on Materials: Using cheaper materials such as plastic or thin metal may be tempting, but this will make your range hood much less durable in the long run. Invest in some good quality material and make sure you have enough of it, as you don’t want to run out mid-way through the job.
- Don’t Rush: Building a custom range hood can be time-consuming, so don’t hurry the process. Take your time to make sure you get it right, and take as many breaks as necessary to stop yourself from becoming overwhelmed.
- Don’t Ignore Safety: Many power tools are used when building a range hood, so always take the necessary safety precautions. Wear protective clothing, use eye protection, and read the instructions for any tools carefully before using them.
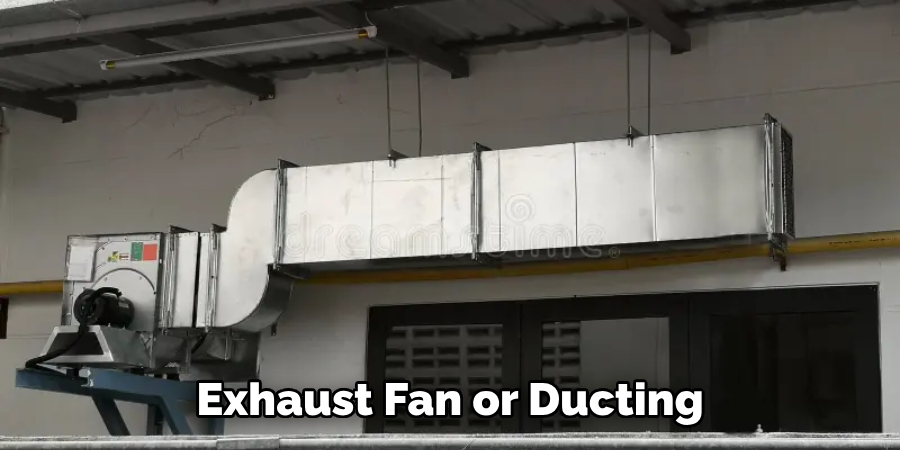
- Don’t Forget Ventilation: When installing your custom range hood, be sure to install some form of ventilation, such as an exhaust fan or ducting, to make sure that smoke and cooking odors are properly removed from the kitchen.
- Don’t Get Discouraged: Building your custom range hood can seem daunting at first, but don’t give up!
With the right tools and materials, you can create something beautiful to make your kitchen look even better. Take it one step at a time; you won’t be disappointed with the results.
How Can You Maintain a Custom Range Hood?
Once you’ve installed your custom range hood, there are a few things you can do to ensure it lasts for years. Regularly cleaning and inspecting your range hood will help keep it in good condition and ensure it works properly.
Be sure to check for any loose screws or parts, as these can cause problems in the future. Additionally, it’s a good idea to check for any signs of rust or corrosion and apply protective paint if necessary. Doing this will help your custom range hood last longer and look great.
Overall, building a custom range hood may seem intimidating initially, but it can be a great way to add personality and style to your kitchen. Make sure you research, use the right materials and tools, and take all necessary safety precautions when doing so.
Conclusion
As we’ve seen, how to build a custom range hood can be an intimidating and time-consuming task. With patience and careful attention to detail, however, it can be achieved with relative ease. After the drywall is cut, the vent hood frame should be assembled and installed into position.
The ductwork should be connected securely, and all electrical wiring must be completed to ensure everything works correctly. Finally, the surface material should be applied over the vent hood frame and secured with screws or nails. If done properly, you will now have a custom range hood that looks great in your kitchen and functions efficiently!
Don’t forget to check for proper ventilation size requirements before starting your project – this may save you from a headache! Once everything is complete, you can sit back and admire your hard work!

