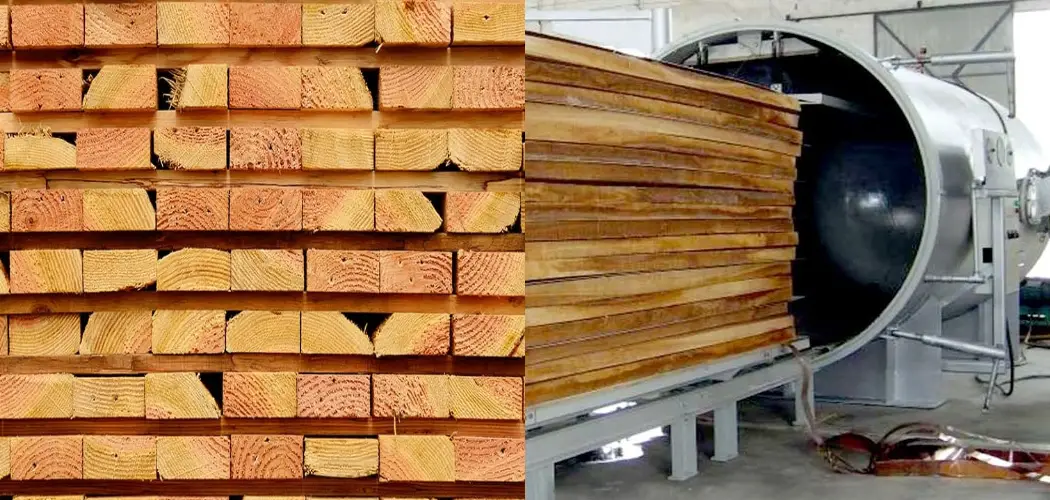
Assembling your new deck can be a fun summer project. But if you’re like most people, you want to get it finished as quickly as possible. One way to speed up the drying process is by using pressure-treated wood. In this blog post, we’ll share some tips on how to speed up drying of pressure treated wood. Let’s get started.
What Is Pressure Treated Wood?
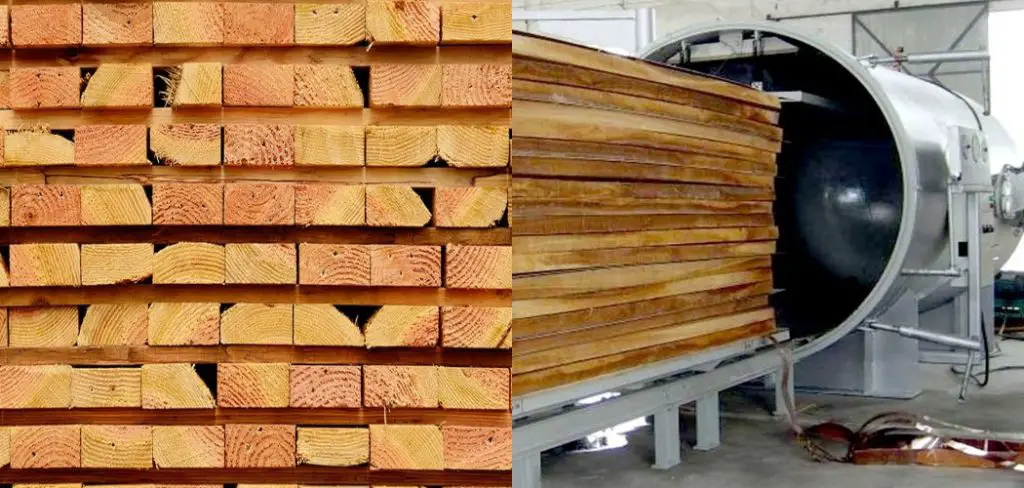
Pressure-treated wood is lumber that has been treated with a preservative to protect it from rot, insects, and decay. The most common type of pressure-treated wood is southern yellow pine. The preservative used to treat southern yellow pine is chromate copper arsenate (CCA).
CCA combines three chemicals: chromium, copper, and arsenic. These chemicals work together to create a barrier against rot, insects, and decay. When the wood is first treated, the CCA is in a liquid form. The wood is then placed in a pressure chamber where the CCA is forced into the wood. This process is called pressure impregnation.
There are a few things to keep in mind if you’re considering using pressure-treated wood for your next project. First, it’s important to know that the chemicals used in the treatment process can harm humans and animals if ingested. That’s why it’s important to wear gloves and a dust mask when working with pressure-treated wood. Second, you should avoid using pressure-treated wood for any projects that will come into direct contact with food or water. This is because the chemicals in the wood can leach into these substances and potentially contaminate them.
Third, pressure-treated wood should not be used for projects that require a high level of finish or aesthetic appeal. This is because the chemicals in the wood can cause staining and discoloration.
Why Do You Speed Up Drying of Pressure Treated Wood?
There are a few reasons you might want to speed up drying pressure-treated wood. One reason is that it can help reduce the warping that can occur as the wood dries. Warping can occur when the outer layers of the wood dry at a different rate than the inner layers, causing the wood to twist or bend. By speeding up the drying process, you can help reduce the amount of warping.
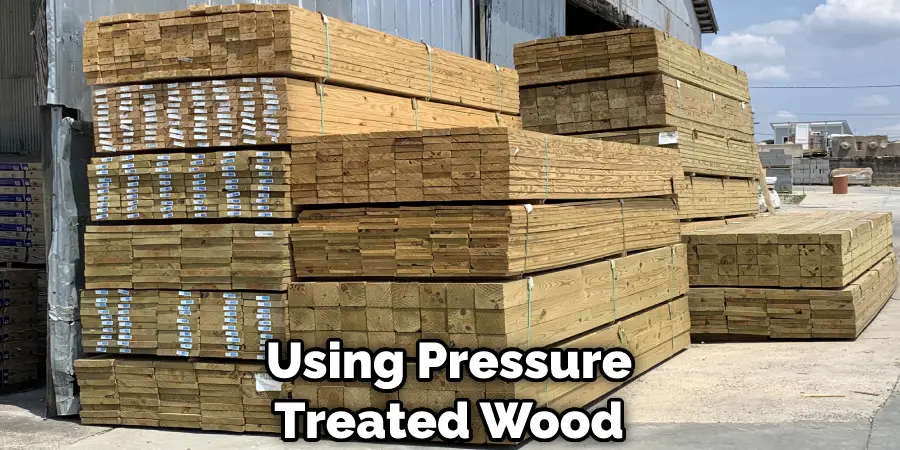
Another reason to speed up the drying of pressure-treated wood is to help prevent the growth of mold and mildew. Mold and mildew can grow on wet wood, and pressure-treated wood is often quite wet when it is first installed. By speeding up the drying process, you can help to prevent the growth of mold and mildew. Finally, pressure-treated wood is often used in outdoor applications, exposing it to the elements. Again, speeding up the drying process can help prevent the wood from rotting or being damaged by the weather.
Methods of How to Speed Up Drying of Pressure Treated Wood:
Pressure-treated wood is typically dried using one of two methods: air drying or kiln drying. Air drying is the most common method and involves simply allowing the wood to air dry. Kiln drying is a more rapid method and involves using heat to speed up the drying process.
Air Drying:
Air drying is the most common method of drying pressure-treated wood. To air dry your pressure-treated lumber, stack the lumber in a well-ventilated area and allow it to air dry. The amount of time it will take for the lumber to air dry will depend on several factors, including the thickness of the lumber, the ambient temperature and humidity, and the amount of airflow. Generally, it will take pressure-treated lumber about two weeks to air dry.
Kiln Drying:
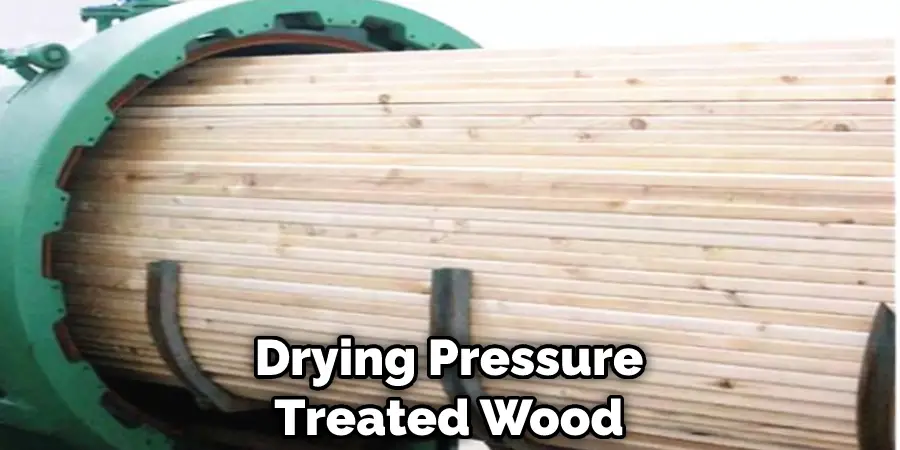
Kiln drying is a more rapid method of drying pressure-treated lumber. Kiln drying involves using heat to speed up the evaporation of water from the lumber. Kiln drying is typically done in a controlled environment, such as a kiln, where the temperature and humidity can be carefully monitored. If you are trying to speed up the drying of pressure-treated wood, the best method is kiln drying. Kiln drying is faster than air drying and can help reduce the amount of warping. Kiln drying can also help prevent mold and mildew growth and can help prevent the wood from rotting or being damaged by the weather.
Needed Materials:
To speed up the drying process of pressure-treated wood, you will need a few materials:
Pressure-treated Lumber:
This is the main material that needs to be dried.
Gloves and Dust Mask:
As mentioned earlier, it’s important to wear protective gear when working with pressure-treated wood.
Well-ventilated Area:
Whether you choose air drying or kiln drying, make sure the area is well-ventilated to allow for proper airflow.
Kiln (Optional):
If you choose kiln drying, you will need access to a kiln or similar controlled environment.
9 Step by Step How to Speed Up Drying of Pressure Treated Wood:
Step 1: Start by Stacking the Lumber in a Well-ventilated Area.
The first step is to stack the lumber in a well-ventilated area. This will help to ensure that the lumber dries evenly and prevents warping. Stacking the lumber in a well-ventilated area will also help prevent mold and mildew growth. Next, use a level surface, such as a concrete patio or driveway, to stack the lumber. If you are stacking the lumber on grass, make sure to use a tarp or other ground cover to protect the grass.
Step 2: Allow the Lumber to Air Dry
Once the lumber is stacked, allow it to air dry. The amount of time it will take for the lumber to air dry will depend on the type of wood, the thickness of the lumber, and weather conditions. Softwoods such as cedar and redwood can air dry in as little as two weeks, while hardwoods can take several months. If you are stacking the lumber in a dry location out of direct sunlight, the drying process will be quicker.

To speed up the drying process, you can place a fan near the lumber stack to circulate air around the wood. Just be sure that the fan is not blowing directly on the lumber, as this can cause the wood to warp. You can also place a dehumidifier near the stack to remove moisture from the air, which will also help the lumber dry faster. Once the lumber is dry, it will be lighter in color and weight and ready to use for your project.
Step 3: Move the Lumber to a Kiln
Kiln drying is a more rapid method of drying pressure-treated lumber. Kiln drying involves using heat to speed up the evaporation of water from the wood. Heated air circulates the lumber in a chamber, which speeds up the rate at which water evaporates from the lumber. Kiln-dried lumber is typically used for construction projects where the lumber will be exposed to high moisture levels, such as decks and docks.
The lumber is also used for projects where a faster turnaround time is needed, such as furniture making. To dry kiln lumber, you will need to purchase a kiln. There are both small and large kilns available for purchase. The size of the kiln will depend on the amount of lumber you need to dry. Once you have your kiln, set it up according to the manufacturer’s instructions. Make sure to vent the kiln properly to avoid fire hazards. Next, place the lumber in the kiln and turn on the heat.
The temperature inside the kiln will need to be between 130-140 degrees Fahrenheit. The lumber must stay in the kiln for 30-60 minutes per board foot. After the lumber has been in the kiln for the appropriate amount of time, turn off the heat and allow the lumber to cool inside the kiln. Once the lumber has cooled, it can be removed from the kiln and used for your project.
Step 4: Use a Heat Gun to Speed Up Drying
If you don’t have a kiln or access to one, you can use a heat gun on a lower setting to speed up the drying process. This is also a good option if you’re in a hurry and can’t wait for the clay to dry naturally. Place the piece on a heat-resistant surface and hold the heat gun about 6 inches away from the clay. Move it around so that the heat is evenly distributed. Check on the clay periodically to make sure it’s not drying too quickly or getting too hot. Once it’s dry, remove it from the heat and allow it to cool before using.
Step 5: Avoid Direct Sun Exposure
While some sunlight can help speed up the drying process, too much direct sunlight can cause pressure-treated lumber to warp or split. To avoid this, make sure to stack the lumber in a shaded area if possible. If you are air drying the lumber, you can also cover the stack with a tarp to protect it from direct sunlight. There are also lumber covers specifically designed to protect wood from the sun. The key is to find a balance of sunlight and shade for the lumber to dry properly.
Step 6: Use a Moisture Meter
A moisture meter is a handy tool that measures the amount of moisture in wood. It is useful for determining when your pressure-treated lumber is dry enough to use. The ideal moisture content for pressure-treated lumber is between 12-15%. Using a moisture meter will help you avoid using wet lumber for your project and prevent potential problems such as warping or mold growth. Although a moisture meter is not necessary, it can be a helpful tool to have on hand. It is especially useful if you plan on drying a lot of pressure-treated lumber in the future. You can purchase a moisture meter at most hardware or home improvement stores.
Step 7: Sand the Lumber
Once the pressure-treated lumber is dry, it’s important to sand it before using it for your project. This will remove any rough spots or splinters and give the wood a smooth finish. Make sure to wear protective gear, such as gloves and a dust mask, while sanding. Otherwise, particles from the treated wood can irritate your skin and respiratory system. It’s also important to dispose of the sawdust properly, as it may contain chemicals from the pressure treatment process. You can either collect the sawdust and dispose of it in a hazardous waste facility or mix it with water and let it dry before disposing of it.
Step 8: Apply a Waterproof Sealant
To protect your pressure-treated lumber from moisture and rot, it’s important to apply a waterproof sealant or stain. This will help prolong the life of your project and keep the wood looking new. Make sure to choose a sealant that is specifically designed for pressure-treated lumber and follow the manufacturer’s instructions for application. It’s also a good idea to reapply the sealant every few years to maintain its effectiveness.
Step 9: Dispose of Lumber Properly
Once you have finished using your pressure-treated lumber, it’s important to dispose of it properly. Do not burn pressure-treated lumber, as this can release harmful chemicals into the air. Instead, check with your local waste management facility for options on how to properly dispose of treated wood. You can also consider repurposing the lumber for other projects or donating it to a community organization.
Following these steps will ensure that your pressure-treated lumber is properly dried and ready for use in your project. By taking the time to dry and seal the wood, you can create a long-lasting and beautiful finished product. Remember to always wear protective gear when handling pressure-treated lumber and follow safety precautions to minimize potential health risks.
With proper care, your pressure-treated lumber projects will stand the test of time. So, it’s important to take the necessary steps to properly dry and maintain your lumber for a successful project. Happy woodworking!
Tips for Speeding Up Drying of Pressure Treated Wood:
- Stack Lumber in a Well-ventilated Area to Allow for Proper Airflow.
- Use Fans and Dehumidifiers to Circulate Air and Remove Moisture From the Surrounding Environment.
- Consider Using a Kiln for Faster Drying Times, Especially for Larger Projects or Construction Purposes.
- Use Protective Gear When Working With Pressure-treated Wood to Avoid Skin Irritation.
- Allow the Lumber to Season After Drying to Ensure Stability and Prevent Warping.
- Follow All Local Building Codes and Regulations When Using Pressure-treated Wood in Projects. Overall, Patience is Key When It Comes to Drying Pressure-treated Lumber. But With These Steps and Tips, You Can Speed Up the Process and Have Your Lumber Ready for Use in No Time.
Frequently Asked Questions:
Q: How Long Does It Take for Pressure-treated Wood to Dry?
A: The Drying Time for Pressure-treated Wood Can Vary Depending on Factors Such as Type of Wood, Thickness, and Weather Conditions. Softwoods Can Air Dry in a Few Weeks, While Hardwoods Can Take Several Months. Kiln Drying Can Speed Up the Process to Just a Few Days.
Q: Can You Use Pressure-treated Wood Right Away?
A: It is Not Recommended to Use Pressure-treated Wood Right After Treatment. It Needs Time to Dry and Season Before It Can Be Used for Projects. This Helps Ensure Stability and Prevent Warping.
Q: Is There a Difference Between Air Drying and Kiln Drying Pressure-treated Wood?
A: Yes, Kiln Drying Uses Heat to Speed Up the Evaporation of Water From the Wood. This Results in a Faster and More Uniform Drying Process Compared to Air Drying, Which Relies on Natural Environmental Conditions.
Q: Can You Paint or Stain Pressure-treated Wood Before It is Fully Dry?
A: No, It is Recommended to Wait Until the Lumber is Completely Dry Before Painting or Staining. This Ensures Proper Adhesion and Prevents the Finish From Trapping Moisture in the Wood, Causing It to Rot.
Overall, It’s Best to Follow the Manufacturer’s Instructions and Wait for the Recommended Drying Time Before Finishing Pressure-treated Wood. This Will Help Ensure a Strong and Long-lasting End Result.
So Whether You’re Building a Deck or Creating Furniture, Properl Drying Pressure-treated Wood is Essential for a Successful Project. With These Tips and Techniques, You Can Expedite the Process and Get Your Lumber Ready for Use in No Time.
Conclusion Paragraph:
This article has covered the process of how to speed up drying of pressure treated wood. By following these simple steps to speed up the drying of pressure-treated wood, you can save time and money while ensuring that your project is completed to the highest standards. We hope you found this information helpful and informative. Have any questions? Please leave them in the comments below.

