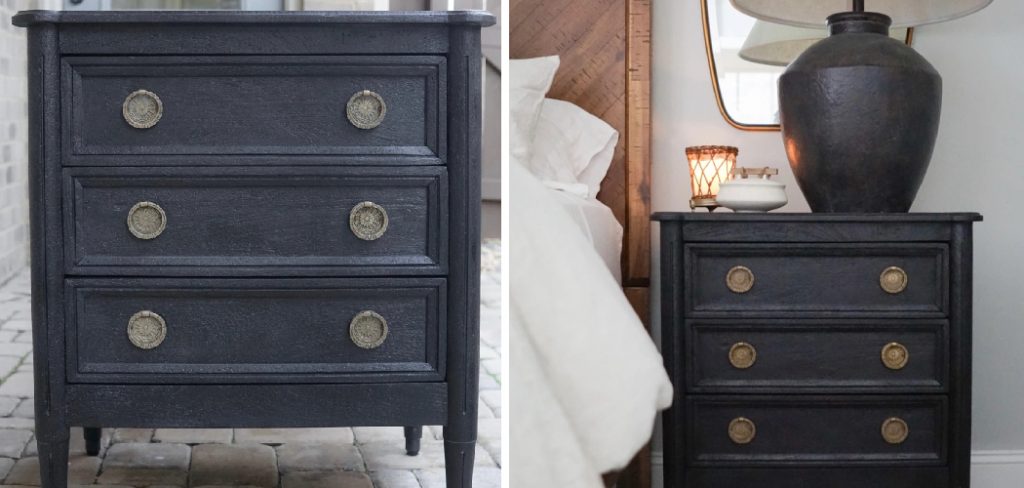
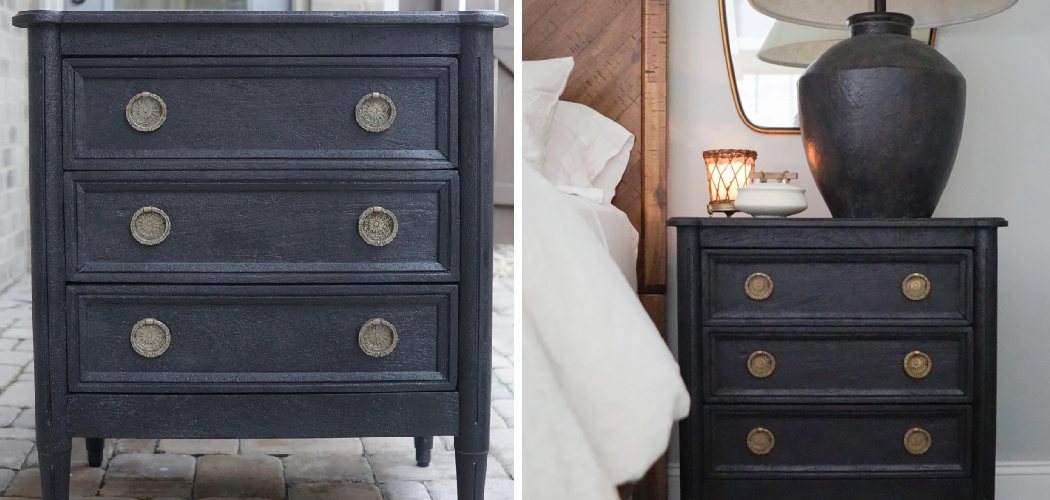
Have you ever wanted to update a piece of furniture, like an old nightstand, but don’t know where to start? Whether it’s giving new life to Grandpa Joe’s heirloom or simply adding some pop and color with paint, learning how to repaint your existing furniture is actually easier than you think!

In this blog post, we’ll provide step-by-step instructions on the basics of how to repaint a nightstand so that even the least experienced DIYer can confidently tackle the project. Plus, with just a few materials from the store (or reclaimed items around your home) and some creative vision—you may just create something spectacular. So click “read more” for everything you need to know about transforming your tired evening sidekick into reinvigorated décor!
Tools and Materials You Will Need to Repaint a Nightstand
- Sandpaper (80-grit and 220-grit)
- Paintbrush
- Small foam roller
- Putty knife
- Painters tape
- Primer or stain blocker
- Interior paint of your choice
- Polyurethane (optional for extra protection)
- Rags or paper towels
Step-by-Step Guidelines on How to Repaint a Nightstand
Step 1: Prep the Nightstand for Painting
The first step in repainting a nightstand is to prepare it for painting. Start by removing any hardware from the drawers, like pulls or knobs, as well as any existing finish. Use a putty knife and 80-grit sandpaper to remove all of the old paint or finish from the nightstand. Then switch to 220-grit sandpaper for a finer finish and make sure that all surfaces are smooth and free of any imperfections.

Step 2: Prime the Nightstand
Once you’ve completed the prep work, it’s time to prime your nightstand. Using either a primer or stain blocker, apply a thin coat of the primer to all surfaces of your nightstand using your paintbrush. Allow the primer to dry for at least 4 hours before moving on to the next step. Before going any further, be sure to read and follow the manufacturer’s instructions on the can of primer. While some primers may have different instructions, the general rule of thumb is to apply a thin layer and let it dry before continuing.
Step 3: Paint the Nightstand
For this step, choose a good quality interior paint that’s appropriate for your nightstand. Begin by taping off any decorative details on the furniture with painter’s tape. Then use either a brush or a small foam roller to paint the nightstand. You can apply as many coats of paint as you like, allowing each coat to dry entirely before applying the next.
Step 4: Add a Protective Finish
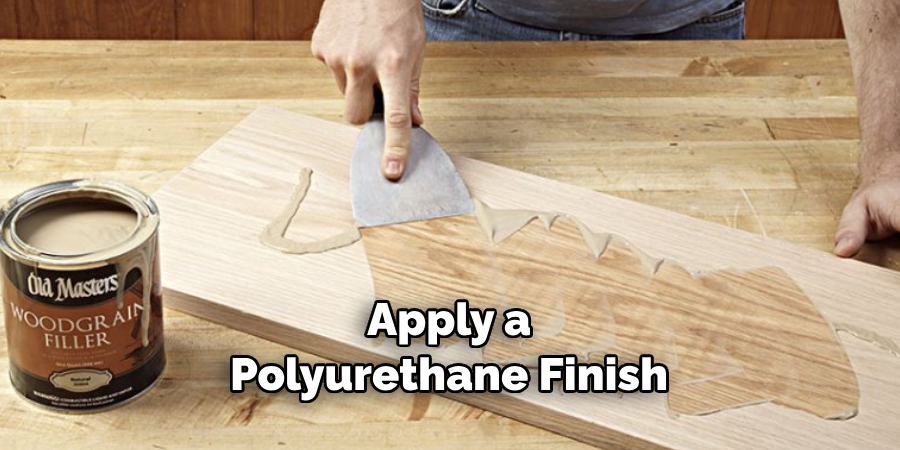
For added protection from scratches and nicks, it’s best to apply a polyurethane finish over your painted nightstand. This will give the paint an extra layer of protection and make it easier to clean in the future. Be sure to use a brush or roller specifically designed for applying polyurethane finishes and follow the manufacturer’s instructions on how to apply it properly.

And there you have it! With just a few simple tools and materials, you now know how to repaint a nightstand and bring it back to life. So get out there and start creating! Have fun, be creative, and don’t forget to take before and after photos of your project—you’ll want to show off the amazing transformation! Good luck!
Additional Tips and Tricks to Repaint a Nightstand
- Sand the entire nightstand before painting. This is an important step to ensure a smooth finish and allow the paint to adhere properly. Use fine-grit sandpaper and take your time, making sure you get into all of the nooks and crannies. Once the sanding is complete, use a vacuum or damp cloth to remove any dust.
- To prepare the surface for painting, use a primer or a wall-prep solution on the entire nightstand. This will help the paint adhere better and cover more evenly. Allow it to dry completely before moving on to the next step.
- Choose high-quality paint designed specifically for furniture surfaces. Using regular interior wall paint can result in an uneven finish or worse, peeling paint. Select a satin finish for the best results.
- Before painting, it’s important to protect your surfaces from drips and spills. Lay down sheets of plastic or newspaper on the floor around the nightstand and use masking tape to cover hinges, knobs, and other hardware that you don’t want to be painted.
- Apply the paint in thin coats, using a brush or roller for larger areas and an artist’s brush for smaller areas. Allow each coat to dry completely before applying additional coats of paint. A few coats may be necessary to achieve an even finish.
- For a more decorative look, consider adding stencils or decoupage pieces to the nightstand. This can easily be done after the paint is dry by using decoupage glue and sealing it with multiple layers of clear sealant.
- Finally, let your repainted nightstand cure for at least 24 hours before you use it or replace any hardware on it. Be sure to protect your newly painted surface from water or liquids by using coasters and tablecloths.

Following these tips and tricks will help you create a beautiful repainted nightstand that looks like new. Good luck!
Things You Should Consider to Repaint a Nightstand
1. The first thing you should consider is the type of paint you would like to use on your nightstand. Latex, oil-based, or spray paint are all suitable options depending on the look and feel you are going for in the project.
2. Preparing the nightstand before painting is an essential step when repainting furniture. Start by cleaning the nightstand with a damp cloth and make sure it is completely dry before applying any paint.
3. If you are not using spray paint, use a small brush or roller to apply the paint in thin layers. Make sure to give each layer enough time to dry before adding more coverage.
4. Add extra protection for your new paint job with a sealant. This will help prevent damage and keep the color of the nightstand looking vibrant for longer.
5. Add some decorative hardware to the nightstand to give it an updated look. Try new knobs, drawer pulls or even handles to add extra character to the piece.
6. Enjoy your newly-painted nightstand! Not only does it look great, but you can take pride in the work you’ve put into creating something entirely new and unique.
7. Lastly, if possible, try to find a spot for your newly-created piece of furniture that will receive ample natural light. This will keep the colors looking bright over time and help bring out any intricate details in the painting.
By following these considerations, you can easily repaint a nightstand and make it look brand new! With the right preparation and the right paint, you can create a beautiful piece of furniture that will last for years to come. Good luck with your project!
Frequently Asked Questions
What Type of Paint Should I Use to Repaint a Nightstand?
A water-based, low-VOC paint like acrylic latex is best for painting furniture. It provides good coverage and won’t fade over time. You may also want to consider using chalk paint or milk paint for decorative finishes.
Do I Need to Sand the Nightstand Before Painting?
Yes, you should lightly sand the nightstand before painting. This will help the paint adhere properly and prevent chipping or peeling later on. Make sure to use fine-grit sandpaper and wipe away any dust with a damp cloth afterward.

Can I Repaint Without Stripping off the Old Paint?
Yes, you can repaint without stripping off the old paint. However, it’s recommended that you use a primer or sealer to ensure good adhesion between the new and old layers of paint. If you’re painting over oil-based paint, make sure to use a specific oil-based primer designed for this purpose.
Do I Need to Use a Clear Coat After Painting?
It’s not necessary to use a clear topcoat after painting, but it does provide added protection. If you’re using chalk paint or milk paint, you may want to apply a wax finish for extra durability. For other types of paint, an acrylic sealer can be used instead. This will help protect the color and guard against scratches.
Can I Repaint My Nightstand With a Spray Gun?
Yes, you can repaint your nightstand with a spray gun. This is ideal for achieving an even and professional-looking finish. However, it’s important to use the right type of paint for the spray gun and take safety precautions like wearing gloves and breathing masks when working with paint.
How Long Does it Take to Repaint a Nightstand?
It typically takes 1-2 hours to repaint a nightstand, depending on the type of paint you’re using and how many coats of finish you need. This doesn’t include any additional prep work like sanding or priming, which can add more time to the project. Additionally, it’s important to let the paint dry completely before using the nightstand again.
Conclusion
Repainting a nightstand can be a great way to upgrade the look of an old piece of furniture. With the right supplies, a few coats of paint, and some sanding, you can have your nightstand looking brand new in no time.
And although the process may seem intimidating at first, following the simple steps mentioned in this blog post will help you complete the job with confidence. Of course, if you encounter any problems throughout, seek professional advice – it’s usually better to be safe than sorry!
Now that you know how to repaint a nightstand, you can start transforming your bedroom today. Good luck!
You can check it out to Turn a Nightstand into a Chair

