Wood filler is a great way to repair small holes and cracks in wood, but it doesn’t always give the best finish. Not only does wood filler require drying time and additional sanding before you can move forward with your project, but there’s also a chance that the excess material will cause further damage down the line. Fortunately, there are several ways to fill holes in wood without using wood filler.

One of the main advantages of filling holes in wood without wood filler is that it reduces the amount of time and effort needed for the project. Using a plug or dowel can often be done quickly and easily, with minimal preparation required. Additionally, this method does not require expensive materials or specialized tools, making it accessible to anyone.
This also helps keep costs down, as wood filler can be expensive and unnecessary. In this blog post, You will learn in detail how to fill holes in wood without wood filler.
Tools You Will Need
- Sandpaper
- Toothpicks
- Sawdust
- Super Glue
- Putty Knife
- Wood Flour/Shavings
- Hot Glue Gun
- Chisel
- Cloth Rags
- Disposable Paintbrush
Step by Step Processes for How to Fill Holes in Wood Without Wood Filler
Step 1: Inspect the Hole
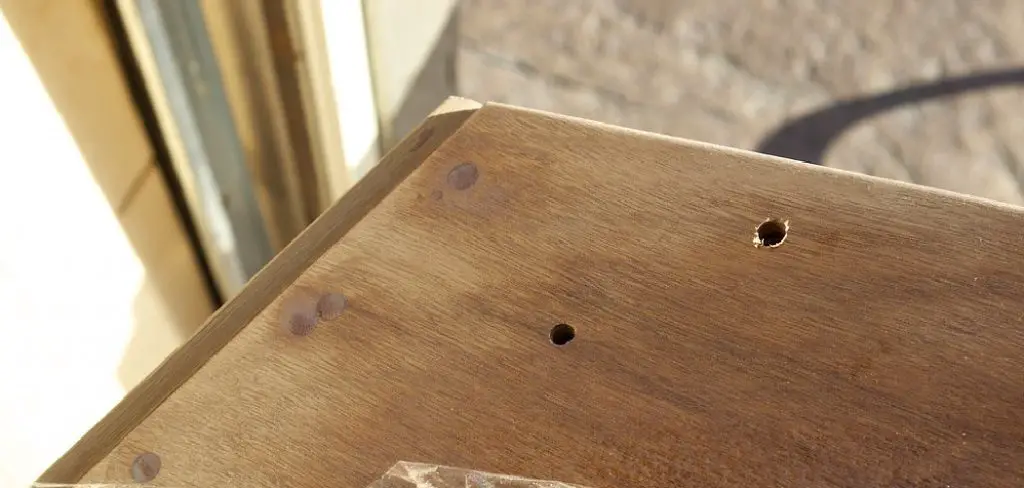
The first step is to inspect the hole and determine its size of it. You need to know how large it is in order for you to choose the right method for filling holes in wood without wood filler. There are many materials that you can use as a substitute. Depending on what type of hole you are dealing with, you can use items such as glue, sawdust, or epoxy.
Step 2: Clean the Hole
Before filling the hole, make sure that the surface is clean and free from dust and debris. Use a damp cloth to wipe off any dirt particles that are on the wood. If you are using glue as a substitute, make sure to it properly. You can use a toothpick or brush to help spread the glue evenly and fill the hole effectively.
Step 3: Insert Sawdust
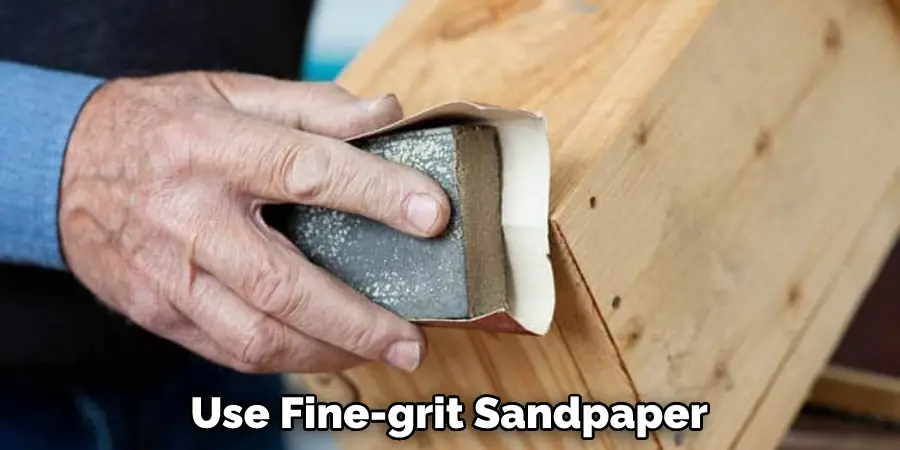
If sawdust is your chosen material, insert it with the help of a small knife or spoon. Make sure the sawdust is firmly packed and does not move when you press on it. Once the hole has been filled, you will need to sand down the area until it is even with the surrounding surface. Use fine-grit sandpaper to do this.

Step 4: Use a Sealant
You can apply a sealant to the area to protect the wood and keep it looking its best. This will help prevent water from seeping in and causing further damage. Once the sealant has dried, apply a color that matches the rest of the wood. You can either use paint or stain to achieve this.
Step 5: Polish Away Any Excess Material
Once you have finished painting and staining, use fine-grit sandpaper to gently buff away any excess material that may be protruding from the filled area. You can now take a step back, admire your handiwork, and enjoy the fact that you have filled holes in wood without using any wood filler.
By following these steps, you can easily fill any holes in wood without using any type of wood filler. With the help of some basic tools and materials, you can easily take on this task yourself and save time and money.
Safety Precautions for How to Fill Holes in Wood Without Wood Filler
- Wear safety glasses and a dust mask while filing or sanding the wood.
- Use a clamp to secure the wood being filled, if necessary so that it can be safely worked on without risk of shifting or slipping.
- Ensure all tools are sharpened before use to prevent damage to the wood and avoid any further splintering or tearing of the wood fibers.
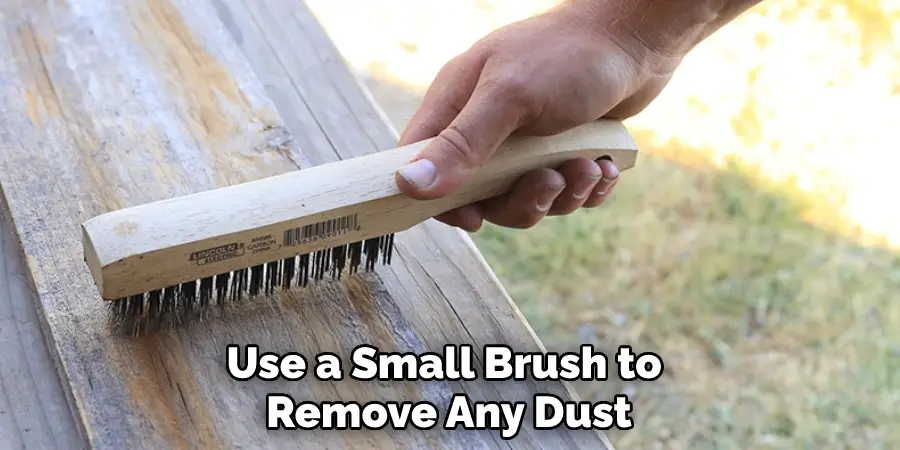
- Use a small brush to remove any dust and debris from the hole before filling it.
- If using glue, such as epoxy, be sure to read and follow instructions carefully.
- Ensure that all surfaces are clean and dry before applying adhesive to ensure a strong bond.
- Allow adequate time for the filling material and adhesive to dry completely before further sanding or finishing the wood.

Filling holes in wood without the use of wood filler is possible, but it can be a challenging project that requires patience and attention to detail. Following these safety precautions can help ensure a successful project.
How Can You Check the Quality of Your Work When Filling Holes in Wood Without Wood Filler?
When working on a wood project, it is important to ensure that your work is of high quality. Filling holes in wood without using wood filler can help save time and money, but you need to take extra steps to ensure that your work is up to standard. Here are some tips for checking the quality of your work when filling holes in wood without wood filler.
- Make sure the hole is completely covered with putty or adhesive. If you are using putty, ensure that it has been applied evenly and smoothed over to create a flat surface on the wood.
- Look for any gaps or areas where the hole was not completely filled. To check for gaps, use a thin blade such as a razor or exacto knife to scrape away any excess putty that may be present.
- Inspect the area around the hole for any wood decay or rot signs. If you find any, make sure to remove it before proceeding with filling the hole.
- Feel the surface of the wood around the hole with your fingers. If there is any unevenness, you may need to sand down and smooth out the area before proceeding with filling it.
- Sand down and finish the surface of the wood as necessary if you are working on an exterior project. This will protect your work from the elements and help preserve its quality.
By following these tips, you can ensure that your work is of the highest quality when filling holes in wood without wood filler. With a little care and attention to detail, you can ensure that your project looks great and stands the test of time.
What Techniques Can You Use to Make Sure the Surface Around the Filled Holes Look Natural and Seamless?
Once you have filled a hole in wood without filling, a few techniques can help ensure the surface around the filled holes looks natural and seamless. Firstly, use sandpaper to sand the area surrounding the filled hole. Make sure to hold it at an angle so that it sands down evenly on the edges of the hole. If there are any high spots, sand these down until they match the surface of the wood around them.
Secondly, apply a thin coat of wood stain over the area. This will help to blend in the filled hole with its surrounding areas and make it look more uniform. As you apply your stain, work it into the edges of the hole and gently rub it with a cloth to blend it in further. Finally, apply a finish to your wood.

This is an important step as the finish will seal in the wood stain and fillers used to repair the hole. It will also protect the wood from wear and tear over time. When selecting a finish, make sure to choose one that is compatible with the wood you are working on. By following these simple steps, you can ensure that any holes filled in your wood will look natural and seamless.
How Should You Store Your Materials if You Need to Take a Break While Filling Holes in Wood Without Wood Filler?
If you need to take a break while filling holes in wood without using wood filler, it is important that you store your materials properly. Wood swells and shrinks with changes in humidity, so your material should be stored in a climate-controlled environment and not exposed to too much moisture or humidity.
If you do need to leave the material outside, cover it with a tarp or plastic sheeting to prevent any moisture from getting inside. You should also make sure that the materials are stored away from direct sunlight and extreme temperatures. This will help avoid warping, cracking, and other damage from heat or cold exposure.
In addition to proper storage, it is important that you take the necessary steps to protect your materials from dust and dirt. Cover any exposed surfaces with plastic sheets or tarps and use dust masks if working in dusty areas.

This will help ensure that the material does not become soiled or contaminated during your break. Following these simple tips will help you ensure that your materials remain in good condition while taking a break from filling holes in wood without using wood filler.
Conclusion
In conclusion, filling holes in wood without wood filler is a great and cost-effective way to repair your furniture or other wooden items. You can use toothpicks, matchsticks, dowels, wood glue, or epoxy to fill the holes easily. Make sure to sand down the area after filling the hole and apply a finish if needed for a professional-looking result.
With a little patience and the right supplies, you can restore your furniture without having to use wood filler. By learning how to fill holes in wood without using wood filler, you can save money and get stunning results every time. I hope this article has been beneficial for learning how to fill holes in wood without wood filler. Make Sure the precautionary measures are followed chronologically.

