

Learning how to apply tung oil to wood is an essential skill for anyone looking to bring out the natural beauty of wooden surfaces. Tung oil, derived from the seeds of the tung tree, is a highly effective wood finish known for its durability, water resistance, and ability to enhance wood’s grain and texture. Unlike synthetic finishes, tung oil penetrates deep into the wood, providing a long-lasting and natural-looking protective coating.

Applying tung oil is a straightforward process that doesn’t require professional experience, making it a perfect choice for beginners and seasoned DIYers alike. Whether you’re working on a wooden table, cabinetry, or outdoor furniture, tung oil ensures a finish that’s both practical and visually stunning. This guide will take you step-by-step through the process, ensuring you achieve an even, professional-grade finish on any wooden surface.
Why Apply Tung Oil to Wood?
Using tung oil on wood offers several unique benefits that make it a preferred choice among woodworkers and DIY enthusiasts. First and foremost, tung oil enhances the natural appearance of wood by intensifying its grain and showcasing its unique textures. The finish it produces is warm, matte, and organic, making it an excellent choice for a variety of wood styles and finishes.
Unlike many synthetic finishes, tung oil hardens as it cures, providing a protective barrier against moisture and everyday wear. This property makes it especially suitable for furniture, cutting boards, or wooden surfaces exposed to occasional splashes or humidity. With regular maintenance, a tung oil finish can last for years, preserving the wood’s integrity and visual appeal.
Additionally, tung oil is non-toxic and environmentally friendly when compared to petroleum-based finishes. This makes it a great choice for surfaces that will come into contact with food or be used in family spaces. Lastly, the application process is exceptionally easy to learn, even for beginners, making tung oil a go-to product for anyone looking to protect and beautify wood.

Step-by-Step Guide: How to Apply Tung Oil to Wood
Step 1: Prepare the Wood Surface
Before starting the application process, it’s essential to prepare the wood surface properly. Begin by checking the wood for any dirt, grease, or old finish residues that could interfere with the tung oil’s absorption. Clean the surface thoroughly with a damp, lint-free cloth and allow it to dry completely.
To ensure an even finish, sand the wood with fine-grit sandpaper, starting with a lower grit like 120 and finishing with 220 grit for a smooth texture. Always sand in the direction of the grain to avoid scratches that could become visible once the oil is applied. Remove all dust and debris after sanding, as tung oil requires a clean surface for optimal adhesion. Proper preparation ensures the oil penetrates deeply and provides an even, flawless finish.
Step 2: Thin the Tung Oil for the First Coat
For the first coat, thinning the tung oil with a solvent like mineral spirits or citrus-based thinner is crucial. A diluted mixture, usually a ratio of two parts tung oil to one part solvent, allows the oil to seep deeper into the wood fibers. This initial penetration strengthens the wood and lays the foundation for a durable finish.
Mix the oil and solvent in a clean container, stirring thoroughly to achieve a uniform solution. The thinned oil is easier to apply and helps the wood absorb the coating evenly, making the first application a key step in achieving professional results. Always work in a well-ventilated area during this process.
Step 3: Apply the First Coat
Once your mixture is ready, you can begin applying tung oil to the wood. Use a clean, lint-free cloth, sponge, or natural-bristle brush to spread the oil evenly across the surface. Start at one end of the wood and work methodically toward the other, applying the oil in long, smooth strokes along the grain.
Ensure that the wood is saturated but avoid pooling oil on the surface. Allow the oil to sit for 15–30 minutes, giving it ample time to absorb into the wood. Afterward, wipe away any excess oil with a clean, dry cloth. Removing excess oil prevents a tacky finish and ensures smooth results. This step lays the foundation for subsequent layers, helping build up a rich, even finish.

Step 4: Allow the Oil to Cure
Tung oil requires adequate curing time to achieve its full hardness and protective qualities. After applying the first coat, allow the wood to rest for 24 hours in a dust-free, well-ventilated area. During this time, the oil will begin to cure and harden within the wood’s fibers.
Curing time may vary based on temperature and humidity levels, so it’s important to monitor the surface for signs of readiness. Fully cured tung oil will feel dry to the touch and smooth, indicating that you’re ready to proceed with additional coats. Waiting patiently between applications ensures a strong, durable finish that won’t peel or crack over time.
Step 5: Sand Between Coats
For the smoothest possible finish, lightly sand the wood between coats. Use fine-grit sandpaper, such as 400 or 600 grit, to gently buff the surface. Sanding removes small imperfections and helps the next layer of tung oil adhere effectively.
After sanding, clean the surface with a tack cloth or another lint-free material to eliminate any dust. This step enhances the overall consistency of your finish, creating a silky, polished result. Skipping intermediate sanding can leave your project looking uneven or rough, so take the time to perfect each layer.
Step 6: Apply Additional Coats
To build a rich, protective finish, repeat the application process by adding additional coats of tung oil. For most indoor projects, three to five coats are ideal, while outdoor projects or high-use surfaces may require more. Apply each coat in the same manner as the first, ensuring even coverage and absorption.
For subsequent coats, pure tung oil can be used without thinning, as the wood’s initial saturation allows for easier application. Pay attention to the drying time, ensuring at least 24 hours between each layer. Each additional coat deepens the wood’s color and enhances its natural beauty, resulting in a truly professional-looking finish.

Step 7: Final Curing Process
After applying the desired number of coats, allow the tung oil to fully cure. This final curing process may take up to several days, depending on conditions like room temperature and humidity. During this period, avoid using or placing objects on the wood to prevent damage to the finish.
Cured tung oil provides a hardened, water-resistant surface that not only looks stunning but also protects the wood beneath. Once fully cured, the finish will be smooth to the touch and resistant to wear, ensuring long-lasting beauty and functionality. Taking the time to allow complete curing is essential for maximizing the life of your finish.
Step 8: Regular Maintenance
To maintain your tung oil finish, establish a routine for cleaning and reapplying oil as needed. Dust the surface regularly with a soft cloth and avoid using harsh chemical cleaners that may damage the finish.
Over time, you may notice areas that appear dull or worn due to regular use. Simply clean the surface, lightly sand if necessary, and apply a fresh coat of tung oil. This straightforward maintenance process keeps your wood looking vibrant and protected for years.
Tips for Longevity
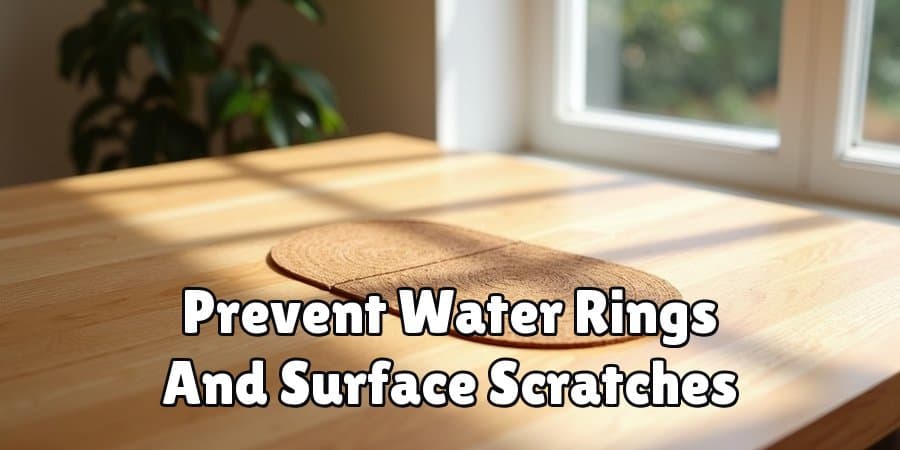
To ensure the longevity of your tung oil finish, keep your wooden surfaces away from excessive moisture and direct sunlight, as these can cause the wood to warp or the finish to deteriorate over time. Use coasters, placemats, or protective pads to prevent water rings and scratches from everyday use. Additionally, consider applying a wax or buffing the surface occasionally to enhance the sheen and provide an extra layer of protection. By following these tips, you can preserve the natural beauty and durability of your wood for generations.
FAQ
How many coats of tung oil should I apply?
The number of coats depends on the wood and its intended use. For most projects, three to five coats provide sufficient protection and a rich finish. Outdoor or heavily used surfaces may require additional coats.
What tools do I need to apply tung oil?
You’ll need a lint-free cloth, sponge, or natural-bristle brush for application, fine-grit sandpaper for sanding, and a container for mixing thinned tung oil. A tack cloth is also helpful for cleaning dust between coats.
Can tung oil be used on all types of wood?
Tung oil works well on most types of wood, including hardwoods and softwoods. However, highly resinous woods like teak may require additional preparation for optimal absorption.
How long does tung oil take to cure completely?
Initial curing takes 24–48 hours between coats, while full curing may take up to 7 days. Factors like humidity and temperature can affect curing times.
Is tung oil safe for food-contact surfaces?
Yes, pure tung oil is non-toxic and safe for food-contact surfaces like cutting boards and countertops once it is fully cured. Always use 100% pure tung oil for these projects.
Conclusion
Learning how to apply tung oil to wood is a rewarding process that enhances the beauty, durability, and functionality of your wooden surfaces. By following each step carefully, you’ll achieve a professional-grade finish that highlights the natural grain and offers lasting protection.
With its ease of application and environmentally friendly qualities, tung oil is an excellent choice for both novice and experienced woodworkers. Start your tung oil project today and enjoy the remarkable transformation it brings to your wood!
