Purchasing a wood conditioner is a great way to ensure your project will turn out beautifully. Applying the conditioner before staining helps the stain penetrate evenly, prevents botching, and even boosts the overall protection of your wood.
Staining wood can be daunting, but pre-staining wood conditioners can make it much more manageable. Using this product can help the staining process go more smoothly and prevent the wood from absorbing too much of the stain. In this article, we will show you how to apply pre stain wood conditioner and provide steps on getting the best results. Let’s get started!
Summary: The best way to apply pre stain wood conditioner is to first clean the wood with a dry cloth or vacuum cleaner. Apply the wood conditioner to the wood in a thin layer, using a brush or a spray bottle. Once the conditioner is applied, let it sit for at least 30 minutes before finishing the project.

Benefits of Applying Pre-stain Wood Conditioner
- Pre-stain wood conditioner helps prevent blotching and uneven absorption of stain.
- It makes the wood grain more uniform, making the final finish more consistent.
- Conditioning the wood before staining protects it from damage during the process.
- Pre-stain wood conditioner allows for deeper penetration of the stain, resulting in a richer color.
- It makes the wood grain more pronounced, giving the final finish more visual interest.
- Conditioning the wood before staining helps prevent problems with peeling and flaking later on.
Applying a pre-stain wood conditioner is a simple and easy way to help ensure a beautiful final finish on your woodworking project.
Step by Step Guideline on How to Apply Pre Stain Wood Conditioner
Step 1: Read the Label
Carefully read the label of the pre-stain wood conditioner you’ve chosen. Some products must be stirred before use, while others should be shaken. Be sure to follow the instructions on the label. Otherwise, you may not achieve the desired effect. That’s why you must ensure you are using the product correctly.
Step 2: Prepare the Surface
The surface you are going to treat must be clean and dust-free before you start applying the pre-stain wood conditioner. If necessary, sand the surface lightly to create a smooth texture. Also, you must ensure that the surface is dry before treating it. Wipe away debris with a tack cloth before proceeding to the next step.

Step 3: Apply the Pre-Stain Wood Conditioner
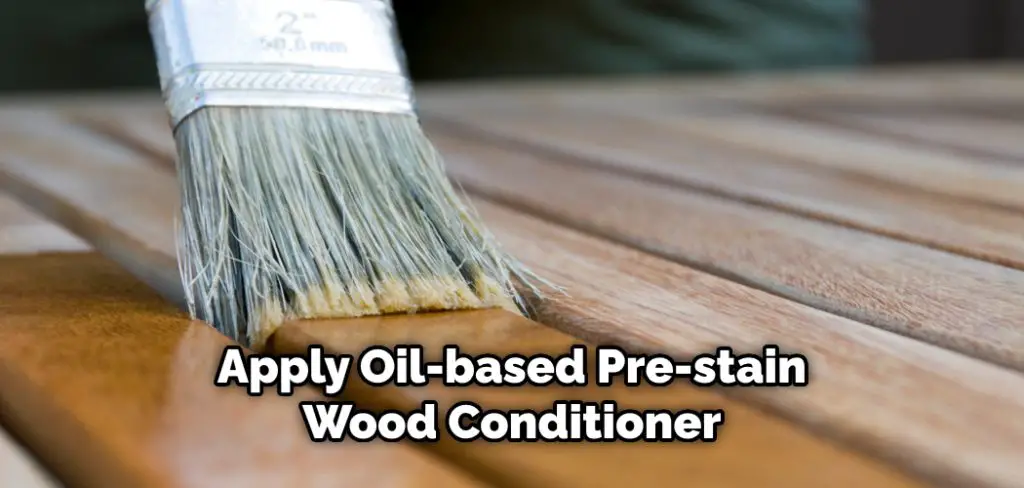
Now, you are ready to apply the pre-stain wood conditioner. Use a clean cloth or a brush to apply the product evenly on the surface. Be sure to follow the instructions on the label. Some products must be applied liberally, while others should be used sparingly. Allow the pre-stain wood conditioner to penetrate the surface for the time specified on the label.
Step 4: Wipe Away Excess Conditioner
After the specified time has elapsed, wipe away any excess pre-stain wood conditioner with a clean cloth. Leaving too much of the product on the surface may not achieve the desired effect. You must remove any excess before proceeding to the next step.
Step 5: Allow the Surface to Dry
After you have applied and wiped away the excess pre-stain wood conditioner, allow the surface to dry completely. This usually takes about an hour, but it may take longer, depending on the type of product you used and the instructions on the label. Remember to be patient and allow the surface to dry before proceeding to the next step.
Step 6: Sand the Surface
Once the surface is dry, you must sand it lightly to create a smooth texture. Be sure to use fine-grit sandpaper, so you don’t damage the surface. Sanding is important because it allows the pre-stain wood conditioner to penetrate the surface more evenly. Otherwise, you may not achieve the desired effect.
Step 7: Wipe Away the Dust
You need to remove the dust before you start staining, so use a damp paper towel or cloth. If you’re working with a substantial piece of furniture, you may need to vacuum it first and then go over it with a damp cloth. Be sure to give the surface plenty of time to dry before proceeding.

Step 8: Apply the Stain
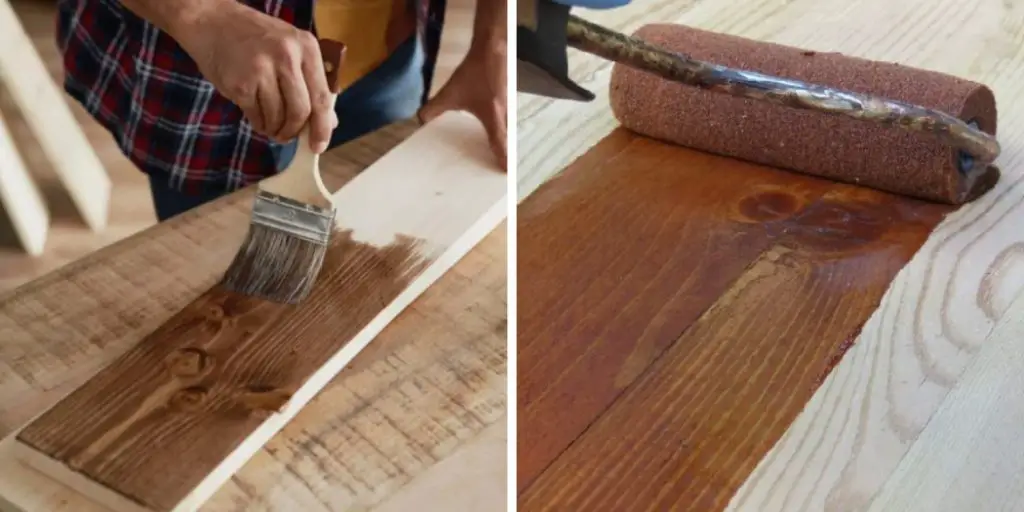
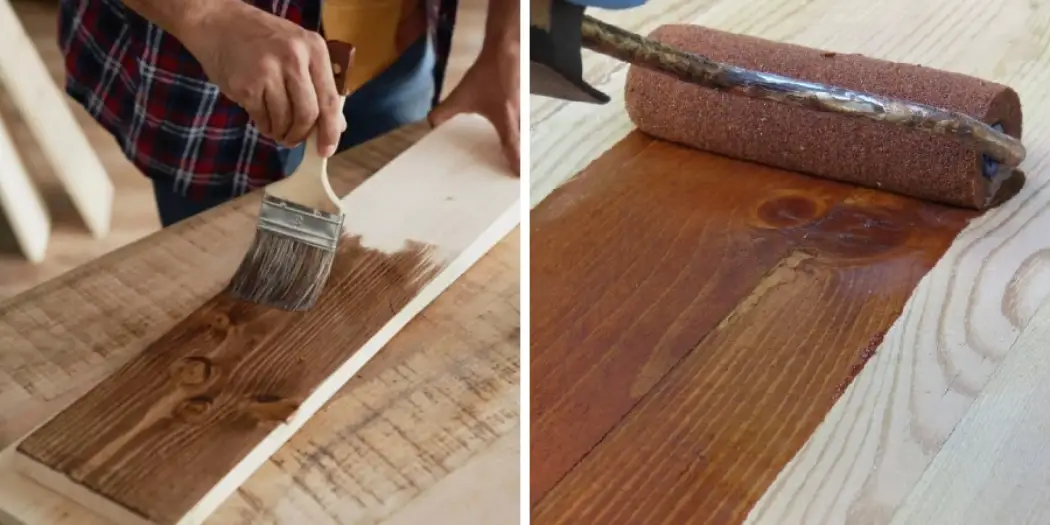
Now, you are ready to apply the stain. Use a clean cloth or a brush to apply the stain evenly on the surface. Be sure to follow the instructions on the label. Some stains must be applied liberally, while others should be used sparingly. Allow the stain to penetrate the surface for the time specified on the label.
Step 9: Wipe Away the Excess Stain
After the specified time has elapsed, wipe away any excess stain and balance the color as evenly as possible. You may need to go over some areas multiple times to achieve the desired result. Once you are happy with the color, allow the stain to dry completely before moving on to the next step.
Step 8: Wait for the Stain to Dry
Allow the stain to dry completely before proceeding to the next step. This takes around two hours. After that, you can apply a second coat. But, again, wait for the first coat to dry before applying the second.
Step 10: Apply a Clear Finish
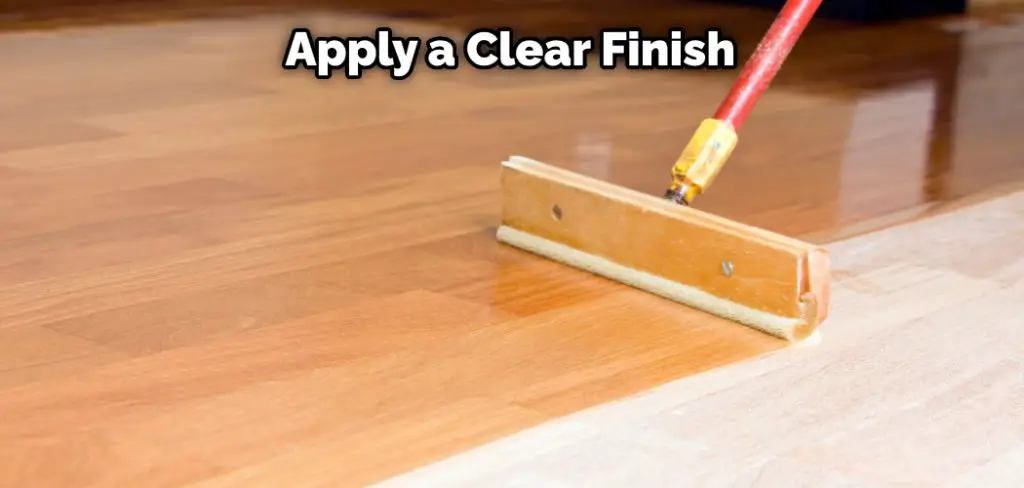
Once the stain has dried, you can apply a clear finish to protect the wood and give it a shine. You can choose from several different finishes, such as polyurethane, lacquer, or shellac. Polyurethane is the most popular clear finish type, offering the best protection against wear and tear.

Step 11: Allow the Finish to Dry
After applying the finish, allow it to dry completely before using the furniture. This usually takes around two hours. No need to worry if the finish looks cloudy at first. It will clear up as it dries. In the end, you’ll have beautiful, protected furniture that will last for years.
Once you’re done, your wood project will have a beautiful, rich color that will last for years. Thanks for reading!
Now that you know how to apply pre stain wood conditioner, you can quickly achieve the perfect color for your woodworking project. Follow the steps carefully and sand the surface lightly before applying the stain. This will help you achieve the best results.
How Should You Use Water-based and Oil-Based Pre-stain Wood Conditioner?
Pre-stain wood conditioner is applied before staining to help the stain penetrate evenly and prevent it from darkening or blotching the wood.
Water-based pre-stain wood conditioners are best for light-colored woods such as pine, maple, and birch. To apply a water-based pre-stain wood conditioner, use a clean cloth or foam brush and work in the grain direction.
Then, apply a generous amount of conditioner to the wood and allow it to soak in for 5-15 minutes before wiping any excess. It’s important to note that water-based pre-stain wood conditioners can raise the grain of the wood, so be sure to sand the wood after conditioning it.
Oil-based pre-stain wood conditioners are best for woods that are difficult to stain evenly, such as cherry and walnut. To apply oil-based pre-stain wood conditioner, use a clean cloth or foam brush and work in the grain direction. After using a generous amount of conditioner on the wood, allow it to soak in for 15-30 minutes before wiping any excess. Oil-based pre-stain wood conditioners will not raise the grain of the wood.

A pre-stain wood conditioner is a helpful tool when staining any type of wood. Be sure to choose the right conditioner for your project, and follow the directions on how to apply it correctly. With a little bit of preparation, you’ll be sure to get great results!
Precautions You Need to Remember Before Applying Pre Stain Wood Conditioner
- Pre stain wood conditioners are highly flammable. Keep them away from heat sources and open flames.
- Store pre stain wood conditioners in a cool, dry place. Do not expose them to sunlight or extreme temperatures.
- When using pre stain wood conditioners, always wear gloves and a dust mask.
- Pre stain wood conditioners can be harmful if ingested. Keep them out of reach of children and pets.
- Always read the label before using pre stain wood conditioners. Follow the directions carefully.
- If you accidentally spill pre stain wood conditioner, clean it up immediately. Soak up the liquid with a rag or paper towel.
Pre-stain wood conditioners can be dangerous if misused. If you have any questions, consult a professional before using them.
Conclusion
Applying a pre-stain wood conditioner is a crucial step in staining your deck or other exterior projects. Using a pre-stain wood conditioner will help the new color stick to the surface of the wood and achieve a more even finish. Make sure to apply it liberally and let it dry completely before applying your chosen color!
If you read the directions on how to apply pre stain wood conditioner and follow them, your project will be a success. Ensure you understand how much area the conditioner will cover and how long it needs to dry before staining. With some planning, your new deck will look great in no time!
You Can Check It Out To How to Build a Wooden Canopy

