

Learning how to use a wood chisel is a foundational skill for anyone interested in woodworking. This versatile tool is essential whether you’re carving intricate details, cutting joinery, or simply shaping wood with precision. With its sharp edge and simple design, a wood chisel allows for clean, precise cuts that are difficult to achieve with other tools. However, to get the best results, understanding proper techniques and safety measures is vital.

For beginners, using a wood chisel might seem intimidating, but with the right knowledge and practice, it becomes an enjoyable and highly satisfying part of working with wood. This comprehensive guide will teach you how to handle a wood chisel effectively, ensuring you develop confidence and skill. By the end, you’ll be equipped to tackle woodworking projects with accuracy and a professional touch.
Why Learning to Use a Wood Chisel Is Important
Wood chisels are indispensable tools for both novice and experienced woodworkers. They provide the precision needed to create smooth carvings, clean joints, and flawless details. Understanding how to use a wood chisel correctly helps you achieve professional results, even on intricate tasks like dovetail joints or decorative elements.
The relevance of this tool extends beyond aesthetics. On a functional level, it plays an important role in joinery, where tight fits mean stronger structures. It also allows for the repair of imperfections or adjustments in existing wooden pieces, adding versatility.
Additionally, mastering the use of a chisel can save you time and money by eliminating reliance on power tools for certain jobs. It serves as a stepping stone into the world of traditional techniques that stand the test of time. Ultimately, learning to wield a wood chisel is about unlocking potential—to transform raw materials into crafted works of art or practical furniture pieces.

Step-by-Step Guide: How to Use a Wood Chisel
Step 1: Select the Right Chisel
Choosing the right chisel is the first critical step in understanding how to use a wood chisel effectively. Wood chisels come in various sizes and shapes, each suited for specific tasks. Beveled edge chisels are excellent for joinery and fine detailing, while firmer chisels are better for heavier-duty tasks like mortising. Understanding your project’s requirements will guide your choice of chisel type and size.
Inspect the chisel before use, ensuring the blade is sharp and free from nicks or defects. Sharp tools not only enhance precision but also reduce the force needed, making the process safer. A dull blade puts unnecessary strain on your hands and can lead to mistakes in your work. Equipping yourself with the right chisel sets the tone for a smooth and successful woodworking experience.
Step 2: Prepare the Work Surface
A properly prepared work surface is essential for successful chisel work. Start by clamping your wooden piece securely to a sturdy workbench or using a vise to hold it steady. This minimizes unwanted movement and helps you maintain control over the chisel during use. Stability is especially important for tasks that require high precision, such as carving or joinery.
Examine the wood for loose knots or cracks that could affect the tool’s performance. Choose a piece of timber with a consistent grain pattern, as working against the grain can make cuts rough and uneven. Paying attention to these details ensures that the chisel glides smoothly, producing the clean, professional cuts you’re aiming for.
Step 3: Hold the Chisel Correctly
Learning how to grip a chisel properly is one of the key aspects of mastering how to use a wood chisel. Place your dominant hand on the handle, while your other hand provides support and guides the blade. For precise control, you may want to rest one or both hands on the workpiece. This positioning allows for steady, deliberate movements, whether you’re carving or paring wood.
Hold the chisel at a slight angle to the surface, with the bevel side facing downward when shaving thin layers. If you’re creating mortises or channels, use a mallet to tap the handle gently, driving the blade deeper into the wood. Proper grip and posture prevent fatigue and give you consistent control over each cut.

Step 4: Make Sure the Blade Is Properly Sharpened
A sharp blade is central to successfully using a wood chisel. Dull edges aren’t just ineffective—they increase the likelihood of slips and missed cuts. Use a sharpening stone or honing guide to maintain the chisel’s edge, following the correct bevel angle specified by the manufacturer. Consistent sharpening not only improves the quality of cuts but also increases safety during use.
Test the blade’s sharpness by running it lightly across a scrap piece of wood. If it produces fine, clean shavings, it’s ready for work. Routine maintenance and sharpness checks are a must to keep your chisel performing at its best.
Step 5: Understand the Wood Grain
Working with the wood grain is another critical element of mastering how to use a wood chisel. Always cut in the direction of the grain whenever possible to achieve smoother, cleaner results. Cutting against the grain increases the risk of splintering, which can ruin the finish of your piece.
Examine the grain pattern carefully before starting, as some pieces of wood have alternating or irregular grain that requires extra attention. By aligning your cuts with the grain’s natural flow, you enhance the tool’s efficiency and achieve a polished result with minimal effort.
Step 6: Use Controlled Movements
Achieving clean and precise cuts depends largely on maintaining control over the chisel. Avoid rushing by focusing on deliberate, steady movements during each pass. Apply consistent pressure and keep an eye on the blade’s depth to prevent over-cutting or gouging the wood.
If using a mallet for deeper cuts, start with light taps to assess the tool’s impact on the material before applying more force. Controlled techniques help refine your skills and produce smooth, accurate results, whether carving details or removing excess material.
Step 7: Clean the Workpiece Regularly
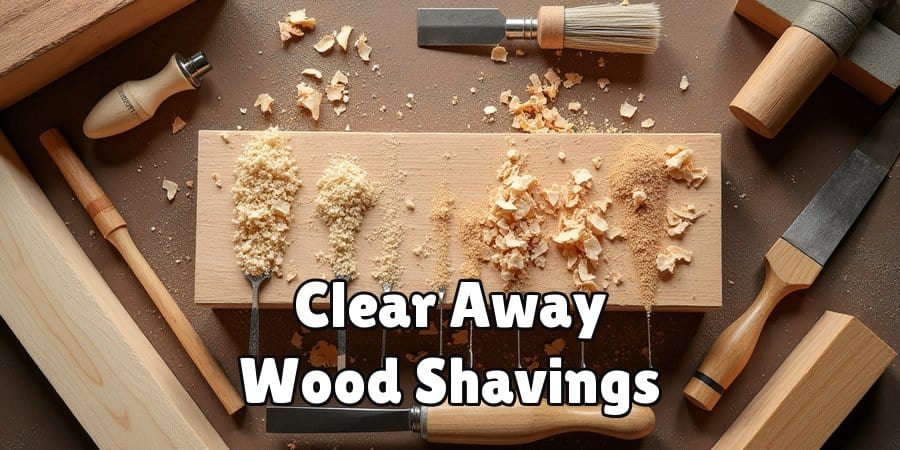
Stopping periodically to clear away wood shavings and debris is an important step in maintaining visibility and ensuring precise chisel use. Accumulated shavings can obstruct your view of the project, leading to uneven or misplaced cuts. Use a brush or your hands to remove small fragments, working carefully to preserve alignment.
Keeping your workspace tidy also eliminates potential safety hazards. You’ll be able to focus more effectively on cuts and adjustments, contributing to a polished, professional final product. Routine cleaning positions you for success throughout your woodworking process.
Step 8: Practice Patience and Precision
Wood chiseling is a skill that improves with practice, so take your time and prioritize accuracy over speed. Start with simple tasks like shaving off excess material or creating shallow grooves before advancing to intricate techniques. Patience ensures that each step of the process is completed with care, allowing you to build mastery over time.
This emphasis on steady progress not only improves your craftsmanship but also elevates your overall confidence with woodworking projects. Developing precision at your own pace guarantees satisfying, high-quality results.
Step 9: Complete Your Work with Finishing Touches
Once you’ve completed your cuts or carvings, finish the surface by sanding it smooth. A fine-grit sandpaper helps remove any minor tool marks, leaving the wood with a polished and even appearance. For added protection and visual appeal, consider sealing the wood with a stain or varnish that complements your project’s design.
The finishing process marks the culmination of your efforts, showcasing the craftsmanship and care you’ve invested. It’s the final step that transforms a rough piece of material into a refined creation.
Common Chisel Techniques
When working with chisels, mastering common techniques is essential for achieving precision and control in your projects. One fundamental method is paring, which involves using light pressure to shave thin layers of wood for fine adjustments and smooth finishes. This technique is particularly useful for fitting joints or refining details. Another common practice is chopping, where the chisel is struck with a mallet to remove larger sections of wood or create deep cuts. This is often employed when forming mortises or other structural features. Skewing the chisel at an angle can help make cleaner cuts, especially when working with the grain. Additionally, using a slicing motion can reduce tear-out and ensure smoother edges. Combining these techniques effectively allows for both functional and decorative results, making chisels an indispensable tool in woodworking.

FAQ
What is the best way to sharpen a wood chisel?
The best way to sharpen a chisel is to use a sharpening stone or a honing guide. Maintain the chisel’s bevel angle—usually between 25–30 degrees—and work through finer grits for a sharp edge.
Can beginners use a wood chisel effectively?
Yes! With patience and practice, beginners can master basic cuts and develop more advanced skills over time. Start with softer woods and simple tasks to build confidence.
What type of wood is best for chisel practice?
Softwoods like pine or basswood are excellent for initial practice, as they’re easier to chisel. Move on to hardwoods like oak once you’re comfortable with the tool.
How do I avoid splintering when using a wood chisel?
Always cut along the wood grain rather than against it. Ensure the chisel is sharp and apply controlled, steady pressure to minimize splintering.
What safety precautions should I take when using a chisel?
Wear protective gloves and goggles, and always point the chisel blade away from your body. Secure the wood firmly to avoid movement during use.
Conclusion
Mastering how to use a wood chisel opens up a world of possibilities in woodworking, allowing you to create clean, precise cuts with confidence. From selecting the correct tools to understanding wood grain and perfecting your movements, this guide ensures a strong foundation for success.
With practice and attention to detail, you can use a wood chisel to craft anything from intricate carvings to robust joinery. Start your woodworking journey today and enjoy the satisfaction of creating something remarkable with your own hands!
