

Few casino games bring as much energy to a room as craps. The cheering, the dice bouncing off the wall, and the group excitement make it a favorite at any gathering. So why not bring that thrill home? Building your own craps table is a rewarding weekend project that combines woodworking, creativity, and a love for gaming.
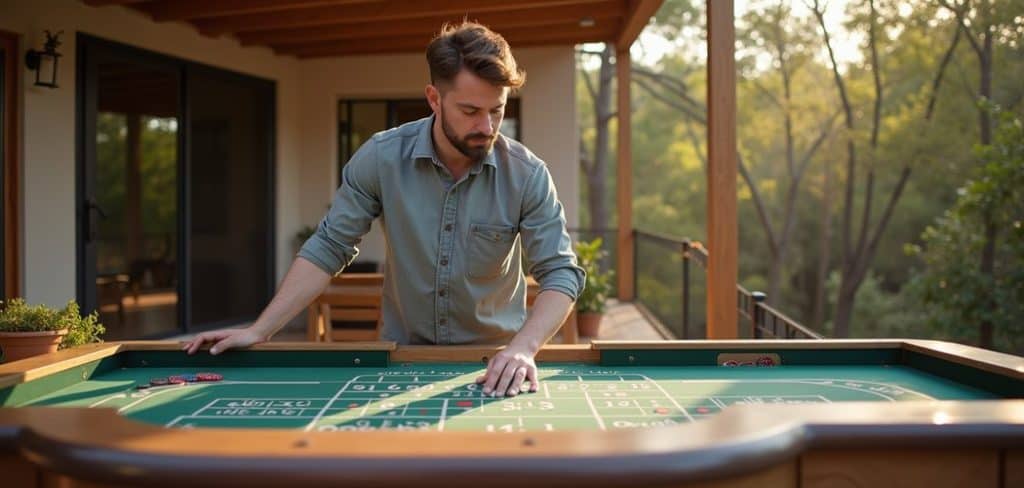
You might think a professional-grade table belongs only in Las Vegas, but with the right plan and a bit of patience, you can craft one in your garage. A homemade table lets you host game nights, practice your strategy, and enjoy something you built with your own hands. Plus, it becomes a conversation piece that guests will remember long after the dice stop rolling.
This guide on how to build craps table walks you through everything you need to know.
What Are the Benefits?
Building your own craps table offers more than just a place to play. Here are the biggest advantages you’ll enjoy:
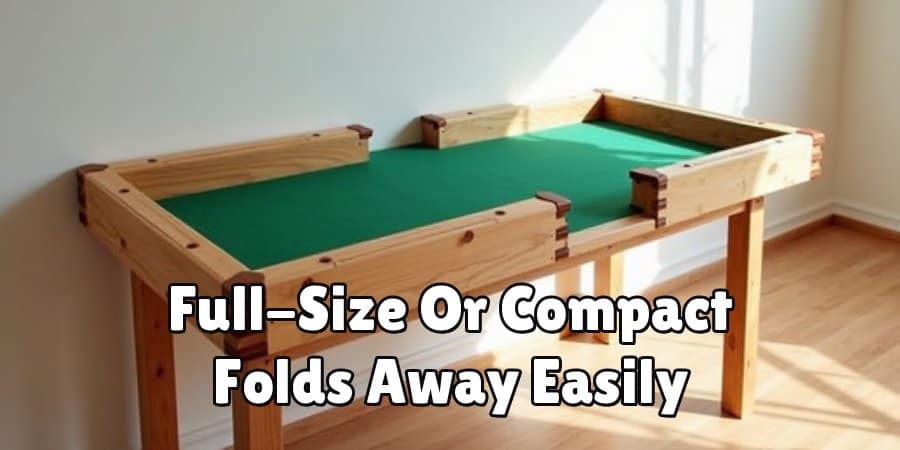
A homemade table also gives you flexibility. You can build a full-size version for a dedicated game room or a compact model that folds away when not in use.
- Save money. Professional craps tables can cost thousands of dollars. Building one yourself cuts that cost dramatically, often to a few hundred dollars in materials.
- Customize everything. You choose the size, felt color, wood finish, and layout design. Your table matches your style and fits your space perfectly.
- Learn new skills. This project sharpens your woodworking, measuring, and upholstery abilities. Each new build teaches you something you can use again.
- Entertain in style. A home craps table turns ordinary game nights into memorable events. Friends and family will love the authentic casino feel.
- Enjoy lasting quality. When you build it right, your table lasts for years. You control the materials, so you can make it as durable as you want.
- Feel proud of your work. There’s real satisfaction in playing on something you created. Every roll of the dice reminds you of your craftsmanship.
What Will You Need?
Before you start, gather your materials and tools. Having everything ready makes the build smoother and faster.
Materials:
Tools:
Take time to double-check your list. Running out of screws or felt mid-project can stall your progress. Buy a little extra of the consumables like glue and staples just in case.
- 3/4-inch plywood sheets (for the base and rails)
- 2×4 lumber (for the frame and legs)
- High-density foam padding (for the cushioned rails)
- Craps table felt or speed cloth (with layout print)
- Rubber pyramid bounce material (for the wall)
- Vinyl or leather upholstery for the armrest
- Wood screws and finishing nails
- Wood glue
- Spray adhesive
- Staples for a staple gun
- Wood stain or paint
- Polyurethane sealant
- Circular saw or table saw
- Jigsaw (for curved cuts)
- Drill and drill bits
- Screwdriver set
- Staple gun
- Measuring tape
- Carpenter’s square
- Sandpaper (medium and fine grit)
- Paintbrushes
- Clamps
- Pencil and marker
10 Easy Steps on How to Build Craps Table
Step 1: Plan Your Design and Dimensions
Start with a clear plan. A standard craps table measures about 12 feet long, but you can scale it down to 8 feet for home use. Decide on the length, width, and height before you cut anything. A comfortable playing height sits around 30 to 34 inches. Sketch your design on paper, marking the base, rails, legs, and chip trays. Note where the felt layout will sit and where the bounce wall goes. A solid plan prevents costly mistakes later. Measure your available space to make sure the finished table fits comfortably with room for players to stand around it.
Step 2: Cut the Base Panel
The base forms the foundation of your table. Using your 3/4-inch plywood, measure and mark the dimensions from your plan. Cut the main playing surface with a circular saw, keeping your lines straight and clean. For a standard home table, a base around 8 feet by 4 feet works well. Use a carpenter’s square to check that your corners are true right angles. Sand the edges smooth to remove splinters. This panel supports the felt and takes the weight of chips, dice, and players’ hands, so make sure it’s sturdy and flat. Set it aside once cut.
Step 3: Build the Frame
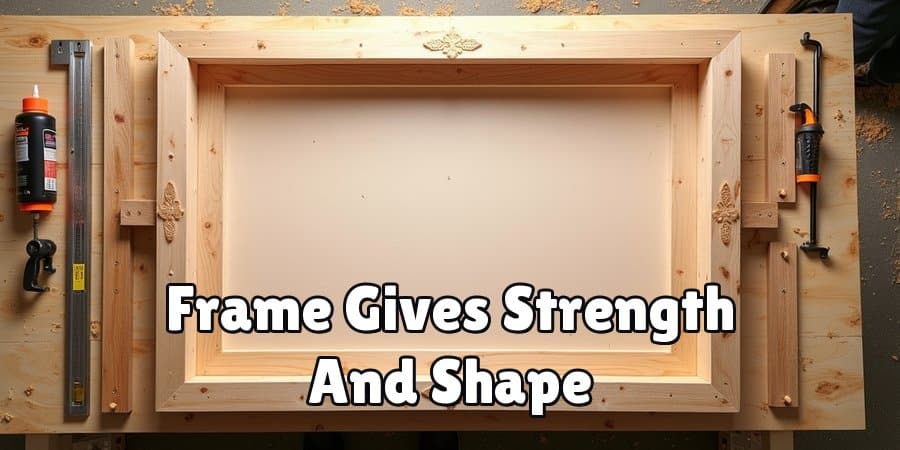
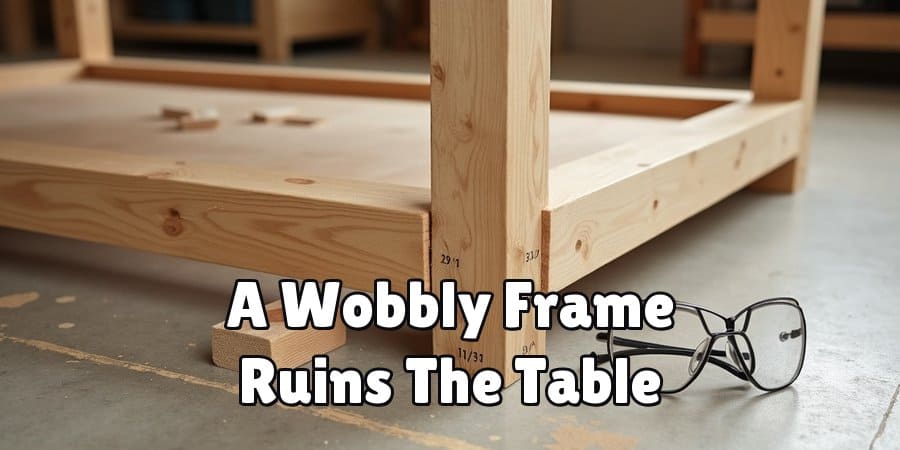
The frame gives your table strength and shape. Cut your 2×4 lumber to match the perimeter of your base panel. Assemble the pieces into a rectangular frame using wood screws and glue at each joint. Add cross supports through the middle for extra stability, spacing them about every two feet. This prevents the base from sagging over time. Clamp the joints while the glue dries to keep everything tight. Check that the frame sits level and square. A wobbly frame ruins the whole table, so take your time here. Once assembled, attach the base panel securely to the top of the frame.
Step 4: Attach the Legs
Now give your table something to stand on. Cut four legs from 2×4 lumber or use thicker 4×4 posts for added strength. Match the leg height to your planned table height, remembering to account for the base and frame thickness. Attach each leg to the inside corners of the frame using long wood screws and corner brackets. Reinforce with glue for a rock-solid connection. Stand the table up and check that it doesn’t wobble. If one leg is slightly off, sand it down or add a small shim. Level legs keep your dice rolling fair and your table steady during heated games.
Step 5: Construct the Rails
The rails are the raised edges that surround the playing surface. Cut plywood strips about 6 inches tall for the walls of your table. Attach them along the perimeter of the base, standing upright and secured with screws and glue. These rails hold the padding and give the table its casino look. Make sure they’re firmly fixed, since players will lean on them. Leave the ends of the table open or slightly angled where the shooter throws the dice. Double-check that the rails are even in height all the way around for a professional finish.
Step 6: Add the Bounce Wall
The bounce wall is what makes craps craps. Install rubber pyramid material along the inside of the two short ends of the table. This textured rubber forces the dice to bounce randomly, keeping the game fair. Cut the material to fit the width of your table and attach it to the inside rail using spray adhesive and a few staples. Press it firmly so it stays put. The pyramids should face inward toward the playing surface. Test it by tossing a die against the wall. If it bounces unpredictably, your wall is working exactly as it should.
Step 7: Install the Foam Padding
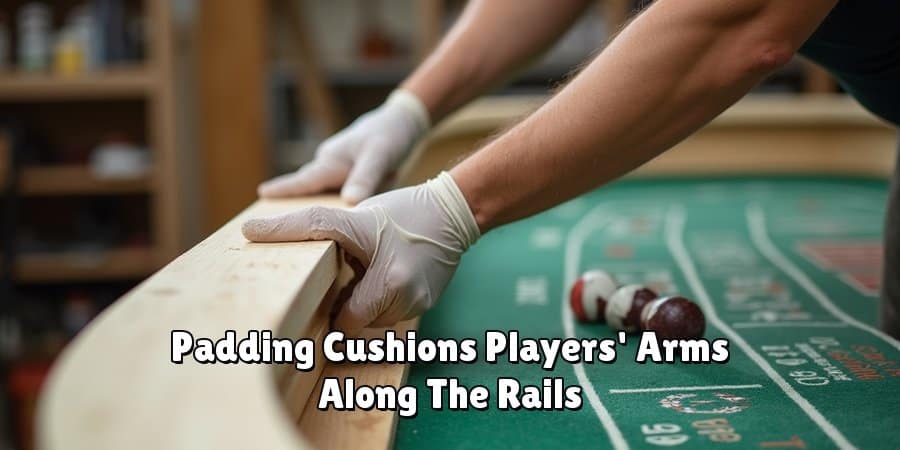
Comfort matters during long games. Cut high-density foam to cover the top edges of your rails. This padding cushions players’ arms as they lean over to place bets. Attach the foam using spray adhesive, pressing it firmly onto the rail surface. Round the top edges slightly for a comfortable feel. The padding should run smoothly along the entire top rail. Make sure there are no gaps or loose spots. Well-placed foam turns a plain wooden edge into an inviting, professional-feeling armrest that keeps players happy through hours of play.
Step 8: Lay the Felt Layout
The felt is where the magic happens. Roll out your craps table felt across the base panel, making sure the printed layout faces up and sits straight. Smooth out any wrinkles or bubbles by hand, working from the center outward. Once positioned, fold the edges over the rails and secure them underneath with a staple gun. Pull the felt tight as you staple to avoid sagging. Take your time aligning the layout so the betting areas look crisp and symmetrical. A clean, tight felt surface makes your table look authentic and keeps the dice rolling smoothly.
Step 9: Upholster the Rails
Now wrap the padded rails for a finished look. Cut your vinyl or leather upholstery to cover the foam-padded rails, leaving a few extra inches on each side. Stretch the material over the foam and staple it firmly to the underside and back of the rails. Pull it tight to avoid loose folds or wrinkles. Work one section at a time, keeping the tension even. At the corners, fold the material neatly like wrapping a gift. This step gives your table that plush, professional armrest that feels great and looks even better.
Step 10: Finish and Seal the Wood
The final step brings everything together. Sand any exposed wood surfaces until smooth. Apply your chosen stain or paint to the legs, frame, and outer rails. Let each coat dry fully before adding the next. Once you’re happy with the color, brush on a coat of polyurethane sealant to protect the wood from spills and wear. Add chip trays along the rails if you like, and attach any final hardware. Let everything cure completely before your first game. Step back, admire your work, and get ready to roll.
5 Things You Should Avoid
Even careful builders make mistakes. Steer clear of these common pitfalls:
Avoiding these errors saves you time, money, and frustration. A little extra care during each stage pays off in a table that looks great and lasts for years.
- Skipping the planning stage. Diving in without measurements leads to crooked cuts and wasted materials. Always plan first.
- Using thin or weak wood. Cheap, flimsy plywood sags and cracks under weight. Invest in quality 3/4-inch plywood and solid lumber.
- Forgetting the bounce wall. Without proper rubber pyramid material, the dice won’t roll fairly. Never skip this key feature.
- Stretching the felt unevenly. Loose or wrinkled felt ruins the look and affects gameplay. Pull it tight and staple carefully.
- Rushing the finishing. Applying stain or sealant too fast causes drips and uneven coats. Let each layer dry before moving on.
Conclusion
How to build craps table is a project worth every hour you put into it. You get a custom, casino-quality centerpiece that brings friends together and adds excitement to any game night. Along the way, you sharpen your woodworking skills and save a serious amount of money compared to buying one ready-made.
The secret to success lies in planning carefully, choosing quality materials, and taking your time with each step. From cutting the base to laying the felt and sealing the wood, every stage matters. Avoid the common mistakes, follow the ten steps, and you’ll end up with a table you’re proud to show off.
Now that you have the full roadmap, it’s time to gather your tools and get to work.
