

There’s something deeply satisfying about sitting down at a table you built with your own hands. Every joint, every sanded edge, every coat of finish tells a story of your effort and care. Building a wooden table with matching stools might sound like a job for seasoned carpenters, but the truth is much friendlier than that. With a bit of patience, the right tools, and a clear plan, you can create a set that fits your space perfectly and lasts for years.
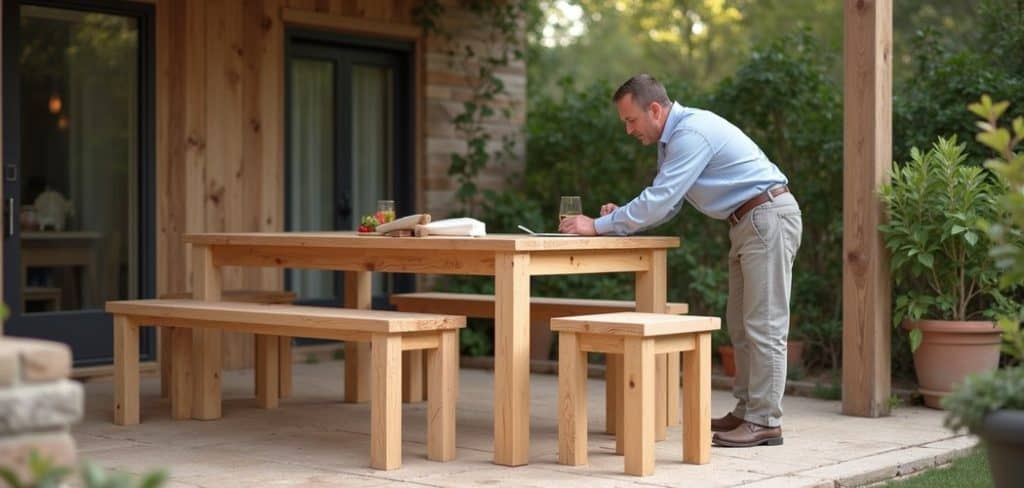
This guide on how to build a wooden table with matching stools walks you through the entire process from start to finish. Whether you want a cozy breakfast nook set, a sturdy workbench-style table, or a charming piece for your patio, the same core skills apply.
So grab your apron, clear your workspace, and let’s turn a stack of raw lumber into furniture you’ll be proud to show off.
What are the Benefits?
Building your own wooden table and stools comes with rewards that go far beyond the finished product. Here’s why so many people take on this project.
- You save money. Handmade wooden furniture from a store can cost hundreds or even thousands of dollars. When you build it yourself, you pay only for materials and tools, and those tools stay with you for future projects.
- You get exactly what you want. Store-bought furniture rarely fits your space or style perfectly. When you build your own, you control every detail: the size, the height, the wood type, and the finish. Need a table two inches shorter to fit a tight corner? No problem.
- You gain a valuable skill. Woodworking teaches patience, precision, and problem-solving. Once you finish this project, you’ll feel confident tackling shelves, benches, and other builds.
- You create something that lasts. Solid wood furniture, when built and cared for properly, can outlive cheap flat-pack alternatives by decades. You’re making an heirloom, not a throwaway.
- You reduce waste. Building your own lets you choose sustainable materials and avoid the packaging and shipping waste tied to mass-produced goods.
- You enjoy pride of ownership. Every meal shared at a table you built carries a little extra meaning. That sense of accomplishment is hard to buy.
What Will You Need?
Before you begin, gather everything so you don’t have to stop mid-project. Here’s your complete list of materials and tools.
Materials:
Tools:
Take a moment to lay everything out. A tidy workspace makes the whole build smoother and safer.
- Wooden boards for the tabletop (pine, oak, or maple work well)
- Four table legs (or lumber to cut them, roughly 2×2 inches)
- Wooden boards for the stool seats
- Lumber for stool legs
- Wood screws (various lengths)
- Wood glue
- Wooden dowels or pocket-hole plugs
- Wood filler
- Sandpaper (80, 120, and 220 grit)
- Wood stain or paint
- Clear protective finish (polyurethane or varnish)
- Felt pads for the feet
- Measuring tape
- Pencil
- Carpenter’s square
- Circular saw or hand saw
- Drill with bits
- Pocket-hole jig (optional but helpful)
- Clamps
- Screwdriver
- Sanding block or orbital sander
- Paintbrushes or foam applicators
- Safety goggles, gloves, and a dust mask
10 Easy Steps on How to Build a Wooden Table with Matching Stools
Step 1: Plan Your Design and Measurements
Start with a plan. Sketch your table and stools on paper, and write down the dimensions. A standard dining table stands about 30 inches tall, while stools usually sit around 18 to 24 inches high. Decide how many stools you need and how large the tabletop should be. Measure the space where your set will live so it fits comfortably. A clear plan saves you from costly mistakes later and gives you a roadmap to follow. Double-check every number before you cut a single board.
Step 2: Gather and Prepare Your Wood
With your plan ready, collect your lumber and inspect each piece. Look for boards that are straight, dry, and free of large cracks or knots. Warped wood leads to wobbly furniture. Let your wood sit indoors for a day or two so it adjusts to the room’s humidity. This step reduces the chance of warping after you build. Mark each board lightly with a pencil to note where each cut will go. Preparation now means fewer surprises during assembly.
Step 3: Cut the Tabletop Boards
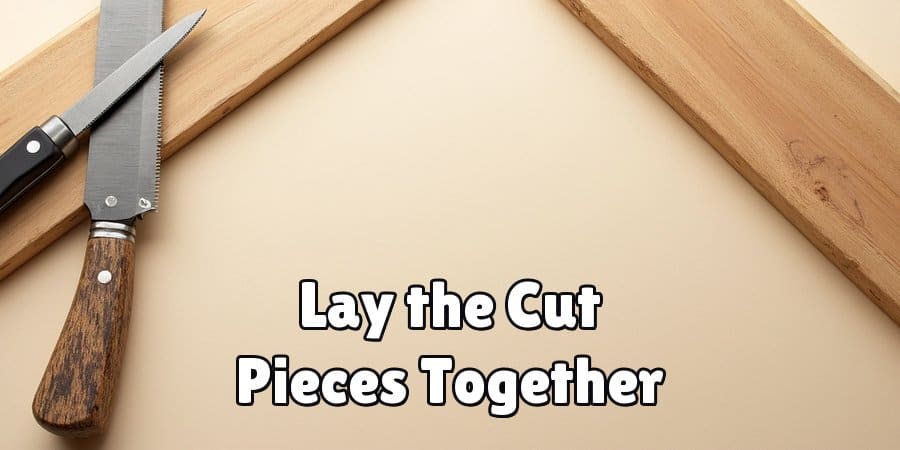
Measure and mark your tabletop boards according to your plan. Use a carpenter’s square to keep your lines straight. Cut the boards with a circular saw or hand saw, wearing your safety goggles and dust mask. Take your time and let the saw do the work rather than forcing it. If your tabletop needs several boards joined side by side, cut them all to the same length. Lay the cut pieces together to check the fit before moving on. Clean, accurate cuts are the foundation of a solid table.
Step 4: Join the Tabletop
Now bring your tabletop boards together into one solid surface. Apply a thin, even line of wood glue along the edges where boards meet. Press them together and use clamps to hold them tight. For extra strength, drill pocket holes on the underside and drive screws through them, or use dowels to align the boards. Wipe away any glue that squeezes out with a damp cloth. Leave the clamps on for several hours, or overnight if you can. A well-glued top will feel like a single piece of wood.
Step 5: Build the Table Legs and Frame
While the top dries, work on the legs. Cut four legs to your chosen height, remembering to subtract the thickness of the tabletop. Next, build a support frame, called an apron, that connects the legs just beneath the tabletop. Attach the apron pieces to the legs using pocket-hole screws and glue. Use your carpenter’s square to make sure every corner sits at a true 90 degrees. A square, sturdy frame keeps your table from rocking. Let the glue set before you handle the frame further.
Step 6: Attach the Tabletop to the Frame
Flip your tabletop upside down on a soft surface to avoid scratches. Center the leg frame on the underside, leaving an even overhang on all sides. Secure the frame to the top using screws driven up through the apron into the tabletop. Be careful not to drill all the way through the surface. If your top is wide, consider using fastening clips that allow the wood to expand and contract with the seasons. Once attached, gently turn the table right side up and check that it stands level.
Step 7: Cut and Assemble the Stool Seats
Turn your attention to the stools. Cut the seat boards to your planned size, whether round or square. If a seat needs more than one board, glue and clamp them together just like you did with the tabletop. Sand the edges of round seats to a smooth curve for comfort. Make sure all your stool seats match in size and shape. Consistency here keeps your set looking professional. Set the finished seats aside to dry fully.
Step 8: Build the Stool Legs
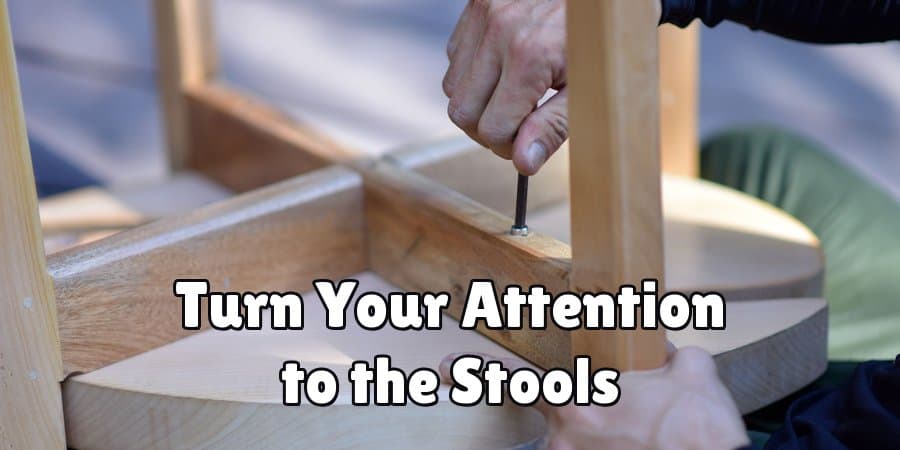
Cut the stool legs to your chosen height. For stability, angle the legs slightly outward rather than straight down. Attach the legs to the underside of each seat using screws and glue, and add small support rails between the legs for extra strength. A pocket-hole jig makes these connections cleaner and stronger. Test each stool by pressing down firmly to check for wobble. Adjust as needed before the glue fully sets. Repeat this process for every stool in your set.
Step 9: Sand Everything Smooth
Once all the glue has cured, it’s time to sand. Start with 80-grit sandpaper to remove rough spots and level any uneven joints. Move up to 120-grit, then finish with 220-grit for a silky surface. Sand along the grain, never against it, to avoid scratches. Pay special attention to edges and corners where hands and legs make contact. Wipe away all dust with a clean cloth before finishing. Smooth wood not only feels better but also takes stain and paint more evenly.
Step 10: Apply Stain or Paint and Seal
Now for the fun part: bringing your set to life with color. Apply your chosen stain or paint with a brush or foam applicator, following the wood grain. Let the first coat dry, then add a second if you want a deeper tone. Once dry, brush on a clear protective finish like polyurethane to guard against spills and wear. Apply two or three thin coats, sanding lightly between each. Finally, stick felt pads on the feet to protect your floors. Let everything cure fully before use.
5 Things You Should Avoid
Even a careful builder can slip up. Watch out for these common mistakes.

- Skipping the planning stage. Jumping straight into cutting without measurements almost always leads to wasted wood and frustration. Always plan first.
- Using wet or warped wood. Damp lumber shrinks and twists as it dries, ruining your joints. Let your wood acclimate indoors before you build.
- Rushing the glue-drying time. Glue needs hours to reach full strength. If you move on too soon, your joints may fail under weight. Patience pays off.
- Ignoring safety gear. Sawdust, flying chips, and sharp blades pose real risks. Always wear goggles, gloves, and a dust mask, and never remove saw guards.
- Skimping on sanding. A rushed sanding job leaves rough patches and uneven finishes. Take your time through each grit for a professional result.
Conclusion
How to build a wooden table with matching stools is one of the most rewarding projects a home woodworker can take on. You start with nothing more than raw boards and simple tools, and you end with a beautiful, functional set that reflects your effort and personal style. Along the way, you pick up skills that carry into countless future projects.
Remember the core lessons: plan carefully, choose good wood, take your time with glue and sanding, and never skip your safety gear. Each of the ten steps builds on the last, so work through them patiently and enjoy the process. The mistakes to avoid are easy to sidestep once you know them, and the results are worth every minute you invest.
So take the plunge, trust your plan, and start building. Your handmade wooden table and stools are waiting to become the heart of your home.
