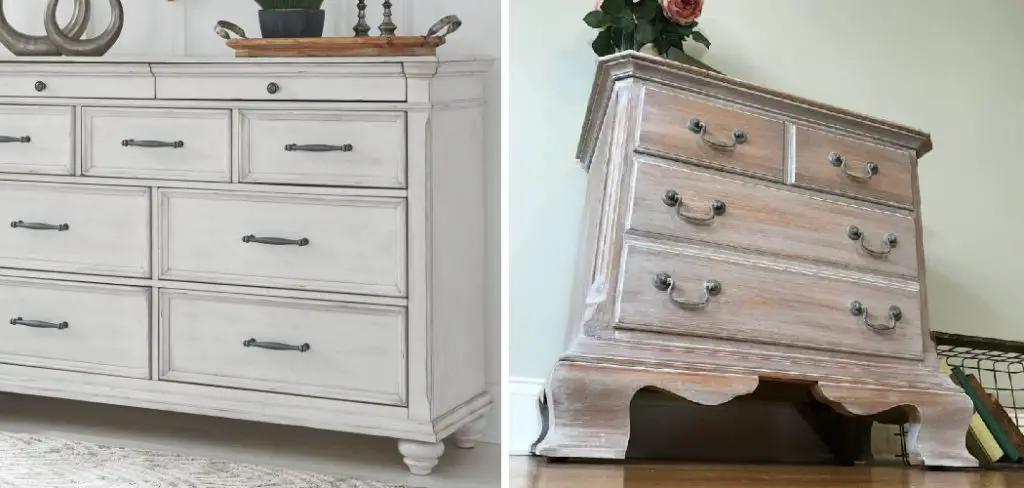
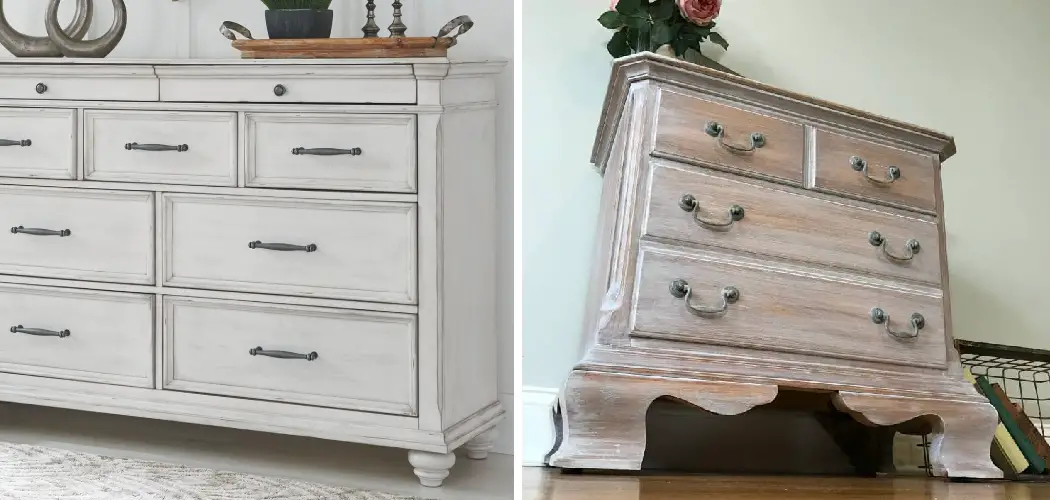
Are you tired of the old and dull look of your classic dresser? Do you want to give it a new look without spending too much? If yes, then you are in the right place. Whitewashing is a popular technique used to change the appearance of furniture. It is a great way to give your old dresser a new look. In this blog post, we will discuss seven easy steps on how to whitewash a dresser.

Can You Whitewash a Dresser?
Whitewashing a dresser is a fantastic way to revive an old piece of furniture and give it a fresh, new look. With just a few simple steps, you can transform a dark, outdated dresser into a bright and modern piece that complements any room in your home.
Whitewashing involves adding a thin, diluted paint layer to the surface of the wood, allowing some of the natural wood grain to show through. This technique creates a beautiful, rustic finish perfect for shabby chic or coastal decor styles. So, if you’re looking to breathe new life into an old dresser, whitewashing is a technique worth trying!
Why Should You Whitewash a Dresser?
Whitewashing a dresser is a simple yet effective technique that gives your old furniture a new look. While some might prefer brightly colored or dark-stained furniture, whitewashing can provide a subtle touch of elegance that compliments any room in your house. Whitewashed dressers are especially popular for those who want to add a rustic, country feel to their bedrooms.
However, the benefits of whitewashing go beyond aesthetics; the technique protects the wood by sealing it in a natural color while adding a protective layer that repels dirt and dust. Additionally, suppose you choose to take on the project yourself. In that case, whitewashing is an easy and affordable way to transform an old dresser into a charming, stylish piece of furniture that you’ll love for years to come.
7 Steps to Follow on How to Whitewash a Dresser
Step 1: Prepare the Dresser

The first step is to prepare your dresser. Remove all the drawers and handles, and clean the dresser’s surface. Sand the surface with medium-grit sandpaper to remove any stains or uneven finishes. Make sure to wipe it clean with a dry cloth to remove any dust or debris. You are ready to proceed once the dresser surface is smooth and clean.
Step 2: Apply the Whitewash Mixture
The next step is to apply the whitewash mixture. You can make your own whitewash by mixing equal water and white paint. Mix it well to create a consistency thicker than regular paint but not so thick that it will not spread easily. Use a brush or a roller to apply the whitewash to the dresser’s surface. Make sure to apply the whitewash in long strokes along the wood grain of the dresser. Leave the whitewash for a few minutes to dry.
Step 3: Wipe Away the Excess Whitewash
Once the whitewash is dry, use a dry cloth to remove the excess. This will help you create the whitewashed effect that you are looking for. You can leave some whitewash on the surface if you want a more subtle effect.
Step 4: Seal the Surface
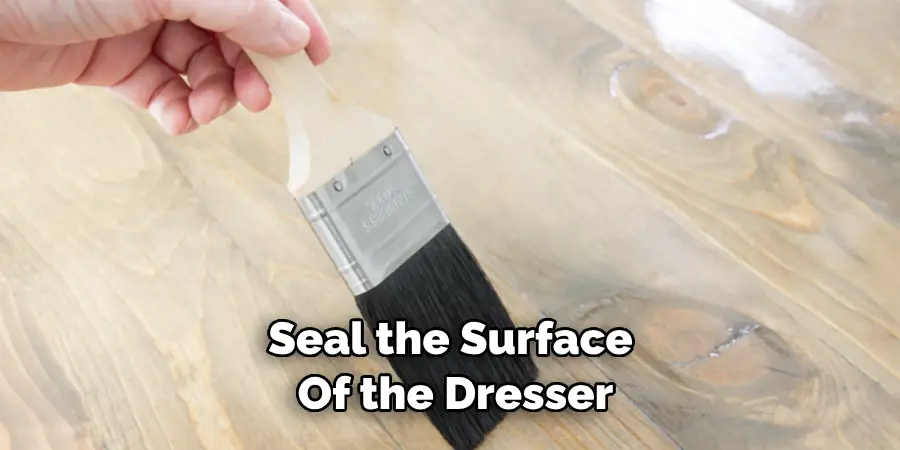
The final step is to seal the surface of the dresser. This will help protect the whitewash from chipping or fading over time. Choose a clear wax or sealer and apply it to the dresser’s surface with a brush or a cloth. Leave it to dry overnight, and your whitewashed dresser is ready to use.
Step 5: Put the Drawers and Handles Back

Now that your whitewashed dresser is complete, it’s time to put the drawers and handles back. Make sure to carefully place them in their original positions so that they fit properly. When everything is in place, your dresser will be ready for use.
Step 6: Touch Up the Whitewash
If you want to refresh or touch up your whitewashed dresser, it’s easy to do. Simply mix a new batch of whitewash and apply it with a brush or roller in long strokes along the wood grain. Wipe away any excess with a clean cloth, then leave it to dry overnight.
Step 7: Enjoy Your New Look
After you’ve completed all the steps, it’s time to enjoy your new whitewashed dresser. This simple project will help give your furniture a fresh and updated look that will add character to any room in your home. With minimal effort, you can create an amazing transformation with just a few simple materials. So go ahead and try whitewashing your dresser today!
5 Considerations Things When You Need to Whitewash a Dresser
1. Preparing the Dresser
Before whitewashing a dresser, it is important to ensure it is properly prepared. This includes cleaning the dresser’s surface with a damp cloth and sanding any rough or uneven spots. Additionally, it is important to remove all hardware from the dresser and cover any areas you do not want painted with painter’s tape or newspaper.
2. Choosing the Paint
Once the dresser has been properly prepared, it is time to choose the paint for whitewashing. Several types of paint are available for this purpose, including chalk paint, latex paint, and oil-based paints. It is important to select a paint that will adhere well to the dresser’s surface and provide good coverage.

3. Applying Whitewash
You will need a brush or roller and water or white vinegar to apply whitewash to a dresser. Mix one part of white paint with two parts of water or white vinegar in a bucket. Then, use your brush or roller to apply the mixture onto the dresser’s surface in even strokes until you have achieved your desired look. Allow the whitewash to dry before adding additional coats if necessary.
4. Finishing Touches
Once your whitewashed dresser has dried completely, you can add finishing touches, such as waxing or distressing for an aged look. If you wish to distress your dresser, use sandpaper on areas where natural wear would occur, such as edges and corners, for an authentic look. You can also add decorative hardware, such as knobs or handles, for an extra touch of style and personality.
5. Sealing Your Work
Finally, it is important to seal your work with a clear coat of polyurethane or varnish to protect your newly whitewashed dresser from scratches and wear and tear over time. Apply two coats of sealant using a brush in even strokes and allow each coat plenty of time to dry before applying another coat if necessary. Your dresser is now ready for use!
5 Benefits of Whitewash a Dresser
1. An Easy and Affordable Refresh
Whitewashing a dresser is an easy and affordable way to give your furniture a fresh look. It requires minimal effort and materials, making it a great option for those who want to update their furniture without spending too much money. Whitewashing involves painting the dresser with a mixture of paint and water, giving it a light, whitewashed finish that can easily be customized to match any decor style.
2. A Unique Look
Whitewashing a dresser can create a unique look that is impossible with other painting techniques. The combination of paint and water creates an uneven finish that adds character to the piece while still allowing its natural beauty to shine through. This technique also allows you to customize the color of the dresser by adding different shades of paint to the mixture, giving you endless possibilities for creating your unique design.

3. Protection Against Wear and Tear
Whitewashing a dresser can also help protect it against wear and tear. The combination of paint and water creates a thin layer on top of the wood that helps protect it from scratches, dents, and other types of damage caused by everyday use. This layer will also help protect the wood from fading due to sunlight exposure or other environmental factors.
4. Easy Maintenance
Another benefit of whitewashing a dresser is that it requires little maintenance after completion. Unlike other painting techniques, there is no need to apply additional coats or touch-ups as time passes since the thin layer created by whitewashing will last many years with proper care and cleaning.
Additionally, if you ever decide to change the look of your dresser, simply sanding down the surface will remove any existing whitewash without damaging the wood underneath.
5. A Timeless Design
Finally, whitewashed furniture has become increasingly popular in recent years due to its timeless design aesthetic. Whether looking for something modern or more traditional, this furniture can easily fit into any decor style without looking dated or out-of-place.
Plus, since it only requires minimal effort and materials, you can easily switch up your decor style whenever you feel like giving your space an update without investing in new furniture every time!
Conclusion
Whitewashing is a simple and cost-effective way to refresh the look of your old dresser. By following the above steps and using the right materials, you can easily achieve a whitewashed effect that will give your furniture a new lease of life. So, go ahead and try this technique, and you will be surprised at how much your old dresser can transform! Thanks for reading our post about how to whitewash a dresser.

