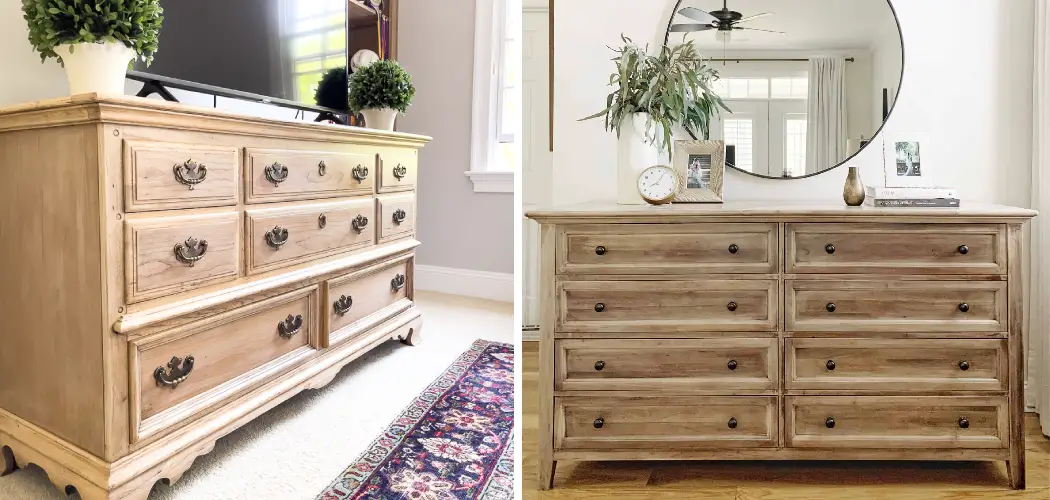
Do you have an old wood dresser that could use some sprucing up? You know the one – a piece of furniture handed down from your grandparents or picked up second-hand at a flea market? With just a few simple steps and minimal expense, you can easily give the item new life and turn it into an eye-catching centerpiece for your bedroom.
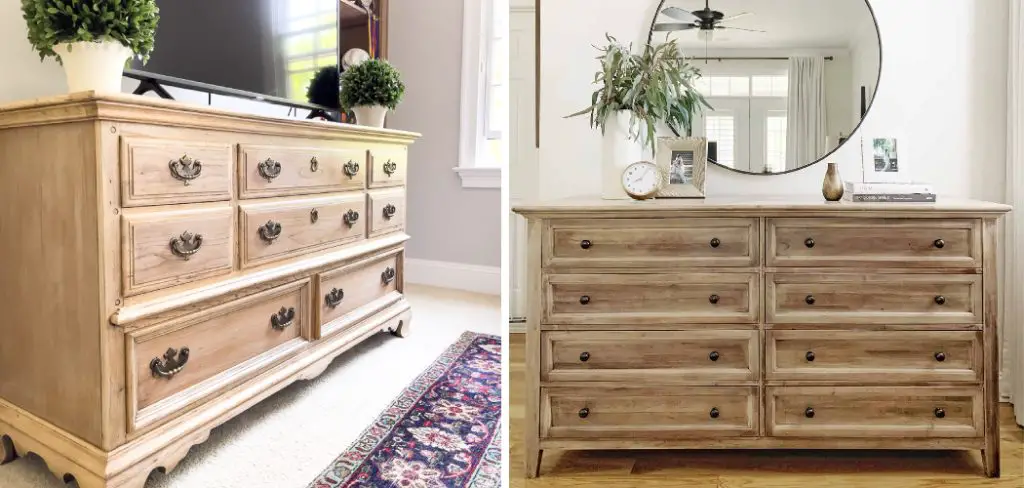
In this blog post, we’ll walk through the steps involved in safely bleaching wooden furniture to revive its natural beauty. Whether you choose basic bleach whitening or more advanced techniques, these tips will help guide you through every part of the process. So get ready to take on this do-it-yourself project and learn how to bleach wood dressers with ease!
Tools and Materials You Will Need to Bleach Wood Dresser
- Protective eyewear and gloves
- Chlorine bleach
- Paintbrush or scrub brush
- Bucket or bowl for mixing bleach solution
- Sponge or cloth rags (scrap fabrics work great)
- Bucket of clean water
- Wood bleach (optional)
- Furniture wax or polyurethane sealant (optional)
Step-by-step Guidelines on How to Bleach Wood Dresser
Step 1: Prepare the Dresser
Before you begin bleaching, be sure to remove all of the hardware from your dresser. This includes knobs, drawer pulls, and any other decorative pieces. Once they’ve been removed, use a vacuum cleaner with a brush attachment to get rid of any dirt or debris that may have gathered inside and around the drawers.
Step 2: Apply Bleach to the Dresser
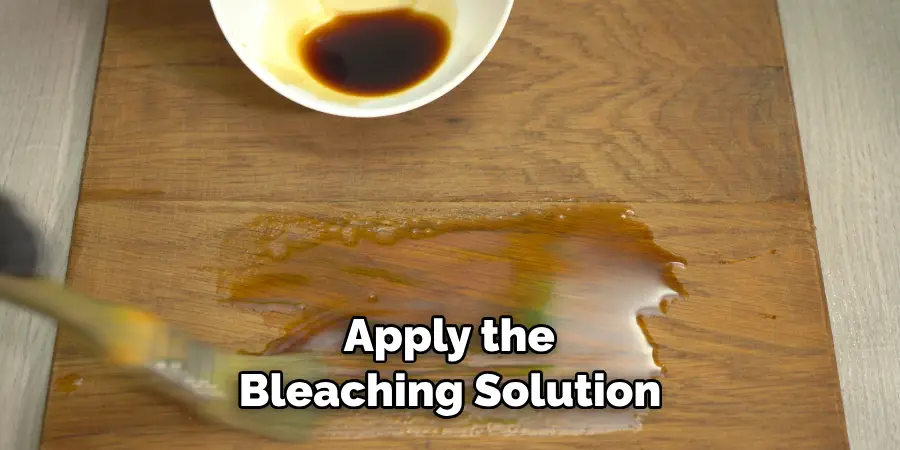
Using a paintbrush or scrub brush, apply chlorine bleach to the dresser. Be sure to cover all of the surfaces and any crevices. Make sure that you are wearing protective gloves and eyewear when handling bleach. Allow the bleach to sit for 15 minutes before wiping away with a damp rag.

If you want to achieve a more subtle, weathered look on your dresser, you can mix bleach with water in a bowl or bucket. This will create a milder bleaching solution that can be applied using the same tools described above. For best results, allow the mixture to sit for up to an hour before wiping away.
Step 3: Optional: Apply Wood Bleach
If you’d like to lighten the wood further or deepen the color, you can use specialty wood bleach. This type of bleaching product should be applied directly from the container using a cloth or sponge. Allow it to sit for up to an hour before wiping it away with clean water. This will help to even out any color variations in the wood, leaving you with a beautiful, uniform bleached finish.
Step 4: Seal and Wax the Dresser
Once you’re happy with the bleaching results, it’s time to seal and protect your dresser from future damage. Use a polyurethane sealant or furniture wax to cover the wood and keep it looking great. This will also protect it from moisture, dust, and other environmental factors that could cause the wood to fade over time.
With just a few simple steps and some basic supplies, you can easily bleach wooddressers to restore their natural beauty. And when your project is complete, you’ll have an eye-catching piece of furniture that looks as good as new! Have fun with this do-it-yourself task and enjoy showcasing your newly refreshed dresser in the bedroom.
Additional Tips and Tricks to Bleach Wood Dresser
- Always wear protective gear when bleaching wood dressers, like gloves and safety glasses.
- It is not recommended to bleach old wood dressers if you don’t know the type of wood it is made from because different types of wood have different reactions to bleaching agents.
- If you are using a commercial bleaching agent, make sure to read the instructions carefully and follow them precisely.
- Always test a small portion of the wood dresser first before you apply the bleaching solution on it so that you can observe its reaction to the bleach.
- When using a liquid bleach, mix it with water in an appropriate ratio according to the instructions given by the bleaching agent manufacturer.
- Always apply the bleach in thin layers and leave it on for just a few minutes before rinsing off thoroughly with clean water.
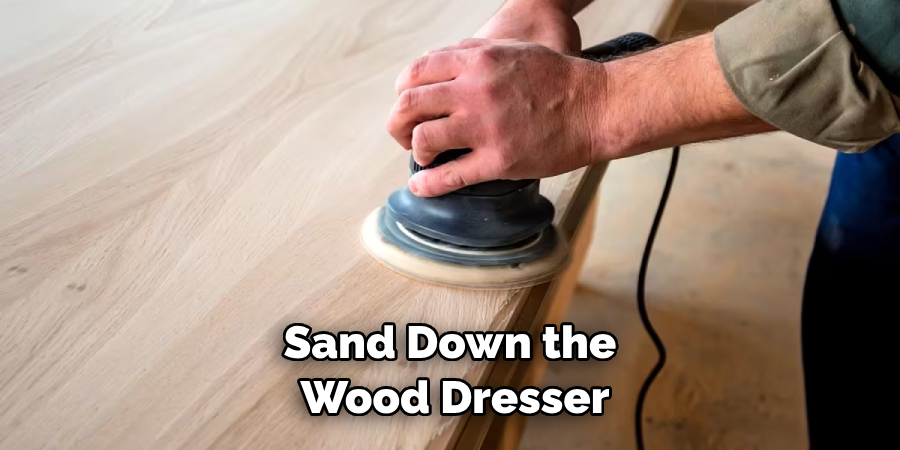
- After bleaching, you may need to sand down the wood dresser to get a smooth finish. To do this, use a fine-grit paper that is between 220-320.
- When the wood dresser has been sanded, apply a sealant or finish that is appropriate for the type of wood you are using. This will help to protect and preserve the wood from damage caused by water or dust.
- Finally, enjoy your new look for your wood dresser! The bleaching process can be time-consuming but the results are worth it.
Following these tips and tricks can help you achieve the perfect look for your wooddresser. You should also remember to keep your workspace clean and tidy while you are bleaching and sanding as this will prevent any unnecessary mess or damage from occurring. Lastly, if you are ever in doubt about a step in the process, it is best to seek out professional advice before continuing. Good luck!
Things You Should Consider to Bleach Wood Dresser
- Choose a good quality bleach – There are different types of bleach available in the market, and you should choose one that is suitable for your wood dresser.
- Wear protective gear – Make sure to use gloves, eyewear, masks, and other protective clothing when bleaching the wood dresser.3. Test the product on a small area first – Before you start bleaching the entire dresser, test the product on a small area and make sure that it does not damage or discolor your wooden furniture.
- Clean the surface – Make sure to clean the wood dresser thoroughly before applying any bleach to it.
- Use multiple layers of bleach – Applying multiple thin coats of bleach will ensure that all areas of the wood dresser are evenly bleached.
- Rinse off excess bleach – After you’re done applying the bleach, rinse away any remaining residue to prevent further damage to your furniture.
- Let it dry completely- Once you have finished rinsing off the bleach, let the dresser dry completely before using or storing it again.
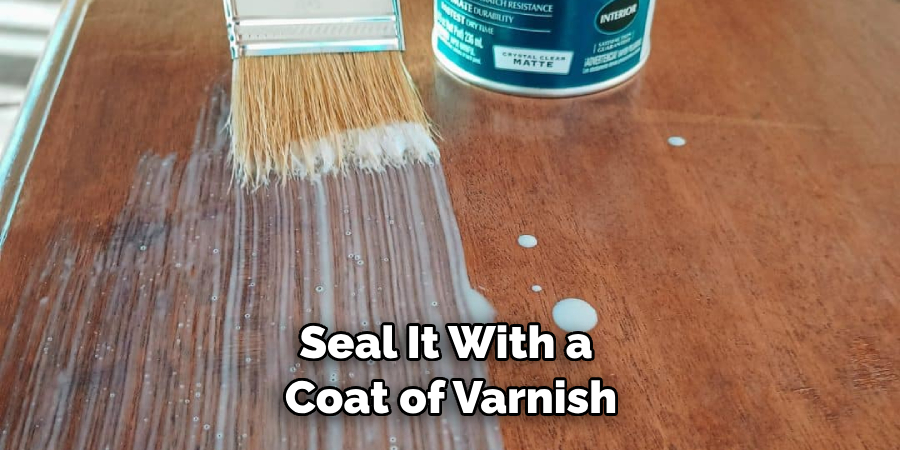
- Seal the wood – To help protect the wood from further damage, seal it with a coat of varnish or polyurethane after bleaching. This will also enhance the color and shine of your dresser.
- Use furniture wax – After you’ve sealed the wood dresser, you should apply furniture wax to give it a shiny finish and protect it from further damage.
- Get professional help – If you feel uncomfortable or inexperienced with bleaching wooddressers, hire a professional to do the job for you. This will ensure that your furniture is properly treated and that no damage is done during the process.
These are some of the things you should consider when bleaching a wood dresser. Keep in mind that bleaching your furniture can be quite dangerous if done incorrectly, so it’s important to take the necessary precautions before beginning the process. If you have any doubts or questions, make sure to consult a professional for further advice. Good luck!
Precautions Need to Follow for Bleaching Wood Dresser
- Before starting the bleaching process, it’s important to ensure that your wood dresser is properly cleaned and free of dirt, dust, or other debris.
- Wear protective gloves when handling bleach and keep it away from children.
- 3. Choose a well-ventilated area for applying the bleach as the fumes can be hazardous to breathe in.
- Test the bleach on a small area of your item first to ensure it won’t damage or discolor the wood, especially if you are dealing with a furniture piece with intricate details.
- Once the bleaching process is complete, make sure to rinse off any excess product and dry completely.
- To preserve your newly-bleached dresser, apply a clear coat of sealant or varnish. This will help keep the wood from becoming discolored over time and protect it against scratches and other damage.
- If possible, move your dresser to an area away from direct sunlight as this can also cause fading.
- Lastly, remember that bleaching can be a time-consuming process and the results may not be what you expected. Be sure to take your time and ensure that you are happy with the end result before sealing it.
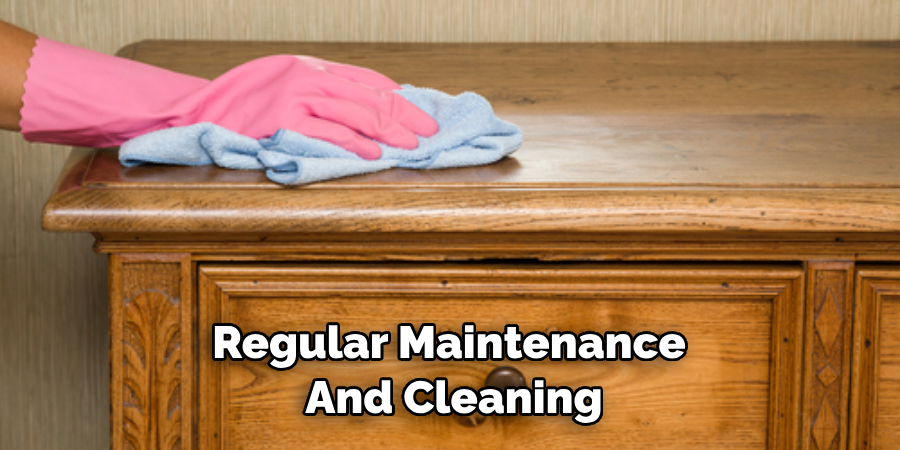
Following these precautions will help you achieve the desired look of a bleached wood dresser. With a little patience and care, you can have a beautiful piece of furniture to add to your decor. With regular maintenance and cleaning, you can keep your bleached wood dresser looking its best for years to come!
Frequently Asked Questions
What Needs to Be Done After Bleaching the Wood Dresser?
After bleaching, it is important to rinse thoroughly with cool water and allow the wood piece to dry completely. You may then apply a new finish or sealant if needed. Be sure to use proper safety precautions when applying any form of stain, paint, or other product to the wood dresser.
What Products Should I Use When Bleaching a Wood Dresser?
When bleaching a wood dresser, it is important to use products that are specifically designed for this purpose. Always read and follow all instructions on any cleaning or bleaching products before use. Additionally, you may want to wear protective gloves when working with any cleaners due to the chemical nature of the products.
Are There Any Risks Associated With Bleaching a Wood Dresser?
Yes, there are some risks associated with bleaching wooddressers. Improper use or mixing of chemicals can cause damage to both people and property. Additionally, over-bleaching may cause discoloration of the wood. It is important to use products as directed and exercise caution when bleaching any wood piece.
Is it Possible to Test the Bleaching Products Before Use?
Yes, you can test bleaching products before using them on your dresser. Be sure to choose an inconspicuous part of the furniture, such as a back or underside panel, to test the product on. Doing so will allow you to see how the bleaching agent reacts with the wood before using it more expansively.
What Tips Are There For Maintaining Bleached Wood?
To maintain a bleached wood dresser, it is important to keep up with regular cleaning and dusting. Keeping the furniture dry and free of moisture will also help preserve its condition. Additionally, it is recommended that you regularly apply a protective sealant to help protect the wood from fading or discoloration. Doing so will help keep your dresser looking as good as new for longer!
Conclusion
All in all, bleaching a wood dresser is a great and cost-effective way to refresh the look of an item you already own. With our step-by-step guide, you can turn your old wood dresser from drab to fab in no time! Just make sure to give yourself plenty of time and wear gloves when handling any chemicals!
Moreover, the results are well worth it as you’ll be able to give a new lease on life to a piece that otherwise would have gone forgotten. Does this project sound like something you’d like to take on? Try out our guide for How to Bleach Wood Dressers today and see how it transforms your furniture in no time at all!

