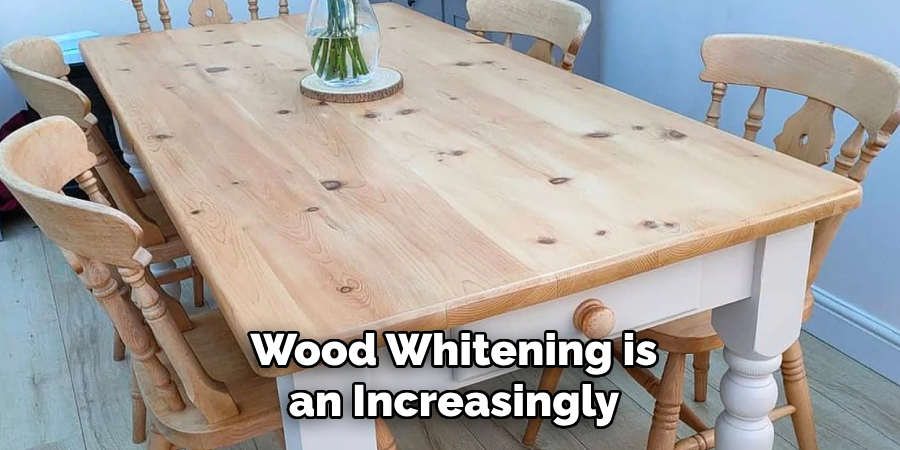
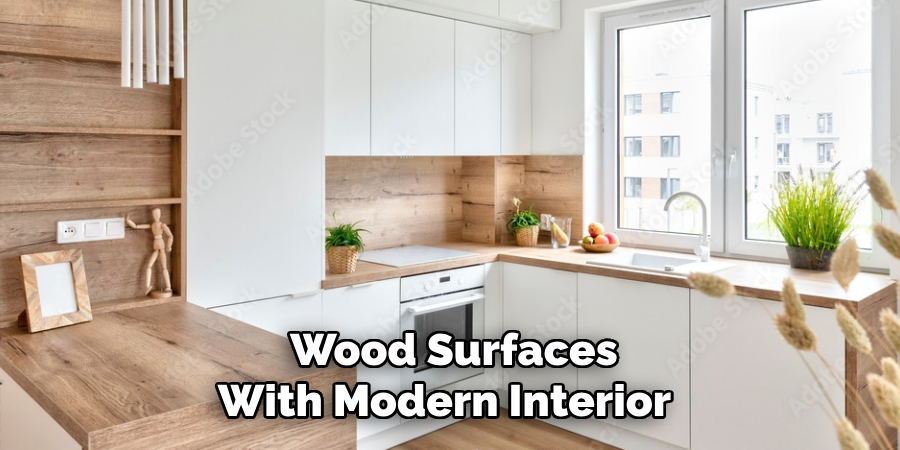
Wood whitening is an increasingly popular technique used to rejuvenate and brighten older pieces, helping to achieve a lighter and more contemporary aesthetic that seamlessly complements various home styles. People choose to whiten wood for a multitude of reasons, including the desire to breathe new life into timeworn furniture or to align the appearance of wood surfaces with modern interior designs.
Depending on the type of wood, its existing condition, and the desired final look, several methods can be employed to whiten wood effectively. Techniques range from traditional whitewashing and lime washing to more intensive processes like wood bleaching. Each method offers unique visual outcomes, catering to distinct stylistic preferences. The purpose of this article is to offer a comprehensive guide on how to whiten wood, providing readers with detailed, step-by-step instructions and tips for safely executing these techniques, ensuring a successful transformation of their wooden items.
Understanding Wood Types and Their Reaction to Whitening
Hardwood vs. Softwood Whitening Considerations
When planning to whiten wood, it is crucial to understand the differences between hardwoods and softwoods, as these two types of wood react differently to whitening processes. Hardwoods like oak and maple typically have a denser structure and finer grain, allowing for a more uniform and refined whitening result. In contrast, softwoods like pine have a looser grain and are generally more absorbent, which can result in a more uneven finish.
Consequently, choosing the right whitening method often depends on these characteristics, as they will dictate the level of preparation required and the final look of the whitened wood surface.
Factors to Consider Before Whitening Wood
The effectiveness of wood whitening can significantly be influenced by several factors, including the wood’s finish, age, and any existing stain or paint. Newer or well-finished wood may resist whitening agents, requiring more preparation, while older or porous wood may absorb them more readily. Additionally, a thorough understanding of the wood’s current state can help predict the outcome, especially if stripping or sanding is necessary beforehand.
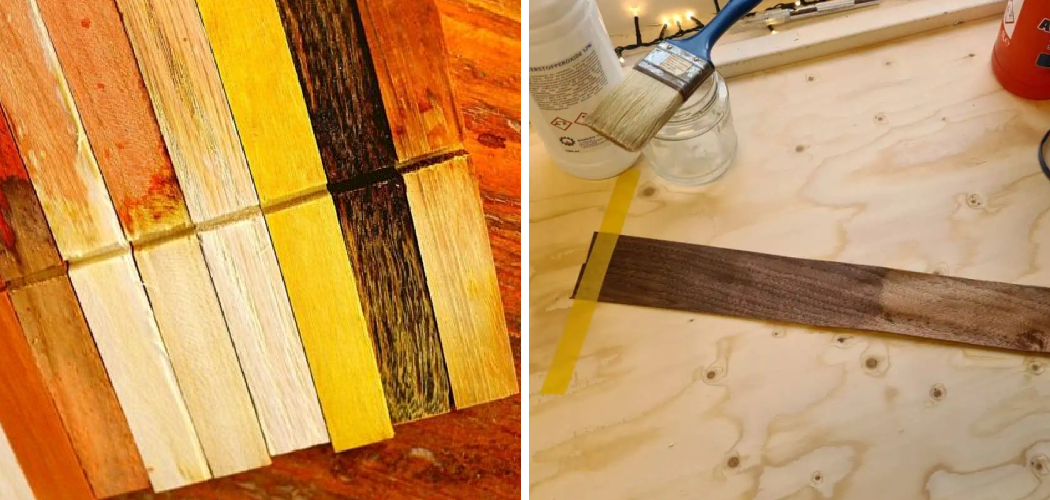
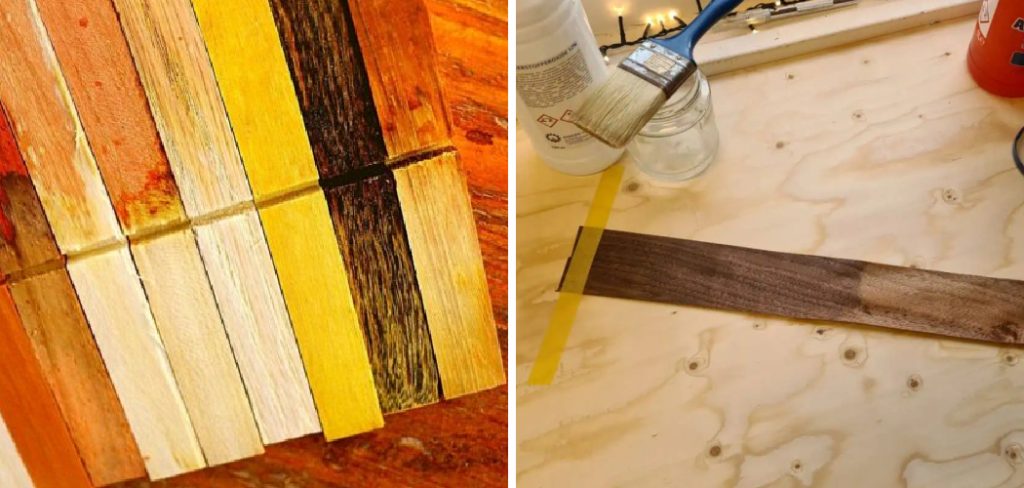
Conducting a patch test is essential to observe how the wood reacts to the chosen whitening method, ensuring that the process will not damage the wood or produce unintended results.
Preparing the Wood for Whitening
Cleaning the Wood Surface
To ensure a successful wood whitening process, thoroughly clean the surface to remove any dirt, grease, or old polish. This can be accomplished using a mild soap solution, effectively cleaning the wood without causing damage. Gently scrub the surface with a soft cloth or sponge, eliminating all residues. Once the wood is clean, it is crucial to dry it thoroughly, as any remaining moisture can interfere with the effectiveness of the whitening agents. Allow ample time for the wood to dry naturally, or use a clean, dry cloth to accelerate the process.
Sanding for Better Absorption
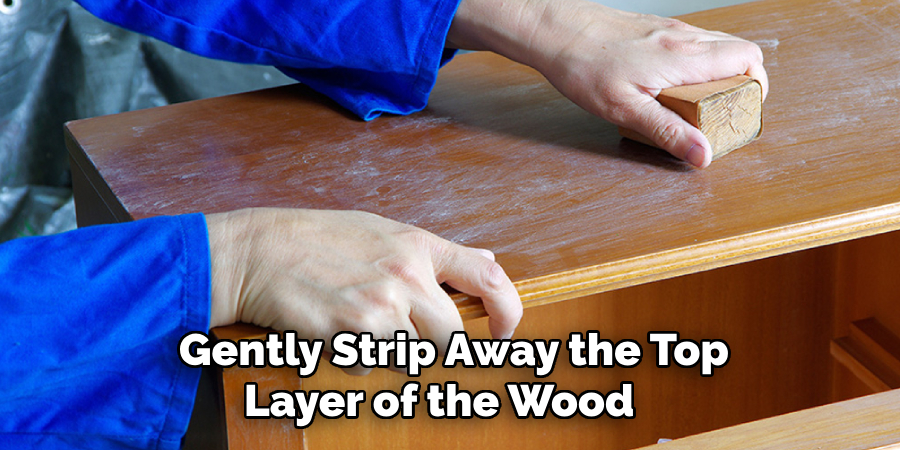
Sanding is vital in preparing wood for whitening, as it opens up the pores, facilitating better absorption of whitening products. Start with a medium-grit sandpaper to remove any surface imperfections and gently strip away the top layer of the wood. This enhances the texture and primes the wood for even application of whitening agents.
Follow up with a fine-grit sandpaper to achieve a smooth finish, taking care to sand in the direction of the grain to prevent any scratches or abrasions. This preparatory step ensures the uniformity and effectiveness of the subsequent whitening process.
How to Whiten Wood Whitening Techniques
Using Whitewash for a Soft, Matte Effect
Whitewashing is a popular technique for achieving a soft, matte, and rustic finish that allows the natural texture of the wood to shine through. This method involves creating a whitewash solution, typically by mixing equal parts of white paint and water to achieve the desired translucency. The solution is then applied evenly across the wood surface using a brush or sponge, following the wood grain to prevent streaks.
Wipe off excess with a clean cloth for a more uniform appearance, and allow it to dry completely. Whitewashing is perfect for those seeking to create a charming, vintage aesthetic while maintaining the warmth and character of the wood.
Applying a Lime Wash for an Aged Look
Lime washing, with origins dating back centuries, imparts a classic aged appearance to wood surfaces, making it a favored technique for vintage or antique-inspired decor. This method utilizes a lime-based solution that is both breathable and subtly textured, emphasizing the wood grain and adding depth. To apply a lime wash, begin by diluting lime with water to create a smooth mixture.

Apply the wash with a brush in thin, even coats, enhancing the grain patterns. For an aged effect, consider applying multiple layers, allowing each to dry fully before adding the next. Lime wash not only beautifies but also conditions and protects the wood.
Bleaching Wood for a Uniformly White Look
Wood bleaching is an intense whitening technique ideal for achieving a uniformly white appearance. This method involves applying a commercial wood bleach solution to strip color thoroughly and neutralize stains. It’s best suited for achieving complete whitening when a minimal wood grain is desired.
Step-by-Step Guide
Types of Wood Bleach
Understanding the different types of wood bleach is crucial in choosing the right one for your project. Oxalic acid, often used to remove rust stains and discoloration, is effective on wood like oak or cherry. Hydrogen peroxide is a gentle bleaching agent best for oak and beech, while also being kinder to the wood’s grain. Commercial wood bleaches often come as a two-part solution designed for maximum whitening, suitable for denser woods like maple.
Each type requires specific handling and safety precautions, such as wearing gloves and goggles and avoiding direct inhalation.
Applying Wood Bleach Safely and Effectively
To bleach wood safely and effectively, begin by wearing protective gear, including gloves and a mask. First, mix the bleach according to the manufacturer’s instructions, considering the wood type. Apply the bleach evenly using a brush, ensuring full coverage while working in a well-ventilated area. Allow the bleach to sit and react with the wood according to the recommended time, but check periodically to avoid over-bleaching. Rinse the wood thoroughly with clean water and let it dry completely. Following these steps ensures effective whitening while preserving the wood’s quality and structure.
Finishing Touches Sealing and Protecting Whitened Wood
Applying a Sealant to Preserve Color
Once the wood has been whitened to your satisfaction, applying a sealant is crucial to lock in the loved look and guard the wood against moisture, UV damage, and potential yellowing. Sealants are available in various finishes, including clear, matte, or satin, each offering a distinct visual effect while maintaining the natural appearance of the wood. When selecting a sealant, consider the type of wood and the level of protection required.
To ensure a smooth application, use a quality brush or spray, applying in thin, even coats with ample drying time between applications. A properly applied sealant enhances the whitened wood’s beauty and longevity.
Using a Topcoat for Durability
For additional durability, a topcoat such as polyurethane or varnish can provide an extra layer of protection for your whitened wood. Topcoats improve resilience and help prevent scratches and wear over time. When applying a topcoat, opt for a non-yellowing formula to avoid altering the whitened finish. Use long, even strokes with a clean brush, working in the direction of the wood grain to ensure a uniform layer.
Allow each coat to dry completely before applying the next, typically requiring two to three coats for optimal durability. Following these steps, the whitened wood will have enhanced durability without compromising its elegant finish.
Alternative Methods for a Whitened Wood Finish
Using Chalk Paint for a Distressed, Whitewashed Effect
Chalk paint offers a versatile and user-friendly option for those looking to achieve a distressed, whitewashed effect on wood. Known for its matte and rustic finish, chalk paint can be applied quickly, making it a popular choice for DIY projects. To create a semi-transparent, whitened appearance, apply the paint sparingly with a brush, focusing on areas that naturally wear over time to enhance the distressed look. Once dry, lightly sand the edges to reveal the wood underneath for added character.
Experimenting with Wax or Tinted Finishes
White-tinted waxes provide a subtle method to lighten wood while retaining its natural grain and texture. This approach is ideal for those wanting a soft, muted, whitened finish. To apply, first ensure the wood surface is clean and smooth. Use a cloth or brush to spread the wax evenly, then buff the surface to achieve a gentle sheen. The result is a beautifully aged look that enhances the wood’s original charm.
Common Mistakes to Avoid When Whitening Wood
Over-Bleaching or Over-Sanding
Over-bleaching wood can significantly weaken its structure, leading to a brittle and fragile finish. Similarly, over-sanding can reduce the integrity of the wood, compromising its durability and appearance. To prevent these pitfalls, approach whitening gradually. Start with light bleaching or minimal sanding, and assess results before deciding on additional treatments. This careful approach helps achieve the desired whitened look without risking damage to your wood.
Skipping the Sealant Step
Neglecting to seal whitened wood can result in fading, discoloration, and damage over time, especially from moisture and stains. Applying a sealant is crucial for preserving the freshly whitened appearance while providing a protective barrier. Sealants lock in color, maintaining the aesthetic appeal, and offer essential protection that prolongs the wood’s beauty and lifespan, ensuring your efforts are not wasted.
Conclusion
In summary, learning how to whiten wood reveals numerous techniques, from whitewashing and bleaching to applying wax finishes. These methods offer versatile options to suit your desired aesthetic. Always experiment with test areas, employ proper safety measures, and exercise patience to ensure successful results.
As you venture into these techniques, remember that transformations take time; cherish the enhanced brightness and renewed look that whitened wood brings to your space. The journey of refinishing your wood items can be as rewarding as the finished product itself, elevating the ambiance of any room.

