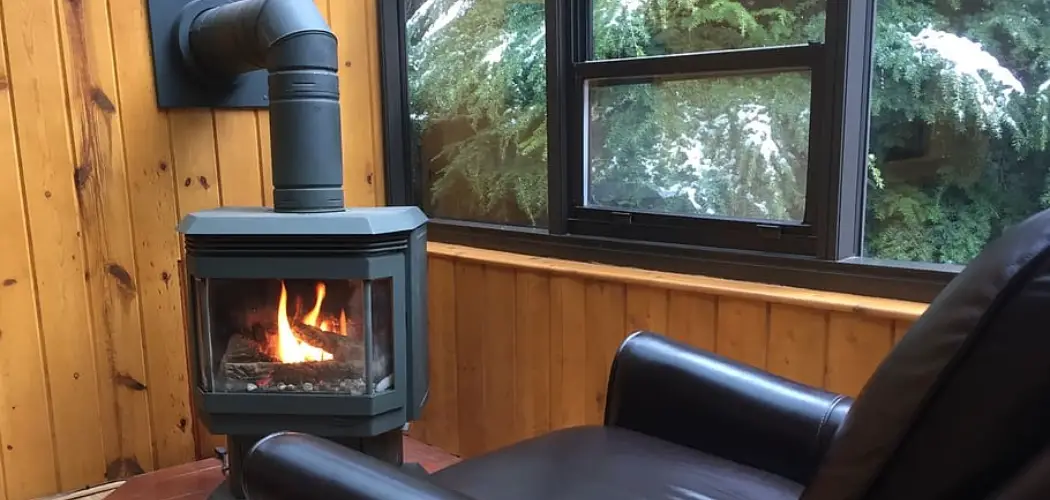
If you want to heat your home more efficiently while also staying warm and cozy, then consider installing a wood stove. Using the right venting system is essential for ensuring that your wood stove runs safely and effectively.
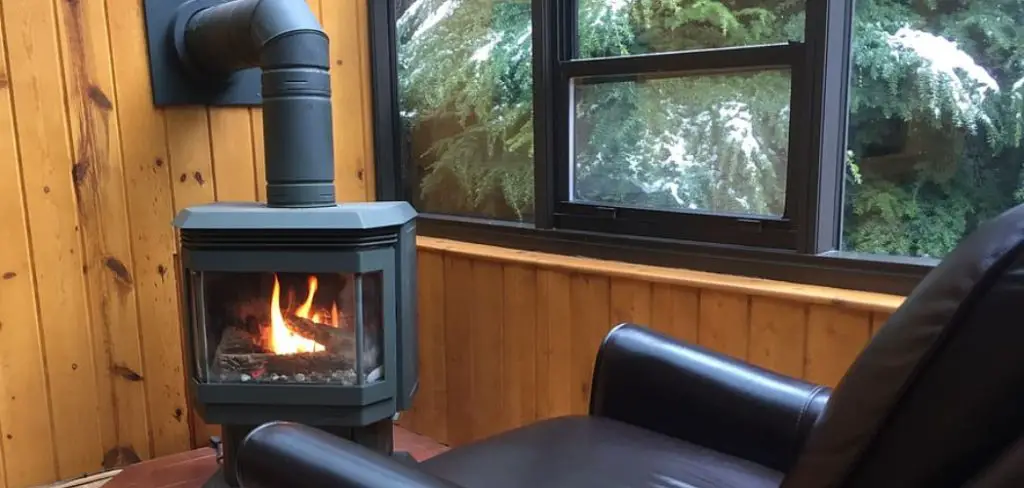
Learning how to properly vent your wood stove through a wall can be intimidating at first, but with careful planning and knowledge of relevant building codes, you’ll be able to achieve an attractive outcome as well as keep up with safety regulations.
In this blog post on how to vent wood stove through wall, we take a look at the necessary steps for the full installation or replacement of a venting system in conjunction with existing interior walls. Let’s get started on understanding the ins and outs of a successful wood stove vent through wall installation!
Needed Materials
Given Below is a list of materials needed for venting your wood stove through the wall:
Masonry Anchors
Masonry anchors are used to secure the venting system in place, and they need to be attached to a wall that is made of brick or block. They should be rated for temperatures up to 1000 degrees Fahrenheit.
Vent Pipes
Vent pipes come in a variety of sizes and materials, including galvanized steel, stainless steel, aluminum, and more. The material used should match the criteria of your local building codes, which may vary based on location.

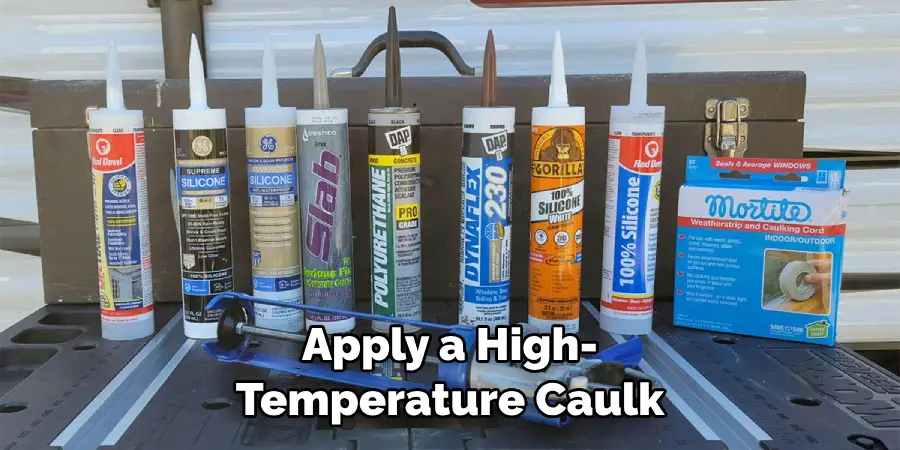
High-Temperature Caulk
If you are venting through an interior wall, then you will need to use high-temperature caulk to ensure a tight seal between the wall and the vent pipe. This is important for preventing carbon monoxide leakage and other hazardous fumes from entering your home.
Wall Plates and Stovepipe
You will also need to purchase wall plates, which serve as a connector between the vent pipe and the stovepipe. The stovepipe should be long enough to reach through the interior wall while leaving additional clearance for any combustible materials that surround it.
Step-by-step Guidelines on How to Vent Wood Stove Through Wall
Step 1: Measure the Hight
To begin, measure the height of your wood stove flue collar and mark that measurement on the interior wall. Make sure to factor in the distance between the floor or ceiling of your home and any combustible materials near the venting system as well.
It’s important to maintain a minimum of 6 inches between the venting system and any combustible materials for safety. But this distance may be greater depending on your local building codes.
Step 2: Cut the Hole
Once you’ve marked the appropriate height for your venting system, you can begin cutting the hole in the interior wall. It is essential that you use a jigsaw with an appropriate blade for cutting through the material of your wall.
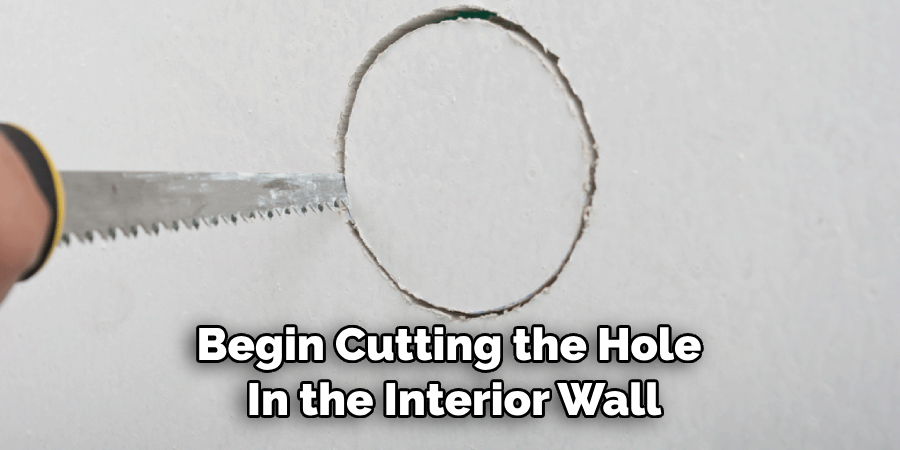
Be sure to wear safety goggles and a dust mask when making the cut. This will ensure that you don’t inhale any of the dust created by the cutting process. It is also important to use a drill bit to pre-drill any holes for the masonry anchors that you will be using.
Step 3: Prepare the Masonry Anchors
The next step is to prepare the masonry anchors that will be used to secure the venting system in place. Begin by drilling holes into the brick or block wall where you made your cut, and then insert the masonry anchors into each hole.
This will ensure that the anchors are firmly in place and secure. It is important to use masonry anchors that are rated for temperatures up to 1000 degrees Fahrenheit. But make sure to check your local building codes as well. Otherwise, you may need to use a different type of anchor.
Step 4: Connect the Vent Pipes
Now, it’s time to connect the vent pipes. Start by measuring the length of pipe needed to complete the installation and then secure each piece together with clamps or screws. Be sure that all connections are tight and sealed properly in order to prevent any hazardous fumes from leaking into your home.
It is also important to use the right type of vent pipe that is rated for temperatures up to 1000 degrees Fahrenheit as well. You may need to use a different type of pipe based on your local building codes.
Step 5: Apply Caulk
Once the vent pipes are connected, you will need to apply a high-temperature caulk around their perimeter. This is extremely important for preventing carbon monoxide from entering your home and ensuring that the system functions as intended. Allow the caulk to dry thoroughly before moving on to the next step. It is also important to note that you should not use any other type of sealant besides high-temperature caulk for this step.
Step 6: Install Wall Plates
Next, you will need to install the wall plates. These serve as a connector between the vent pipe and the stovepipe, so make sure that they are securely attached. You can also use screws or bolts for extra stability.
You will need to connect the stovepipe to the wall plate. It is important to make sure that all connections are tight and sealed properly in order to prevent any hazardous fumes from leaking into your home. However, make sure that the stovepipe is long enough to reach through the wall while leaving additional clearance for any combustible materials that surround it.
Step 7: Connect Stovepipe
After the wall plates are in place, it’s time to connect the stovepipe. This should be long enough to reach through the interior wall while leaving additional clearance for any combustible materials that surround it.
Be sure to use an appropriate sealant between the pipe and the wall plate for a tight fit. It is also important to check your local building codes as some areas require a specific type of sealant. It is to make sure that all connections are tight and sealed properly in order to prevent any hazardous fumes from leaking into your home.
Step 8: Secure Vents
The vents should be securely attached to the wall with screws or bolts in order to provide additional reinforcement. Additionally, use a sealant around the edges of each vent where it meets the brick or block wall for extra protection from carbon monoxide leakage.
This sealant should also be rated for temperatures up to 1000 degrees Fahrenheit. But again, make sure to check your local building codes as different areas may have different requirements.
Step 9: Test Ventilation
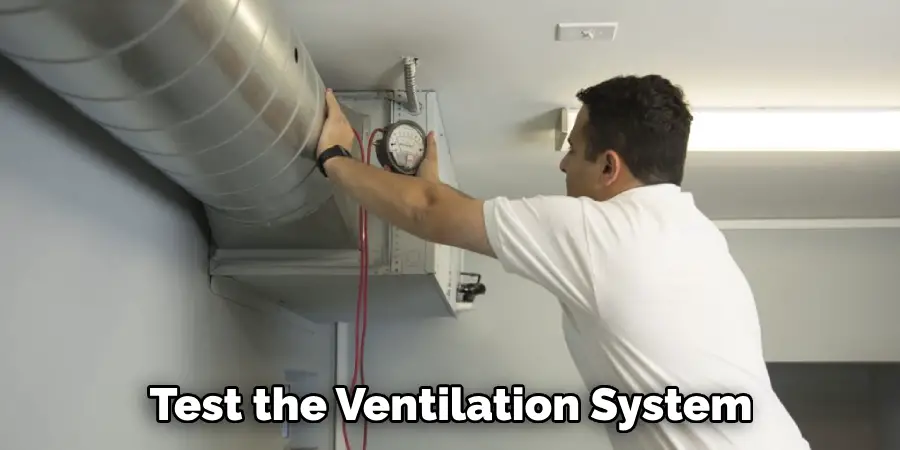
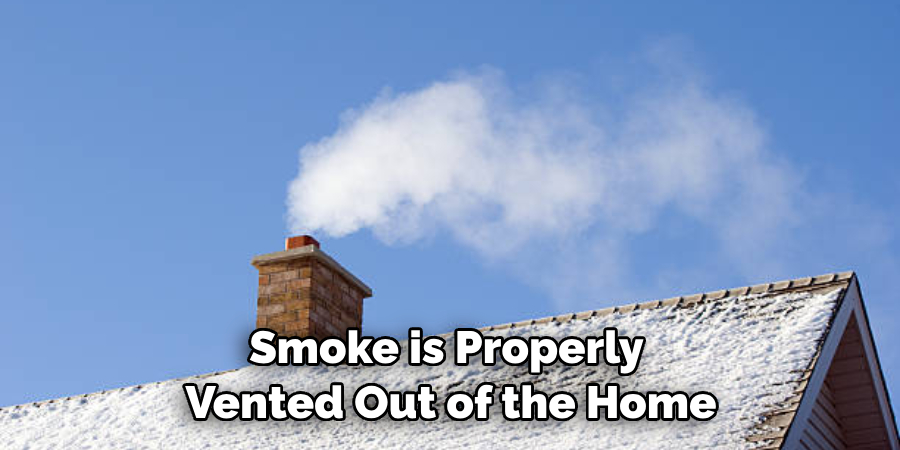
Once all of the components are installed, it’s time to test the ventilation system. Turn on your wood stove and let it run for a few minutes to ensure that the smoke is properly vented out of the home. If you detect any leakage or anything else that seems amiss, shut off your stove and investigate further until you find a solution.
It is important to make sure that the system is working properly before using it. This will help to ensure your safety and prevent any hazardous gases from entering your home.
Step 10: Double-Check Connections
Before you consider the job complete, double-check all of the connections to make sure that they are secure. If any of them seem loose or compromised in any way, tighten or reattach them as necessary. This is especially important for ensuring proper ventilation and preventing carbon monoxide leaks.
It is also smart to check the connections annually to ensure that they stay safe and secure. It is important to keep an eye on the system in order to make sure that it continues working correctly. You don’t want any hazardous gases entering your home.
Step 11: Enjoy Your Wood Stove
Congratulations on completing your wood stove venting installation through the wall! Now that everything is installed and functioning properly, you can sit back and enjoy your wood stove with peace of mind knowing that you followed all safety regulations. Always remember to keep your wood stove well-maintained and serviced regularly to ensure that it continues running safely and efficiently.
This will help you get the most out of your wood stove for many years to come. It is also important to keep an eye on the system in order to make sure that it continues working correctly. However, if you notice anything amiss at any time, shut off your stove and investigate further until you find a solution. Happy heating!
With these step-by-step guidelines on how to vent wood stove through wall, you now have an understanding of how to vent a wood stove through a wall. Remember to always refer to your local building codes for specific regulations on venting your wood stove and be sure to double-check all connections for additional safety. Happy heating!
Tips for Maintaining a Vented Wood Stove
While ventilation is essential for the safe operation of your wood stove, there are also additional steps you can take in order to keep it running efficiently and safely. Here are some tips to help you maintain your vented wood stove:
- Regularly Inspect Your Venting System for Any Signs of Wear or Tear, Such as Cracks or Loose Connections.
- Use the Correct Fuel Type for Your Stove in Order to Optimize Its Performance and Prevent Hazardous Fumes From Entering Your Home.
- Check the Chimney for Any Blockages or Creosote Buildup on a Regular Basis and Clean as Needed.
By following these tips on how to vent wood stove through wall and using proper ventilation techniques, you can ensure that your wood stove is running efficiently and safely for years to come. With regular maintenance and inspections, you can enjoy the warmth of your wood stove while being confident in its operation. Nothing
Frequently Asked Questions
Q: Can I Use Any Type of Pipe for Vented Wood Stove Installations?
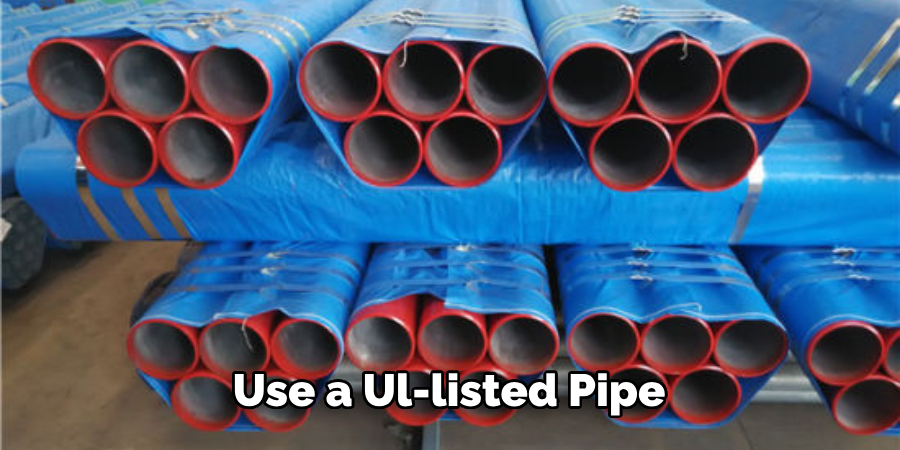
A: No, it is important to use a UL-listed pipe and liner in order to ensure that your system is up to code and safe for use. Make sure to refer to your local building codes for specific requirements for venting your wood stove. It is also recommended to use a professional for installations.
Q: What Type of Caulk Should I Use?
A: High-temperature caulk should be used in order to provide complete protection from hazardous fumes. This type of caulk can withstand temperatures up to 1200°F, making it ideal for wood stove applications.
Q: How Often Should I Inspect My Vented Wood Stove?
A: It is recommended that you inspect your vented wood stove at least once a year. You should also perform regular maintenance and cleaning of the chimney flue in order to ensure its optimal performance. Additionally, always make sure to check for any signs of wear or tear in the venting system and replace any components as needed.
Q: Is Professional Installation Recommended?
A: Yes, it is highly recommended that you seek professional assistance when installing a venting system for your wood stove in order to ensure proper installation and safety. An experienced contractor can provide the expertise needed to guarantee an efficient and safe installation.
Conclusion
All in all on how to vent wood stove through wall, venting your wood stove through a wall requires careful planning and the right materials. Taking into account the Clearance Reduction Guidelines established by your local building codes is essential to avoiding safety issues down the road.
When installed correctly, you can enjoy the warmth of your wood stove throughout the cold winter months without having to worry about any danger or health risks associated with improper installation.
In addition to giving you peace of mind knowing that everything was done according to code, a properly vented wood stove will also help you save on energy costs and lower your maintenance bills due to reduced buildup in the exhaust system. With patience and a bit of know-how, installing a wall vent for your wood stove will be well worth it in the long run.

