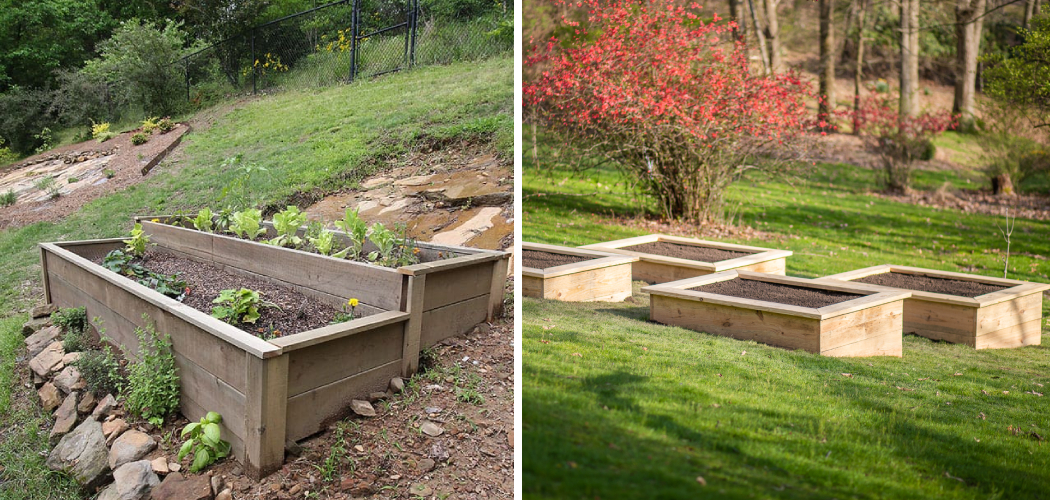
Are you looking for a way how to build a raised bed on a slope? Building a raised bed can be the perfect solution! Raised beds are ideal because they allow for better drainage and increased soil aeration. Plus, they make incorporating compost and fertilizers into your garden beds easier.
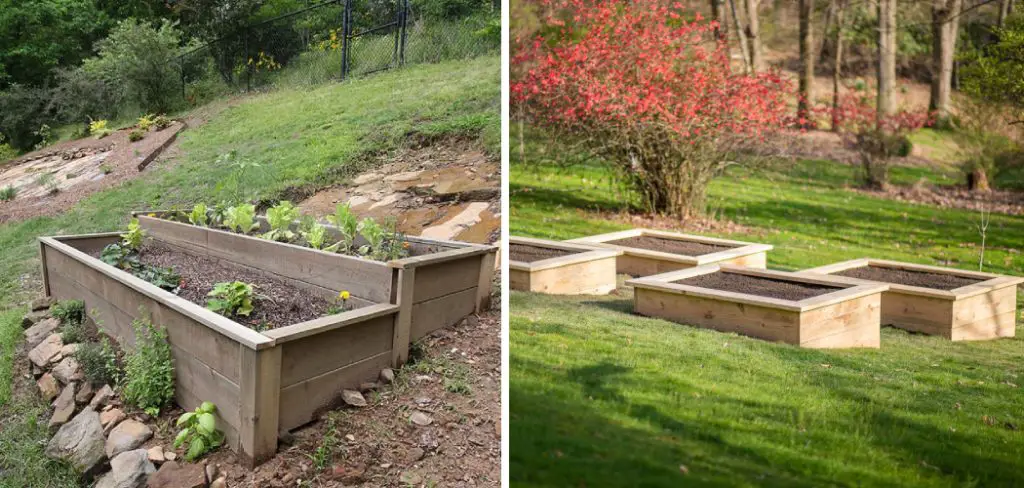
Whether you want to add some vibrant greenery to your backyard, fill up space without sacrificing valuable lawn real estate, or bring life and beauty to your entire landscape, building a raised bed is an impressive and accessible DIY project that doesn’t require much time or money.
In this blog post, we’ll go over the basics of constructing a sturdy-yet-sophisticated raised bed in any steep area and some fun ways you can dress it up. So grab your gardening gear, and let’s get started!
What are the Benefits of Building a Raised Bed on a Slope?
Building a raised bed on a slope has many benefits. First, it prevents soil erosion and improves drainage since rainwater can’t pool at the bottom, as it would if you were to plant directly in the ground. This also allows you to control the type of soil used in your raised bed, which is ideal for plants requiring different drainage or nutrient levels.
You can also use a raised bed to work around space constraints. Building a raised bed can be a great solution if you’re running short on garden space — especially if it’s an area with steep slopes. It gives you the flexibility of planting on a slope without worrying about soil erosion or drainage issues.
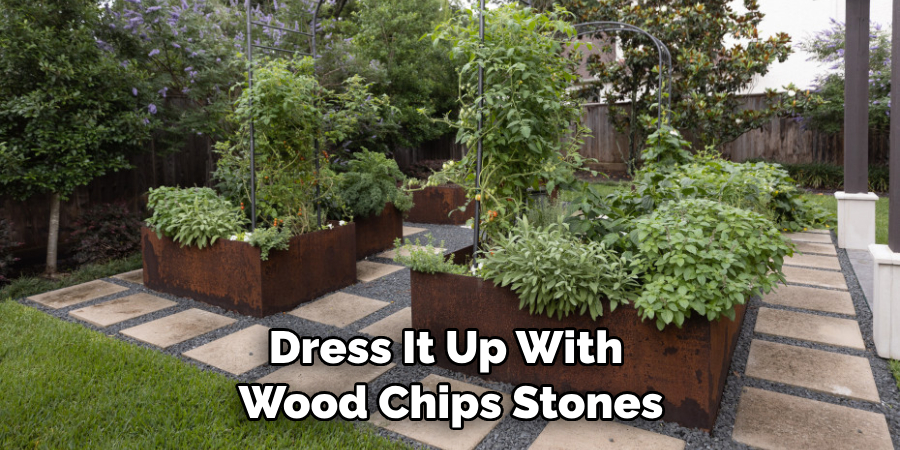
Finally, building a raised bed can be an aesthetically pleasing addition to your outdoor space. You can dress it up with wood chips, stones, and other decorative materials and use the area for seating and gathering.
What Tools Will I Need?
When building a raised bed on a slope, you’ll need some basic tools and materials. For starters, you’ll need the following:
- Hammer
- Nails
- Saw (preferably a circular saw)
- Shovel
- Level
- Wood board (treated or untreated is fine — but treated will last longer in the elements)
- Bricks, stones, or concrete blocks
- Screwdriver
Having some basic gardening supplies, such as soil, fertilizer, compost, plants, and mulch is also helpful.
10 Easy Steps on How to Build a Raised Bed on a Slope
Now that you’ve gathered your materials, it’s time to start! Follow these steps for how to build a raised bed on a slope:
Step 1. Measure the Length:
Start by measuring the area you want to fill with your raised bed. That way, you’ll know how long your wood board should be and what size of nails you need. If the area is very steep, you may need to cut the wood board at an angle.
Step 2. Mark Off the Area:
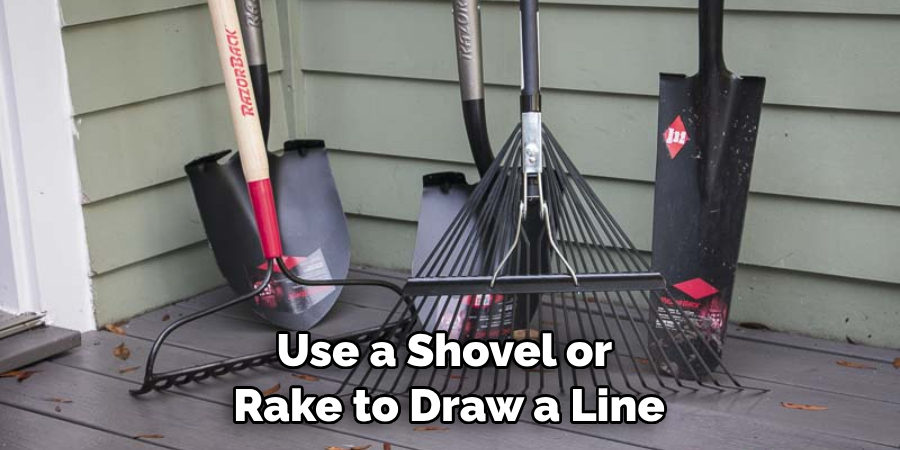
Once you’ve measured and have all your materials ready to go, it’s time to mark off the area where you want your raised bed to be. Use a shovel or rake to draw a line around the perimeter, then use a level to ensure it’s straight. Try to make the sides as even as possible.
Step 3. Dig a Trench:
Next, you’ll need to dig a trench around the perimeter of the raised bed that’s about 4-6 inches deep — or whatever depth your wood board will be when it’s set in place. Ensure the trench is wide and deep enough to accommodate your wood board. Additionally, the soil should be firm enough to support the weight of your raised bed.
Step 4. Lay the Wood Board:
Lay down the wood board on a flat surface and ensure it’s lined up properly with the edges of your trench. Once you’re happy with its position, use a hammer and nails to secure it. You can also use screws and a screwdriver if you’d prefer.
Step 5. Fill the Trench:
Once the wood board is secure, fill the trench with soil, and tamp it down firmly. This will help keep your raised bed from shifting and provide an anchor for your plants. Be careful to fill the trench appropriately, as it can cause your raised bed to be uneven.
Step 6. Add a Layer of Mulch:
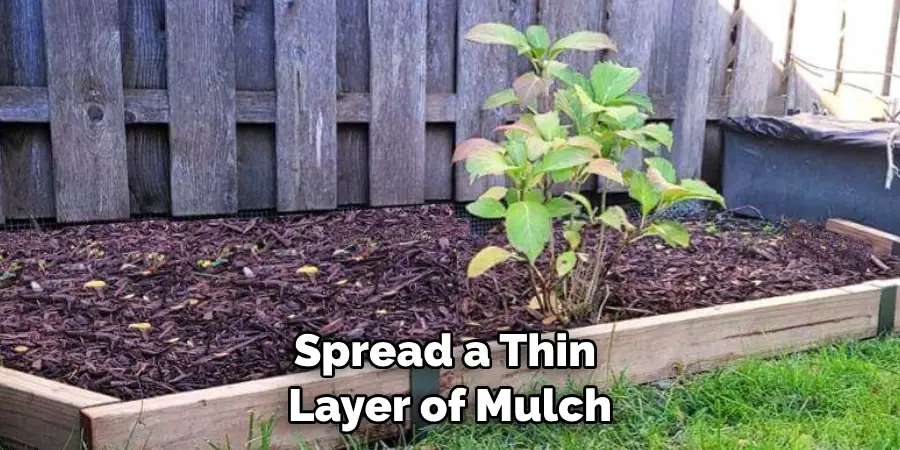
To ensure enough drainage for your plants and help prevent weeds from growing, spread a thin layer of mulch around the edges of your raised bed. This will also help keep your soil from eroding or washing away during heavy rains. Ensure that the mulch is evenly spread and not too thick.
Step 7: Add Bricks, Stones, or Blocks:
To limit erosion and keep your raised bed in place, you can use bricks, stones, or concrete blocks to anchor it down. Place them around the edges of your raised bed and fill in any gaps with soil. This will keep your raised bed from shifting and provide extra support for your plants.
Step 8: Plant Your Plants:
Now it’s time for the fun part — planting! Look at the soil you’ve chosen for your raised bed, as some may require additional fertilizers or amendments to make sure it’s ideal for whatever plants you’d like to grow.
Once you’ve added any necessary amendments, dig holes for your plants and add compost and fertilizer as needed. Place the plant in its hole, backfill it with soil, and then water generously.
Step 9: Add Decorative Touches:
Finally, it’s time to make your raised bed stand out. Whether you’d like to add some brightly colored annuals, use stones to create patterns around the perimeter of your bed, or use wood chips to provide an extra layer of protection for your soil — there are plenty of ways to dress up a raised bed and show off your green thumb.
Step 10: Enjoy!
And you’re done! Now that your raised bed is complete sit back and admire your work. Whether you like spending time in the yard or simply admiring your plants from afar, a raised bed on a slope makes for an attractive addition to any outdoor space.
By following these steps, you’ll be able to easily create a beautiful and functional raised bed on a slope — and reap all the benefits that come with it. So get your materials together, break out your tools, and give it a go! You won’t regret it.
5 Additional Tips and Tricks
- Consider the angle of your slope when constructing the raised bed. You’ll need a level foundation to ensure your soil stays in place and water doesn’t pool at one end.
- Place taller plants in the lower sections of your raised bed and shorter plants in the higher areas. This will help keep them evenly distributed throughout your garden for an aesthetically pleasing result.
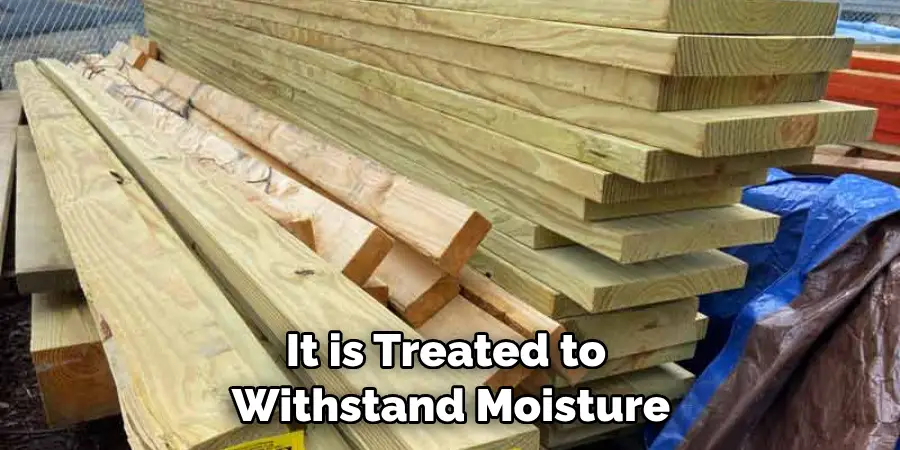
- If you’re using wood to build your raised bed, make sure it is treated to withstand moisture so it doesn’t rot over time.
- When constructing a raised bed on a slope, it’s important to fill the bed with soil rather than just compost or manure, as these materials will not provide adequate drainage.
- Make sure that your raised bed has adequate drainage, either through perforated pipes at the base of the bed or slotted piping along the sides. Both of these will help ensure that excess water isn’t trapped in your soil and cause it to become oversaturated. This can lead to flooding and damage to your plants.
It’s important to keep in mind all of these tips and tricks when constructing a raised bed on a slope. Taking the time to plan ahead and build your garden in a way that will stand up to the test of time is an investment that will pay off in years to come with lush, healthy plants and blooms!
5 Things You Should Avoid

- Don’t build a raised bed that’s too steep; if the angle is too steep, it can be difficult to access and maintain.
- Avoid using untreated or unpainted wood for your raised beds, as this will not stand up to moisture and could cause your soil to become oversaturated.
- Don’t fill the entire bed with compost or manure, as this won’t provide adequate drainage.
- Avoid planting taller plants in the higher sections of your raised bed, as this could cause them to become unbalanced and topple over.
- Remember to add additional drainage features such as perforated pipes or slotted piping; these will help ensure that excess water doesn’t pool up and damage your plants.
By taking the time to carefully plan out your raised bed and build it with these tips in mind, you can ensure a beautiful garden full of thriving plants that will last for years to come!
Do Raise Beds Need to Be Level?
The short answer is yes. Raised beds should always be level in order to ensure that the soil stays put and water doesn’t pool up at one end. You can build a raised bed on a slope, but it’s important to consider the angle of your slope when constructing the bed so that it remains level throughout.
Doing this will also help you maintain an even distribution of plants in your garden, as taller plants should be placed in the lower sections and shorter ones in the higher areas.
Additionally, it’s important to use treated wood for your raised bed and add additional drainage features, such as perforated pipes or slotted piping around the edges of the bed. Doing this will help ensure that excess water doesn’t become trapped in the soil and cause flooding or damage to your plants.
By considering these considerations when building a raised bed on a slope, you can ensure that your garden will look great and remain healthy for years to come!

What is the Best Position for Raised Beds?
Raised beds should be placed in areas with plenty of sunlight throughout the day. This will help ensure your plants receive enough light and heat to grow strong and healthy. Additionally, raised beds should be placed away from trees or structures that could cast shade over them during certain times of the day.
It’s also important to place your raised beds in an area that gets good air circulation. This will help prevent moisture from getting trapped in the soil and causing mold or mildew buildup. Lastly, it’s important to ensure that the area you choose is level so that your soil stays put and water doesn’t pool up at one end of the bed.
With these considerations in mind, you should be able to find an ideal location for your raised bed that will help ensure its success and longevity!
Do Raise Beds Need Walls?
When building a raised bed on a slope, it’s important to consider adding walls or edging to the sides of your bed. This will help keep the soil in place and stop any runoff from occurring when watering your plants. Additionally, walls can provide additional support for taller plants that may become unbalanced due to the natural angle of the slope.
Walls can also give your raised bed a more finished look and help keep any weeds from creeping in. Make sure to use treated wood or metal when constructing these walls to remain waterproof over time.
Adding walls, edging, or other supports to your raised bed on a slope is an important step to take to ensure its success and longevity!
Conclusion
How to build a raised bed on a slope can be challenging; however, with the right materials and careful planning, it can be accomplished. You will need to consider a variety of factors, such as soil and drainage, slope angle, size, shape, and budget. Taking these considerations into account will help you design a plan that will meet your raised bed gardening needs and increase your garden’s visual appeal.
Properly designing and installing your new raised bed on a slope should provide years of successful gardening success. Additionally, consider modifying your garden as it grows over time with additional planting beds for flowers or vegetables or even adding outdoor furniture to complete the look.
Whatever you decide, taking the time to build a raised bed on a slope is sure to bring rewards!

