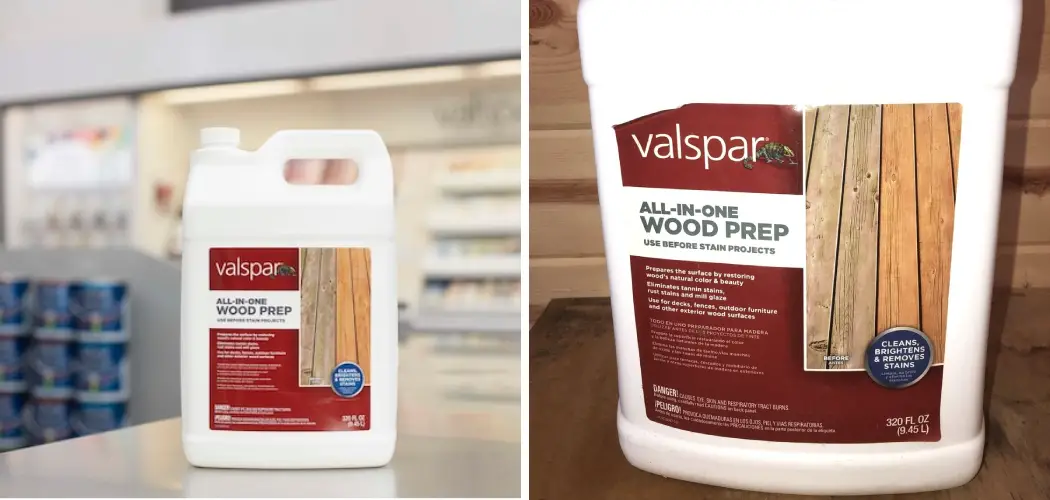
Are you looking to refinish your wood furniture but don’t know where to start?
Here is a solution, you’ll need to use a wood prep product to remove any old finish and to prepare the surface for painting. Valspar’s All in One Wood Prep is a great option because it removes paint, stain, sealer, and varnish, and it also conditions the wood so that your new finish will last longer.
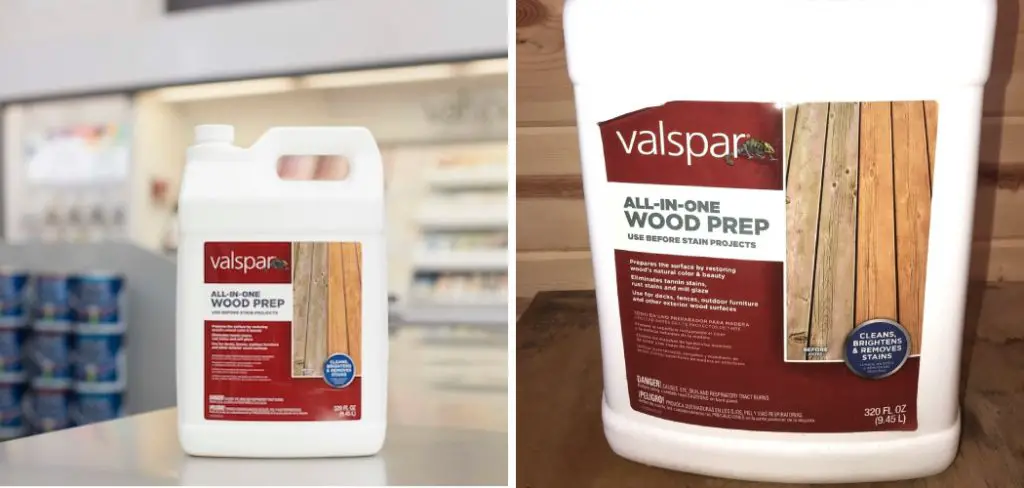
If you’re looking for an easy way to prep your wood surfaces before painting, look no further than Valspar’s All-in-One Wood Prep. This one product can take care of all your surface prep needs and is so easy to use!
You can have your wood surfaces ready for paint in just a few simple steps. Keep reading to learn more about how to use Valspar All in One Wood Prep.
Why Use Valspar All in One Wood Prep?
Before we dive into the steps for using this product, let’s talk about why it’s a great choice. First and foremost, as mentioned before, it removes paint, stain, sealer, and varnish all in one go. This makes it incredibly convenient and saves you from having to buy multiple products.
Additionally, Valspar’s All in One Wood Prep conditions the wood, which is crucial for ensuring that your new finish adheres properly and lasts longer. It also helps to prevent peeling or chipping of the new paint.
And perhaps best of all, this product is water-based and low odor, making it safe and easy to use indoors. I’m sure we can all appreciate a product that doesn’t have strong chemical smells!
When Should You Use Valspar All-in-One Wood Prep?
You should use Valspar All in One Wood Prep when refinishing wood furniture or other wood surfaces. It’s important to remove any old finishes before applying a new one; this product will do that for you. It’s also great for preparing the surface for painting because it will remove any grease, grime, or dirt that could prevent the paint from adhering properly.
You can use this product on both interior and exterior wood surfaces, making it a versatile option for all your wood refinishing needs. The best part? It works on a variety of wood surfaces, including bare, painted, and stained wood. The only surfaces it’s not recommended for are plastic, vinyl, and linoleum.
Needed Materials:
To use Valspar All in One Wood Prep, gather the following materials:
Valspar All in One Wood Prep:
You’ll need this product as the main ingredient for prepping your wood surfaces.
Clean Cloth:
Have a clean cloth on hand to wipe away any residue after using the wood prep.
Protective Gear:
It’s important to wear gloves and protective eyewear when handling any type of chemical product, including this one.
Paintbrush:
If you’re planning on painting your wood surface, it’s helpful to have a paintbrush ready for application once the wood prep is complete.
10 Easy Steps on How to Use Valspar All in One Wood Prep:
Before you begin, ensure that you are working in a well-ventilated area and wearing gloves and a respirator. You’ll also need some rags or old towels for cleanup.
1. Remove Old Paint:
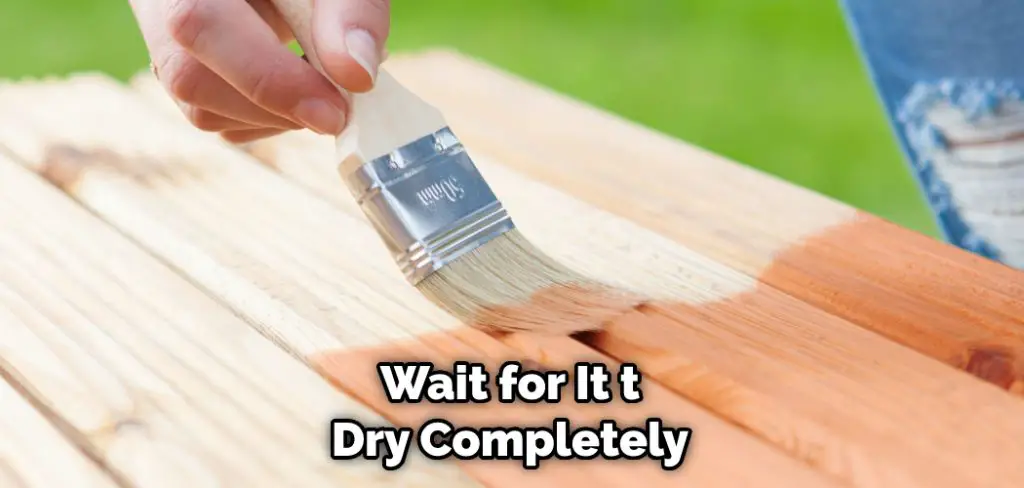
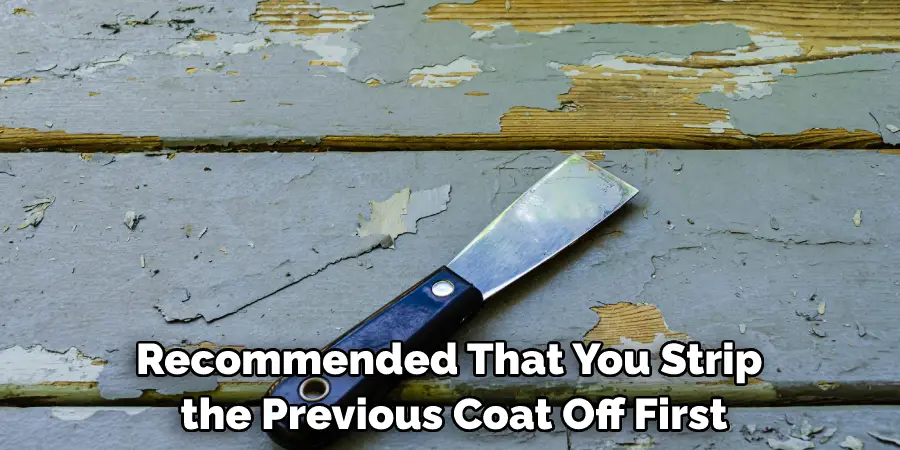
If your wood surface has paint on it, you’ll need to remove it before using Valspar All in One Wood Prep. You can do this by sanding the surface with medium-grit sandpaper. Removing as much paint as possible is important so that the wood prep can do its job. You can also use a paint stripper if the paint is difficult to remove. The goal is to have a bare wood surface.
2. Apply Wood Prep:
Once you’ve removed the old paint, it’s time to apply the wood prep. You can do this with a brush, roller, or sprayer. If you’re using a brush or roller, be sure to apply an even coat. If you’re using a sprayer, hold it about 6-8 inches away from the surface and apply in a steady back-and-forth motion. Because this product is flammable, be sure to keep any flames or sparks away from the area while you’re working.
3. Wait for Wood Prep to Dry:
Once you’ve applied the wood prep, wait for it to dry completely before moving on to the next step. This usually takes about 30 minutes. Don’t try to speed up the process by using a fan or other type of air movement. As tempting as it may be, this could cause the wood prep to dry unevenly. The best thing to do is be patient and let it dry naturally.
4. Sand Surface Smooth:
Once the wood prep has dried, you’ll need to sand the surface smoothly. This step is important because it will help create a smooth surface for painting. Be sure to use fine-grit sandpaper so that you don’t damage the wood. It’s also a good idea to use a sanding block to ensure even pressure and avoid any accidental gouges in the wood.
5. Clean Surface:
Now that you’ve sanded the surface, it’s time to clean it. This will remove any dust or debris that was created during the sanding process. You can use a vacuum cleaner with a brush attachment or a damp cloth. Just be sure that the surface is completely clean before moving on. But don’t worry too much about getting every speck of dust – the wood prep will bond to any remaining dust particles.
6. Apply Primer:
Once the surface is clean, you’ll need to apply a primer. This will help the paint adhere to the surface better and also provide a smooth base for painting. Be sure to use a quality primer that is designed for use on wood surfaces. The type of primer you use will depend on the type of paint you plan to use. The primer should dry completely before moving on. You can check the drying time on the product label.
7. Wait for the Primer to Dry
After you have applied the primer, you will need to wait for it to dry. The time it takes for the primer to dry will depend on the brand of primer you use and the temperature and humidity levels in your work area. Once the primer is dry, you can proceed with painting your wood surface. It’s a good idea to lightly sand the surface after the primer has dried to smooth out any imperfections.
8. Paint Surface:
Now it’s time to paint! Be sure to use quality paint that is designed for use on wood surfaces. Apply the paint in even strokes using a brush, roller, or sprayer. If you’re using a brush or roller, be sure to apply an even coat. If you’re using a sprayer, hold it about 6-8 inches away from the surface and apply in a steady back-and-forth motion. But before you start painting the entire surface, test a small area to ensure that the paint adheres properly.
9. Let Paint Dry:
Once you have applied Valspar All-In-One Wood Prep to your wood surface, be sure to let it dry completely before applying any type of paint or finish. This usually takes about 24 hours. The paint should be dry to the touch and not leave any residue on your finger when touched. It’s important to be patient and let the paint dry completely for the best results.
10. Apply Finish:
After the paint has dried, you can apply a finish if you desire. This step is unnecessary, but it will help protect your painted surface from wear and tear. You can use any type of finish that you like, such as varnish, lacquer, or polyurethane. Be sure to apply the finish in an even coat using a brush, roller, or sprayer. Once you have applied the finish, be sure to let it dry completely before using the painted surface.
Congratulations! You’ve successfully used Valspar All in One Wood Prep on your wood surface. This product is great for both novice and experienced painters alike. Be sure to follow the instructions carefully, and you’ll be able to achieve professional-looking results.
6 Additional Tips and Tricks:
1. You can use Valspar All in One Wood Prep on any type of wood, including painted or stained wood.
2. If you are using it on painted or stained wood, make sure to test a small area first to see how the paint or stain will react.
3. When using Valspar All in One Wood Prep, always follow the manufacturer’s instructions.
4. Avoid getting the product on your skin or your eyes. If you do get it on your skin, wash it off immediately.
5. Store Valspar All in One Wood Prep in a cool, dry place.
6. If you are unsure about anything, always contact a professional for help
I hope this guide was helpful. If you have any questions, please feel free to leave a comment below.
Precautions You Should Take While Using Valspar All in One Wood Prep:
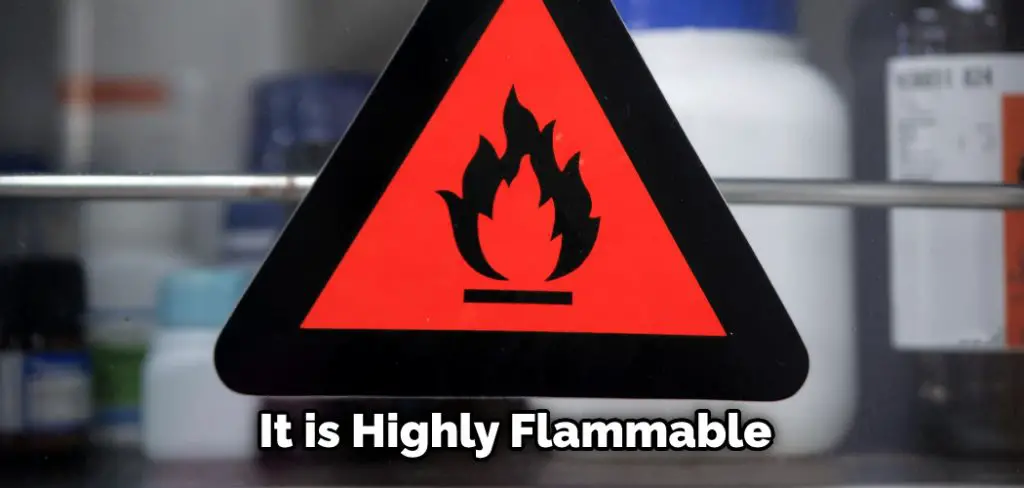
1. Be careful while handling the Valspar all-in-one wood prep, as it is highly flammable.
2. Do not use it near any heat source or open flame.
3. Do not smoke while using Valspar all-in-one wood prep.
4. Always store valspar all in one wood prep in a cool, dry place away from any heat source or open flame.
5. Keep the container tightly closed when not in use.
6. Do not use Valspar all-in-one wood prep on painted surfaces or surfaces unsuitable for staining.
7. Always test valspar all-in-one wood prep on a small, inconspicuous area before using it on the entire surface.
8. Follow the directions on the label carefully.
Is Valspar All in One Wood Prep Safe?
Yes, Valspar All in One Wood Prep is safe to use. You should always follow the instructions on the product label, but here are some general tips:
Wear gloves and a dust mask when using the product.
Do not use on bare wood – always prep surfaces with sandpaper first.
Be sure to clean up any spills immediately.
If you have any further questions, please feel free to contact us. Thank you for choosing Valspar!
Is Valspar an Effective Sealer?
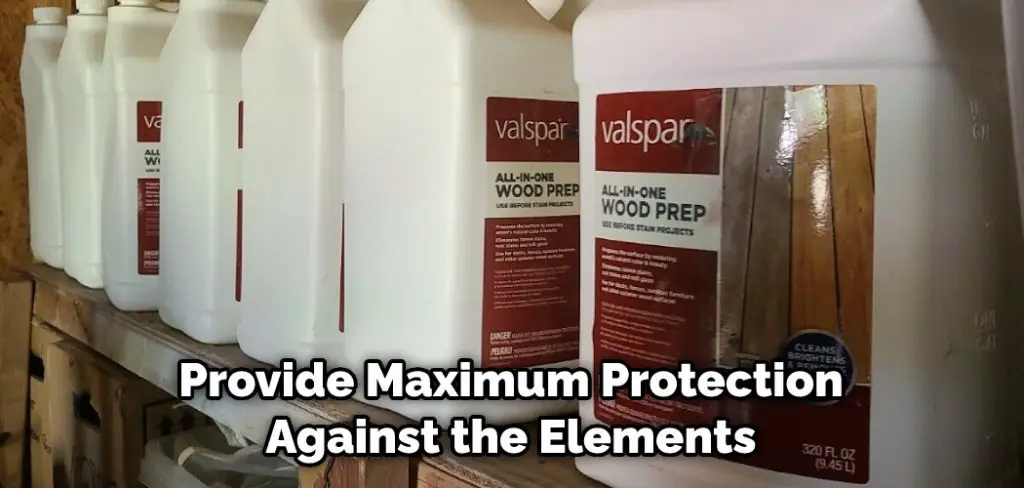
Valspar is an all-in-one wood sealer that is designed to provide maximum protection against the elements. It can be used on various surfaces, including decks, patios, and fences. It is also effective in sealing out moisture and preventing rot. Valspar has a long history of providing high quality products that are designed to last. This product is no different, and it is an excellent choice for those who are looking for a reliable sealer.
You can trust Valspar All in One Wood Prep to protect your wood surfaces for years to come. Just follow the instructions carefully, and you’ll be able to enjoy a beautifully painted and protected surface. Happy painting!
Frequently Asked Questions:
Q: Can I Use Valspar All in One Wood Prep on Outdoor Surfaces?
A: Yes, Valspar All in One Wood Prep is suitable for use on both indoor and outdoor surfaces. It can be used on decks, patios, fences, and other outdoor wood surfaces. The product is designed to withstand the elements and provide maximum protection for your wood. You can use it with confidence on any outdoor surface.
Q: How Long Does Valspar All in One Wood Prep Take to Dry?
A: The drying time for Valspar All in One Wood Prep will vary depending on the temperature and humidity levels in your work area. Generally, it takes about 24 hours for the product to dry completely. However, you can also check the label or contact the manufacturer for more specific drying times. It is important to let the product dry completely before applying any paint or finish.
Q: Can I Paint Over Valspar All in One Wood Prep?
A: Yes, once Valspar All in One Wood Prep has dried, you can then proceed to paint over it with any type of paint suitable for wood surfaces. The primer will provide a smooth base for your paint and help it adhere better to the surface. Just be sure to follow the manufacturer’s instructions when applying the paint. You can also apply a finish after painting for extra protection. Remember to let the paint dry completely before using the surface.
Q: Is Valspar All in One Wood Prep Safe for Indoor Use?
A: Yes, Valspar All in One Wood Prep is safe for indoor use. However, it is always recommended to use the product in a well-ventilated area and follow the manufacturer’s instructions carefully. If you have any concerns or specific health conditions, it is best to consult with a professional before using the product indoors. The product is also highly flammable, so it is important to take necessary safety precautions.
Q: Can I Use Valspar All in One Wood Prep on Already Painted or Stained Surfaces?
A: Yes, Valspar All in One Wood Prep can be used on painted or stained surfaces. However, it is important to test a small, inconspicuous area first to ensure compatibility with your surface. It is also recommended to lightly sand the surface before applying the product for better adhesion. As always, be sure to follow the manufacturer’s instructions for best results.
Overall, Valspar All in One Wood Prep is a versatile product that can help you achieve professional-looking results on both indoor and outdoor wood surfaces. With proper precautions and careful adherence to instructions, you can trust this product to protect your surfaces for years to come.
Conclusion:
Valspar All-in-One Wood Prep is the perfect solution for your woodworking needs. It’s easy to use and gives you a professional finish every time. With its all-in-one design, you’ll be able to prep, paint, and protect your woodwork in no time.
After using the stripper, remove any residue with a putty knife. Wipe the area completely clean and let it dry for at least 48 hours before refinishing or staining. Before applying any new finishes, you should also sand the wood to create a smooth surface. With proper preparation, you can achieve beautiful results with your Valspar products.
Now that you know how to use valspar all in one wood prep. This versatile product can be used on various surfaces, so it’s perfect for everything from refinishing furniture to creating custom built-ins. Whether a DIYer or a professional contractor, Valspar All in One Wood Prep is an essential tool for anyone working with wood.
So why wait? Get started today and see the difference Valspar All-in-One wood prep can make in your woodworking projects.
You Can Check It Out To Glue Rubber Stair Treads to Wood
You Can Check It Out To Restore Ipe Wood Deck

