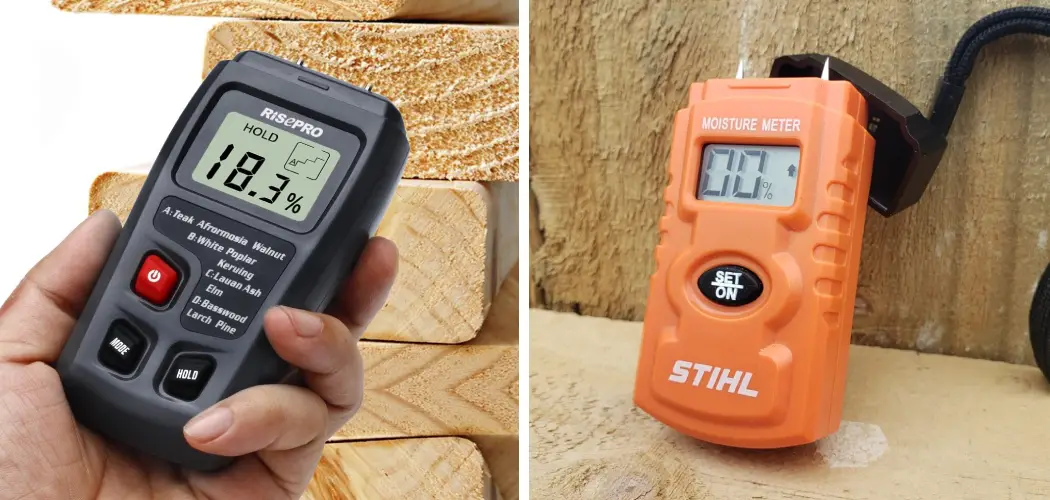
There are many ways to measure the moisture content in wood, but one of the most common is using a moisture meter. Moisture meters can determine whether a piece of wood is ready to be worked on, help you diagnose problems with your woodworking projects, and more. In this article, we’ll discuss how moisture meters work and how to use moisture meter for wood effectively when working with wood. How Moisture Meters Work.
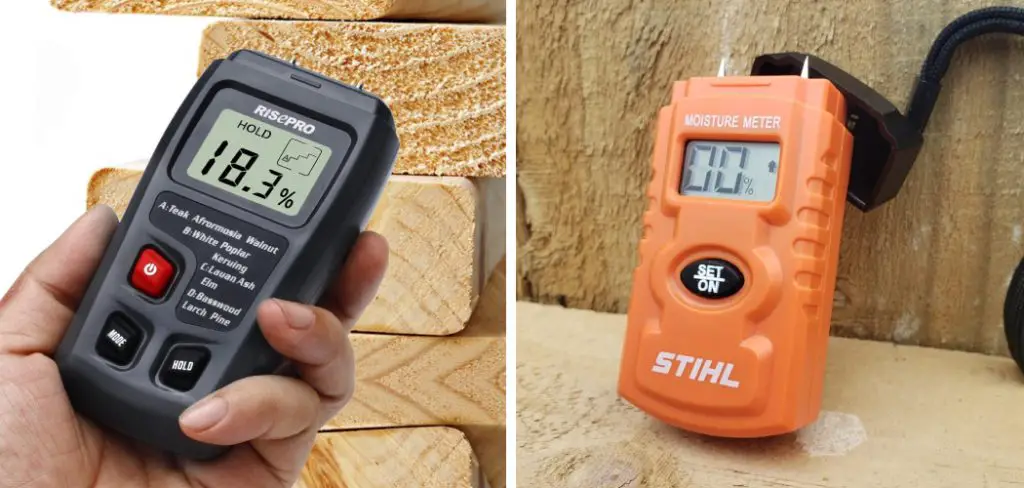
Moisture meters work by measuring the electrical resistance of the wood. The meter sends an electrical current through the wood, and the resistance is measured. The more moisture in the wood, the higher the resistance will be. It’s important to note that different species of wood will have different resistances, so it’s important to know the resistance of the particular type of wood.
Summary: If you’re looking to keep your wood in top condition, you’ll need to use a moisture meter. This simple tool can help you determine the amount of moisture in your wood, and keep it at a healthy level.
Types of Moisture Meters
There are two main types of moisture meters: pin type and pinless. Pin-type moisture meters have two metal pins that are inserted into the wood. The electrical current is sent through the pins, and the resistance is measured. Pinless moisture meters don’t have any metal pins; instead, they use radio frequencies to measure the moisture content in wood. Pinless moisture meters are generally more expensive than pin-type ones but are also more accurate.
Why Is It Important to Use a Moisture Meter?
There are a few reasons why using a moisture meter when working with wood is important. First, it’s important to know the moisture content of the wood before working with it. If the wood is too moist, it can cause problems when working with it. For example, the wood may warp, crack, or swell. It’s also important to know the moisture content of the wood to finish the project properly. If the wood is too dry, the finish may not adhere properly.
Conversely, if the wood is too moist, the finish may not dry properly. Another reason to use a moisture meter is to help diagnose problems with woodworking projects. If a project is not turning out the way it should, checking the moisture content of the wood can be a helpful way to troubleshoot the problem. Finally, moisture meters can be used to monitor the moisture content of wood over time. This is especially important for people who live in humid climates or have seasonal humidity changes.
Step by Step How to Use Moisture Meter for Wood
1. Choose the Right Type of Moisture Meter
The first step in using a moisture meter is to choose the right type of meter for your needs. For example, if you’re only going to be measuring the moisture content of wood, a pinless moisture meter is a good choice. However, a pin-type moisture meter is a better choice if you’re also measuring the moisture content of other materials, such as concrete or drywall.
2. Know the Resistance of the Wood
The next step is to know the resistance of the wood. The wood’s resistance will determine how much moisture the meter can measure. The higher the resistance, the more moisture the meter can measure. To find the resistance of the wood, first, find the density of the wood. The density of the wood is determined by the weight of the wood divided by the volume of the wood. Once you have the density of the wood, you can find the resistance of the wood by multiplying the density by the specific gravity of the wood.
3. Insert the Pins (or Probe) Properly
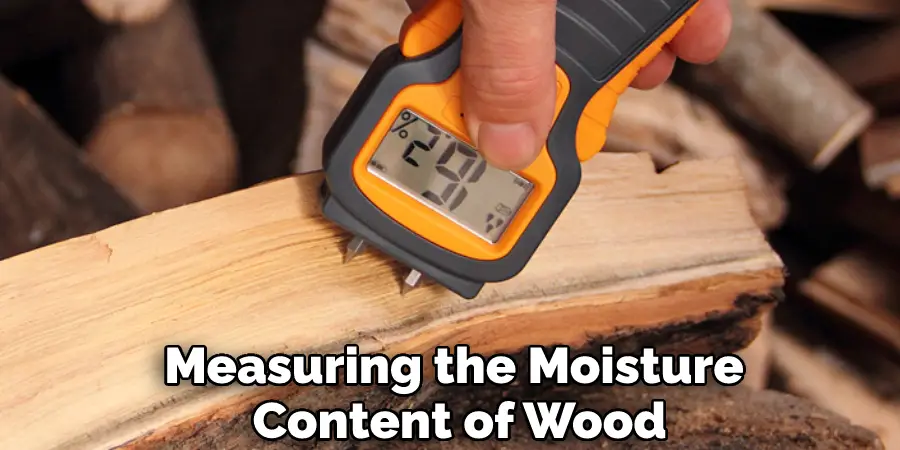
Once you know the resistance of the wood, you can insert the pins (or probe) properly. To do this, first, find the center of the piece of wood. Once you have found the center, insert the pins (or probe) into the wood at a 45-degree angle. The depth of the pins (or probe) should be one-third of the total depth of the wood. If the wood is too thick, you may need to use a longer probe.
4. Turn on the Moisture Meter
After the pins (or probe) are properly inserted, turn on the moisture meter. The display on the moisture meter will show a reading of either 0 percent or 100 percent. If the display shows a reading of 100 percent, this means that the wood is completely dry. If the display shows a reading of 0 percent, this means that the wood is completely wet. Try to take a reading from several different areas of the wood to get an accurate reading.
5. Use the Meter on Different Parts of the Wood
Once you’ve taken a reading from the center of the wood, you can use the meter on different parts of the wood. To do this, first, find the edges of the wood. The edges of the wood are usually darker than the center. Once you’ve found the edges, insert the pins (or probe) into the wood at a 90-degree angle. The depth of the pins (or probe) should be one-third of the total depth of the wood.
6. Compare Results to a Control Sample
After you’ve taken readings from the center and the edges of the wood, you can compare the results to a control sample. A control sample is a piece of wood that has been tested for moisture content and found to be dry. To find a control sample, first, find a piece of wood that is the same species as the wood you’re testing. Once you’ve found a control sample, take a reading from the center and the edges of the wood.
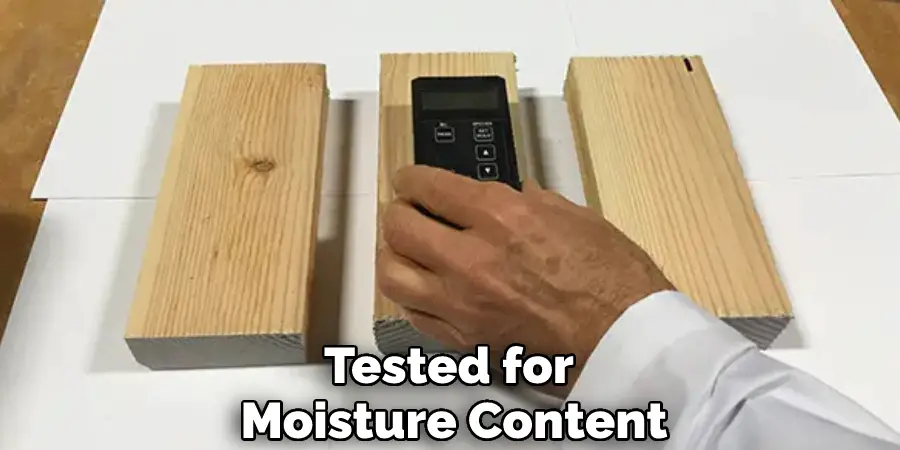
Compare the results to the results from your test wood. If the moisture content of your test wood is higher than the moisture content of the control sample, this means that your wood is wetter than the control sample.
7. Check for Moisture in the aair
Another way to use a moisture meter is to check for moisture in the air. This is especially useful for people who live in humid climates. To do this, first, find a big container to hold the moisture meter. Next, place the moisture meter in the container and seal it tightly. Then, wait for 24 hours and check the moisture level. If the moisture level is above 50%, then there is too much moisture in the air, and you will need to take steps to reduce it. If the moisture level is below 50%, then the air is too dry, and you will need to take steps to increase it.
8. Use the Moisture Meter to Find Leaks
Another way to use a moisture meter is to find leaks. This can be useful for people who live in humid climates or who have a lot of moisture in their homes. If you think there is a leak but you can’t find it, a moisture meter can help you locate it. To use a moisture meter to find a leak, start by turning off all the water sources in your home.
Then, go around and check all the places where there could be a leak. Use the moisture meter to check the moisture levels in these areas. If you find an area that has a high moisture level, there is likely a leak in that area.
9. Use an Averaging Function
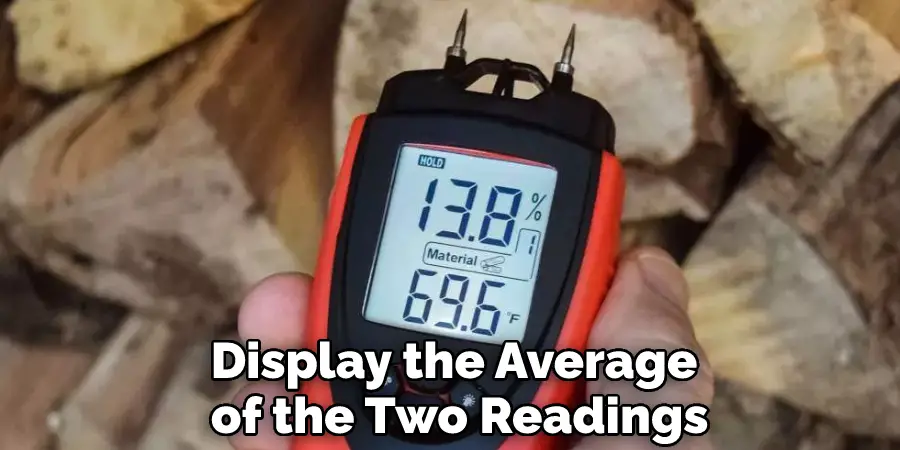
Some moisture meters have an averaging function. This function takes multiple readings and gives you an average of the readings. This can be useful if you want to take multiple readings in different areas and get an overall idea of the moisture content in the wood. To use this function, first, take a reading in the first area. Then, move the moisture meter to another area and take another reading.
The meter will then display the average of the two readings. Repeat this process until you have taken enough readings to get a good idea of the moisture content in the wood.
10. Use the Moisture Meter to Season Firewood
If you have a lot of firewood, you can use a moisture meter to season it. Seasoned firewood is dry and has a moisture content of 20% or less. To season firewood, split the logs and stack them in a dry, sheltered place. Check the moisture content of the wood regularly with a moisture meter. They’re ready to use when the logs have reached the desired moisture level.
Tips and Warnings on How to Use Moisture Meter for Wood
Tips:
- Always calibrate your moisture meter before each use.
- Use the right probe for the job at hand- there are two types of probes, surface and pinless. Surface probes are for taking readings of finished surfaces like floors or walls. Pinless probes are for taking readings of unfinished surfaces like wood beams or joists.
- When taking readings, always insert the probe perpendicular to the surface.
- For the most accurate reading, take multiple readings in different areas and then average them out.
- Keep in mind that moisture meters only measure wood’s moisture content, not other building materials like concrete or metal.
Warnings:
- Do not use a moisture meter on wet surfaces- you will get inaccurate readings.
- Do not use a moisture meter on metal surfaces- you could damage the probe.
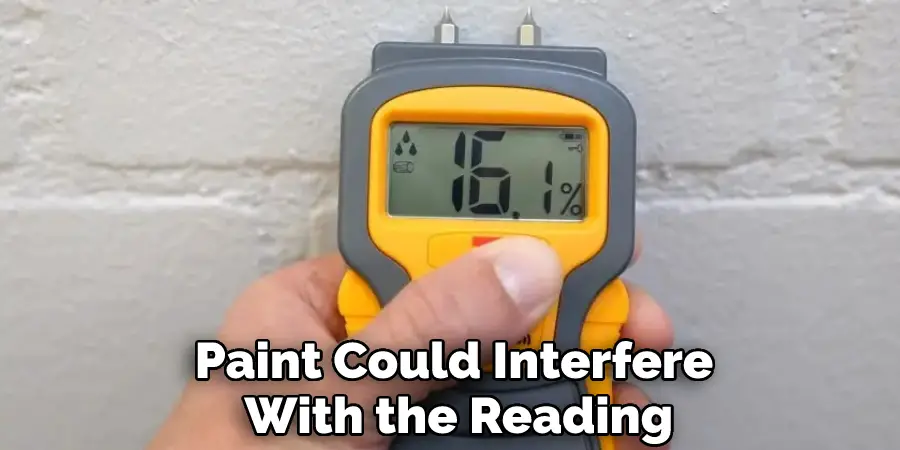
- Do not use a moisture meter on painted or varnished surfaces- the paint or varnish could interfere with the reading.
- Do not leave your moisture meter in one spot for too long- you could damage the wood.
- Do not use a moisture meter on burning wood- you could get seriously injured.
Why Do I Need a Moisture Meter?
A moisture meter is a valuable tool that measures the level of moisture present in various materials, such as wood, concrete, and drywall. Whether you’re a construction professional or a DIY enthusiast, a moisture meter can be useful in many ways. First, it can help you determine the moisture content of a material before you start working with it, ensuring that it is ready for use.
Secondly, a moisture meter can help you identify potential issues in a building or structure, such as leaks or water damage, before they become bigger problems. This can ultimately save you time and money by allowing you to address these issues early on. Additionally, a moisture meter can be used to monitor the drying process of fresh concrete, which is essential for achieving the desired strength and durability.
How Much Does a Moisture Meter Cost?
Moisture meters are devices used to measure the moisture content in materials such as wood, concrete, and drywall. They come in different types and sizes, and their cost varies depending on the type and features of the device. Basic moisture meters are available for as little as $10 and are commonly used for DIY projects or occasional use.
They can provide accurate moisture readings, but their features are limited. A mid-range moisture meter costs between $50 and $150, and this type of device is perfect for professionals such as woodworkers and flooring installers. These meters have more advanced features and can detect moisture levels at different depths in the material.
Can a Moisture Meter Reading Be Wrong?
Moisture meter readings can be wrong only in specific conditions or situations. There are several factors that can affect the accuracy of the moisture meter readings, including the calibration of the instrument, the type of material being measured, the ambient temperature and humidity, and the presence of other substances.
For instance, a moisture meter that is not calibrated properly may give incorrect readings, and varying densities of wood can also affect the accuracy of the readings. Moreover, the readings might be affected if there are other substances, such as oil, paint, or chemicals, on the surface of the material being measured.
Are Moisture Meters Worth It?
Moisture meters are devices designed to measure moisture content in various materials, including wood, concrete, drywall, and other building materials. They are commonly used in construction, woodworking, and agriculture industries to evaluate and manage moisture levels effectively.
Moisture meters are definitely worth it because they help to prevent damage caused by excess moisture in materials. High levels of moisture can cause corrosion, decay, and other structural problems, which can be expensive to repair. Moisture meters also help to detect mold growth, which can be harmful to human health.
By using a moisture meter, users can identify the source of moisture and implement appropriate measures to prevent future damage. Additionally, moisture meters are an affordable investment that can save time and money in the long run by effectively managing moisture levels and preventing potential damage.
Conclusion
So there you have it, a complete guide on how to use moisture meter for wood. Moisture meters are essential tools for anyone who works with wood. By following the tips and warnings in this guide, you can be sure you’re using your moisture meter correctly and getting accurate readings.

