Minwax wood filler is a putty-like material that is used to fill in holes and cracks in wood before painting or staining. It can be used on finished and unfinished wood and comes in several colors to match the surrounding wood. So, it is important to know how to use Minwax wood filler.
Wood filler is easy to use, but there are a few things you need to know to get the best results.
This blog post will explain how to use Minwax wood filler, including the types of projects it can be used for and the best way to apply it. We will also discuss some pros and cons of using Minwax wood filler, so you can decide if it is the right product for your project.
Materials You Will Need
- Minwax wood filler
- Putty knife
- Sandpaper
- Stain (if using on finished wood)
- Paint (if using on unfinished wood)
Importance of Using Minwax Wood Filler
- Minwax wood filler is a great product to use for many different projects.
- It can be used to fill in holes and cracks in wood before painting or staining.
- It can also be used to repair damaged wood, such as scratches and dents.
- Minwax wood filler is easy to use and comes in several colors to match the surrounding wood.
Types of Projects to Use Minwax Wood Filler
Minwax wood filler can be used on both finished and unfinished wood. Some common projects that it can be used for include: -Filling in holes or cracks in wood before painting or staining -Repairing damaged wood, such as scratches and dents -Filling in gaps between wood pieces. It is important to determine the best way to apply Minwax wood filler based on the type of project you are working on.
8 Steps Guide on How to Use Minwax Wood Filler:
Step 1: Select the Right Wood Filler
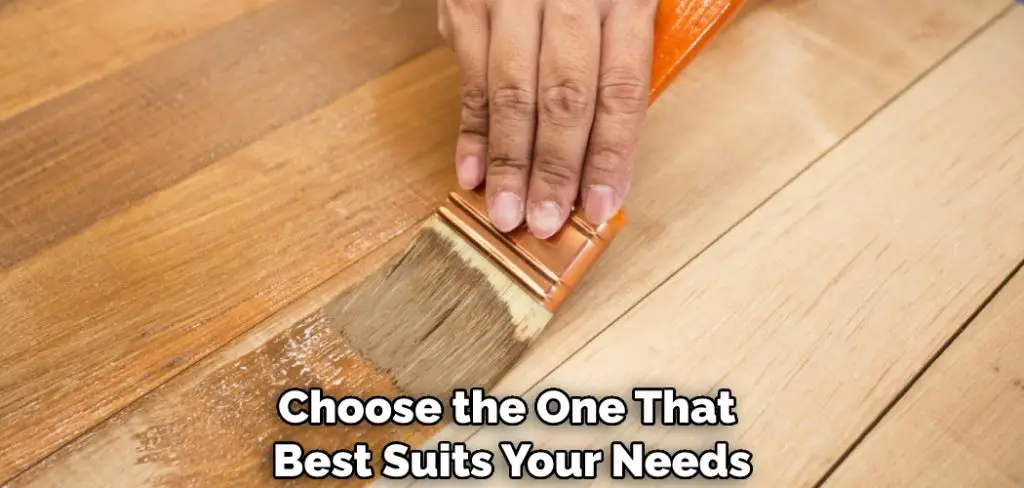
The first step is to select the right wood filler for your project. Minwax offers several different types of wood filler, so you need to choose the one that best suits your needs. If you are unsure which type of wood filler to use, you can always consult with a professional at your local hardware store. By selecting the right wood filler, it will adhere to the surface better and last longer. The right wood can be the difference between a successful repair and one that needs to be redone.
Step 2: Prepare the Area
Once you have selected the right wood filler, you need to prepare the area where you will be using it. If you are working with unfinished wood, you should sand the area before applying the wood filler. This will help to create a smooth surface for the filler to adhere to. If you are working with finished wood, you should remove any wax or polish from the area before applying the wood filler. It is important to determine the best way to apply Minwax wood filler based on the type of project you are working on.
Step 3: Apply the Wood Filler
After you have prepared the area, you are ready to apply the wood filler. To do this, simply scoop some of the filler onto a putty knife and spread it into the hole or crack. Be sure to fill the area and allow the filler to dry according to the manufacturer’s instructions. Applying the right size wood filler will minimize the amount of sanding you have to do later.
Step 4: Sand the Area
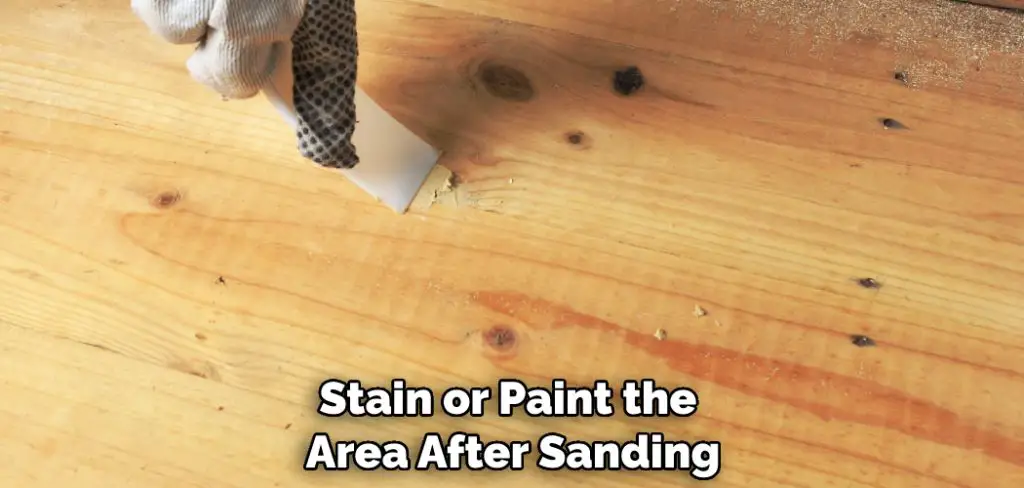
Once the wood filler is dry, you should sand the area to smooth out any rough edges. If you are working with unfinished wood, you can now stain or paint the area as desired. If you are working with finished wood, you can apply a new coat of wax or polish to the area. You can use fine-grit sandpaper for this step. Be sure to sand in the direction of the grain to avoid damaging the wood.
You Can Check It Out to Sand Uneven Wood Surfaces
Step 5: Apply Stain or Paint
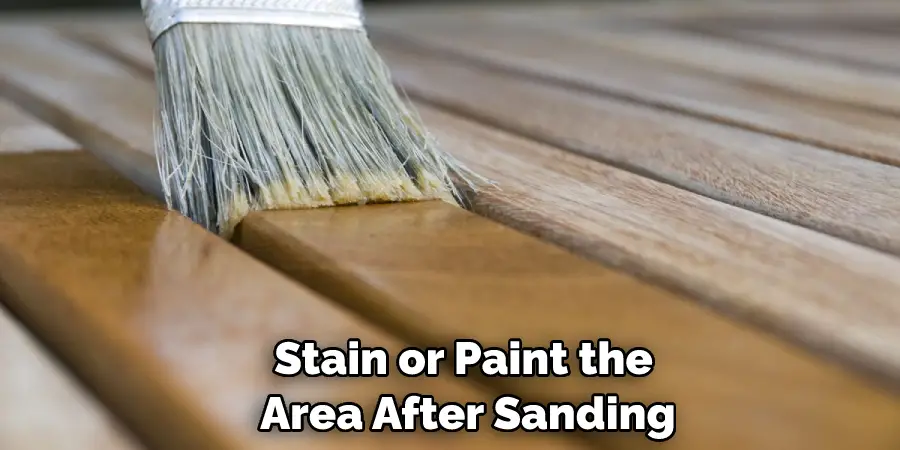
If you are working with unfinished wood, you will need to stain or paint the area after sanding. If you are working with finished wood, you may need to apply a new coat of wax or polish. Depending on the size of the hole or crack, you may need to apply multiple coats of wood filler. Be sure to allow each coat to dry completely before applying the next. Be sure to follow the manufacturer’s instructions for the best results.
Step 6: Allow the Area to Dry
After you have applied stain or paint, you should allow the area to dry completely. This can take several hours or days, depending on the product you used. Once the area is dry, you can enjoy your newly repaired wood! If it is not dry, it can cause the paint or stain to peel off. There are many processes to dry the wood after staining or painting.
Step 7: Clean Up
Once you are finished, be sure to clean up any leftover wood filler, stain, or paint. After the area is dry, you should check to make sure that the repair is complete. If the hole or crack is still visible, you may need to apply another coat of wood filler. Be sure to allow the area to dry completely between each coat.
You can use a damp cloth to wipe away any excess product. Be sure to dispose of all rags and brushes properly.
You Can Check It Out to Use Zep Hardwood and Laminate Floor Cleaner
Step 8: Explore New Projects
Once the wood filler is completely clean, you can enjoy your new project! Whether you are filling in holes before painting or repairing damaged wood, Minwax wood filler is a great product to use. You should explore new projects and find new ways to use wood filler. With a little practice, you will be able to create professional-looking repairs in no time! Thanks for choosing Minwax!
We hope that this guide has been helpful. If you have any questions, please feel free to contact us. Be sure to follow the steps above and always read the manufacturer’s instructions before using any products.
Frequently Asked Questions
Is Minwax a Good Wood Filler?
Minwax is a good wood filler for a variety of projects. It is easy to use and can be found at most hardware stores. Minwax wood filler comes in a tube and is applied with a putty knife. It dries quickly and can be sanded or painted once it is dry. Minwax wood filler is a good choice for small holes or cracks in the wood. It can also be used to fill in gaps between pieces of wood.
Does Wood Filler Dry as Hard as Wood?
No, the wood filler does not dry as hard as wood. Wood filler is made from a variety of materials, including wood pulp, sawdust, and resin. These materials are combined to create a putty-like substance that dries hard. However, it is not as hard as wood. This means that it can be sanded or carved once it is dry. It is also not as strong as wood, so it should not be used to repair structural damage.
How Long Does Wood Filler Take to Dry?
Wood filler dries quickly, usually within an hour. However, it is best to wait 24 hours before sanding or painting the filler. This will give the filler time to fully harden. the wood filler should not be used on wet wood. The filler will not adhere properly to the wet wood and will not dry correctly. The wood should be dry before using wood filler.
What Are the Different Types of Wood Filler?
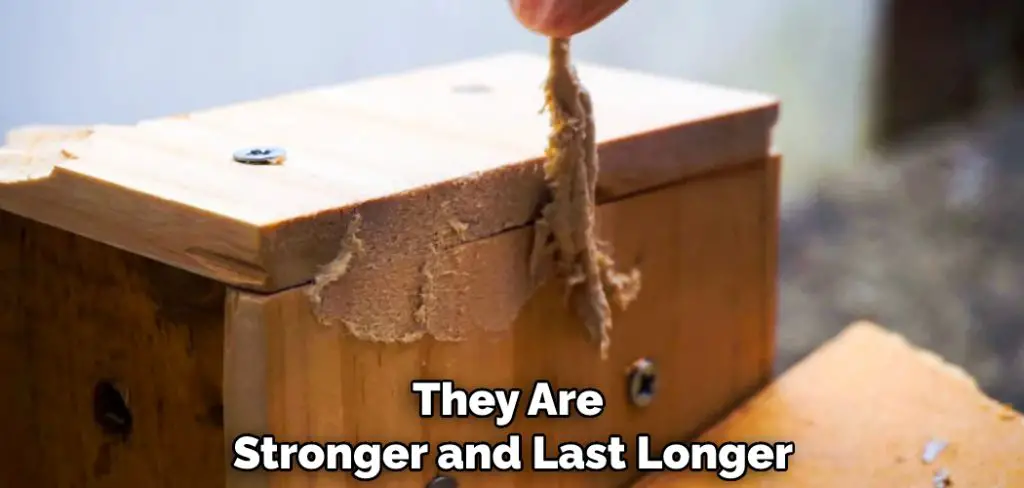
There are two main types of wood filler: water-based and solvent-based. Water-based fillers are made from a variety of materials, including wood pulp and acrylics. Solvent-based fillers are made from petroleum products, such as tar and asphalt. Each type of filler has its own advantages and disadvantages. Water-based fillers are easier to use and clean up, but they are not as strong as solvent-based fillers. Solvent-based fillers are more difficult to use and clean up, but they are stronger and last longer.
Conclusion
Minwax wood filler is a great product to use when repairing holes or cracks in the wood. Though it may seem daunting, using Minwax wood filler is a relatively easy process that can be completed in just a few steps with a little bit of patience. You should know how to use Minwax wood filler. A Minwax wood filler generally comes in two colors, light and dark. You should select the Minwax wood filler that closely resembles the color of the wood you are repairing.
If you can’t find an exact match, choose a light-colored filler for dark wood and vice versa. Begin by sanding down the area around the hole or crack to create It dries quickly, so you can get the job done in no time. Plus, it comes in a variety of colors to match any wood finish.
Whether you’re a beginner or an experienced handyman, Minwax wood filler is a product worth trying. By following the directions carefully and taking your time, you’ll end up with beautiful results that will last for years to come.

