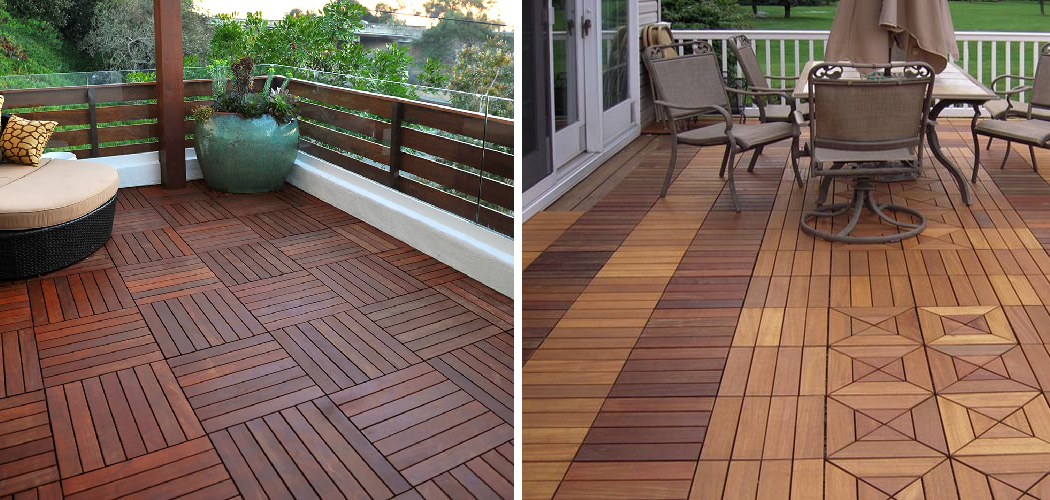
Adding tiled flooring to your wood deck can give it a fresh, stylish look and make it more functional. You can transform your wood deck into a stunning outdoor space with the right tools and materials. Tiling a wood deck might seem challenging, but it does not have to be. In this guide, we will walk you through the step-by-step process of how to tile a wood deck.
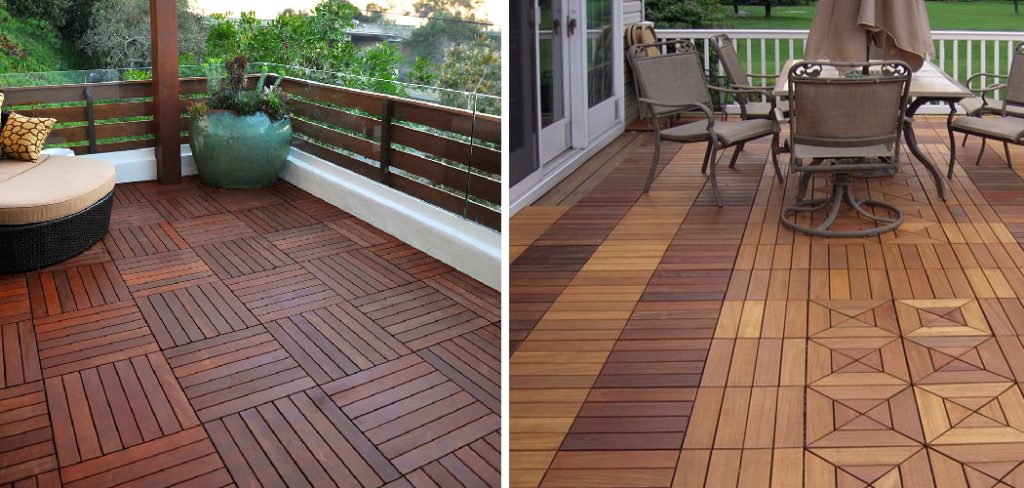
Can You Tile a Wood Deck?
Regarding home improvement, tiling a wood deck may seem far-fetched. However, with the right materials and some know-how, transforming your outdoor space can be easier than you might think. Tiled decks offer a durable and beautiful alternative to traditional wood decking, adding a touch of style and sophistication to your backyard oasis.
Materials like porcelain, ceramic, and stone tiles can withstand weather exposure and provide traction underfoot, making them a great choice for outdoor use. While the process of tiling a deck may require a bit of patience and effort, the result is sure to be worth it. So, can you tile a wood deck? The answer is yes, and it may just be the upgrade your outdoor space needs.
Why Should You Tile a Wood Deck?
Are you tired of the regular old wooden deck look? Try tiling your wood deck for a fresh spin on your outdoor space! Tile adds a unique and stylish look to your backyard oasis and provides a slip-resistant surface that can be safer than traditional wood. Plus, tile is highly durable and long-lasting, making it a smart investment for your home.
And with various tile options available, you can customize your deck to suit your taste and style. Say goodbye to boring decking and hello to a fun and functional addition to your home!
How to Tile a Wood Deck: A Step-by-Step Guide
Step 1: Prepare the Deck
The first step in tiling a wood deck is to prepare the surface. Start by cleaning the deck thoroughly with a pressure washer or a stiff brush and a cleaning solution. Once the deck is clean and dry, sand down any rough spots or splinters.
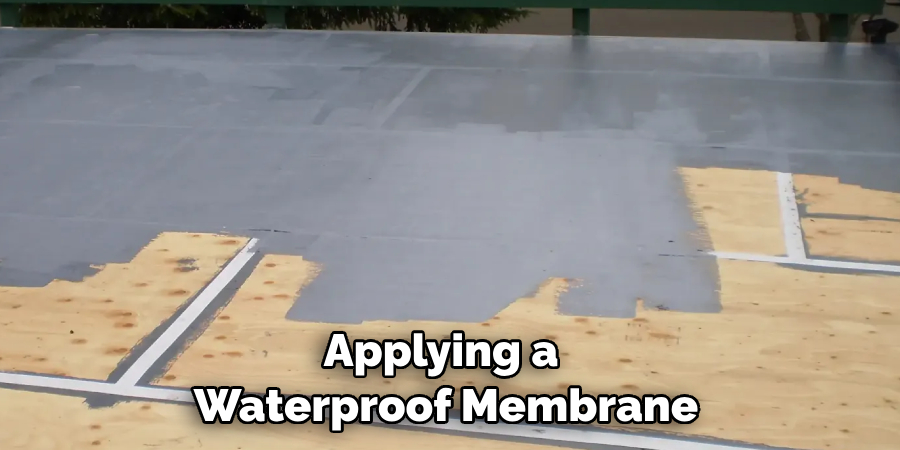
You want to create a smooth surface for the tiles to adhere to. Next, apply a waterproofing membrane to the deck surface. This will prevent water from seeping through and damaging the wood underneath and provide a barrier between the tiles and the wood.

Step 2: Measure and Plan
Before you start tiling, you need to measure the deck and plan the tile layout. Measure the length and width of the deck and determine the size of the tiles you want to use. Most tiles come in standard sizes, so choose the best size for your deck. You should also decide on the tile pattern and layout. This will depend on the shape of your deck and your personal preferences.
Step 3: Install the Tiles
Now that the deck is prepared, and the layout is planned, it is time to install the tiles. Start by applying a layer of thinset mortar to a small deck section using a notched trowel. Place the first tile on the mortar and press it firmly into place. Use tile spacers to keep the tiles evenly spaced. Continue to add tiles similarly, following the tile pattern and spacing guidelines. Once the tiles are in place, allow the mortar to dry completely.
Step 4: Grouting the Tiles
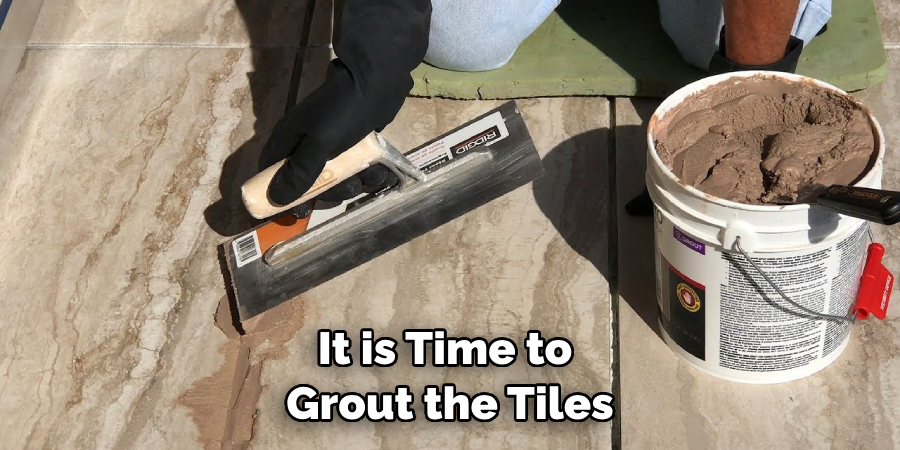
Once the mortar is dry, it is time to grout the tiles. Choose a grout color that complements the tiles and apply it evenly to the gaps between them using a rubber float. Remove any excess grout with a damp sponge, being careful not to remove too much. Allow the grout to dry completely before walking on the tiles.
Step 5: Finishing Touches
Once the grout has dried, you can add finishing touches to your tiled wood deck. If desired, apply a sealer to the tiles for extra protection against stains and water damage. You can also add edging between the tiles and any other areas of the deck. This will give it a polished look and keep the tiles in place.
Step 6: Clean Up
Once you are finished, it is time to clean up. Sweep away any debris or dust from the deck surface and dispose of any excess grout or mortar properly. Wipe down the tiles with a damp cloth to make sure they are free from dirt and stains.
Step 7: Enjoy Your Deck
Now that your wood deck is tiled, you can enjoy its beauty and functionality. Use a mat or rug to add color and texture to the deck’s surface. Place a few outdoor chairs or a small table on top of the tiles to create a cozy seating area. You can also use the space for grilling, entertaining guests, or simply enjoying the outdoors.
Congratulations! You have successfully tiled your wood deck and added extra value to your home. Now that you know how to tile a wood deck, you can make any outdoor space look stylish and inviting in no time. Enjoy your new tiled wood deck for years to come!
5 Considerations Things When You Need to Tile a Wood Deck
1. Preparation
Before you begin tiling a wood deck, it is important to prepare the surface properly. This includes removing any existing paint or sealant, sanding down any rough spots, and ensuring that the surface is clean and free of debris. If the deck has been previously sealed, you must use a stripper to remove the sealant before tiling. You should also check for any nails or screws that may be sticking up from the surface of the wood.
2. Waterproofing
Once your deck is properly prepared, you must waterproof it before tiling. This can be done by applying a waterproof membrane over the entire surface of the deck. This will help protect your tiles from water damage and ensure that they last for many years.
3. Tile Selection
When selecting tiles for your wood deck, it is important to choose ones that are designed specifically for outdoor use. Outdoor tiles should be rated for freeze-thaw resistance and should be able to withstand extreme temperatures and UV exposure without fading or cracking over time.
Additionally, it would be best to consider slip resistance when choosing tiles for an outdoor space, as this will help prevent accidents on wet surfaces.
4. Grout Selection
The grout you use when tiling a wood deck is as important as the tile itself. You should select a grout designed specifically for outdoor use with appropriate flexibility so that it does not crack in extreme temperatures or when exposed to moisture. Additionally, you may want to consider using a grout with built-in waterproofing properties, as this can help protect your tiles from water damage over time.
5. Maintenance & Cleaning
Finally, it is important to remember that regular maintenance and cleaning are essential to keep your wood deck looking its best over time. You should sweep off any debris regularly and periodically apply sealer or stain depending on what type of finish was used on your deck originally. Additionally, if you notice any damaged tiles or grout lines, these should be repaired immediately to avoid further damage down the road.
Overall, tiling a wood deck involves careful preparation and the right materials to ensure your tiles look their best for many years to come. While it may seem like a lot of work initially, with proper maintenance and cleaning, your tiled wood deck will remain beautiful for years to come!
5 Benefits of Tile a Wood Deck
1. Durability
Tile is a much more durable material than wood when building a deck. The tile is highly resistant to wear and tear and water damage, making it an ideal choice for decks exposed to the elements. Tile is also fire-resistant, so sparks from a grill or other outdoor activities won’t damage it.

2. Low Maintenance
Tile decks require very little maintenance compared to wood decks. Unlike wood, tile does not need to be stained or sealed to protect it from the elements. Tile is also resistant to mold and mildew, which can cause rot and decay in wooden decks over time.
3. Aesthetically Pleasing
Tile can also add aesthetic appeal to your deck design. It comes in various colors and patterns which can be used to create unique designs that will make your deck stand out from the rest. Additionally, tiles are available in different materials, such as ceramic, porcelain, slate, and travertine, which can add texture and depth to your design.
4. Cost-Effective
Tile is also cost-effective for building a deck because it lasts much longer than wood and requires less maintenance over time. The initial cost of installing tile may be slightly higher than wood, but you will save money in the long run by not having to replace or repair boards due to rot or decay caused by moisture or insects.
5. Eco-Friendly Option
Finally, tile is an eco-friendly option for building a deck because it requires no chemicals or sealants for installation or maintenance as wood does. Additionally, tiles are made from natural materials such as clay, which are renewable resources that do not negatively impact the environment during production or disposal processes.
Overall, tiling a wood deck is an excellent way to add durability and aesthetic appeal to your outdoor space while also being cost-effective and eco-friendly in the long run. With the right preparation and materials, you can create an attractive and low-maintenance tile deck that will last for many years to come!
Conclusion
Tiling a wood deck might seem daunting, but it can be done quickly and easily with the right tools and materials. Follow these steps, and you will have a beautiful, functional, and durable outdoor space you can enjoy for years.
Remember to take your time, carefully plan the layout, and follow the manufacturer’s instructions. You can turn your wood deck into a stunning tiled oasis with a little effort. Thanks for reading our post about how to tile a wood deck.

