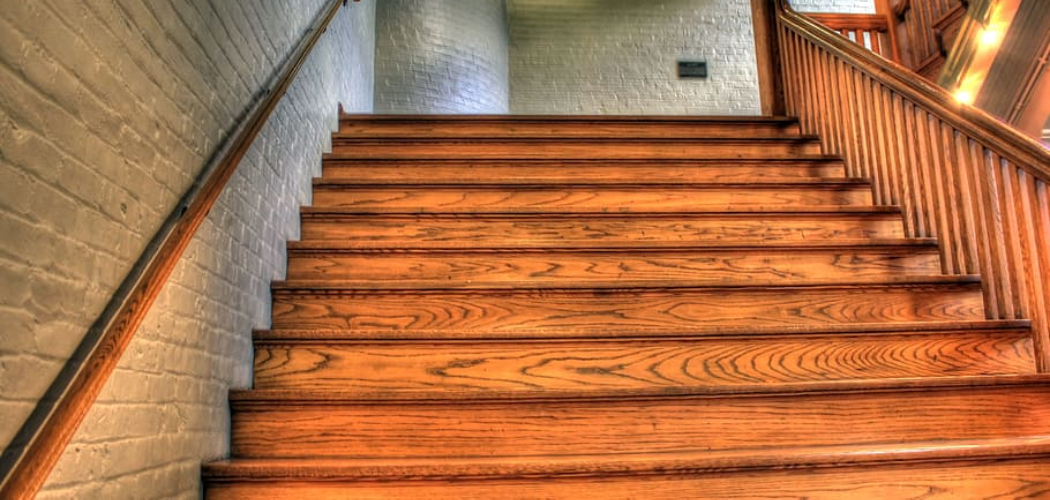
If you are looking to add a luxurious and timeless look to your home, then wooden flooring on the stairs is an ideal place to start. Wood floors provide comfort and warmth during those cold winter months plus they can create a beautiful focal point for both visitors and family alike.
With detailed instructions on how to do wood floors on stairs, this blog post aims to make your stair renovation project easier and more successful than ever! Keep reading for tips on how to select the right woods, tools needed, installation methods, staining/finishing techniques, and more!
Tools and Materials You Will Need to Do Wood Floors on Stairs
- Wood Flooring
- Subfloor
- Nails
- Hammer
- Miter saw
- Circular saw
- Drill
- Leveler
- Tape measure
- Pencil
- Safety glasses
- Putty knife
- Sandpaper
- Wood glue
- Stain/finish
- Rag/stain applicator (if staining)
Step-by-Step Guidelines on How to Do Wood Floors on Stairs
Step 1: Select the Right Woods for your Staircase
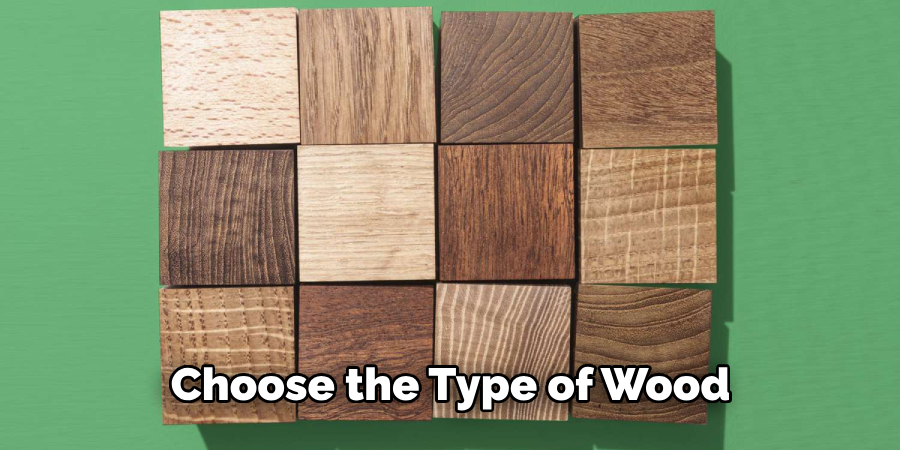
Choose the type of wood that best fits your style and needs. Hardwood floors have a long lifespan and are much more resistant to scratches, gouges, and dents than softer woods like pine or cedar. Consider factors such as affordability, hardness, color, grain pattern, texture, etc. Right wood flooring can give a great lift to any staircase!
Step 2: Prepare the Staircase for Installation of Wood Floors
Remove the existing carpet from your stairs or sand and pressure wash any existing wood surfaces. Make sure that you have a level subfloor, meaning no dips or rises on the surface. Also, inspect for any squeaky spots and fix them before installation. While preparing, protect your wood floors from moisture and other elements such as sunlight.
Step 3: Install the Wood Flooring
Once you have prepared the subfloor for installation, start laying out the wood planks on the stairs. Using a miter saw or circular saw, cut the planks to fit each stair tread and riser. Nail them in place using a hammer or drill. Make sure the planks are properly secured and aligned. You may need to trim some planks to fit small spaces.
Step 4: Staining and Finishing Your Wood Floors on Stairs
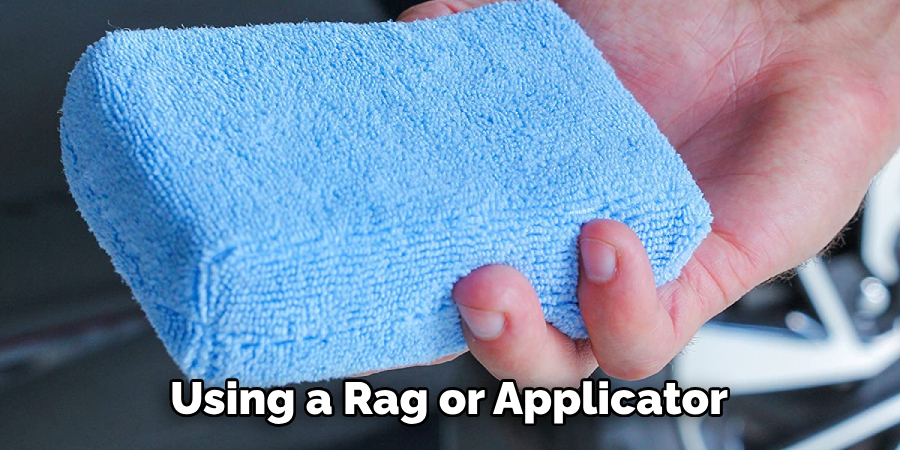
If you are not satisfied with the color of your wood planks, then you can stain them to give them a custom look. Choose an appropriate finish for your particular type of wood flooring and apply it evenly using a rag or applicator. Allow time for the finish to dry completely before proceeding to the next step.
Step 5: Final Touches and Maintenance Tips
Once you have installed your wood floors on the stairs, make sure that you clean them regularly and protect them from scratches or stains with a protective sealant. You should also check for loose nails regularly and fix any squeaks if necessary. Use felt pads on the feet of chairs or furniture to minimize scratches and wear. With proper maintenance, your wood floors should last for many years!
We hope this blog post on how to do wood floors on stairs has been helpful in guiding you through the installation process. With detailed instructions and a little bit of patience, you can easily install beautiful wooden flooring on your staircase! Good luck and have fun with your project!
Additional Tips and Tricks to Do Wood Floors on Stairs
- 1When measuring for the stair treads, make sure to include an extra inch or two on each side so that you can trim them after installation.
- Use a jigsaw and router when cutting out stair nosing to create detailed edges that match the stairs design.
- 3. To avoid shrinkage and warping, use hardwood flooring that has been dried and treated with a protective finish.
- Before nailing down the stair treads, use a flooring jig to ensure that they are level and evenly spaced.
- Choose a wood stain or sealant that is specifically designed for stairs to give them an attractive look and provide extra protection against wear and tear.
- Use a tack cloth to wipe down the stair treads before and after each installation step to remove any dust or debris that could interfere with the finished product.
- Consider using a contrasting color of wood for the edges and risers of the stairs to create an eye-catching look.
- Be sure to use construction adhesive between the stair treads and risers to provide extra stability.
- To prevent squeaks, use wood glue on all of the joints before nailing down the treads.
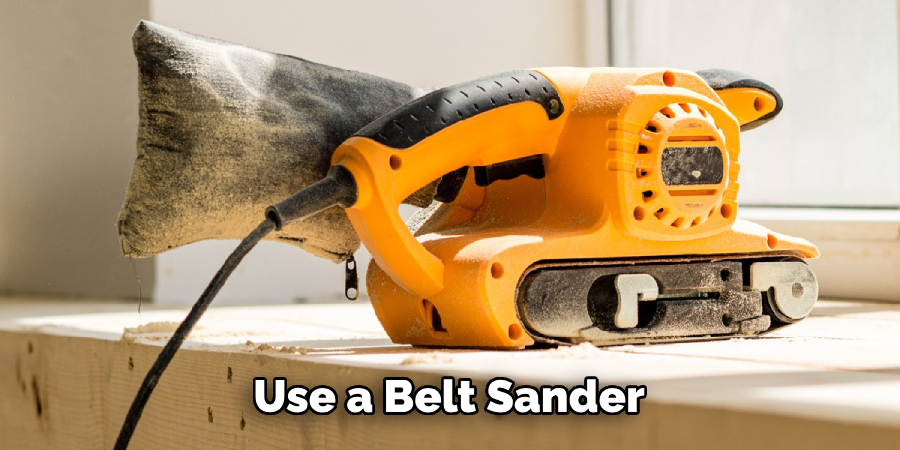
- 10. Use a belt sander for any final sanding or smoothing when the job is complete.
- 11. Finally, add a coat of polyurethane or other sealant to the stairs for extra protection and longevity. This will help keep the wood looking great and make it easier to clean.
With these tips, you can ensure that your wood floors on stairs look great and last for years to come! Good luck with your project!
Things You Should Consider to Do Wood Floors on Stairs
1. Safety should be the first and foremost priority when doing wood floors on stairs. Make sure to wear protective gear such as anti-slip shoes, safety goggles, dust masks, and gloves. Also ensure that there are clear pathways and secure handrails for safe navigation of the stairs.
2. Determine the type of flooring material you wish to use. You have the option of hardwood, engineered wood, laminate, bamboo or cork depending on your preference and budget.
3. Calculate the required amount of flooring material needed for your project. Measure the length and width of each stair tread (the flat surface that steps are placed on), as well as the height of each riser (the vertical surface that steps are attached to) in inches. Multiply these measurements together to calculate the total square footage of flooring material needed for your project.
4. Choose the type of finish you would like on the wood flooring, such as a natural finish or a protective coating for added durability.
5. If installing hardwood flooring, make sure to purchase pre-finished wood. Pre-finished hardwood will have a protective coating already applied on it and will not need additional finishing once the installation is completed.
6. Purchase the necessary tools for your project such as an electric saw, miter saw, drill, hammer, nails, screws, etc. You may also want to rent specialty tools such as an oscillating sander or belt sander to make the job easier.
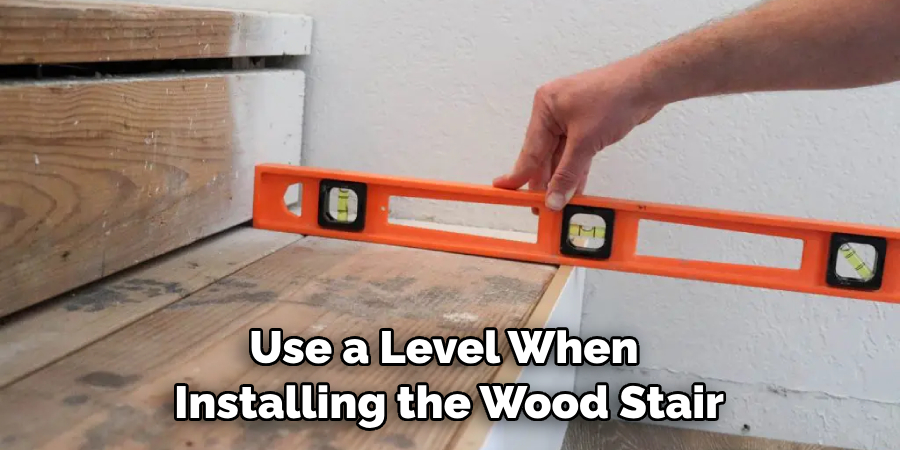
7. Be sure to use a level when installing the wood stair treads and risers. This will ensure that everything is even before you begin nailing the wood into place.
8. Finally, be sure to take your time and follow all instructions carefully. Doing wood floors on stairs can be a difficult and lengthy project but with proper planning, safety precautions, and the correct tools it can be done successfully.
Following these considerations will help you to do wood floors on stairs correctly and safely. With a few simple steps, you can have beautiful and durable wood floors for your home that are sure to last. Good luck!
Precautions Need to Follow for Doing Wood Floors on Stairs
1. Before starting a wood flooring project on stairs, be sure to inspect the entire stairway for damage or structural issues and make any necessary repairs before proceeding. This is important as any loose boards or planks can cause risks of tripping or falling when walking up and down the stairs.
2. Make sure each step is accurately measured for width, length, and height. This will ensure the boards fit properly and are cut to the right size for your staircase.
3. When using wood flooring on stairs, use nails instead of glue or adhesives. Nails provide more stability and grip than other methods of installation when installed correctly.
4. If you are installing a wooden handrail as part of the design, you should ensure that it is firmly secured to the wall. This will provide extra safety and stability when going up and down the stairs.
5. When cutting boards for a staircase, be sure to use a sharp saw or blade to prevent splintering or other damage from occurring.
6. Always wear proper protective gear such as gloves and safety glasses when cutting or installing wood flooring on stairs.
7. Lastly, remember to check your work for accuracy once completed, and be sure that all the boards are securely attached before walking up the stairs. This will reduce any risks of tripping or falling.
Follow these simple steps and you’ll have a beautiful wood floor on your staircase in no time! With the right tools and precautions, you can create a stunning staircase to welcome guests into your home. Good luck!
Frequently Asked Questions
What Types of Wood Are Best for Stairs?
The types of wood that are best for stairs depend on personal preference as well as budget. Some of the most popular options include cherry, oak, maple, walnut, and hickory. Each type of wood has its own unique characteristics so it is important to consider what will work best for your home.

How Do I Choose the Right Size and Length of Wood for My Stairs?
The size and length of boards used on stairs depend on the type of wood being used as well as the width and depth of each step. Generally, you want to make sure that the boards fit tightly and are cut to the right measurements so they can be securely attached to each step. Additionally, it’s important to select boards with a similar grain pattern for an aesthetically pleasing look.
What Are Some Common Mistakes Made When Installing Wood Floors on Stairs?
One of the most common mistakes people make when installing wood floors on stairs is not measuring the boards carefully. It’s important to make sure the boards fit together snugly and are cut exactly to size so they can be securely attached.
Additionally, it’s important to ensure that all of the nails or screws used are properly installed. Finally, many people forget to finish their stairs with a sealant or varnish to protect the wood from damage.
Conclusion
Now you know how to do wood floors on stairs and the important things to consider when selecting boards. Remember that it’s best to measure carefully, use boards with a similar grain pattern, and finish your stairs with a sealant or varnish for optimal results. Have fun creating beautiful wood staircases in your home!

