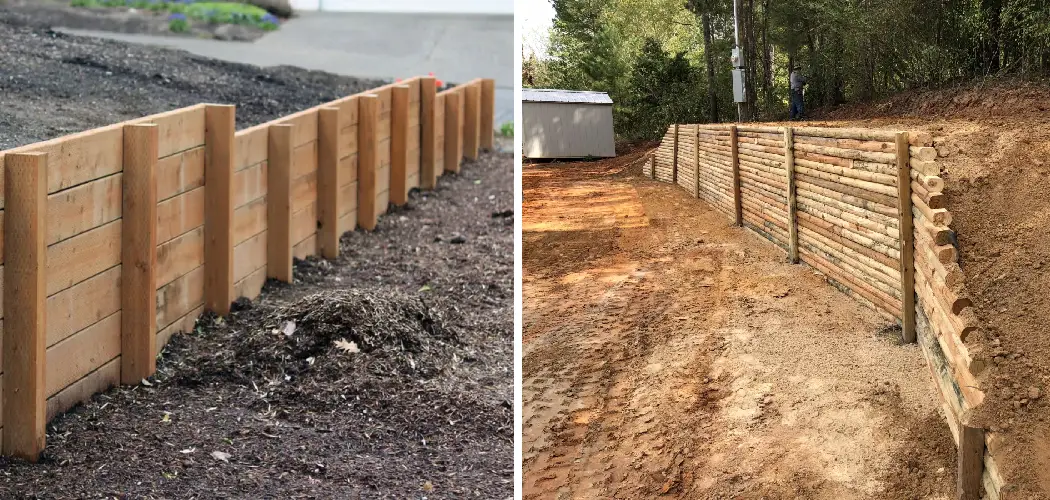
Are you looking for creative ways to add more detail and beauty to your outdoor space? Then why not consider terracing a hillside with wood? This classic landscaping technique can transform the look of any space, adding curves and texture while creating multiple levels of interest. It’s also perfect if you’re looking to reduce erosion or stabilize slopes on steep terrain.
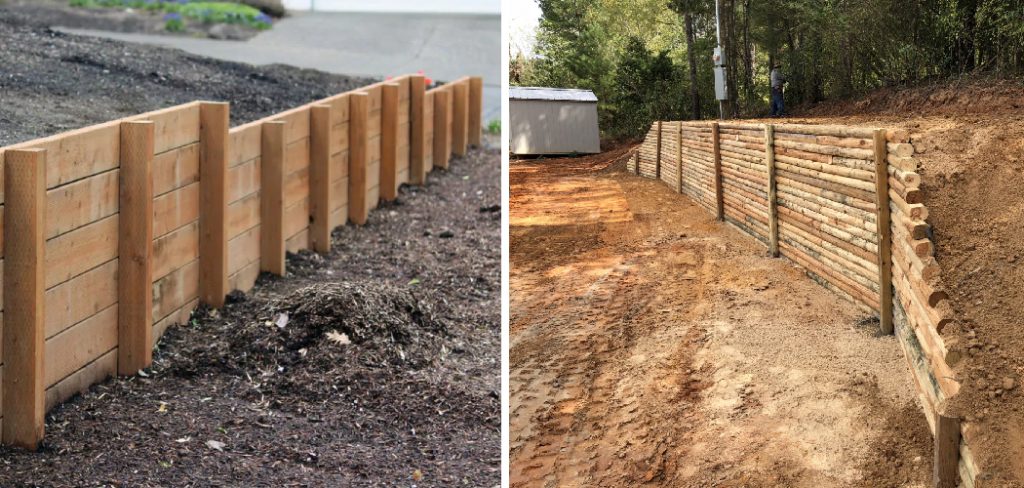
If you’ve decided to embark on this project, here are the steps you need to take to terrace a hillside with wood.
Whether for aesthetic appeal or functional needs, terracing with wood can be both an artful and practical form of yardwork – and that’s what we are here to chat about today! Keep reading as we explore everything there is to know about how to terrace a hillside with wood.
Benefits of Terracing Your Hillside
One of the greatest benefits of terracing your hillside is that it can reduce erosion and maintain the stability of your land. Terracing helps break up a steep slope, creating multiple levels or benches which slow down runoff, helping to keep moisture in the soil where you want it.
Terraces also create an aesthetically pleasing look that will enhance the visual appeal of your garden and increase the value of your property.
Additionally, terraces create more usable land – each level of the terrace can be used for a variety of purposes, from growing vegetables to creating a seating area.
What Will You Need?
You’ll need to gather some necessary materials to get started with your terracing project. Here is a list of supplies that will be needed for the project:
- Pressure treated wood boards (2x4s)
- Nails and screws
- Hammer or drill
- Gravel, crushed stone, or topsoil
- Landscape fabric
- Level and measuring tape
In addition to these supplies, consider adding decking or landscaping stones for a more polished look.
10 Easy Steps on How to Terrace a Hillside With Wood
Step 1. Preparing the Ground
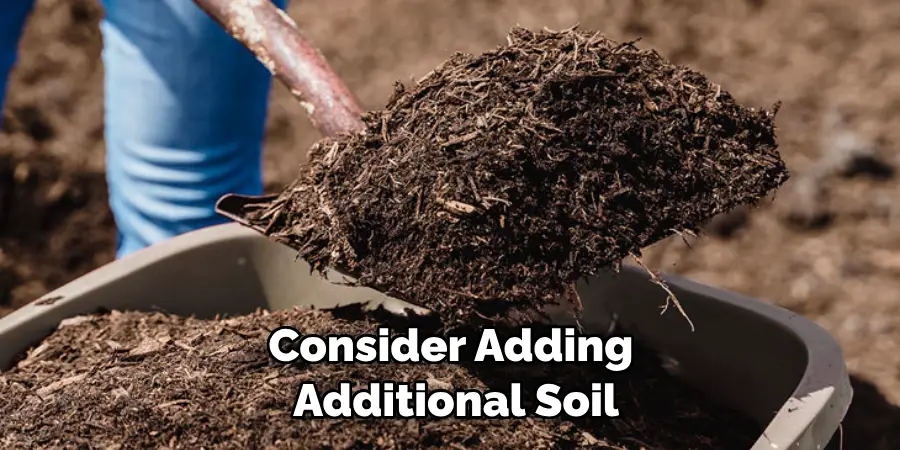
Before building your terraces, you must prepare the ground by removing debris and vegetation. Additionally, if there is a large difference in elevation levels, you may need to create a more gradual slope by removing some of the soil. If there is a large elevation difference, you may also consider adding additional soil.
Step 2. Mark Out the Terrace Lines
Before starting the construction, it’s crucial to map out where each terrace will be located. Use stakes and a string to mark the lines for each terrace. This will serve as a guide when cutting into the hillside and setting the wooden boards.
Step 3. Cut into the Hillside
Having marked the outline of your terraces, it is time to start the real work. Use a shovel to cut into the hillside along the lines you marked out. This part of the process can be labor-intensive, so take breaks as needed. Remember, it’s crucial to maintain the correct slope for each terrace to ensure proper water drainage.
Step 4. Install the Wood Boards
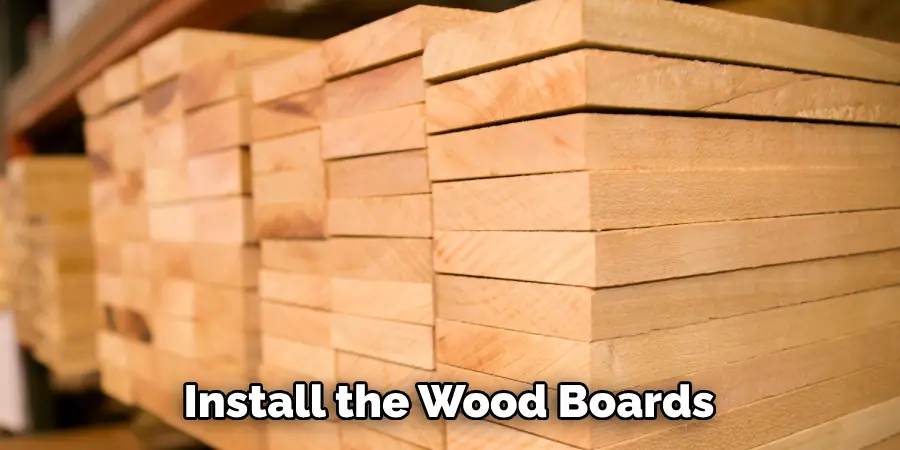
You can install the wood boards once you’ve dug out the terrace levels. Place your pressure treated wood boards along the dug-out terrace lines. Secure them in place with nails or screws using your hammer or drill. Ensure the boards are level before securing, adjusting as necessary.
Step 5. Install Landscape Fabric
After the boards are securely placed, lay landscape fabric along the back and bottom of the dug-out terrace. The fabric will serve as a weed barrier and prevent the soil from washing out from behind the wood boards when it rains. Be careful not to pull the fabric too tight against the boards, as this can cause warping.
Step 6. Fill in with Soil and Gravel
Using soil or gravel, fill in behind the wood boards up to the height of your top board. This will create a flat surface that’s level with your terrace lines. Ensure all the soil and gravel is packed tightly against your wood boards.
Step 7. Add Decking or Stones
Now that you have completed the construction of your terraces, it’s time to add a few finishing touches! Consider adding decking or stones for additional texture and interest. This will also make the area safer to walk on when wet.
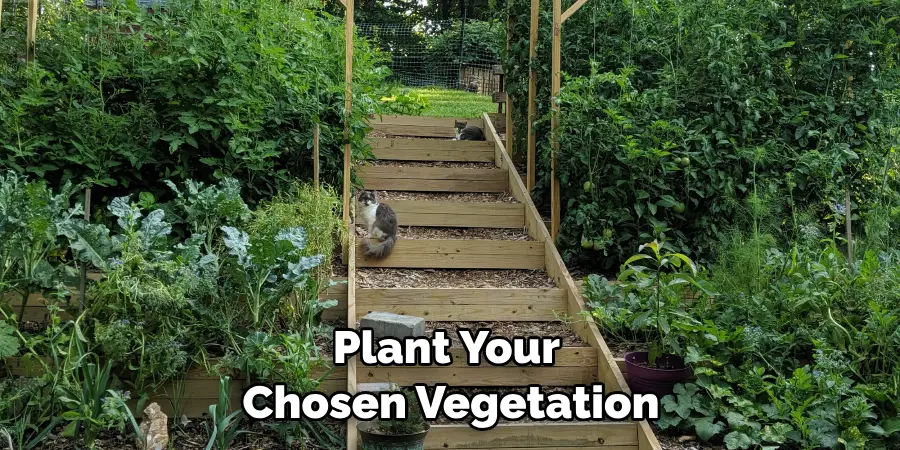
Step 8. Plant Vegetation
Landscaping your new terraces is the next stage. Start by adding topsoil to each level and then plant your chosen vegetation. This could be grass, flowers, or even vegetables.
Not only will this enhance the beauty of your terraces, but the plants’ root systems will also help prevent soil erosion, adding an extra layer of stability to your hillside. Remember to water your new plants thoroughly to encourage their growth and development.
Step 9. Watering and Maintenance
Now that your terraces are beautifully landscaped, they will need regular maintenance. Water your plants regularly. Remember that terraced areas may dry out faster. Consider installing a drip irrigation system for efficient watering.
Additionally, watch for any signs of erosion or damage to the wood boards. Over time, you may need to replace the boards or add more soil and gravel. Regular and diligent maintenance will ensure that your terraces stay beautiful and functional for years.
Step 10. Enjoy Your New Space
Congratulations! You have successfully terraced your hillside with wood. Now, take the time to enjoy your newly created outdoor area. Whether you use it as a gardening space, a relaxation spot, or a venue for outdoor gatherings, it’s sure to add a unique charm to your home.
Remember, the beauty of a terrace is not only in its aesthetics but also in its ability to transform an unusable hillside into a functional, eye-catching part of your landscape.
By avoiding heavy machinery and skimping on the landscaping costs, terracing your hillside with wood is a great way to add value to your home. With some careful planning, elbow grease and a bit of creativity, you can create an attractive outdoor space without breaking the bank.
5 Additional Tips and Tricks
- Start at the bottom of the hillside and work your way up so that each terrace is higher than the one below it. This helps to ensure proper drainage.
- To create a strong support structure for each terrace, use high-quality wood such as cedar or redwood, which are more resistant to rot and decay than other types of wood.
- Use pressure-treated wood to prevent deterioration caused by weathering and pests.
- To create a watertight seal around each terrace, use galvanized nails or screws with washers to securely fasten the planks together and keep them from shifting over time.
- Leave enough room between each terrace for water to pass through. This will help to prevent flooding and soil erosion.
With these tips and tricks in mind, you’ll be able to terrace a hillside with wood successfully. With the right materials and know-how, you can create a beautiful and safe addition to your yard that will last for years.
5 Things You Should Avoid
- Avoid softwood such as pine or spruce since this wood is more prone to rotting and decay.
- Do not use nails alone to attach the planks; use screws with washers for added stability and strength.
- Do not stack the terraces too close together; leave enough room between them so that water can pass through and help prevent flooding.
- Avoid painting or staining the wood, as this can cause it to rot over time.
- Do not use shortcuts when constructing your terraces; properly secure each plank for maximum stability and longevity.
Following these tips and tricks, you can create a beautiful and safe terraced hillside with wood.
How Do You Waterproof a Hillside Terrace?
Once your terrace has been constructed with pressure-treated wood, it is important to waterproof it. This will help ensure that the terraces remain structurally sound and look their best for years to come.
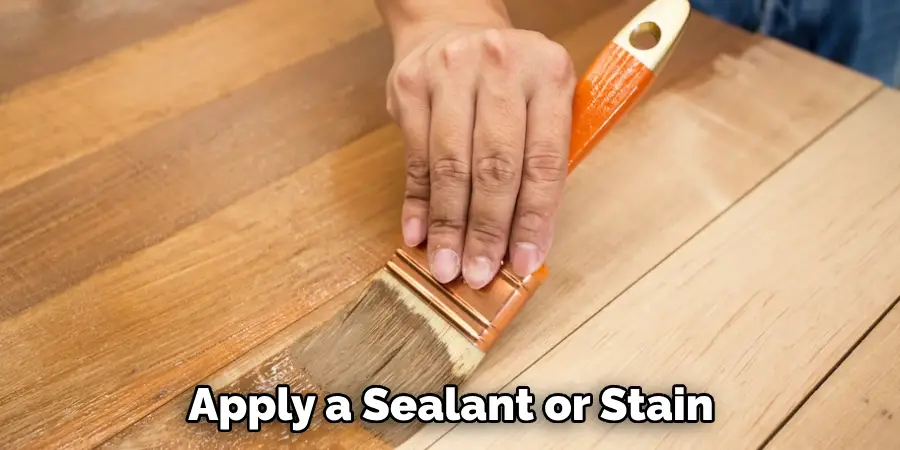
To waterproof a hillside terrace, you’ll need to apply a sealant or stain to the planks before securing them in place. This will help keep moisture out and prevent the wood from rotting over time. Additionally, installing a drip irrigation system can help water your plants without worrying about excess water pooling in your terraces.
By waterproofing your hillside terrace, you’ll be able to create an attractive and long-lasting outdoor space that will surely enhance your home’s beauty.
Conclusion
How to terrace a hillside with wood is a great way to create stability on steep slopes, as well as save money and time. Terrace walls are constructed with simple tools and materials at your disposal. With time and effort, you can build your own beautiful, functional terraces that will last many years.
By creating terraces, slope runoff and soil erosion are redirected away from your garden beds—allowing the water to reach root systems due to higher water infiltration rates easily. Not only will terrace walls help add visual interest to an otherwise dull space, but they’ll also give a whole new level of usability to the area in terms of growing produce or simply having more space for comfortably seated outdoor areas.
So if you’re looking for some serious garden inspiration, consider adding homemade wooden terraces to your hillside!

