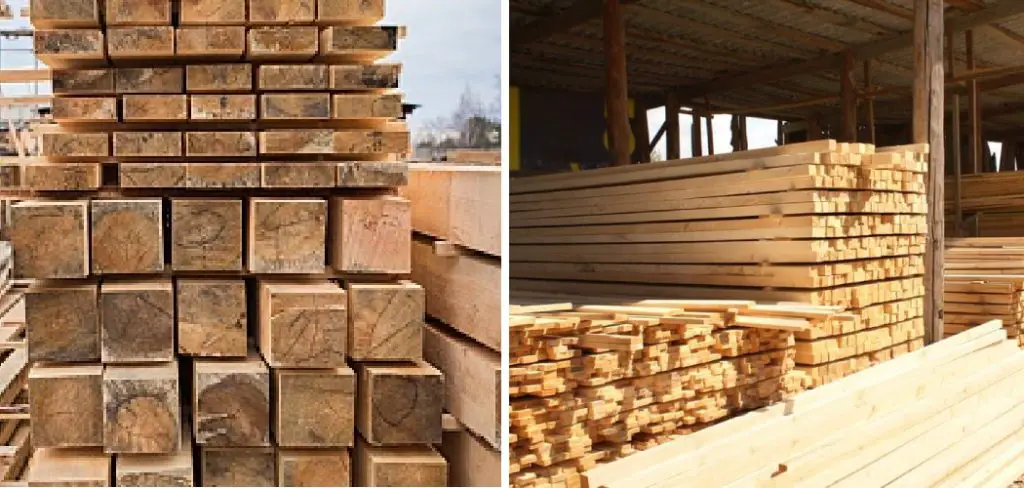
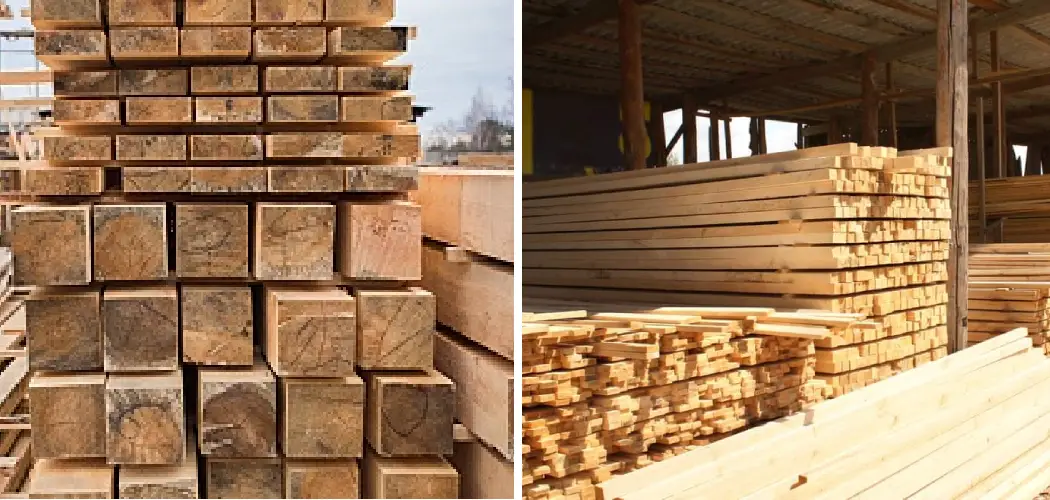
Are you looking for tips on how to store lumber to prevent warping? Warping is a common issue with lumber when it’s not properly stored and can lead to costly repairs or replacements.

If you buy lumber to build furniture and other projects at home, then you know that wood warping is a common problem that can be extremely frustrating. Warped boards are a major inconvenience because they’re unusable and have to be replaced, so how can you prevent your wood from warping in the first place?
The answer lies in storing your lumber properly to ensure proper air circulation around all sides of each board.
In this blog post, we will discuss how to store lumber correctly so it won’t warp and become damaged or deformed over time. Read on for more information about storing lumber to prevent warping!
What Will You Need?
To store lumber correctly, you’ll need the following:
- A dry, shady location
- Moisture meters or a hygrometer
- Plastic sheeting
- Pallets
- Shelving
- Straps or clamps
- Protective covers (e.g., tarps or sheets of plastic)
Once you have the necessary materials, you can start storing your lumber properly.
10 Easy Steps on How to Store Lumber to Prevent Warping
Step 1: Choose a Dry, Shady Location
The first step in properly storing lumber is choosing the right location. You’ll want to pick somewhere that’s both dry and shaded from direct sunlight throughout the day, such as a garage or shed with enough room to store your lumber inventory safely and securely without overcrowding it. If you’re storing lumber outdoors, ensure it is placed in a well-ventilated area.
Step 2: Measure the Moisture Content
Using a moisture meter or hygrometer, measure the moisture content of your lumber before you start to store it. The ideal range for storing lumber is between 6-12%, so any readings above this level will need to be brought down by allowing the wood to sit and dry in a well-ventilated area first.

Step 3: Use Plastic Sheeting
If you’re storing your lumber outdoors, then cover it with plastic sheeting on all sides to protect it from rain and other elements that can cause warping over time. This will also provide an additional layer of insulation so that any sudden changes in humidity won’t affect the boards as much. Don’t forget to leave a few inches of air space between the sheeting and the wood.
Step 4: Place Pallets Underneath the Lumber
Once you’ve covered your lumber with plastic sheeting, place pallets underneath them to keep them off the ground and allow air to circulate freely around all sides of each board, this will help prevent warping due to uneven moisture levels on different parts of the wood. Additionally, the pallets will protect your lumber from any liquid or debris that may fall on them.
Step 5: Utilize Shelving and Straps/Clamps
If possible, store your lumber on shelves or use straps or clamps to hold it securely rather than stacking it directly on top of one another. This way, the boards will be able to breathe better, which can help reduce the risk of warping over time. Another advantage of this method is that it’s much easier to access the lumber when needed.
Step 6: Use Protective Covers
Finally, use a tarp or plastic cover to protect your stored lumber from dust, dirt, and other debris that can accumulate over time. This will help keep the wood clean and free of any unwanted particles that may cause it to warp more easily. Be careful not to let the covers touch the boards directly, as this can create an extra layer of insulation that may cause warping.
Step 7: Add Support
Adding support to the lumber is often overlooked but can make a huge difference in preventing warping. This can be done by using pieces of wood to create a frame around the lumber to hold it securely in place. You can also use straps or clamps to ensure the boards remain properly positioned.

Step 8: Monitor Moisture Content Regularly
Once the lumber has been stored correctly, monitoring its moisture content regularly with a meter or hygrometer is important. If you notice any drastic changes in humidity levels, then you should take appropriate steps to adjust the environment accordingly. Another way to do this is by opening the plastic sheeting slightly to allow for better air circulation.
Step 9: Stack Lumber Properly
When stacking lumber, ensure that each board is placed in its own vertical position rather than horizontally on top of another one. This will help prevent warping since air can circulate more freely around the wood and keep it from becoming unevenly exposed to moisture. Remember that the lumber’s weight should be balanced so it won’t become unstable.
Step 10: Re-Check and Adjust if Necessary
Lastly, you should re-check the moisture content of your lumber every few months to ensure it’s still within the ideal range for storage. If not, adjust the environment accordingly so that warping is less likely. Keeping your lumber in the correct environment is key to preventing warping.
By following these easy steps to store lumber correctly, you can prevent warping and keep your boards in great condition for years to come! Storing lumber can seem daunting, but with the right knowledge and materials, anyone can do it successfully.
5 Additional Tips and Tricks
1. To avoid warping, store your lumber in a flat orientation and make sure it is completely level.
2. cover the lumber with a tarp to protect it from moisture and direct sunlight when storing wood outside.
3. If you’re storing lumber indoors, keep it away from sources of heat or air conditioning vents.
4. To prevent warping in plywood sheets, store them flat on their edges or hang them up vertically – never leaning against a wall!

5. Make sure your wood is completely dry before storing it – wet wood can warp more easily than dry wood. Following the proper storage techniques for your lumber will help ensure that it remains straight and true when used for projects!
These five tips should help you properly store your lumber so that it won’t warp over time. Remember to keep an eye on the humidity level of your storage area, as this can greatly affect wood’s ability to resist warping. With the right storage techniques, your lumber will stay straight and true for years!
5 Things You Should Avoid
- Don’t store lumber in direct sunlight for long periods of time.
- Avoid storing wood near sources of heat or cooling vents, as this can cause warping.
- Do not stack the wood on its side – store it flat to prevent warping.
- Make sure your lumber is dry before storing it; wet wood can warp more easily than dry wood.
- Never lean plywood sheets against a wall – hang them vertically or store them flat on their edges!
By following these tips and avoiding the abovementioned mistakes, you can help ensure that your lumber remains straight and true when used for projects! With proper storage techniques, your wood should stay warp-free for years to come!
Is It Ok to Store Lumber Vertically?
Yes – it’s often recommended to store plywood sheets vertically on their edges to prevent warping. Make sure the lumber is completely dry before storing it, and try to keep it away from sources of heat or air conditioning vents. With the right storage techniques, your wood should stay straight and true for projects!
Following proper storage techniques is key to preventing warping in your lumber. Keep an eye on moisture levels in your storage area, avoid direct sunlight and heat or cold air sources, and ensure your wood is completely dry before storing it. With these tips in mind, you should be able to store your lumber safely without worrying about warp over time!

What is the Lifespan of Lumber?
The lifespan of lumber depends on a variety of factors, including the type of wood, how it is stored, and the environment it is kept in. Generally speaking, properly stored timber can last for decades without warping or decaying.
However, if exposed to high humidity or direct sunlight over long periods of time, wood can start to warp – so be sure to follow the storage techniques outlined above to keep your lumber straight and true! Proper maintenance of wood surfaces can also help increase their lifespan considerably.
In conclusion, following proper storage techniques and maintaining a controlled environment for your timber will help ensure its longevity. With the right care and attention, your lumber should remain straight and true for many years!
Conclusion
In conclusion, warping a piece of lumber is inconvenient and can be easily avoided. It is important to ensure that the lumber you will use for your project is stored off the ground in a dry, well-aerated space so it does not absorb too much moisture. You could also purchase kiln-dried lumber for your projects, as this process removes more moisture from wood than air drying.
Additionally, when staining or painting your completed piece, make sure to use adequate sealers and top coats to protect it against future warping and cracking. By taking these simple steps, you can rest assured knowing that your projects will look great and remain warp-free for years.
Hopefully, the article on how to store lumber to prevent warping has been helpful to you. With the right storage techniques and care, your wood should remain straight and true for many years! Good luck!
You Can Check It Out to Square Lumber

