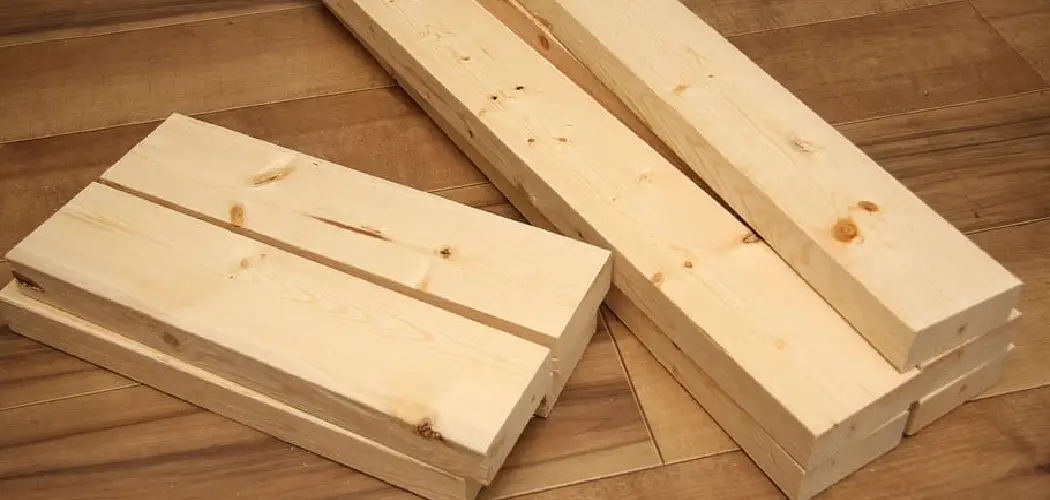
Do you love woodworking projects but are unsure of how to square lumber? You’re not alone! Many novice woodworkers struggle with the task of squaring up their materials. Whether you have a large or small project in mind, squaring your lumber is essential for creating a great finished product.
Fortunately, it doesn’t have to be an intimidating process, and there are several methods that can help make it a breeze. In this blog post, we’ll discuss all the best tools and techniques for squaring your lumber so that you can tackle any project with confidence. So, if you’re ready to learn how to accurately square up your lumber like a pro – read on!
What Is the Process for Squaring Lumber?
Squaring lumber is the process of cutting wood into straight pieces with true, squared edges. This process usually involves the use of a table saw and a jointer. To get started, you will need to measure your piece of lumber and mark where you want to cut it. Then, place your marked board on the table saw and make sure it is securely clamped down. Once the board is secure, use a straight edge to line up your cut and slowly feed the wood through the blade.
Next, move your cut piece to the jointer and adjust the fence so that it matches up with one of your edges. Use your straight edge again to help get it lined up correctly, then turn on the machine and slowly run your board through until you achieve an even 90° angle. If necessary, you can make slight adjustments as needed until you get a perfectly square end.
Repeat this process for each end of your lumber piece, ensuring that all sides are perfectly squared off before moving on. With practice and patience, squaring lumber can be accomplished with ease!
Finally, once all of your lumber pieces are cut and squared, it is important to inspect them for accuracy. Look over each edge carefully to make sure that they are all square and true, then measure the pieces to check for any discrepancies. Once you have inspected your work and are satisfied with the results, your wood is now ready for use in whatever project you have at hand!
7 Methods How to Square Lumber
1. Use a Framing Square
One of the easiest ways to square lumber is to use a framing square. A framing square is a tool that is specifically designed for squaring lumber. To use a framing square, simply place the lumber on the square so that the two outside corners touch the arms of the square.
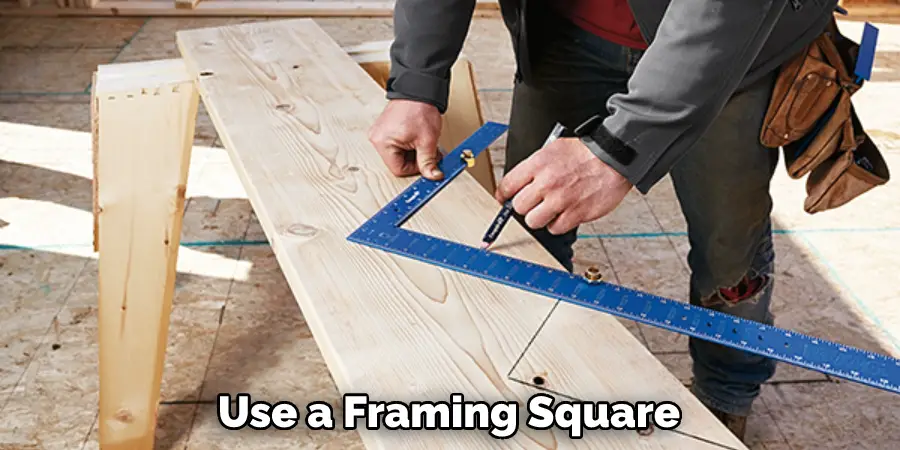
If the corners are flush with the square, then the lumber is considered to be squared. To double-check, you can measure the diagonals of the lumber to make sure that they are equal. This is a quick and simple way to square lumber.
2. Use a Combination of Square
Another tool that can be used to square lumber is a combination square. A combination square is a tool that has multiple uses, one of which is squaring lumber. To use a combination square, simply place the blade of the square against one side of the lumber and align the head of the tool with the other side.
Adjust the blade until it is flush with both sides. If done correctly, this will result in a squared piece of lumber. While a combination square is not as precise as other methods, it can be used for most basic carpentry applications. Though not as accurate, it is still an effective way of squaring lumber.
3. Use a Speed Square
A Speed Square is another tool that can be used to square lumber. A Speed Square is similar to a combination square, but it is designed specifically for squaring lumber. To use a speed Square, simply place the blade of the tool against one side of the lumber and align the head with the other side. The square will indicate if the two sides are square.
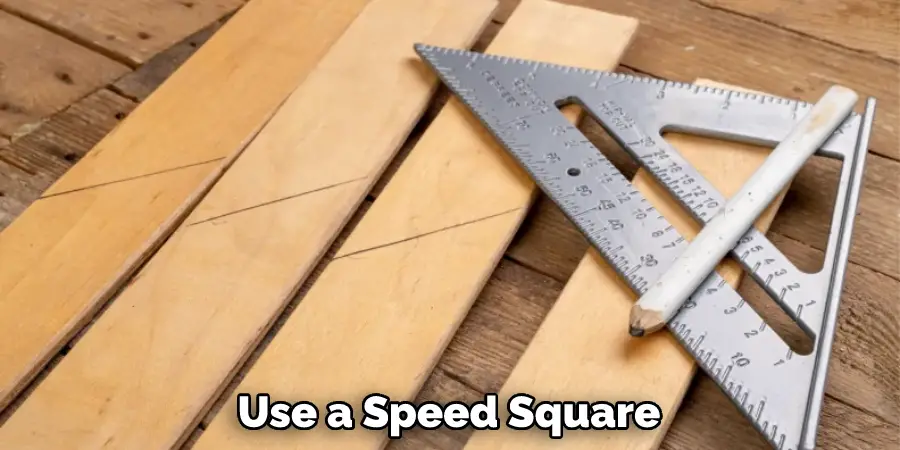
If they are not, adjust the lumber until they are aligned correctly. The Speed Square can also be used to mark lines on the lumber, as well as measure and determine angles. It should be noted that Speed Squares are not always perfectly accurate, and it is best to double-check with another tool before cutting.
4. Use an L-Square
An L-square is another tool that can be used to square lumber. An L-square is similar to a framing square, but it has only one arm instead of two. To use an L-square, simply place the arm of the tool against one side of the lumber and align the head with the other side. Then, use a pencil or pen to mark along the inside edge of the arm.
This will give you a perfect 90-degree angle. If necessary, use a combination square to check and adjust the angle. Repeat this same process on the other side of the lumber to make sure both ends are square. Once completed, use a saw to cut along the marked lines. This will ensure the lumber is perfectly squared for your project!
5. Use an Engineer’s Scale
An engineer’s scale is another tool that can be used to square lumber. An engineer’s scale is similar to a ruler, but it is marked in increments of 1/8th of an inch instead of 1/16th of an inch. To use an engineer’s scale, simply place one end of the scale at one corner of Thelumber and align the other end at the opposite corner. If the ends of the scale line up evenly, then your lumber is square.
It’s important to be careful when using an engineer’s scale, as even a small misalignment can cause the lumber to be off-square. Additionally, the engineer’s scale should not be used to measure long lengths of lumber, as the scale can become bent or warped over time. Longer lengths should be measured using a straight edge.
6. Use a Carpenter’s Level
Acarpenter’s level can also be used to square drywall or lumber. To use the level, simply place it on top of The lumber so that it is square with the edges. If the bubble on the level is not centered, adjust The lumber until it is. Once the bubble is centered, you know that the lumber is square.
Make sure The level is placed on the lumber long enough for it to be accurate. Use a smaller, more sensitive bubble level if you are having trouble getting an accurate reading. A carpenter’s level is an invaluable tool when it comes to squaring lumber and can help you get the job done quickly and correctly.
7. Use Ageometriccompass
Another tool that can be used to square drywall or lumber is a geometric compass. Touseageometriccompass, simply place one point of the compass at the end of your lumber and rotate the other point around until it creates a perfect circle.
This will ensure that your lumber is perfectly square. You can also use this method to mark the lumber prior to cutting it, allowing you to make precision cuts that will yield perfect angles and lines.
Things to Consider When Squaring Lumber
1. Quality of the Equipment:
Making sure to have the proper tools and equipment for squaring lumber is essential. It is important to invest in high-quality saw blades, clamps, and other tools to ensure a precise cut. Additionally, having an accurate measuring device is essential for accurately squaring lumber.
2. Type of Wood:
The type of wood being squared will affect the process. Different types of wood require different methods when it comes to squaring them correctly. Softwoods are much easier to work with than hardwoods, as they can be more easily manipulated into the desired shape without cracking or splintering.
3. Grain Direction:
Knowing and understanding the grain direction of the lumber also affects how it is squared up. If a board has been cut against the grain, it may not lay flat when finished and need further adjustment after cutting.
4. Clamping Technique:
Using clamps correctly is essential in order to ensure the boards don’t move during the squaring process. It is important to use enough clamps and make sure they are tight enough but not too tight that it affects the accuracy of the cut.

By considering these factors when squaring lumber, it can help to ensure a precise and accurate result every time. With proper preparation and understanding, anyone can learn how to square lumber with ease.
Conclusion
Overall, squaring lumber is a process that requires accuracy and precision. Learning how to square lumber correctly can be complicated at first, but with practice comes proficiency. Now you have an understanding of the different techniques used to get the job done accurately, you are well on your way to becoming a skilled professional in no time.
Be sure to take into account which technique would suit the desired result before selecting it for your project. Connecting with professionals and other enthusiasts in the woodworking industry is also very important in order to stay up-to-date with the latest trends and tips.

