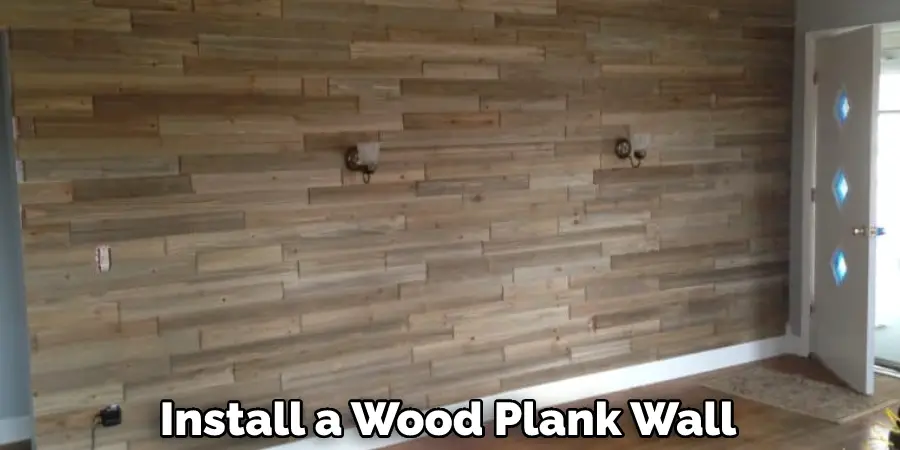
Wood plank walls have been gaining in popularity lately, but they can be a little tricky to install. With the right tools and some patience, you can create a beautiful wood plank wall that will last for years. There are many ways you can create a wood plank wall, but one of the most popular methods is to stagger the planks. This tutorial will show you how to stagger wood plank wall.
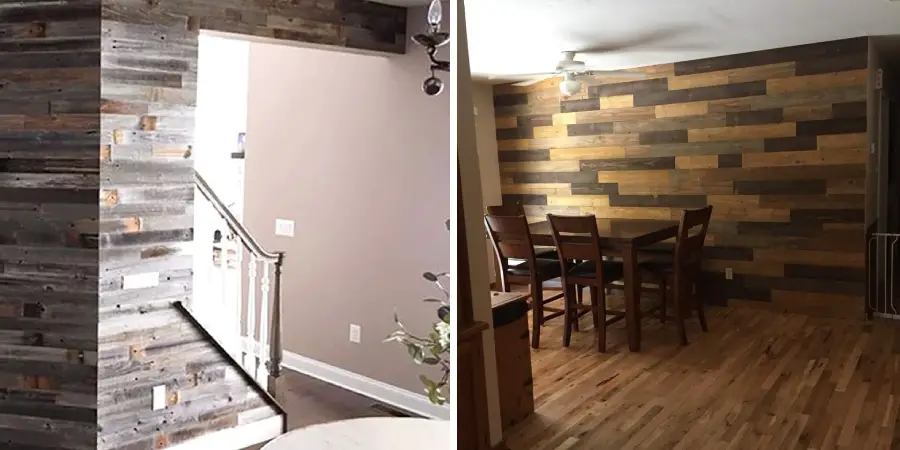
A wood plank wall can add beautiful character and rustic charm to any room in your home. But it’s not always easy to know how to stagger the boards for a cohesive, professional look. This tutorial will show you the right way to do it. Keep reading to learn more!
Why Stagger Wood Plank Wall?
There are a few reasons why you might want to stagger your wood plank wall. Firstly, it can add visual interest to the wall. Staggered boards create a more dynamic look, which can be helpful if your wall is looking a little too static. Staggering the boards can help hide any imperfections in the wall. If you have uneven walls or other imperfections, staggering the boards can help camouflage them.
Staggering the boards can make the wall more stable. If the boards are all lined up in a row, they’re more likely to shift and move over time. But if they’re staggered, they’ll be better able to stay in place. Staggering the boards can make the wall easier to clean. When the boards are all in a row, dirt and dust can accumulate in the cracks between them. But if they’re staggered, dusting and cleaning the wall is much easier.
Finally, staggering the boards can give you more flexibility when it comes to design. If you want to create a more random or asymmetrical look, staggering the boards is the way to go.
You Can Check It Out To Put a Lock on a Sliding Barn Door
11 Steps on How to Stagger Wood Plank Wall
Step 1. Choose Your Wood
The first step is to choose the type of wood you want to use for your wall. There are a variety of different woods to choose from, so make sure to pick one that fits the style of your home. You can also stain or paint the wood to create a unique look. If you’re not sure what type of wood to choose, ask a knowledgeable sales associate at your local home improvement store.
Step 2. Cut the Boards
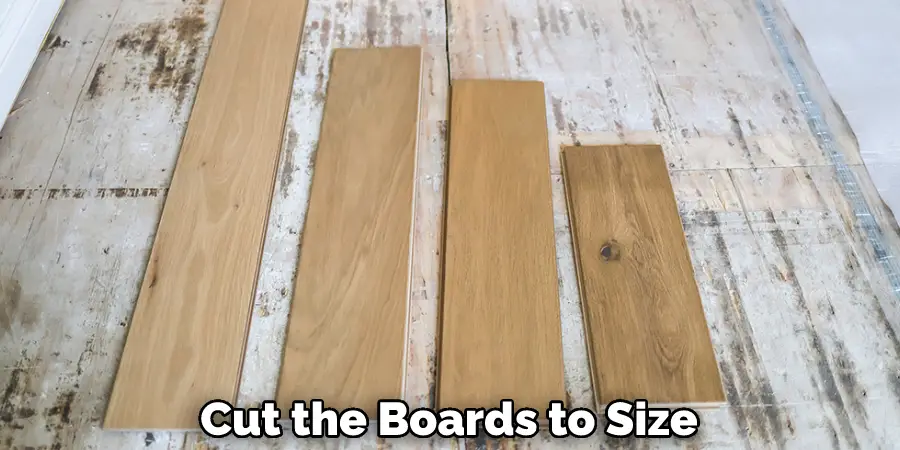
Once you have chosen your wood, the next step is to cut the boards to size. If you are using pre-finished boards, you will need to measure and cut them to fit your space. If you are using unfinished boards, you can either have them cut to size at the store or do it yourself with a saw.
Step 3. Install Furring Strips
If you are using unfinished boards, the next step is to install furring strips on the wall. Furring strips are thin strips of wood that provide a surface for the boards to be attached to. They can be found at most hardware stores.
Step 4. Prime and Paint the Boards
If you are using unfinished boards, the next step is to prime and paint them before installing them on the wall. This will help protect the wood and ensure a long-lasting finish. If you are using pre-finished boards, you can skip this step. However, you may want to lightly sand the boards before installation.
Step 5. Attach the Boards to the Wall
Once the boards are primed and painted, the next step is to attach them to the wall. You can do this by nailing or screwing them into place. Make sure to use screws that are long enough to go through both the furring strips and into the studs behind them.
Step 6. Install the First Row of Boards
The next step is to install the first row of boards. Start by attaching the boards to the furring strips with screws or nails. Make sure to use a level to ensure that the boards are installed straight. Once the first row is installed, you can move on to the second row.
Step 7. Install the Remaining Rows of Boards
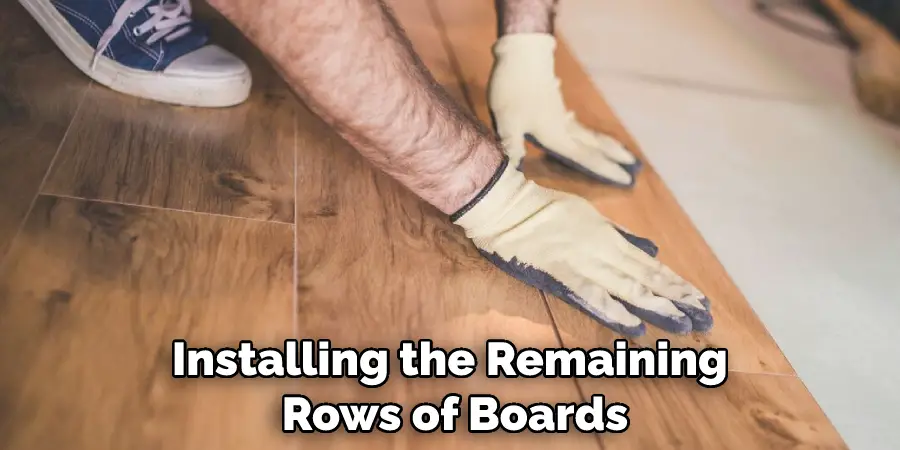
Installing the remaining rows of boards is similar to installing the first row. Simply measure and mark where each board will go before attaching it to the furring strips with screws or nails. Be sure to use a level to ensure that the boards are installed straight. If you need to cut the boards to fit, be sure to use a saw and protective gear.
Step 8. Trim the Boards
Once all of the boards are installed, you will need to trim them to fit your space. You can do this with a saw or a power trimmer. If you are using a saw, be sure to wear protective gear. Make sure to measure twice and cut once to avoid any mistakes. However, if you do make a mistake, don’t worry – you can always sand down or paint over the mistakes.
Step 9. Caulk Gaps and Seams
Once all of the boards are in place, the next step is to caulk any gaps or seams between them. This will help create a seamless look and prevent moisture from getting behind the boards. If you are using pre-finished boards, you can skip this step. However, you may want to lightly sand the boards before installation.
Step 10. Fill Nail Holes
The next step is to fill any nail holes that are visible with putty or spackle. This will help create a smooth surface for painting or staining. However, if you use pre-finished boards, you can skip this step. If you are using unfinished boards, make sure to sand the filled holes smoothly before painting or staining.
Step 11. Paint or Stain as Desired
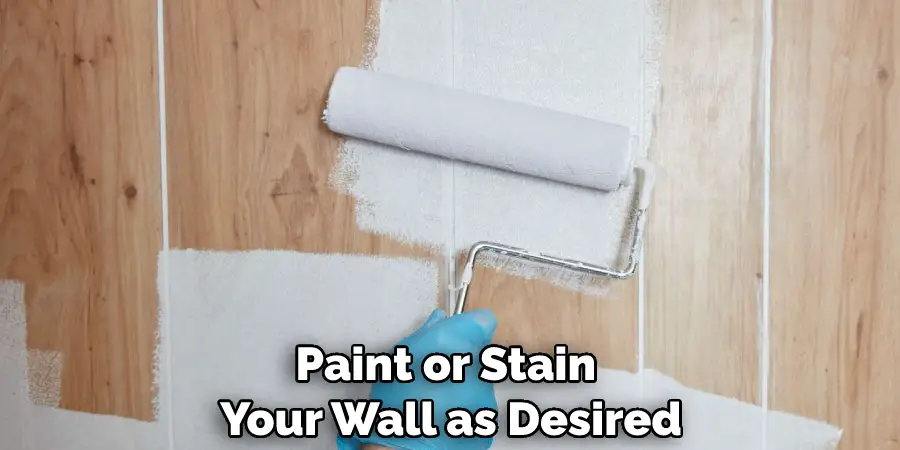
Once all of the prep work is done, the next step is to paint or stain your wall as desired. If you are using unfinished boards, make sure to stain or paint them before installation. If you are using pre-finished boards, you can either paint or stain them before or after installation.
You Can Check It Out To Measure a Door to Replace
5 Precautions You Can Take While Stagger Wood Plank Wall
- Make sure the wall you’re working on is strong enough to support the weight of the wood planks.
- If you’re going to be attaching the wood planks to an existing wall, make sure that the wall is clean and free of any dirt or debris.
- When measuring and cutting the wood planks, be sure to use a level so that your cuts are straight.
- If you’re using adhesive to attach the wood planks to the wall, be sure to follow the manufacturer’s instructions carefully.
- When you’re finished attaching the wood planks to the wall, be sure to sand down any rough edges so that they’re smooth.
How Do You Stagger a Board on a Wood Plank Wall?
There are a few different ways that you can stagger a board on a wood plank wall. One way is to start at the bottom of the wall and work your way up. Another way is to start in the middle of the wall and work your way out. Whichever method you choose, just be sure to make sure that the boards are level as you go.
What Is the Best Way to Stagger Wood Plank Wall?
There is no one “best” way to stagger wood plank walls. It all depends on your personal preference and the overall look you’re going for. You can start at the bottom of the wall and work your way up, or you can start in the middle of the wall and work your way out. Just be sure to make sure that the boards are level as you go.
Why Do You Stagger Wood Plank Wall?
Staggering wood plank walls is often done for aesthetic reasons. The staggered look creates a more interesting and visually appealing wall than if the boards were placed side by side. Additionally, staggering the boards can help to hide any imperfections in the walls themselves.
How Do You Install a Wood Plank Wall?
There are a few different ways that you can install a wood plank wall. One way is to use adhesive to attach the boards to the wall. Another way is to use nails or screws to secure the boards. Whichever method you choose, just be sure to follow the manufacturer’s instructions carefully.
What Is the Best Adhesive for Installing a Wood Plank Wall?
There is no one “best” adhesive for installing a wood plank wall. It all depends on your personal preference and the overall look you’re going for. You can use construction adhesive, liquid nails, or even glue dots. Just be sure to follow the manufacturer’s instructions carefully.
Conclusion
Now that you have read the article about how to stagger wood plank wall, applying a wood plank wall to your home is much easier. Planking can be done in many different ways, but staggering the planks is one of the most common methods. When staggering your planks, there are a few things you should keep in mind.
First, make sure that each row is offset by at least half the width of one plank. Second, use spacers between each plank to ensure consistent gaps. Finally, make sure that you start with the longest boards first and work your way down to the shorter ones. With these tips in mind, you’ll be able to apply a beautiful wood plank wall to your home in no time!

