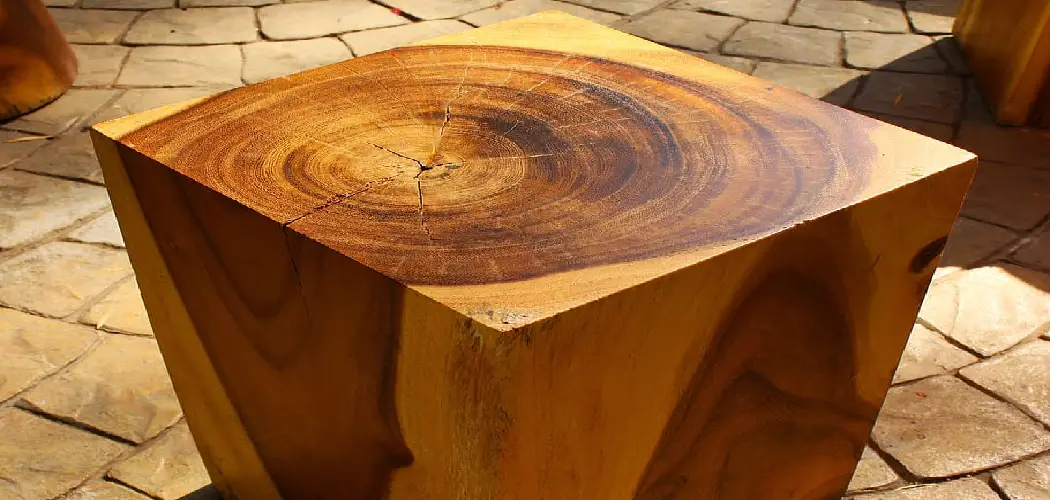
Squaring wood is an essential skill for anyone who works with wood, whether you’re a professional builder or a hobbyist. When two pieces of wood need to be joined together perfectly, it’s important that the surfaces are square. If not, the joint won’t hold correctly, making the piece look uneven. Knowing to square wood will help you ensure your projects are straight and sturdy.
Squaring wood is an important skill for any woodworker, as it ensures that the pieces of wood fit together correctly. Squaring wood can also help to improve the aesthetic appeal of a project by making sure that all the corners and edges are flush. There are several advantages to learning to square wood. In this blog post, You will learn how to square wood in detail.
Step-by-Step Processes for How to Square Wood
Step 1: Inspect the Wood
Before beginning any wood project, inspecting the material for damage and knots is important. These can affect how to square a piece of wood ultimately turns out. Once inspected, cut the piece of wood to size as needed for your project. This can be done using a saw or a router.
Step 2: Mark the Wood
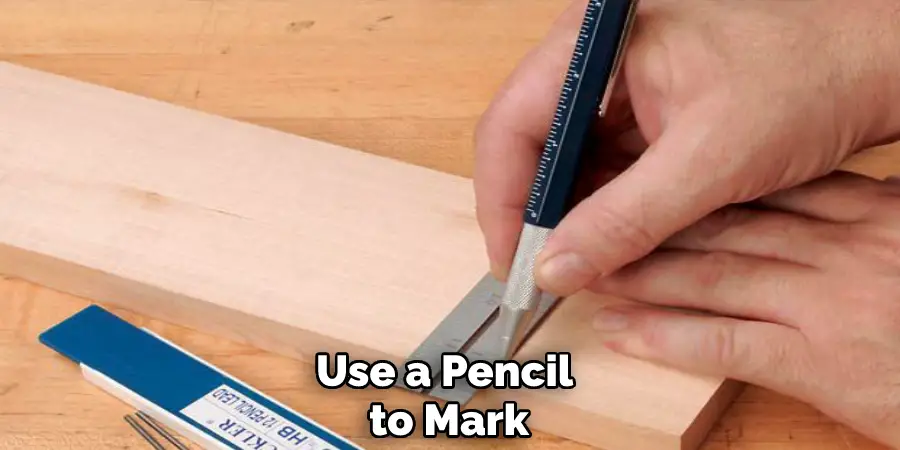
Using a tape measure, measure and mark the lines to be squared on the piece of wood. This can be done with a pencil or pen. It is important to ensure that these lines are straight and follow the grain of the wood for the best results.
Step 3: Use Squaring Equipment
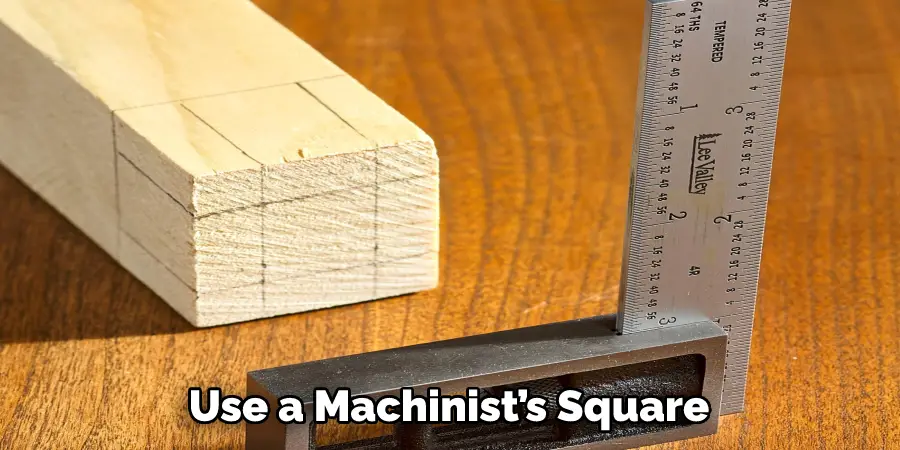
Squaring equipment is essential for getting the most precise results. This can vary from a combination square to a try square. Use a machinist’s square for larger projects with thicker wood for more accurate results. Place the squaring tool on the wood and trace its edges onto the wood with a pencil or pen. This should result in two perfectly straight and parallel lines.
Step 4: Cut Along the Lines
Once you have marked the lines onto the wood, use a saw to cut along them. This can be a handheld or a table for larger projects. It is important to ensure that the blade of the saw is perfectly perpendicular to the wood being cut. This will help to achieve the best results when squaring wood.
Step 5: Sand and Verify the Accuracy
Once the piece of wood has been cut, use sandpaper to smooth out any rough edges. Once this is complete, use a ruler or other measuring tool to verify that the wood is perfectly square. If it is not, use a sander or other smoothing tool to adjust the edges until it is perfect.
Tips for How to Square Wood
- Wear safety goggles and a dust mask while sawing, sanding, and routing wood. This will protect you from any flying debris or harmful dust particles.
- Use clamps to secure the wood in place before making cuts or shaping edges with power tools. This will help to keep everything steady as you work and reduce the risk of accidents.
- Always keep your hands away from the cutting surface or blades while using power tools. This will help to prevent any severe injuries should something go wrong.
- Unplug all power tools before making adjustments, changing blades, or cleaning them up after use. This will ensure that you don’t get an electric shock while handling them.
- Use a push stick or feather board to guide the wood when making cuts with a table saw. This will help to keep your hands away from the blade and maintain the accuracy of your work.
- Make sure that all blades are sharp and in good working order before beginning a project. Dull or damaged blades can cause unsafe working conditions and poor results.
- Take regular breaks while working to ensure that you don’t get tired or fatigued. This will help keep your focus and attention on the task.
- Carefully inspect each piece of wood before beginning a project to check for any cracks, knots, or other imperfections that may require special attention. This will help to ensure a successful outcome and prevent any unexpected surprises along the way.

Following these tips can help to keep you safe and secure while squaring your wood projects! By being mindful of potential risks, you’ll be able to confidently work on your projects confidently.
What is the Best Way to Join Two Pieces of Squared Wood Together?
The best way to combine two pieces of squared wood is with mechanical fasteners. Nails, screws, dowels, and biscuits are all good options for joining squared wood. Properly countersinking the screw heads and filling any nail holes will help ensure a strong joint. Specialized hardware, such as a corner or angle bracket, is recommended for surfaces requiring extra strength or more stability. Any hardware used should be rated for the weight and type of material being joined.
Additionally, using an appropriate amount of glue or adhesive when joining two pieces of squared wood together is always a good idea. This will help prevent any potential movement in the joint and add extra stability to your project. It is important to use weather-resistant fasteners, such as stainless steel, for outdoor projects. The use of a sealant or caulk can also help protect your wood from the elements and ensure that your project will last for years.
What Techniques Can Be Used to Ensure Proper Accuracy When Squaring Wood?
Accuracy is key when squaring wood, as even the slightest misalignment can lead to errors in your project. To ensure accuracy, you can use a few techniques when squaring wood. The most accurate technique is to use a combination square and a straight edge simultaneously.
Place the straight edge on top of the wood and the combination square against it. The combination square should have a flat edge that runs parallel to the straight edge, allowing you to check if it is lined up correctly. Move or adjust the straight edge until they are properly aligned, then use a pencil to mark along the side of the combination square.
Another technique you can use is trammeling. This technique uses two points, such as nails and a length of string or cord, to connect the points. Place one nail at each corner of the wood and tie a piece of string taut between them. Then adjust the tension until it is straight, and use your pencil to trace along the line created by the string.
What is the Most Efficient Way to Square Large Pieces of Wood?
Squaring large pieces of wood is a task that requires precision, accuracy, and strong technique. To ensure the squareness of your workpiece, there are a few methods worth considering.
- Using a Table Saw or Router Table: The first option is to use either a table saw or router table with an adjustable fence. With the right setup, this method can provide very accurate results. You must first adjust the fence to a precise distance from the blade or bit to do so. Then, you will need to make multiple passes at different depths in order to cut away all of the material that is not square.
- Using Hand Tools: This method requires more skill and accuracy but can still produce excellent results. You will need a combination square and a sharp chisel to do this. Start by marking the wood with the combination square and then use the chisel to remove all of the material that is not square. This method is often more time-consuming than using power tools, but it produces precise results in smaller spaces where other tools cannot be used.
- Using a Jointer: This is the most efficient way to square large pieces of wood quickly and accurately. A jointer is designed to cut straight edges with one pass and can easily handle larger workpieces. To use a jointer, you must adjust the fence to an exact distance from the blade and then feed your workpiece through it. This method is very fast and can produce excellent results.
No matter which of these methods you use, the key to success is accuracy and precision. If your workpiece isn’t completely square when you finish it, start again from the beginning.
Are There Any Unique Methods or Tools Used to Square Wood?
The most common method used to square wood is the traditional three-cut technique. This involves making two end cuts and a third cut perpendicular to them. Using this method, you can use any saw like a hand, miter, or circular saw to make your cuts.
Another popular and effective technique is called “trammel squaring.” This involves using a trammel, which is basically a long ruler with two arms that attach to the wood and allow you to make a straight cut. You can also use specialized tools like a speed square or combination square to make your cuts.
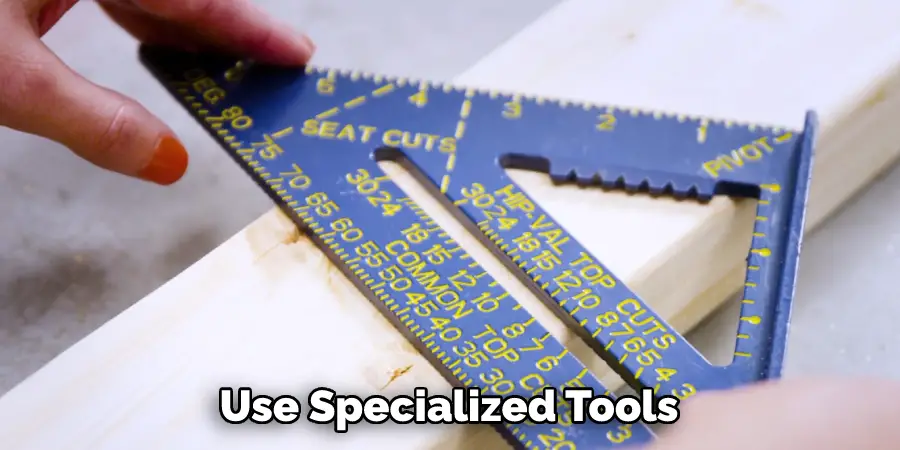
Finally, you can use CNC machines to laser cut the wood into shape, although this option is more expensive. No matter which method you choose, it’s important always to measure twice and cut once when squaring wood. Following this simple rule will help ensure that your cuts are accurate and straight. Additionally, using a clamped straight edge can help guarantee that your cuts are square.
Conclusion
In conclusion, squaring wood is not a difficult task to accomplish. With the right tools and techniques, you can easily square up your pieces of wood for use in carpentry projects or other DIY projects. The key steps include marking the wood, measuring it accurately, cutting across the grain with a saw, and then checking with a square to make sure each corner is 90 degrees.
With some experience and practice, squaring wood can become second nature for woodworkers of all levels. I hope this article has been beneficial for learning how to square wood. Make Sure the precautionary measures are followed chronologically.

