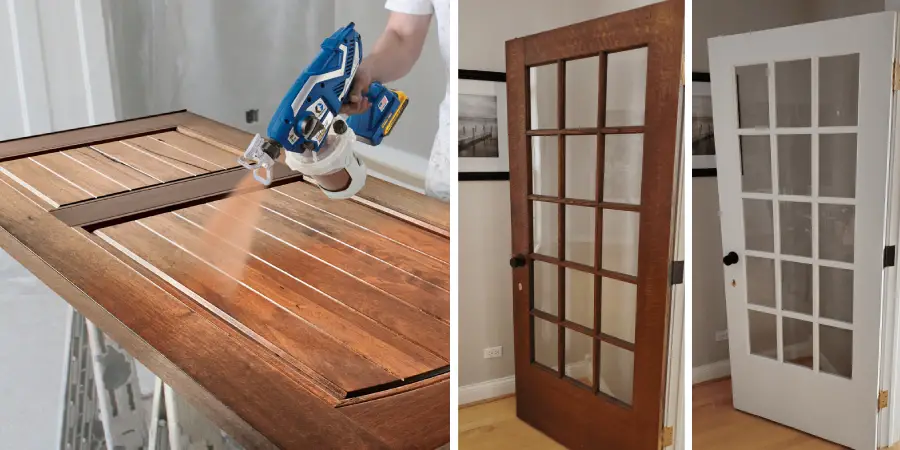
Are you ready to give your trim and doors a fresh look? Follow these steps to learn how to spray paint them properly.
Whether you are trying to spruce up old furniture, give your kitchen cabinets a fresh new look, or add a decorative touch to your doors and trim, spray painting is an easy way to get the job done. It makes refinishing projects go faster with fewer coats of paint required than traditional brushing methods, and it also adds an even finish that can cover or decorate items with smooth surfaces quickly and evenly.

This post will provide all the information needed on how to spray paint trim and doors to achieve professional results. So put on some protective goggles, grab a can of spray paint, and let’s get painting!
What Will You Need?
Before starting, gather the following supplies:
- Spray paint
- Drop cloths or newspapers to protect surfaces
- Sandpaper (optional)
- Screwdriver or putty knife
- Masking tape
- Painter’s tape
- A paint sprayer, gun, or aerosol can
Once you have all the items on hand, you are ready to start.
10 Easy Steps on How to Spray Paint Trim and Doors
Step 1. Preparing the Area
You will want to protect the surrounding area where you plan on painting. That means laying down drop cloths or newspapers to cover floors and countertops. If possible, move furniture away from the area as well. Also, make sure that you open windows and turn on fans to provide proper ventilation. It is important to work in a well-ventilated area when spray painting.
Step 2. Preparing the Surface
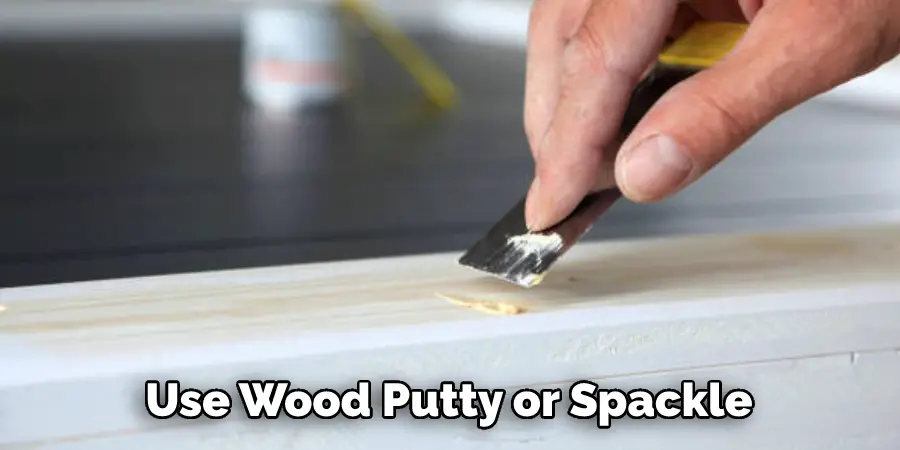
Remove any hardware, such as handles, hinges, or knobs, from the trim or doors before you start painting. Then give the surface a light sanding to make sure it is smooth and even. This will help ensure that the paint adheres to the surface properly and evenly. If there are deeper scratches or imperfections that need to be filled, you can use wood putty or spackle for this.

Step 3. Applying Masking Tape
Apply masking tape along surfaces where you don’t want any paint to be applied (around windows, door frames, etc.). Make sure that you press down the edges of the tape firmly so that paint doesn’t seep underneath it. You can also use painter’s tape if necessary for more detailed areas. Don’t forget to tape off any hardware that you removed.
Step 4. Starting to Spray
Now it’s time to begin spraying. Ensure that the sprayer, gun, or aerosol can is set to the correct pressure and speed for the material you are painting. Test out a few practice strokes on a piece of scrap wood to get used to how the paint will flow from your chosen method. It will also give you an idea of how many coats of paint the project will require.
Step 5. Spraying Even Coats
When applying paint, start at one end of the trim or door and slowly move across in even strokes while keeping the nozzle a consistent distance away from what you’re spraying (usually 10-12 inches). Lightly overlap each stroke with the next as you go so that everything is evenly covered in paint. Do not spray too much paint or too quickly, as this can lead to an uneven and messy finish. If you need to apply multiple coats, wait for the first coat to dry completely before adding a second one.
Step 6. Allowing Paint to Dry
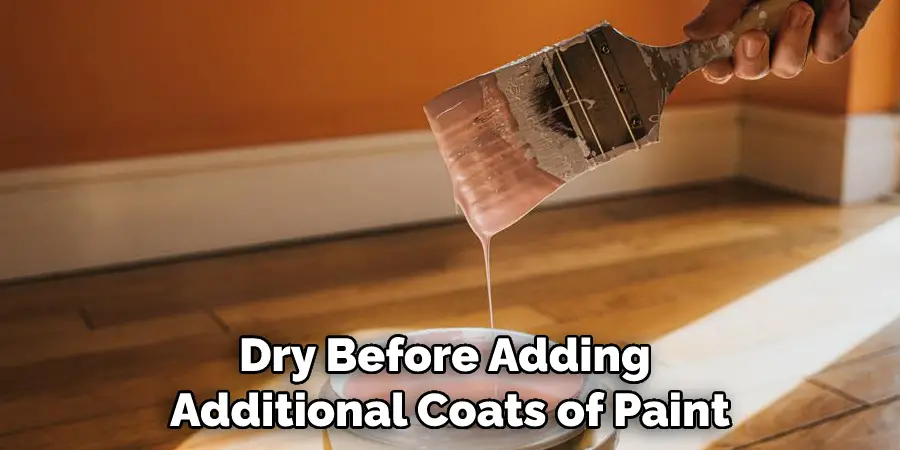
Once you are done spraying, allow the paint to dry completely before moving on to a different area. Lightly touch the surface with your finger to ensure it is dry before adding additional coats of paint. If necessary, you can lightly sand between each coat of paint in order to ensure an even finish. Ensure that you allow at least 24 hours of drying time before adding additional coats.

Step 7. Adding Second and Third Coats
If you decide that more than one coat is needed for full coverage, repeat steps 4-6 until you achieve the desired result. Make sure that each successive coat is slightly thinner than the previous one in order to avoid an overly thick finish. Be careful to avoid over-spray when adding additional coats. Because of this, it may be a good idea to use a different sprayer or gun for each coat.
Step 8. Removing Masking Tape and Hardware
Once the paint is completely dry, remove the masking tape and any hardware that you had removed earlier. This step should be done carefully in order to avoid pulling off any wet or semi-dry paint from the trim or door. Use a screwdriver or putty knife to carefully scrape off any excess paint accumulated on the tape’s edges.
Step 9. Cleaning Up
Clean up any drips, splatters, or mistakes as soon as possible so that they don’t set into the surface of your newly painted trim or doors. Use mineral spirits on a rag to gently rub away any unwanted residue without damaging the paint underneath. If necessary, you can lightly sand away any errors.
Step 10. Finishing Touches
Finally, give your freshly painted trim and doors a final touch by wiping them down with a damp cloth to remove any dust or debris. You can also use furniture polish to shine the painted surfaces. It will make them look like new!

And that’s how you spray paint trim and doors! Now you have all the know-how needed to create a beautiful finish on your next painting project. Good luck!
5 Additional Tips and Tricks
- If you are spraying a metal door, be sure to clean the surface and use a metal primer before you spray paint it. This will help ensure that your paint adheres properly and that the color lasts longer.
- Always hold the can 12-14 inches from the surface when spraying. This will ensure that you get an even coat on both the trim and door.
- 3. For larger surfaces, use a sprayer instead of a can of paint to cover more area quickly and evenly without worrying about overspray or runs in your paint job.
- Always let each coat of paint dry completely before applying the next one to avoid any streaks or discoloration in your final result.
- To finish your work, apply a sealant over it once all your coats have dried completely for extra protection against moisture and wear and tear over time.
Following these simple tips and tricks will help ensure that you get the perfect paint job on your trim and doors! Good luck!
5 Things You Should Avoid
1. Wet Wood:
It’s important to ensure that the trim and doors you spray paint are completely dry before you begin. This will help ensure a smooth, even finish.
2. Uneven Strokes:
When spraying paint, use even strokes to make sure all surfaces are painted evenly. Don’t go too fast or too slow – find a comfortable speed that works for you, as this will help you achieve an even coat of paint.
3. Not Covering Enough Area:
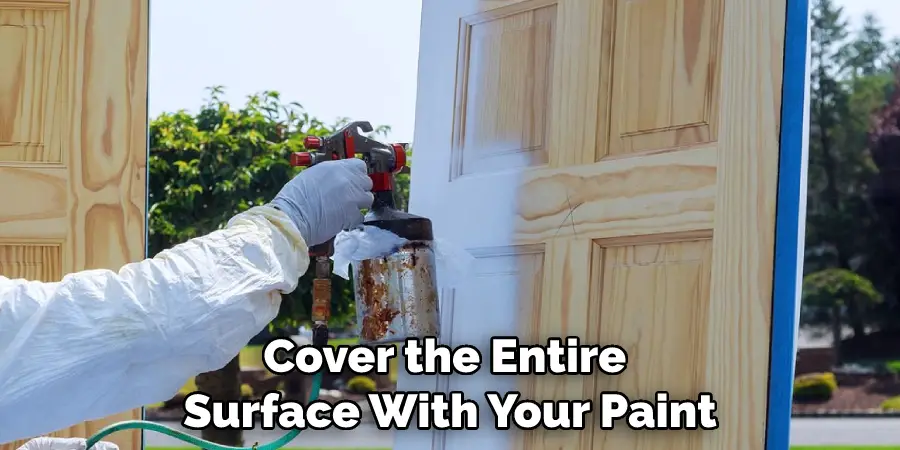
Make sure to cover the entire surface with your paint when spray painting, paying special attention to corners and crevices. Take your time, and don’t move on until each area is completely covered; otherwise, gaps may be left between sections of paint which can lead to an uneven finish.

4. Not Protecting the Surrounding Surfaces:
Once you’ve prepped the area and are ready to spray paint, it’s important to cover any areas that don’t need painting with a tarp or newspaper to protect them from getting splattered with paint.
5. Over-Spraying:
Lastly, be careful not to overspray your work area. This can cause drips and uneven coverage on your trim and doors, so check how much paint is coming out before beginning each stroke.
With these tips in mind, you’re well on your way to achieving perfect results when spraying painting trim and doors!
Conclusion
Spraying trim and doors is an easy way to upgrade your home’s exterior. You don’t need years of experience to make a huge impact! With the right resources, preparation, and practices in place, your DIY spray-painting project can be quick, simple, and cost-effective.
Additionally, if you do struggle along the way, there are people, resources, and tips at your disposal to help get you through it. And don’t forget that practice makes perfect. Spray painting isn’t something you go into just once – if you remain committed to it, you will gain confidence with each attempt. Just keep trying; those dream doors or trim pieces are not far off now! Finally, don’t forget to start planning for touch ups. Even with great prep and careful application of paint, it’s likely that there might be some fading or chipping down the line, so make sure that you’ve got paint on hand for any repairs to ensure a long-lasting project!
Hopefully, the article on how to spray paint trim and doors has given you the confidence to take on your next project. We wish you all the best!
You Can Check It Out to Straighten a Warped Exterior Wooden Door

