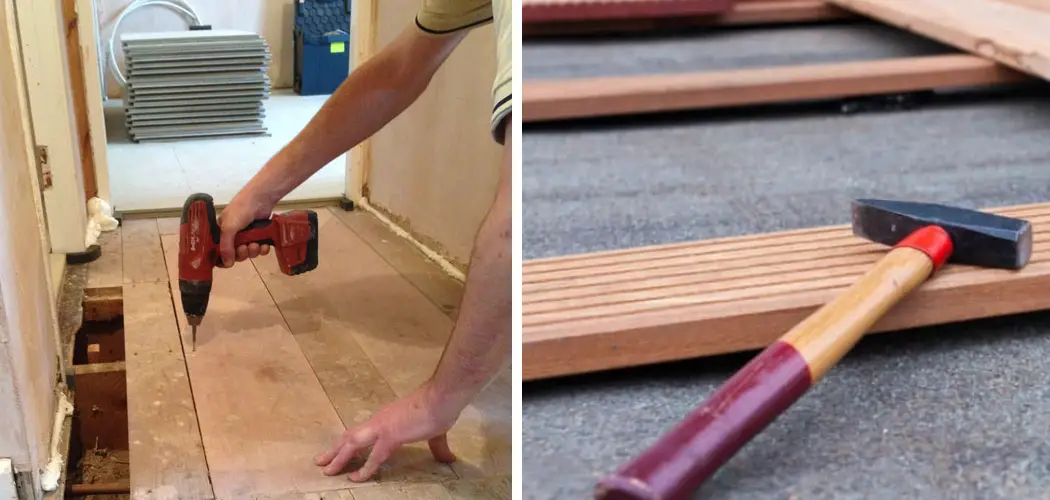
Are you tired of the noise coming from upstairs, or hearing every step your kids take when they’re running around? If so, soundproofing your wooden floor can be a great way to reduce echoes and unwanted noise in your home.
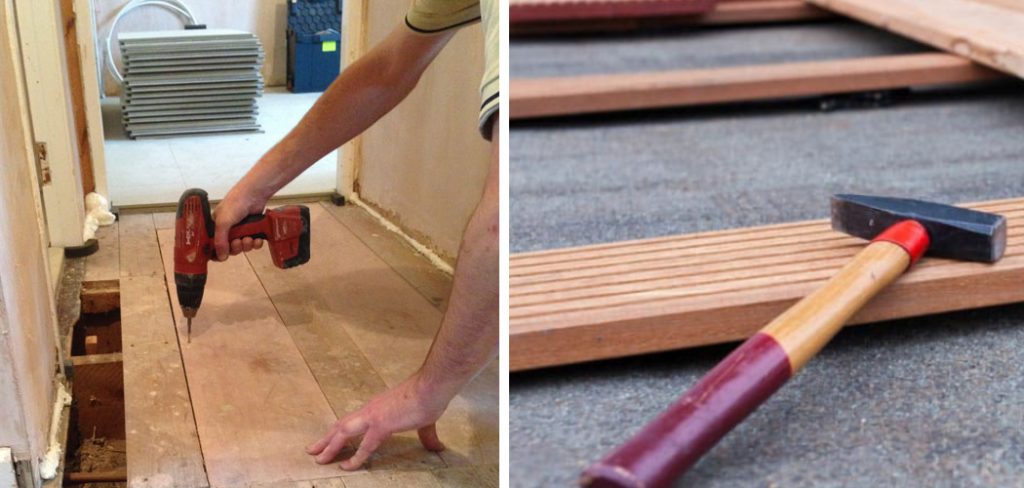
Whether you are looking for ways to enhance acoustics in a music studio or make conversations easier in an apartment building, this guide will show you how to soundproof a wooden floor quickly and effectively. We’ll cover everything – from materials needed for the job to steps for installation – so that you can start enjoying peace and quiet today!
The Importance of Soundproofing a Wooden Floor
Soundproofing a wooden floor has become increasingly important in today’s noisy world. Not only is it important for reducing the amount of sound coming from outside, but also for blocking out disruptive noise from inside your home, like loud music or voices. Soundproofing a wooden floor can also help protect valuable furniture and other items from being damaged due to vibrations associated with loud sounds.
Installing soundproofing materials on a wooden floor helps to absorb and reflect sound energy away from living spaces, creating a quieter environment that is better suited for restful sleep, relaxation, work, and enjoyment.
When deciding to soundproof a wooden floor, there are several different types of material options available. Commonly used materials include cork tiles, rubber mats, foam underlays, and carpet padding. Each material provides unique advantages, such as cork tiles providing sound absorption while also offering a thermal barrier to keep the floor warm during colder months.
Rubber mats are great for blocking out disruptive noise from inside your home, while foam underlays provide excellent insulation against sound waves traveling through wooden floors. Carpet padding is one of the most popular materials used for soundproofing wooden floors because it offers both comfort and sound protection in one product.
Benefits of a Soundproofed Floor
A soundproofed wooden floor can offer multiple benefits compared to an untreated floor. Such benefits include improved acoustics, a reduction in noise disturbance from footsteps and other disturbances, and increased privacy.
Improved Acoustics:
Soundproofing your wooden floors helps to reduce the amount of reverberation in a room or space. This is especially helpful if you use the area for recording music or rehearsals as it will create much clearer sound quality with less background noise interference.
Reduces Footstep Noise:
By reducing echo and reverberation, soundproofing a wooden floor also helps to reduce the level of sound created by foot traffic, which can be disruptive for those living below or adjacent to the treated areas. This is especially helpful if you live in a multi-story apartment or building where noise can easily carry between floors.
Increased Privacy:
Soundproofing a wooden floor can also provide an additional layer of acoustic privacy. This is beneficial if you want to keep conversations and other activities from traveling beyond the walls of your room. It can also help to reduce noise coming from outdoors, providing greater peace and quiet in your home or workspace.
Improved Durability:
In addition to improving acoustics, soundproofing a wooden floor also makes it more durable. A treated floor is better able to resist wear and tear from foot traffic, furniture movement, and other activities that can damage an untreated floor over time. This can help extend the lifespan of your floor while reducing maintenance costs in the long run.
Overall, soundproofing a wooden floor offers numerous benefits that make it an excellent choice for anyone wanting improved acoustics, reduced noise disturbance, increased privacy, and improved durability. Whether you’re looking to create a better recording space or just want more quiet in your home, soundproofing a wooden floor is the way to go!
10 Ways How to Soundproof a Wooden Floor
1. Add Carpet or Rugs:
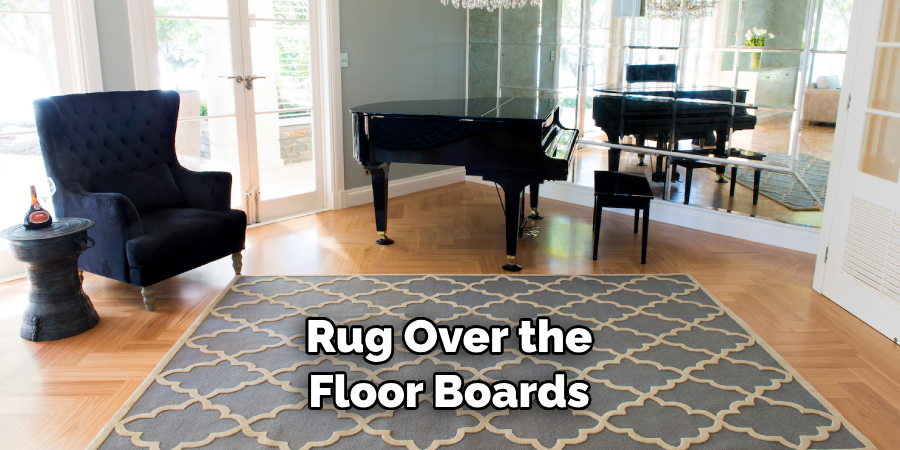
One of the simplest ways to reduce sound transmission through a wooden floor is by adding carpet or rugs. The soft fibers absorb and dampen sound waves, minimizing echoes and footstep noise. Opt for thick, dense carpets or rugs with a good quality underlay for maximum sound insulation.
Be sure to use carpets with a good foam backing for extra sound dampening. Alternatively, consider installing an area rug over the floor boards for even more soundproofing. Rubber or cork mats can also be used to dampen noise. For larger rooms, combine multiple rugs of varying sizes and textures for added soundproofing. When possible, avoid using lighter carpets as they will not provide as much soundproofing.
2. Install Soundproof Underlayment:
Use a soundproof underlayment specifically designed for wooden floors. These materials, such as cork or rubber underlays, provide an additional layer of insulation, reducing impact noise. Install the underlayment between the wooden subfloor and the finished flooring, following the manufacturer’s instructions.
Although it may require some additional labor, the soundproofing benefits of the underlayment are worth the effort. Use a high-density product for best results. Additionally, use a few layers of acoustic foam to further reduce sound transmission through the floorboards.
The foam can be glued directly onto the subfloor, providing extra insulation and protection. Make sure the subfloor is properly prepared for installation before adding any additional materials.
3. Fill Gaps and Cracks:
Inspect the wooden floor for any gaps, cracks, or openings that can allow sound to travel through. Use an acoustic sealant or filler to fill in these gaps, creating a more airtight and sound-resistant barrier. Pay close attention to areas around baseboards, vents, and any other openings.
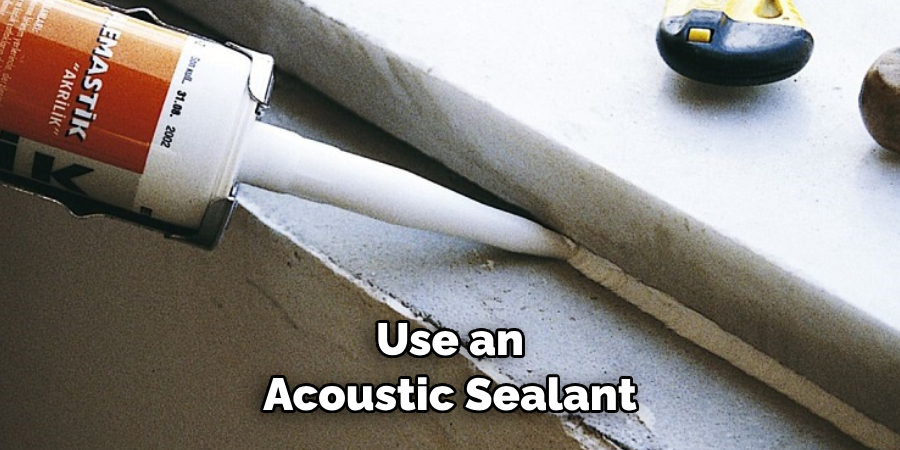
Additionally, if the wooden floor is close to a wall, install insulation or soundproofing boards to block off any openings. Make sure that all seams between the floor and wall are sealed to ensure maximum soundproofing. After filling in all gaps, cracks, and openings, apply a coat of sealant over the entire floor to create a more consistent sound barrier.
4. Install Acoustic Panels or Tiles:
Consider installing acoustic panels or tiles on the walls surrounding the wooden floor. These panels are designed to absorb sound waves, reducing echo and improving overall sound quality. Place them strategically to target areas where sound reflection is most prominent. When purchasing acoustic panels, consider the level of soundproofing you need.
Panels for home studios or recording rooms should be thicker and denser than those used for general soundproofing. Make sure to install them properly by following the manufacturer’s instructions. If you are unable to mount the panels to the wall, simply lean them against it and seal any gaps with foam tape.
5. Use Soundproofing Mats or Pads:
Soundproofing mats or pads can be placed directly beneath furniture or heavy equipment to minimize impact noise. These materials, typically made of rubber or foam, help isolate vibrations and prevent them from traveling through the floor structure. Soundproofing mats are most effective when used in combination with other soundproofing materials.
Be sure to purchase mats that are thick enough for your needs – the thicker the mat, the more effective it will be. Also make sure to purchase mats specifically designed for soundproofing, as these are typically the most effective.
6. Apply a Soundproofing Underlayment:
Similar to the soundproof underlayment mentioned earlier, you can also apply a soundproofing underlayment directly to the wooden floor. These materials, such as mass-loaded vinyl (MLV) or soundproofing membranes, provide a barrier against airborne and impact noise.
Follow the manufacturer’s instructions for installation. Note that using a soundproofing underlayment will likely increase the height of your floor, so be sure to factor this into your design plans.
7. Insulate the Floor Cavity:
If possible, access the floor cavity beneath the wooden floor and insulate it with soundproofing materials. Install batt insulation or spray foam insulation between the floor joists to minimize sound transmission. This method is particularly effective for reducing airborne noise between different levels of a building.

If you can’t access the floor cavity, consider installing a soundproofing mat or underlayment beneath your wooden floor. This will provide an added layer of soundproofing and help to reduce noise transmission.
8. Use Soundproofing Adhesive:
When installing a new wooden floor or replacing existing flooring, use a soundproofing adhesive to attach the floorboards or tiles. This adhesive helps reduce vibrations and impact noise, providing a more solid and sound-resistant flooring surface. When installing a wooden floor, apply the adhesive to the sub-floor and then lay the boards onto top.
For tiled floors, spread the adhesive onto the sub-floor and then lay the individual tiles. Make sure to press down firmly on each tile or board to ensure a good bond between it and the adhesive. Consider using a roller to help spread the adhesive evenly across the sub-floor and further improve its soundproofing qualities.
9. Install Resilient Channels:
Resilient channels are metal strips that can be attached to the subfloor before installing the wooden floor. These channels create a gap between the subfloor and the finished floor, preventing sound vibrations from transferring through. Follow proper installation techniques to ensure optimal soundproofing performance.
10. Enhance Door and Window Soundproofing:
While primarily focusing on the wooden floor, it’s essential to address soundproofing measures for doors and windows as well. Install weatherstripping around doors and windows to minimize sound leaks. Consider using soundproof curtains or double-glazed windows for additional noise reduction.

Conclusion
Soundproofing your wooden floor is not a daunting task. It requires some patience, a little bit of elbow grease, and the right materials. Whether you use thick carpets and rugs or acoustic liners beneath your flooring, the sound insulation will be worth every penny. You can also use mass-loaded vinyl, resilient channels, or decoupling techniques to maximize sound reduction in problem areas.
An added benefit to soundproofing is that it also provides warmth in cold rooms. So if you’re looking for ways to keep your home quiet while preventing drafty spaces, start with soundproofing your wooden floor! Don’t forget to check out our guide on how to soundproof a wooden floor for more detailed tips on doing this effectively and with the most impact.
You Can Check It Out to Soundproof a Door With Household Items.

