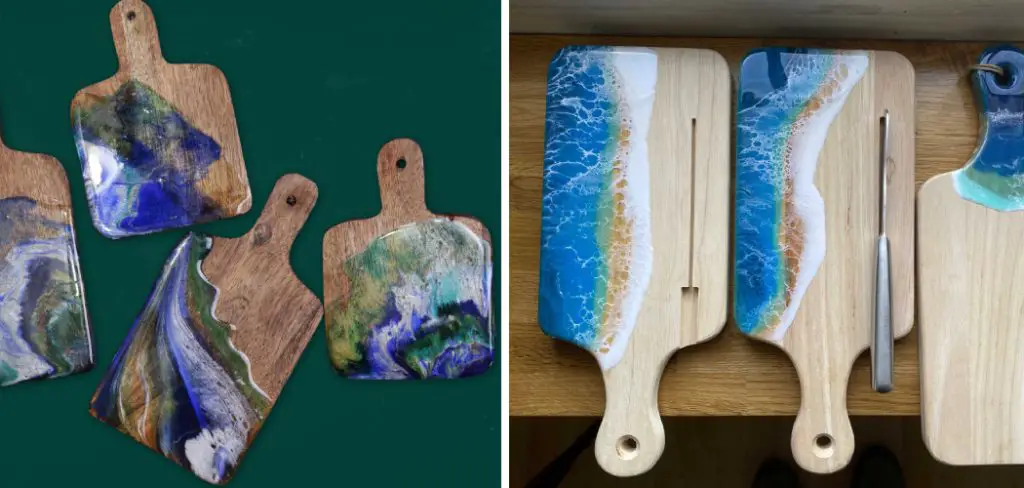
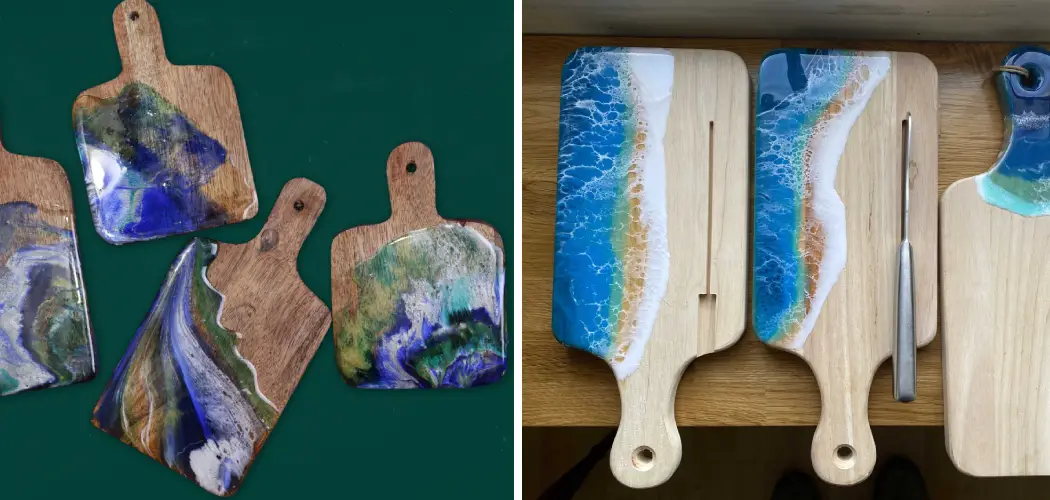
Are you looking for a creative new way to organize and upgrade your kitchen space? Make a beautiful, custom-designed cutting board out of resin! Not only is it quick and easy to make, but the results are truly stunning.

With just some simple materials, like silicon molds, wood slices, colored glitter or craft powder or crushed shells – plus epoxy resin – you can customize your cutting board in any unique design you imagine. Read on how to make a resin cutting board for our step by step guide to making an eye-catching yet practical resin cutting board.
Necessary Tools and Materials
Given below are the materials and tools needed to create a resin cutting board:
- Silicon Molds of Your Desired Shapes
- Wood Slices for the Base of the Cutting Board
- Colorful Glitter, Craft Powder or Crushed Shells of Your Choice
- Epoxy Resin
- Paint Brush
- Mixing Bowl
- Protective Gloves and Face Mask (for Safety)
11 Step-by-step Instructions on How to Make a Resin Cutting Board
Step 1: Prepare the Wood Slices
This will enable the resin to stick better and make for a smoother finish. To do this, sand the wood slices lightly with fine-grit sandpaper, and then wipe off any dust with a damp cloth. If you are using a new or thicker slice of wood, use coarser sandpaper to make sure the resin sticks to it. But be careful not to sand too much, as you don’t want to remove any of the natural wood grain. It can also be helpful to seal the wood slices with a waterproof sealer.

Step 2: Place Your Silicon Molds
To begin creating your resin cutting board design, place each silicon mold into its desired position on the wood slices. It’s a good idea to practice and plan out your design on paper first so that you know exactly where each silicon mold should be placed. It’s also important to remember that the molds need to be placed flat against the wood so that they don’t move when you are pouring in the resin.
Step 3: Mix Your Resin
Mix your epoxy resin according to manufacturer instructions (usually 2 parts resin to 1 part hardener). Make sure to wear protective gloves and a face mask for safety while working with epoxy resin.
This is a great time to add any dyes, glitter, or other decorative elements you want in your design. But be careful not to add too much, as it could cause the resin to overflow when pouring. So add a few drops of color at a time, and stir thoroughly before adding more.
Step 4: Pour the Resin Into the Molds
Once you’ve mixed the epoxy resin, start pouring it into each of the molds until they are filled. Use a paintbrush to smooth out any air bubbles that might have been created during the pouring process. This will ensure a smoother finish when the resin sets. It’s important to let the resin set for 24 hours before continuing with the project. If needed, cover the resin with a plastic sheet to prevent dust from settling on it.

Step 5: Add Your Decorations
Now is the time to add all the decorations for your resin cutting board. Sprinkle glitter, craft powder or crushed shells into each of the molds and move them around with a paintbrush until they are evenly distributed. It’s a good idea to practice your design on paper before sprinkling the decorations into the molds, as this will ensure that you achieve the desired effect.
Step 6: Wait and Let Dry Completely
Let your resin cutting board dry for at least 24 hours in order for it to be fully set. Once dry, carefully remove each mold from the wood slices, taking care not to damage the design you’ve created. It’s important to note that the resin might still be slightly tacky, so use caution when handling it.
You can also use a heat gun to help speed up the drying process. But be careful not to use too much heat, as it can cause the resin to warp.
Step 7: Sand Again if Needed
If there are any bumps or ridges after the molds have been removed, lightly sand them down with fine-grit sandpaper. It might help to use a soft cloth as well, as this will give you better control while sanding.
Be careful not to over-sand, as this could ruin the design you’ve created. However, make sure to sand any sharp edges that the resin might have created. It’s important to remember that the wood slices are not food-safe until they have been sanded.
Step 8: Seal Your Resin Cutting Board
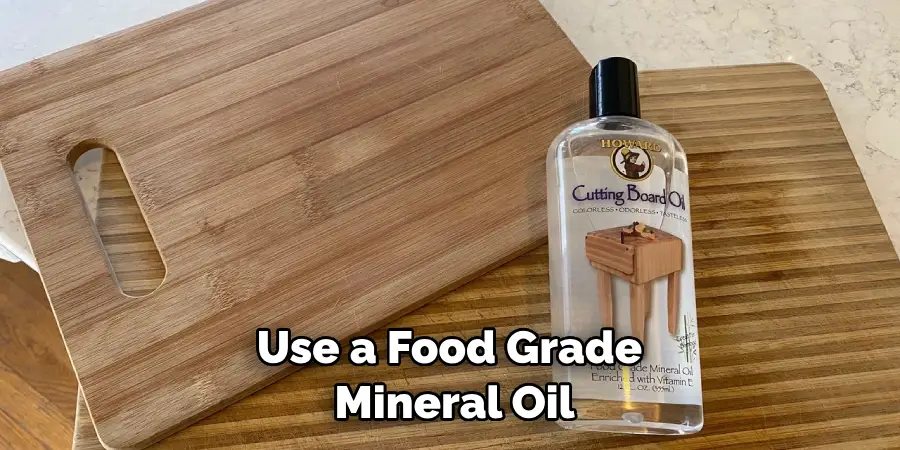
To keep your resin cutting board looking its best for years to come, it’s important to seal it properly. Use a food grade mineral oil and rub it in evenly across the surface of the cutting board. This will help protect it from scratches and damage. It’s also a good idea to re-apply the mineral oil every few months.

Step 9: Let Dry Again
Let your resin cutting board dry for another 24 hours before using it in your kitchen. You can also give it a final sanding with very fine-grit sandpaper for an ultra smooth finish. Otherwise, your cutting board is now ready for use! Feel free to display it proudly in your kitchen, as it is sure to be a conversation starter!
Step 10: Enjoy Your Handiwork
Now that you’ve created an incredible one-of-a-kind cutting board for your kitchen, it’s time to enjoy the fruits of your labor! This beautiful and practical piece will no doubt be the centerpiece of your kitchen for years to come. Just remember to take proper care of it, as you’ll want to enjoy your resin cutting board for a long time.
Step 11: Clean and Maintain
To ensure that your resin cutting board lasts a long time, make sure to clean and maintain it properly. After each use, give it a quick wash with some mild detergent and warm water before drying it off. To keep it in top condition, re-apply mineral oil every few months as needed.
It’s also a good idea to avoid using harsh detergents or abrasive cleaning agents, as this could damage the resin. With proper care, your resin cutting board will be an eye-catching centerpiece in your kitchen for years to come!
Following these steps on how to make a resin cutting board will give you an amazing homemade resin cutting board perfect for any kitchen! Use your imagination to come up with creative designs for the molds or decorations – have fun with it! With a unique custom-designed resin cutting board, you can take pride in knowing that your kitchen looks chic and modern.
Do You Need to Hire a Professional?
No, you do not need to hire a professional for this project. It is simple enough to do yourself with readily available materials and instructions. However, if you are uncomfortable with the process or lack the necessary tools and equipment to complete it yourself, then hiring a professional is probably your best option.
How Much Will It Cost?
The cost of making a resin cutting board will depend on the materials you use and any tools required. You can expect to pay around $50 for all the supplies needed, including silicone molds, wood slices, glitter or craft powder, and epoxy resin.
This does not include any additional tools you may need to purchase such as protective gloves and face mask. Additionally, if you choose to hire a professional, labor costs should also be taken into consideration.
Frequently Asked Questions
Q: How Do I Clean My Resin Cutting Board?
A: To keep your resin cutting board in top condition, wash it with mild detergent and warm water after each use. Dry it off and re-apply mineral oil as needed every few months to keep it looking clean and new.

Q: How Long Does It Take for a Resin Cutting Board to Fully Set?
A: After pouring the resin into the molds, let your cutting board sit and dry for at least 24 hours before removing the molds. This will ensure that your design is fully set and ready to use in your kitchen!
Q: Are Resin Cutting Boards Safe to Use?
A: Yes, epoxy resin is non-toxic when it has cured completely so you can feel safe using these cutting boards in your kitchen. However, make sure to wear protective gloves and a face mask when mixing and pouring the resin.
Q: What Materials Can I Use to Make My Resin Cutting Board?
A: You can use any decorations you like such as glitter, craft powder or crushed shells. This will give your resin cutting board a unique look and make it truly unique!
Conclusion
Congrats, you have just learned how to make a beautiful and stylish cutting board from your own simple DIY materials! Creating these boards at home is not as daunting as it may seem when you look at the instructions, and once completed they will surely make any kitchen look more attractive. If you’re looking for another great way to reorganize your home, consider tackling the ever-challenging deep bathroom drawers.
By investing in stackable organizers like shelves and boxes you instantly add width to a space that is usually limited by two dimensions. Using dividers can also help you sort through the random assortment of items that usually seem to fill bathroom drawers so that each one always appears organized and easy to access.
Now that you have mastered creating an amazing resin cutting board, why not try another project? Get organized with our detailed guide on how to organize deep bathroom drawers — in no time you’ll impress yourself (and everyone else!) with your organizational skills! Thanks for reading this article on how to make a resin cutting board.

