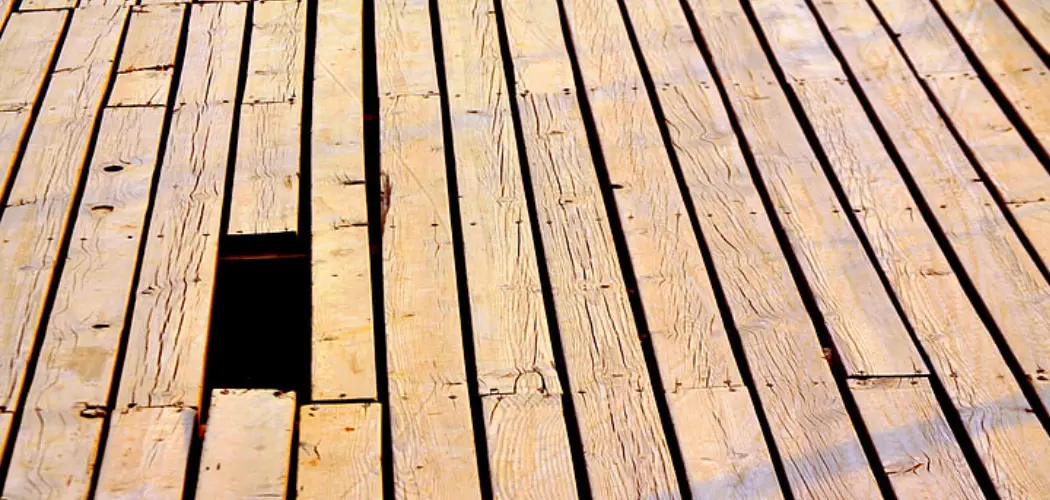
Sanding between deck boards is important in preparing your deck for staining or painting. This process helps to smooth out any rough spots and create a consistent surface that will help your stain or paint adhere better. Sanding also removes dirt, dust, and other deabris from the area. Additionally, it can help prevent warping due to weather conditions, as well as help reduce the occurrence of moisture-related damage such as mold and mildew.
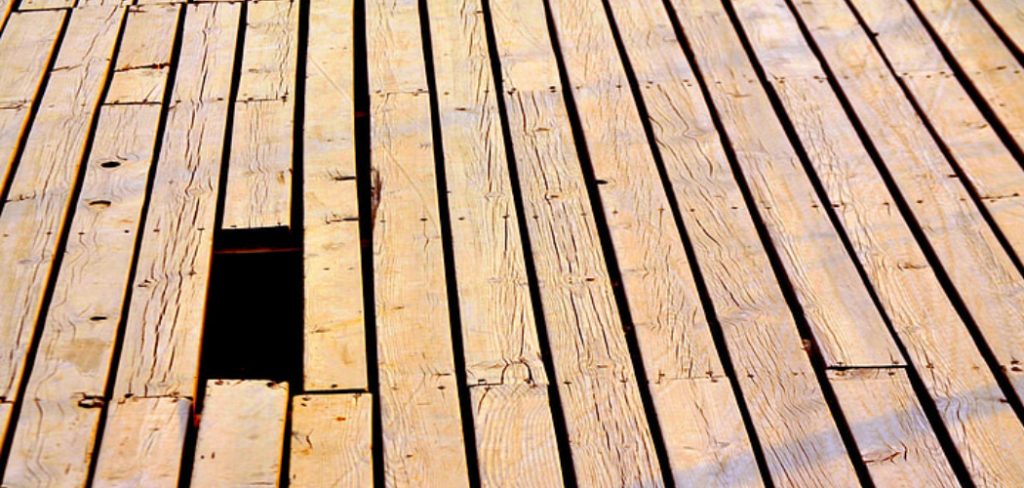
Sanding between deck boards offers several important advantages when maintaining the structure of your outdoor space. Sanding helps smooth out rough spots in the wood and can help prevent splinters or other sharp edges that could be potentially hazardous to walk on. Additionally, sanding removes old finish, paint, dirt, and debris, so your deck looks clean and new again. The process also helps reduce the risk of insect infestation or rot since debris and dirt can provide a food source for bugs and fungi. In this blog article, you can find step-by-step instructions on how to sand between deck boards.
10 Step-by-step Instructions for How to Sand Between Deck Boards
Step 1: Inspect the Deck Boards
Before you start sanding your deck, take a good look at the boards and make sure that they are in good condition. If there are any loose or damaged boards, make sure to replace them before proceeding. You will need a few different supplies for this task. Make sure to gather sandpaper, a power sander, a vacuum cleaner, and a dust mask. Otherwise, you can use a hand-held orbital sander or sandpaper on a block. A stiff-bristle brush can also help to remove dirt and debris between the boards.
Step 2: Remove Debris From Between the Deck Boards
Use a vacuum cleaner to remove dirt, dust, and debris between the deck boards. This will make sand in this area easier and ensure that you have a smooth surface to work with. Start sanding your deck boards with coarse grit paper. This will help to remove any imperfections in the boards and make them look smoother. Make sure to sand in an up-and-down motion, not side-to-side. This will help to prevent any scratches on your deck boards.
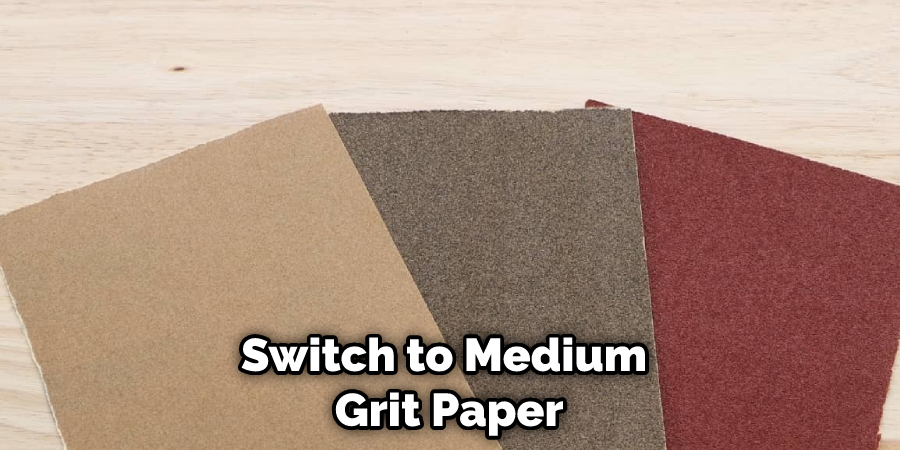
Step 3: Sand With A Medium Grit Paper
Once you have finished sanding with the coarse grit paper, switch to medium grit paper. This will help smooth out the boards and make them look even better. Continue sanding in an up-and-down motion until you are satisfied with the result. After finishing the medium grit paper, switch to fine grit paper. This will give the boards an even smoother finish and make them look pristine. Make sure to continue sanding in an up-and-down motion. If you are using a handheld orbital sander, make sure to move it in a circular motion.
Step 4: Vacuum Away The Dust
Once you have finished sanding with fine grit paper, use your vacuum cleaner to remove dust between the deck boards. This will help ensure that your deck looks its best and is free of dirt or debris. Staining your deck can help to protect it from the elements and make it look even better. Make sure to read the instructions on the stain carefully before applying it to your deck. Apply the stain in thin, even coats and ensure that all the boards are evenly stained. The stain should be allowed to dry completely before using your deck. It is important to keep in mind that regular maintenance and re-staining will be necessary to keep your deck looking its best.
Step 5: Apply A Sealant
Once you have finished staining your deck, apply a sealant to it. This will help protect the wood from water damage and ensure it remains in good condition. Make sure to read the instructions on the sealant carefully before applying it. Allow your sealant to dry completely before you do anything else. This will help to ensure that it does its job properly and protects your deck for years to come. Congratulations, you have successfully sanded and stained between your deck boards!
Step 6: Maintain Your Deck
Regular maintenance is necessary to keep your deck looking its best. Make sure to sweep off any debris and clean up spills or stains as soon as possible. This will help prevent the buildup of dirt and grime, which can make it more difficult to sand in the future. Periodically check for any loose boards or damage and make repairs as needed. If your deck is showing signs of wear, you may need to sand and stain it again in the future. There are also products available to help prevent moisture-related issues like mold and mildew. Check with your local hardware store for options.
Step 7: Consider Alternatives
If you have a large deck or limited time, consider using a pressure washer to remove dirt and debris between your deck boards. This can be an effective way to clean the area quickly without having to sand manually. However, be cautious when using a pressure washer as it can cause damage to the wood if used incorrectly. If you are unsure, it may be best to stick with sanding for a more controlled and precise result. The choice ultimately depends on your personal preference and the condition of your deck.
Step 8: Use Protective Gear
When sanding or staining your deck, make sure to wear protective gear such as goggles, a dust mask, and gloves. This will help protect you from any debris or chemicals that may be hazardous. It is also recommended to work in a well-ventilated area and take breaks as needed to avoid overexposure to dust or fumes. You may also want to cover any nearby plants or furniture to prevent them from getting damaged during the process. You can also use a tarp or plastic sheet to protect the surrounding area. It is better to be safe than sorry when it comes to DIY projects.
Step 9: Know When to Call a Professional
If your deck is in poor condition or requires major repairs, it may be best to call a professional for assistance. They will have the necessary tools and expertise to get the job done efficiently and effectively. It can also be a safer option if you are not experienced with handling power tools or chemicals. Remember, safety should always be a top priority when working on any project, especially one involving outdoor spaces.
Step 10: Enjoy Your Beautiful Deck
Once you have completed all the necessary steps, take a step back and admire your newly sanded and stained deck. Not only does it look great, but it is also now better protected against weather damage and will last longer. Make sure to continue with regular maintenance and enjoy spending time on your deck for years to come. With these simple steps, you can keep your deck in pristine condition and add value to your outdoor space. Happy sanding and staining!
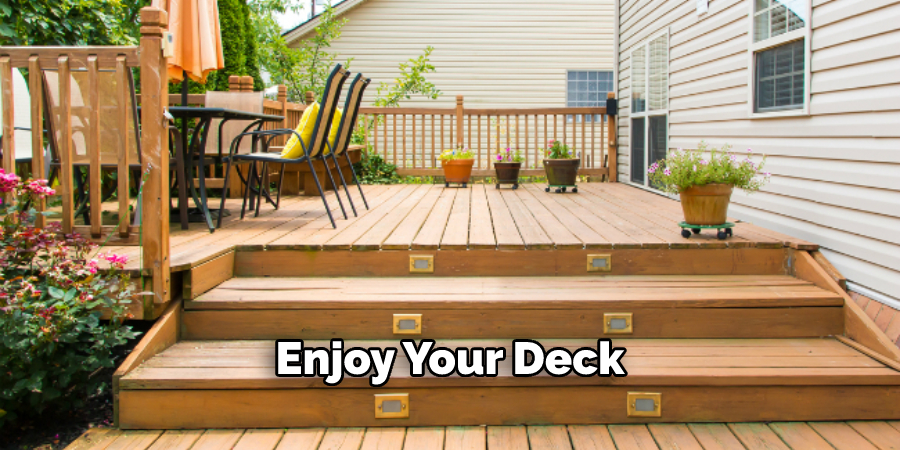
Following these 10 step-by-step instructions can help you maintain a beautiful and safe outdoor space for years to come. Sanding between deck boards is an important part of deck maintenance that should not be overlooked. Whether you choose to do it yourself or hire a professional, regular sanding will keep your deck looking its best and ensure that it remains strong and durable for all your outdoor activities. Don’t forget to regularly inspect your deck and make any necessary repairs or touch-ups as needed.
Safety Tips for How to Sand Between Deck Boards
Make sure to wear protective safety gear such as a face mask and goggles when sanding between deck boards.
Use an extension cord with a GFCI (ground fault circuit interrupter) so that power is shut off automatically if any shorts are in the line.
Ensure your ladder or scaffolding is on a level surface so you can sand safely and securely.
Always be aware of your surroundings and check for nearby power lines or other objects that may interfere with the work.
Make sure to check the quality of your sandpaper often, as it will become dull over time and may require replacement.
Never sand too hard; always move the sander in a smooth, even motion.
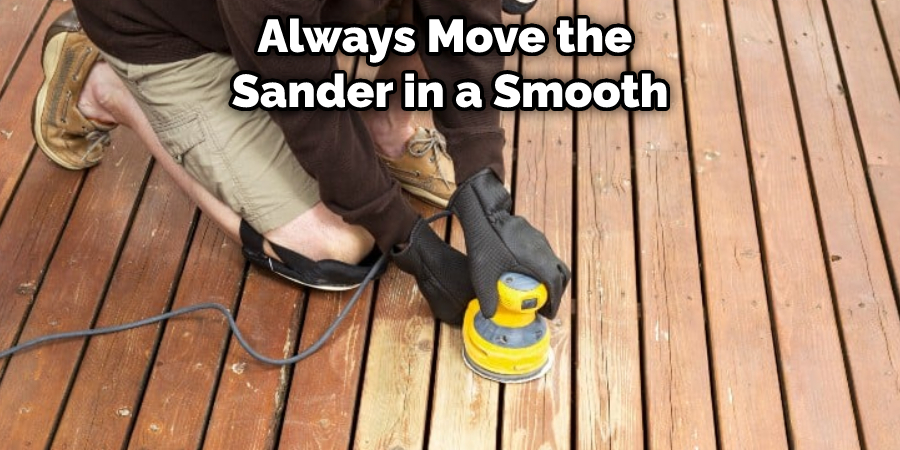
Be sure to take frequent breaks so your arms and hands don’t become too tired from operating a sander for an extended period of time. Taking regular breaks will also help you avoid any potential injuries from fatigue or overexertion.
Following these safety tips will help you complete the job of sanding between deck boards quickly and easily while keeping yourself safe from potential harm or accidents.
How Often Should You Sand Your Deck?
Sanding between your deck boards is important to maintaining and caring for your deck. How often you should sand depends on several factors, such as the type of wood deck you have and the amount of foot traffic it gets. Generally, wooden decks should be sanded at least once a year to keep them looking great and free from splinters. If your deck is exposed to a lot of elements, such as direct sunlight or rain, you may need to sand it more often.
If your wooden deck has not been properly maintained, it may be necessary to thoroughly sand before applying any new stain or sealant. This helps remove any loose material and ensure even coverage of the stain or sealant. When sanding your deck, it is important to use the correct type of sandpaper. Different woods need different grades of sandpaper. For example, pine decks require a finer grade than cedar decks. It is also important to vacuum between each sanding session to remove any dust or debris.
How Should You Position Yourself While Sanding in Between the Boards?
When sanding in between the boards, it is important to position your body and equipment properly for a safe and efficient sanding session. First, ensure you kneel or sit comfortably on the deck board. Make sure your knees are tucked in close to the board so that you do not lose balance while sanding. Make sure your sanding tool is positioned securely and safely within reach. Your hands should firmly grip the tool, with your arms extended in front of you. This way, you can hold the tool in place for easy maneuverability while sanding.
When using a belt sander or orbital sander, ensure the pressure is evenly distributed throughout the sanding process. Move slowly and methodically in a consistent, back-and-forth motion. Start at one edge of the board and slowly move your way to the other end. Make sure to use an even amount of pressure throughout so that all parts of the board receive an even sanding job. When using an edging sander, start at one corner of the board and slowly move your way along in a circular motion. Make sure to keep your hand steady as you sand so that you do not unintentionally gouge or damage the deck boards.
How Can You Prevent Accidental Damage While Sanding Between the Boards?
Start by clearing the area of debris, including furniture and planters. Be sure to wear eye protection when sanding.
Select a sander that is appropriate for your project. If you want to ensure a smooth finish, go with an orbital sander. For deeper grooves, opt for a belt sander instead.
Start sanding in the same direction as the grain of the deck boards. This will help prevent accidental scratches and gouges.
Move your sander slowly and precisely between each board, aware of any hard objects hidden beneath the deck material or in between boards, such as a screw head or nail.
When sanding close to a board edge, try to keep the sander perpendicular and avoid any excess pressure that could cause damage.
After you’ve completed the job, clear away any sawdust and inspect your work for gouges or scratches. If need be, use a finer grit sandpaper to help blend in any imperfections.
Finally, wash the deck boards with a mild detergent and rinse thoroughly before applying your sealant or stain of choice.
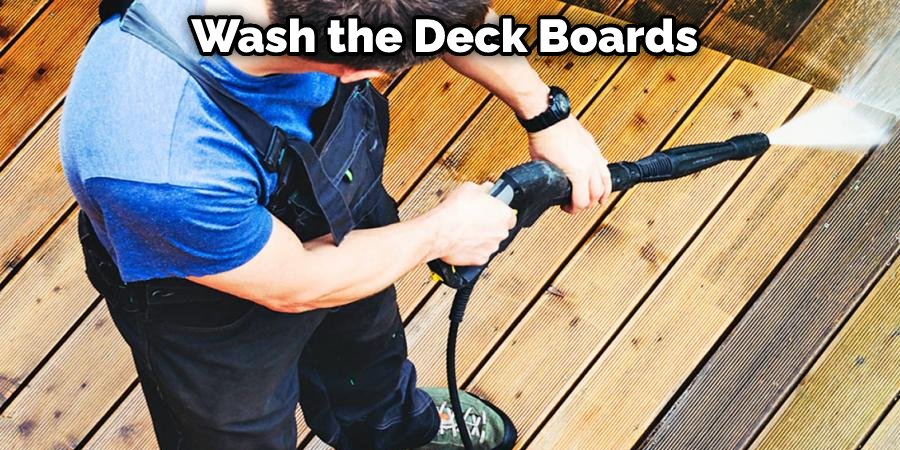
Taking the necessary precautions when sanding between deck boards can help prevent accidental damage and ensure that your finished project looks beautiful and lasts for years to come.
Frequently Asked Questions:
Q: Can I Use a Pressure Washer Instead of Sanding Between Deck Boards?
A: Pressure washing can be an effective way to clean your deck, but it should not be used as a replacement for sanding. Sanding helps smooth out any rough spots or splinters and prepares the surface for stain or sealant. You can use a pressure washer after sanding to remove any remaining debris or dirt.
Q: What Type of Sandpaper Should I Use for My Deck?
A: The type of sandpaper you should use depends on the type of wood your deck is made from. For softwoods like pine, finer grit sandpaper (around 80-100) is recommended to avoid damaging the delicate fibers. For hardwoods like cedar, slightly coarser grit sandpaper (around 120-150) may be necessary. Always check the manufacturer’s recommendations for specific guidance.
Q: How Do I Know When It’s Time to Replace My Sandpaper?
A: You should always check the quality of your sandpaper before starting a sanding project. If it feels dull or worn, it may not give you the desired results. Additionally, if the sandpaper has any tears or holes, it should be replaced to avoid any potential damage to your deck boards.
Q: Should I Sand Between Coats of Stain?
A: Yes, it is recommended to lightly sand between coats of stain to ensure a smooth and even finish. Use a fine grit sandpaper (around 180-220) and sand in the direction of the grain. Be sure to remove any dust before applying another coat of stain. You may also choose to sand after the final coat for an even smoother finish.
Q: Can I Sand with a Power Sander?
A: While power sanders can be more efficient, they may not be the best option for sanding between deck boards. They can easily cause accidental damage or gouges to the softwood fibers, so it is important to use caution and go slowly if using a power sander. Hand sanding may be a better option for more control and precision.
Conclusion
In conclusion, sanding between deck boards is an important part of the overall maintenance and upkeep process. It can help to ensure that your deck remains aesthetically pleasing and structurally sound for years to come. Sanding between boards can be time-consuming, but with the right tools and techniques, it can be made much easier. Be sure to use a sander with the right grit, use a sanding block to get into hard-to-reach areas, and be sure to thoroughly sweep away any dust before staining or sealing your deck. I hope this article has been beneficial for learning how to sand between deck boards. Make Sure the precautionary measures are followed chronologically.
You Can Check It Out to Protect Ipe Wood Deck

