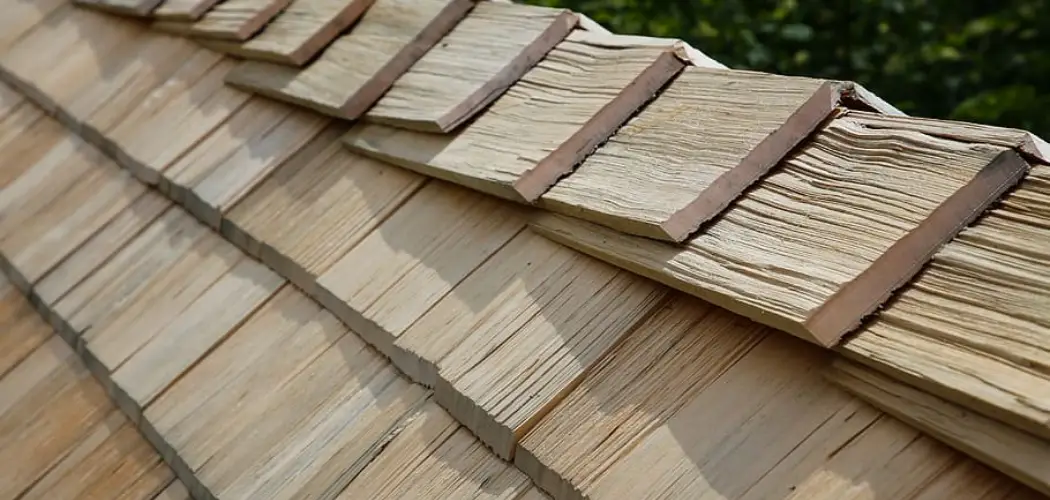
Replacing wood shingles on your roof is an important part of maintaining the structure’s integrity. Wood shingles are a popular choice for roofs due to their aesthetic appeal, but they also require more maintenance than other types of roofing materials. Over time, exposure to the elements can cause wood shingles to become brittle and less effective at protecting the structure.
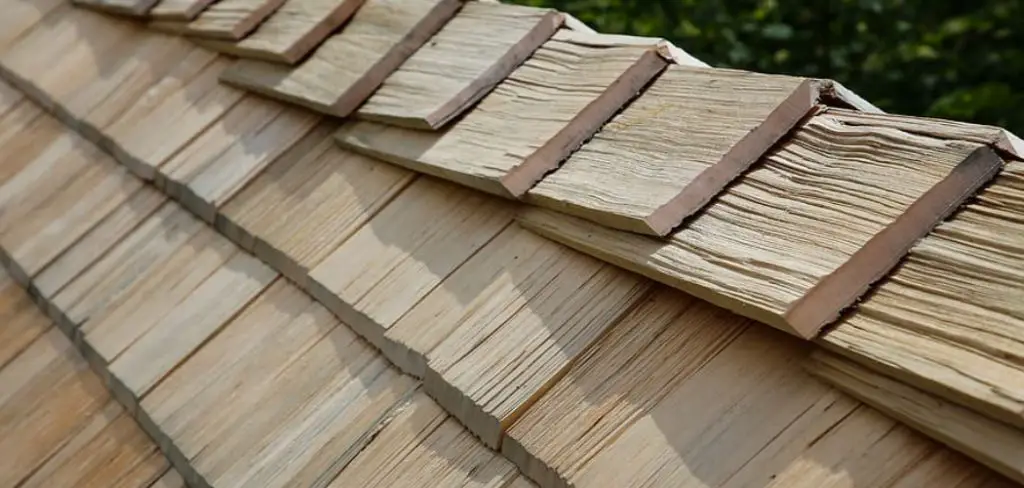
Replacing wood shingles can be an easy and effective way to improve the appearance of a home. Wood shingles provide a classic, timeless look that never goes out of style, and replacing them is relatively inexpensive compared to other materials. Furthermore, the installation process for wood shingles is often easier than working with many other types of roofing material. In this blog post, You will learn in detail how to replace wood shingles.
Tools You Will Need
- Hammer
- Chalk line
- Utility knife
- Pry bar
- Roofing nails
- Nail puller
- Safety glasses and gloves
- Putty knife or trowel for applying roofing cement
- High quality shingle cutter, available at most home centers, for trimming the replacement shingles
- A helper to hold the ladder steady and help you carry tools and materials as needed.
Once you have the necessary tools, it’s time to start replacing the wood shingles. Begin by removing any old nails from around the area that needs repair.
Step-by-step Instructions for How to Replace Wood Shingles
Step 1: Inspect the Roof
Inspect the roof to determine where the shingles need to be replaced. Look for any missing, cracked, or damaged shingles. Make sure to check around flashing and chimney areas as well. Once you have identified the affected area, remove the old shingles with a hammer and pry bar. Be sure to wear safety glasses and gloves as you remove the shingles.

Step 2: Replace Damaged Underlayment
Replace any damaged underlayment (felt paper used to hold shingles down) with new felt paper. Install it according to the instructions on the package. Measure and cut the new shingles to fit the area you are repairing. Make sure they are not too long or too short.
Step 3: Hammer New Shingles in Place
Hammer the new shingles into place, starting at one end and working your way down. Be careful not to hit any nails that may already be in the roof. Nail existing shingles to the new ones in order to hold them down. Make sure you are using nails that are long enough and spaced correctly so the shingles stay secure.
Step 4: Install Top Row of Shingles
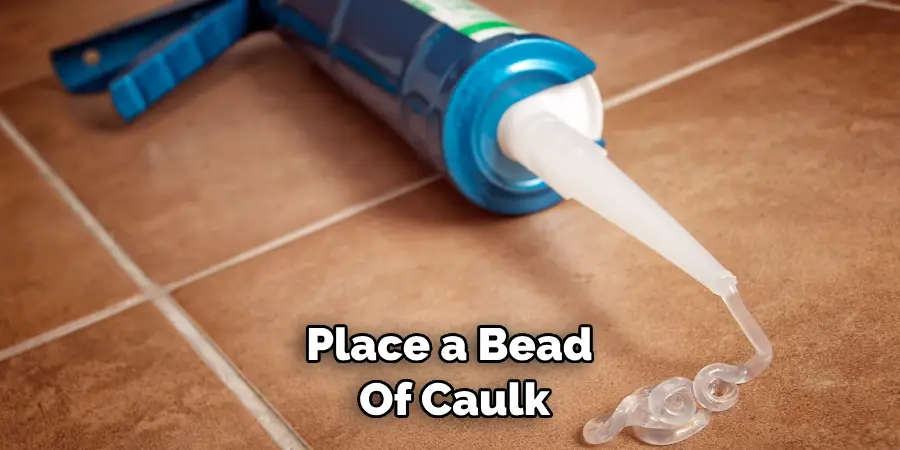
Install the top row of shingles. This will be the first line of defense against water damage. Place a bead of caulk along the edges of the newly replaced shingles and around any nails that are exposed. This will help keep water out and prevent further damage.
Step 5: Install Flashing
If the area being repaired is near flashing or a chimney, install new flashing over the shingles. This will provide additional protection against water damage. Once all of the repairs are complete, make sure to clean up your work area and dispose of any debris properly. This will help keep your roof looking great for years to come.
When replacing wood shingles, it is important to follow all safety guidelines and use the proper tools. Doing so will ensure that the job is done right and your roof remains in good condition for years to come. To get more detailed information on replacing wood shingles, consult a professional contractor.
Tips for How to Replace Wood Shingles
- Wear long-sleeved shirts, work gloves, and safety glasses to protect yourself from potential debris or cuts while replacing wood shingles.
- Make sure the roof is free of any standing water before beginning work on the shingles. If necessary, use a tarp to cover lower sections of the roof so that they are not exposed to rain.
- Cut the old shingles into 4-inch strips, making sure not to remove any nails that are holding them in place.
- Use a pry bar to pull up the old shingles and remove them from the roof. This should be done carefully, as you could potentially cause damage to your roof or yourself by doing so.
- Before laying new shingles, check the roof for any damage or exposed nails that need to be sealed off with roofing cement and/or tar paper.
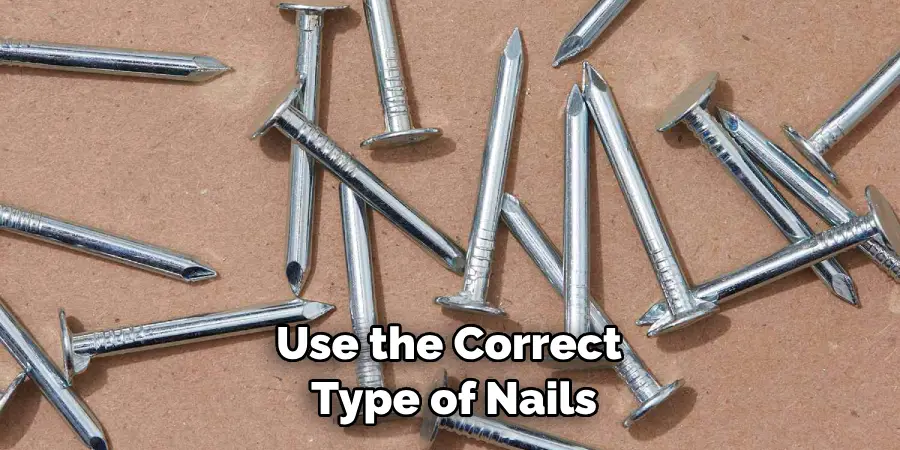
- Once all of the old shingles have been removed and the roof is properly prepared, lay down new shingles according to the manufacturer’s instructions. Make sure to use the correct type of nails and to properly seal off any exposed nail heads with roofing cement. This will help ensure that your roof is watertight and secure.
It’s also important to keep an eye out for potential mold or rot on the wood shingles, as this can cause significant damage if not addressed quickly. If you notice any signs of mold or rot, be sure to replace those shingles as soon as possible.
How Long Will It Take to Replace Wood Shingles on an Average Size Roof?
Replacing wood shingles on an average size roof can take anywhere from one day to several days, depending on the number of layers of shingles and other factors. It’s best to plan for at least two days of work if you are replacing all of the shingles on a roof. Additionally, it’s important to make sure that you have the right tools and materials for the job, such as a safety harness, ladder, pry bar, roofing cement, nails, and tar paper.
Taking the time to properly prepare for your project will help ensure that it goes as smoothly as possible. If you are feeling overwhelmed by the task of replacing wood shingles on your own home, consider hiring a professional roofer to complete the job. Not only will this save you time, but it can also help ensure that the job is done correctly and that your roof remains secure for years to come.
How Can You Clean the Area Around the Wood Shingles After You’re Done?
Once you’ve finished replacing the wood shingles, it is important to clean up the area around them. This can be done by using a leaf blower or a garden hose with a pressure nozzle to remove any debris that may have accumulated during the replacement process.
Additionally, check on your roof regularly for any signs of wear and tear and repair any damage as soon as possible to ensure that your roof remains in good condition.
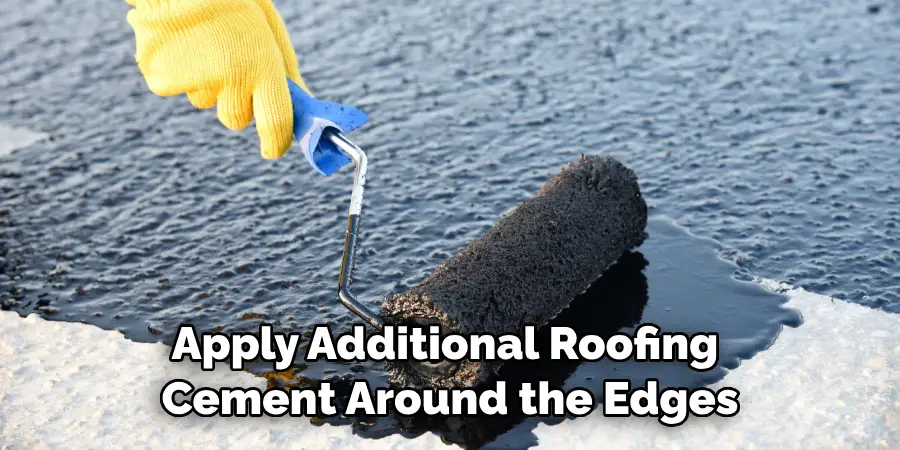
You may need to periodically re-seal the nail heads or apply additional roofing cement around the edges of your shingles to extend their lifespan. Doing this will help keep moisture and other elements from penetrating underneath, which can cause further damage.
Additionally, it is a good idea to regularly inspect your shingles for any signs of wear and tear, such as cracks or missing pieces. Replacing these damaged shingles as soon as possible will help keep your roof in good condition.
What Are Some Instructions for Maintaining Wood Shingles on Your Roof?
In order to ensure your roof remains in good condition, it is important to periodically perform maintenance on the wood shingles. This includes cleaning them with a mild detergent and water solution, removing any dirt or debris that has accumulated over time. Additionally, it is important to check for any signs of wear and tear such as cracks or missing pieces and repair them as soon as possible.
You should also check the nails that are holding the wood shingles in place, and periodically re-seal them with roofing cement to extend their lifespan. Additionally, it is important to inspect your shingles for any signs of mold or rot, which can cause significant damage if not addressed quickly. If you find any signs of mold or rot, be sure to replace those shingles as soon as possible.
What Can You Do to Avoid Future Maintenance and Repairs When Replacing Wood Shingles?
When replacing wood shingles, be sure to inspect the interior and exterior of your roof for signs of deterioration or damage. Make sure that all flashing is in good condition and properly sealed. If needed, replace any worn out or broken flashings with new ones. Additionally, make sure to check the gutters and downspouts for any clogs or blockages and clear them out if necessary.
Also, inspect the roof for any missing or cracked shingles. Make sure that all the existing shingles are in good condition before replacing them with new ones. It’s also a good idea to replace any worn-out nails as well.
Finally, check the ventilation of your home’s attic. Proper attic ventilation is essential for preventing heat loss and moisture buildup, which can lead to roof damage and the need for costly repairs in the future. Make sure that soffit vents, ridge vents, or other types of ventilation are in good condition and free from debris.
Are There Any Special Techniques That Should Be Used for Areas With Difficult Access or Unusual Angles?
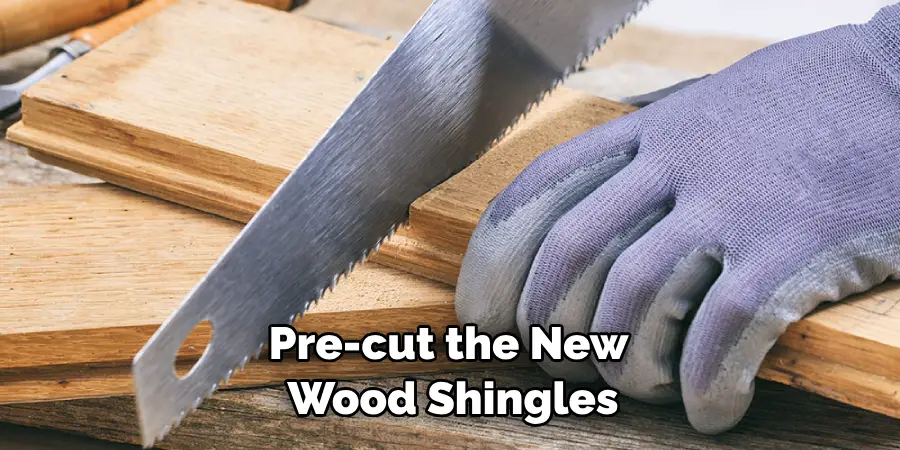
Replacing wood shingles in areas with difficult access or unusual angles can be challenging, but there are a few techniques that can help. One technique is to pre-cut the new wood shingles before applying them. This will ensure they fit properly and won’t require any modifications. When cutting the shingles, it’s important to take into account any irregularities, such as ridges or dips in the roof line.
Another technique that can be used is to install a stiffener board between the new and existing shingles. This will help prevent them from shifting around or sagging over time. It’s also important to use nails that are long enough so they penetrate both layers of material, which will provide added stability.
Finally, it’s important to use an appropriate adhesive or sealant when installing wood shingles in areas of difficult access or unusual angles. This will ensure that the shingles are securely fastened and waterproofed.
Conclusion
In conclusion, replacing wood shingles is an important and worthwhile task for any home improvement project. It can help to make your roof look better, more aesthetically pleasing, and also increase its durability over time.
The process of replacing the shingles may seem daunting at first but with a few simple steps you can quickly have them replaced and feel secure in knowing that you’ve made a wise and informed decision.
Start by finding the right type of shingles for your roof, then measure and cut them to size and finally install them using nails or other fastening materials. I hope this article has been beneficial for learning how to replace wood shingles. Make Sure the precautionary measures are followed chronologically.

