Do you want to give your home an elegant and rustic aesthetic? Wood shingles might be the perfect way to do so! If you’re looking for a DIY project that can add unique character and beauty to your house, then making your own wood shingles is a great option. In this post, we walk through all the steps on how to make wood shingles from start to finish. We cover choosing the right type of wood, cutting out shingle shapes, preparing them for installation, and finally adding it all together on a finished roof structure. Whether you’re starting with raw materials or just trying some repair work on an existing structure, get ready to learn how easy it is to transform ordinary planks into glistening wooden tiles!

What Type of Wood Is Used for Shingles?
Wood shingles are typically made from cedar, redwood, pine, or cypress wood. All of these woods have their advantages and disadvantages when it comes to making shingles. Cedar is the most popular choice because it’s lightweight, strong, durable, and resistant to decay. Redwood has a similar set of qualities, but it’s a bit more expensive. Pine is sometimes used because of its affordability and availability, although it may not be as durable or long-lasting as other woods.
Cypress has excellent weatherproofing qualities, making it an ideal choice for humid climates. Whichever type of wood you choose, make sure that it’s thick and knot-free, as these types of wood will provide the most durable and reliable shingles. Additionally, make sure that you purchase sustainably harvested wood to ensure that you’re not contributing to deforestation.
Once you’ve chosen your desired type of wood, the next step is to cut it into thin strips. The strips should be narrow, with a width between ¼ and ⅜ inch. For more uniform shingles, you can purchase pre-cut strips from a lumber yard. If you’re looking for a rustic look, you can use hand tools to cut the strips yourself. After cutting the wood into strips, it’s time to move on to the assembly process.
10 Methods How to Make Wood Shingles
1. By Hand
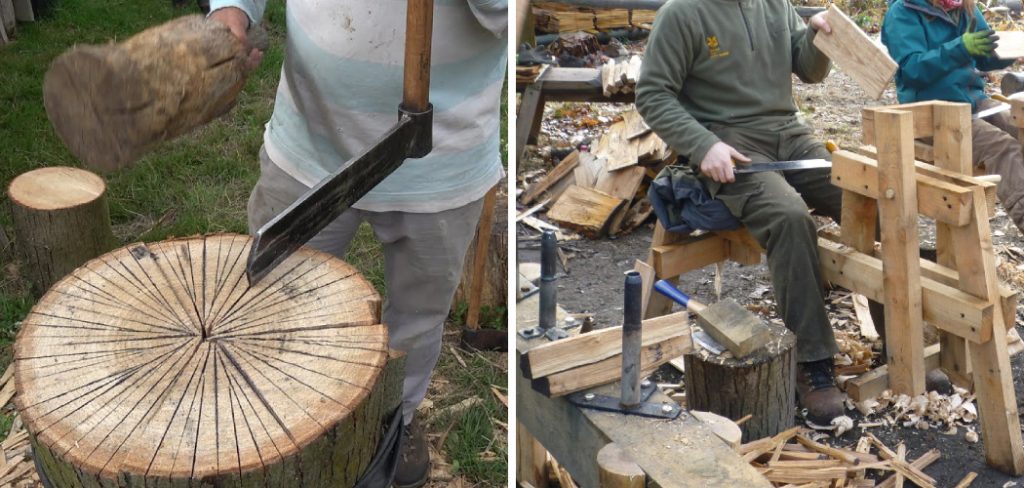
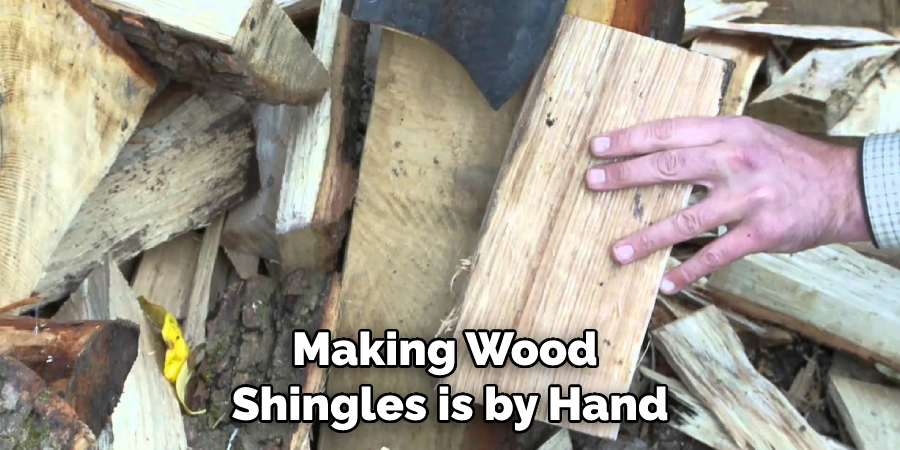
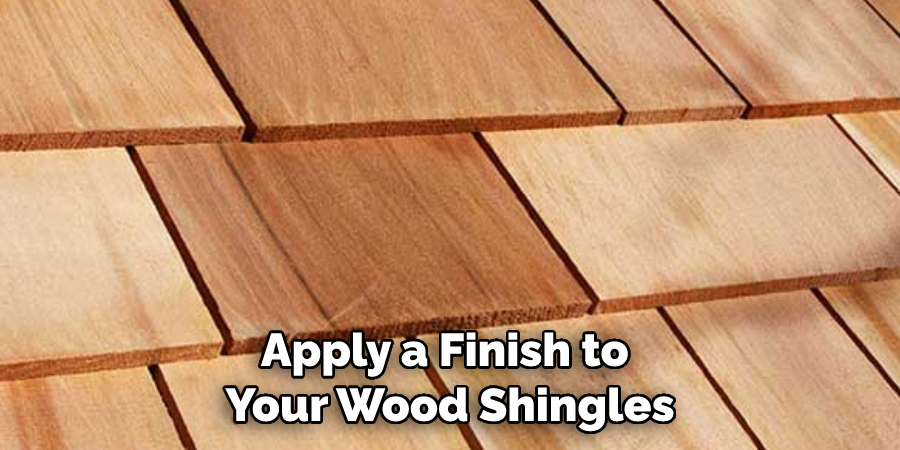
One of the most traditional ways of making wood shingles is by hand. This method involves using a saw to cut the shingles to the desired size and shape. Once the shingles are cut, they can then be installed on the roof. When installing shingles by hand, it is important to ensure that they are securely and properly nailed in place.

2. Using a Machine
Another way of making wood shingles is by using a machine. This method is much faster than making them by hand and can produce a large number of shingles in a short amount of time. However, this method can be more expensive as it requires the use of special equipment. To make shingles using a machine, you will need to first cut the wood into the appropriate size pieces that can fit into the machine.
After the pieces have been cut, you will need to feed them into the machine. The machine will then cut the pieces into shingles and also trim them to the desired shape.
3. Using a Template
If you want to make sure that all of your wood shingles are the same size and shape, you can use a template. This method involves tracing a template onto each piece of wood before cutting it to size. This ensures that all of your shingles will be identical. To make a template, trace the desired shape onto a piece of cardboard or plywood, then cut it out.
Make sure the template is slightly larger than the size of the shingle you want. Once you have your template, trace it onto each piece of wood before cutting it out. This will help ensure that all of your shingles are the same size and shape.
4. Cutting With a Jigsaw
If you have access to a jigsaw, you can use this tool to cut your wood shingles. This method is similar to using a saw, but it allows for more precise cuts. As such, it is ideal for those who want their shingles to have a specific shape or design. To cut with a jigsaw, you will need the following materials: a jigsaw, clamps, a pencil, and your chosen material. Try to use a jigsaw blade suited for wood, as this will give you the best results.

5. Using a Router
Another way to cut wood shingles is by using a router. This tool can create very precise cuts and can be used to create intricate designs on the shingles. However, it is important to note that routers can be very dangerous if they are not used properly. If using a router, make sure to use all necessary safety precautions, such as wearing protective goggles and gloves. Additionally, be sure to read the instructions provided with the router to ensure proper use.
6. Sanding the Edges
Once you have cut your wood shingles to size, you will need to sand the edges in order to remove any roughness. This step is important in order to prevent splinters from forming when the shingles are being installed on the roof. Use a fine-grit sandpaper or sander for this step, and be sure to wear protective gear such as gloves and safety glasses. You can also use a belt sander for this step if you prefer. Once the edges are smooth, your shingles will be ready to install.
7. Applying a Finish
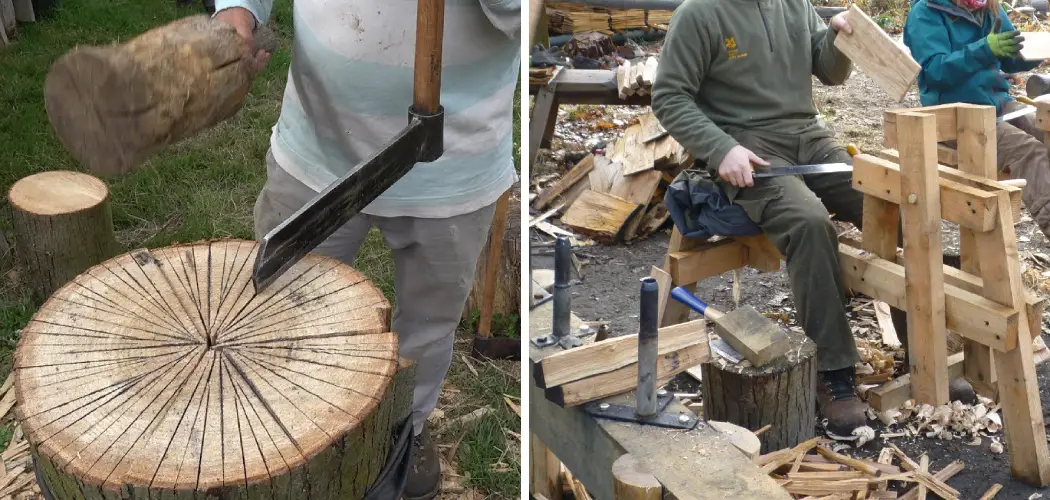
After sanding, you may want to apply a finish to your wood shingles in order to protect them from the elements. A clear sealant or varnish will work well for this purpose. You can also stain or paint your shingles if you want them to have a specific color or look. Before applying a finish, make sure to clean the shingles with a damp rag and let them dry completely.
For best results, apply two or three thin coats of finish, allowing time for drying in between each coat. Once the finish is completely dry and cured, your wood shingles are ready to be used on your roof or other projects.

8. Installing the Shingles
Once you have prepared your wood shingles, you will need to install them on the roof. This process involves nailing or screwing the shingles into place. It is important to make sure that the nails or screws are driven into solid wood in order to prevent leaks. You should also take care to make sure that the shingles are properly aligned with one another so that they create a uniform look.
9 . Inspect Regularly
It’s important, once your new roof is installed with wood shakes or any other type of roof covering, for that matter, that you inspect it regularly for any signs of damage or deterioration so you can make repairs as needed. Depending on the climate where you live, your roof should be inspected at least twice per year, in spring and fall.
10. Hire Professional Help.
If you’re not comfortable inspecting or repairing your own roof, hire someone who is experienced and qualified to do so. A professional roofer can help you determine the best type of shingle to use and install them correctly. They’ll also be able to identify any underlying problems that may be causing your roof to leak, such as rotting wood or cracked shingles.
A professional can help you choose the best type of shingle, such as asphalt, metal, or cedar shakes. They can also provide advice on the best way to maintain your roof and keep it in good condition.

By following the steps outlined above, you can easily make wood shingles for your home or other building. Just remember to purchase sustainably harvested wood and use appropriate tools when making them in order to ensure a quality product that will last for years. With the right materials and technique, you can create beautiful wood shingles that will add character and charm to your home.
What Wood Is Most Commonly Used for Wood Shingle Siding?
The most common type of wood used for making wood shingle siding is cedar or redwood. Cedar and redwood are both very durable materials that can stand up to the elements and wear and tear over time. Cedar is also naturally resistant to fungus, rot, and other common problems associated with wood siding. In addition, cedar shingles are easy to paint or stain and provide a beautiful finish when placed on your home’s exterior. They are also usually more affordable than other types of wood siding, making them a popular choice for homeowners.
Conclusion
Although making your own wood shingles may seem like a daunting task, it is definitely doable with the proper tools and know-how. With this guide on how to make wood shingles, you should be well on your way to creating beautiful and unique wood shingles for your home. Shingling your roof is a big job, but you can do it yourself with the help of these tips. As long as you take your time and follow the steps carefully, you’ll be able to create beautiful wood shingles that will protect your home for years to come. Thanks for reading!
You Can Check It Out to Make a Curved Deck

