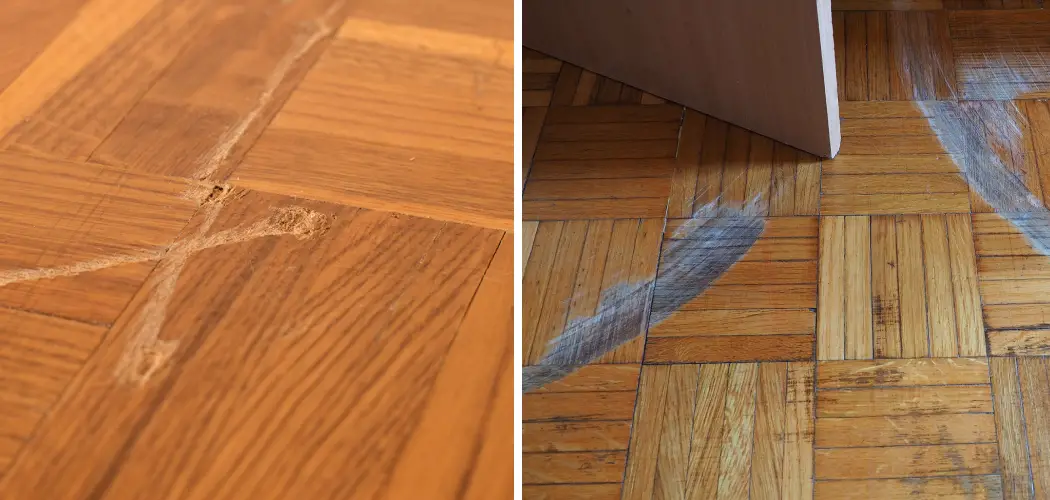
If you’ve ever been frustrated because your beautiful wood furniture has acquired some nasty scratches, fear not! In this blog post, we’ll cover the best ways to repair scratches and make your wooden surfaces look new again.
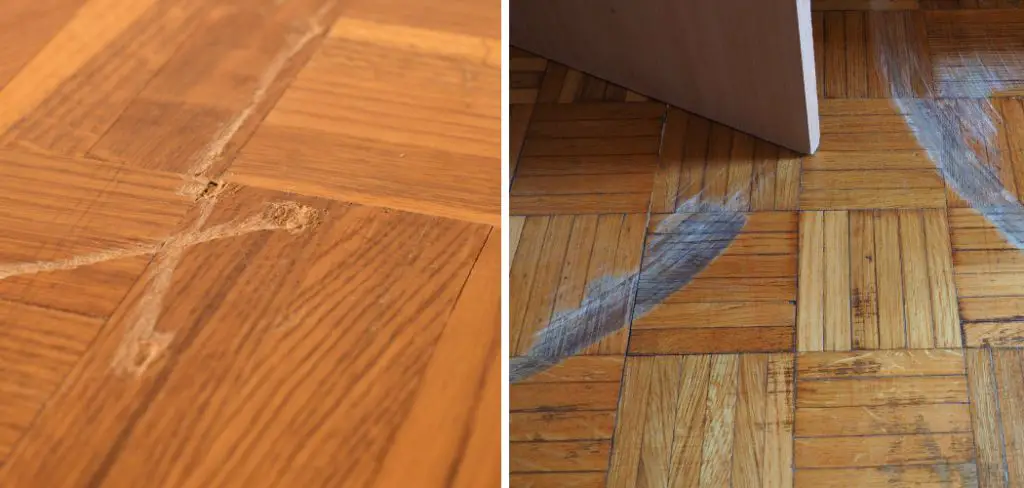
We’ll discuss what materials you need to get started on how to remove scratches from wood, how to assess the damage before beginning the repair process, and finally provide step-by-step instructions so that you can restore those marks yourself with minimal hassle. So if you want to learn more about fixing scratches in wood furniture for good – read on!
Needed Materials
Given below are the essential materials required for repairing scratches on wooden surfaces:
- Mild Detergent or Wood Cleaner
- Soft Cloth
- Fine Steel Wool
- Wood Wax or Polish
- Toothpaste (Non-gel)
- Olive Oil
- Furniture Paste Wax
- Beeswax
11 Step-by-step Guidelines on How to Remove Scratches From Wood
Step 1: Clear the Surface
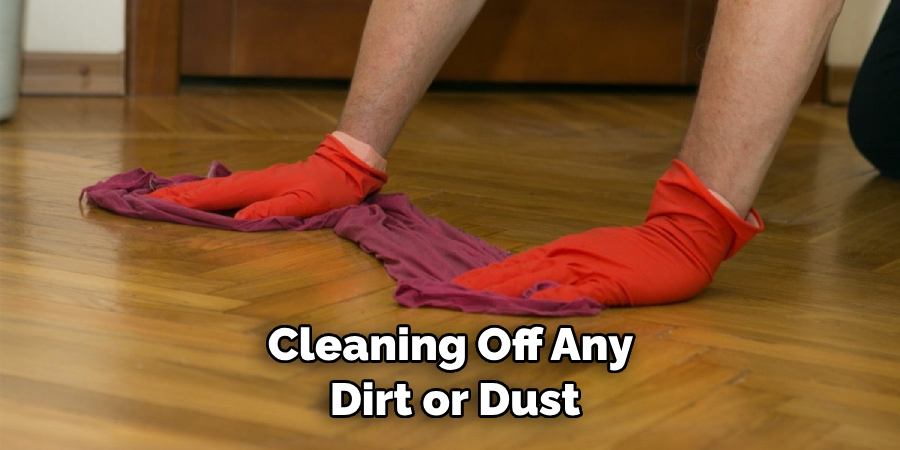
Start by cleaning off any dirt or dust from the scratched area. This will make it easier to identify the type of scratch and assess the damage. Use a mild detergent or wood cleaner along with a soft cloth for this. This will also help the repair process. It’s important to clean the wood thoroughly before proceeding. But be careful—don’t use too much pressure, as this could cause further damage.
Step 2: Assess the Damage
Determine whether the scratch is a light or deep one. Light scratches can usually be handled with simple polishing tactics, while deeper ones require more intense attention and repair methods. It’s important to identify the type of scratch in order to know which repair method you should use.
It’s also worth noting that some deep scratches may be too far gone to salvage. This is especially true if the scratch has exposed the wood’s core, as this means that some of the wood material has been removed. It’s not possible to restore this damage without woodworking tools and skills.
Step 3: Use Steel Wool
Take a piece of fine steel wool and rub it gently in circular motions over the scratched area. This should help remove any dirt lodged inside the wood and bring out its original color and texture. It’s important to use very light pressure and make sure not to press too hard, as this could cause further damage.
If you notice that the scratch is not improving, stop and proceed to the next step. But if the scratch appears to be diminishing, continue rubbing in gentle circles until it is no longer visible. It may take some time and effort, but the result should be satisfactory.
Step 4: Apply Wax or Polish
Once you’re done with the steel wool, apply some wax or polish on top of it to fill up any small cracks caused by the scratching process. Allow it to dry before moving onto step 5. This will help lock in the color of the wood and give it a glossy finish.
It will also help protect the wood from any future damage. This step is particularly important for wooden surfaces that are often exposed to the elements. It’s also a good idea to use a furniture paste wax for extra protection.
Step 5: Try Toothpaste
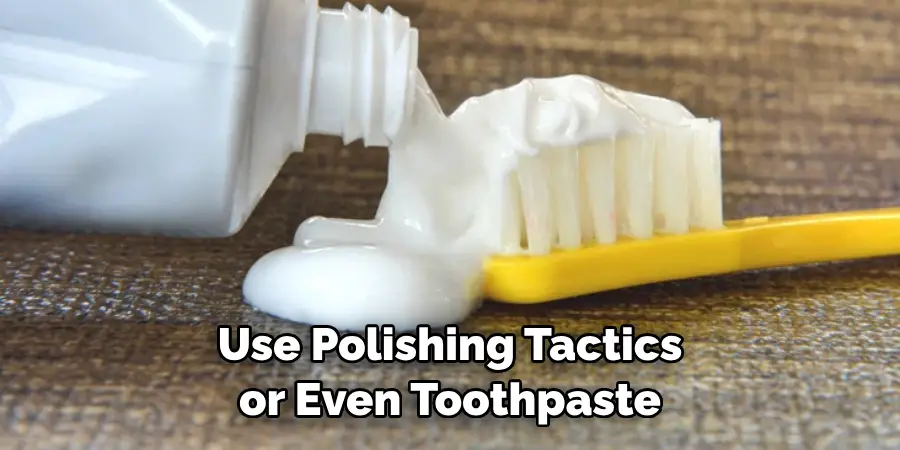
If the wax or polish hasn’t been effective in repairing the scratch, try applying a small amount of toothpaste on it and rubbing it in with a soft cloth. This can sometimes work wonders! This method is also great for removing dirt and grime from wooden surfaces.

Just make sure to use non-gel toothpaste, as gels don’t have the same abrasive properties and won’t be as effective. It’s also important to use gentle pressure and not press too hard, as this could cause further damage. But if done correctly, the scratch should be gone in no time.
Step 6: Olive Oil and Beeswax
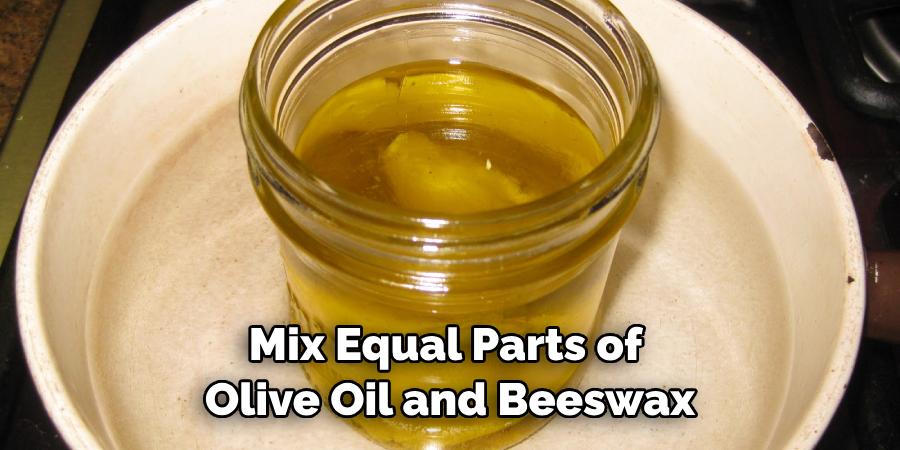
Mix equal parts of olive oil and beeswax together in a bowl until you get a thick paste-like consistency. Apply this mixture to the scratched area using a soft cloth, and then rub it off after 5 minutes for best results.
But make sure to use gentle pressure, as too much force could cause further damage. This mixture is great for restoring the natural color of the wood and making it look glossy again. It also helps protect the wood from further damage. If your wooden surface still looks dull after this step, simply use wax or polish to bring out its natural luster.
Step 7: Buff Polishing Cloth
You can also use an old buff polishing cloth to remove scratches from wood furniture by simply rubbing it back and forth over the marked area. This should help restore its original sheen without much effort.
This method is especially useful for surfaces that have been exposed to the elements for a long time, as it can help bring out the original color and texture. It’s also great for removing dirt and grime from wooden surfaces. It’s important to use very light pressure and make sure not to press too hard, as this could cause further damage.
Step 8: Furniture Paste Wax
Furniture paste wax is another great option for removing scratches from wood surfaces. Apply it to the scratched area using a soft cloth and then buff it off after 5 minutes. But again, make sure to use gentle pressure and not press too hard, as this could cause further damage.
This method is especially effective for bringing out the original color and texture of the wood, as well as protecting it from future damage. This is a great way to restore the natural beauty of wood furniture.
Step 9: Reapply Wax or Polish
Once you’re done with the above steps, reapply some wax or polish to seal in the repair and make your wooden furniture look as good as new! But make sure to use a good quality wax or polish for best results. It’s also important to apply it in thin layers and let it dry completely before buffing.
This will help protect the wood from any future damage. This step is especially important if you want to keep your wooden furniture looking its best for years to come. It’s also a good idea to apply wax or polish every few months to keep the wood in tip-top condition.
Step 10: Test Outcome
Test out the outcome of your hard work by running your finger over the surface and seeing if there are any visible marks or scratches left behind. If not, you’ve done an amazing job!
This method is a great way to restore the natural beauty of wooden furniture and make it look as good as new. But if you still see some scratches, continue with the above steps until they are completely gone. It may take some time and effort, but the reward is worth it!
Step 11: Enjoy the Results
Sit back and admire your handiwork. After all, you’ve just successfully repaired those pesky scratches on wood furniture yourself! Congrats! Always remember to take care of wooden furniture, as it can last for decades if you do.
Cleaning and polishing regularly will help protect the wood from any future damage and keep it looking its best for years to come. And of course, use caution when moving furniture around so you don’t accidentally scratch it!
By following these 11 steps on how to remove scratches from wood, you should be able to make your wooden furniture look brand new again without any hassle. Just remember to take your time with each step and use gentle cleaning products so as not to damage the surface further. With a few simple techniques and materials, you can easily restore scratched wood surfaces in no time at all – enjoy!
Frequently Asked Questions
Q: What is the Best Way to Remove Scratches From Wood?
A: The best way to remove scratches from wood is to first clean the surface with a mild detergent or wood cleaner, then assess the damage and use either fine steel wool, wax or polish, toothpaste (non-gel), olive oil and beeswax, or furniture paste wax. Finally, buff off the residue with a soft cloth and enjoy your restored furniture!
Q: Can I Use Olive Oil to Remove Scratches From Wood?
A: Yes, you can mix equal parts of olive oil and beeswax together in a bowl until you get a thick paste-like consistency. Then apply it to the scratched area using a soft cloth and rub it off after 5 minutes for best results.
Q: How Do I Know Which Method Will Work Best For My Furniture?
A: You’ll need to first assess the depth of the scratches before you can determine which method will work best. For light scratches, you can use polishing tactics or even toothpaste. Deeper ones require more intense methods like using steel wool and waxes.
Q: Are There Any Other Tips for Removing Scratches From Wood?
A: Yes, it is always best to use gentle cleaning products and not rub too hard when buffing off the residue. Additionally, test out the outcome by running your finger over the surface before you finish so that you can make sure there are no visible marks or scratches left behind.
Conclusion
So there you have it on how to remove scratches from wood, all the ways you can remove scratches from wood surfaces! With a few simple supplies and some elbow grease, you can easily repair your precious wooden belongings. With such an easy process, why not save yourself both time and money by taking matters into your own hands?
No matter what project you decide to take on, I wish you luck in restoring and sprucing up the feeling of your home.

