Are you looking for an easy way to get rid of pesky scratches on your wooden table? It can be frustrating when the surface of a beautiful piece of furniture is marred with unsightly marks and scuffs.
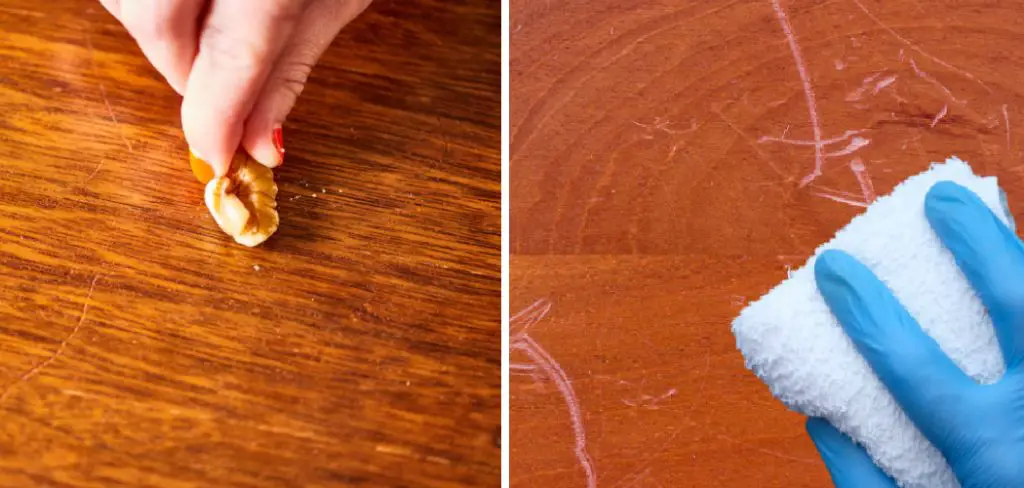
Fortunately, there are several simple ways that you can use to remove those blemishes without ruining the finish or damaging the wood. In this blog post, we’ll explore how to remove scratches from a wooden table – from antiques to modern pieces – so that you can keep it looking its best for years to come!
10 Best Ways on How to Remove Scratches From a Wooden Table
1. Use a Walnut:
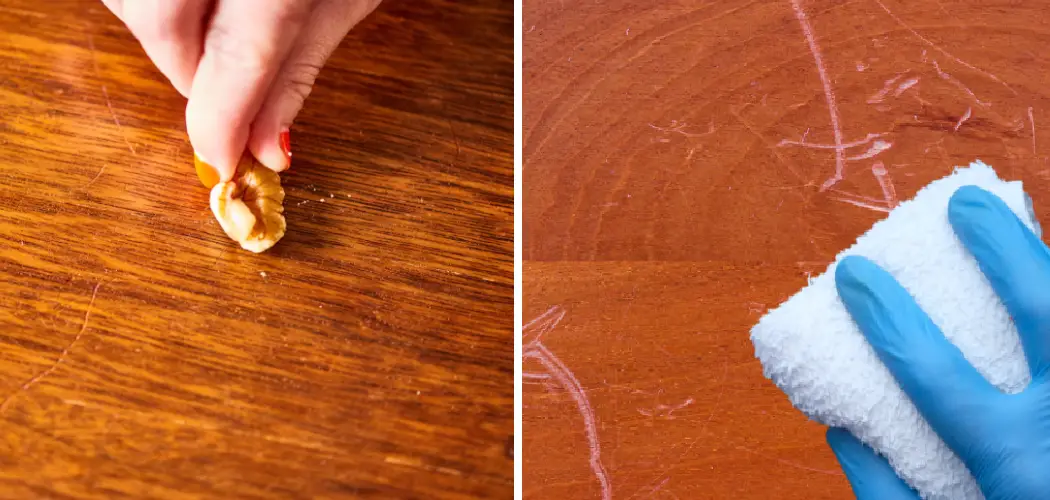
Believe it or not, walnuts can be used to remove scratches from wooden tables. Simply rub the meat of a walnut over the scratch until it is filled in. Then, use a clean cloth to buff the area and blend it with the surrounding wood. Using a walnut is a natural and eco-friendly way to remove scratches without using any harsh chemicals. This method works best for minor surface scratches.
2. Try Toothpaste:
Another surprising household item that can be used to remove scratches from wooden tables is toothpaste. Apply a small amount of non-gel, white toothpaste onto the scratch and gently rub it in with a soft cloth. Wipe away any excess toothpaste and then use a clean cloth to buff the area. The gentle abrasives in toothpaste can help to fill in scratches and remove surface blemishes.
3. Use Baking Soda and Water:
For deeper scratches, you may need something with a bit more power. A paste made of baking soda and water can be applied to the scratch using a soft cloth. Rub the paste into the scratch and then wipe away any excess. The baking soda will act as a mild abrasive to help remove the imperfection. Using a damp cloth, wipe the area clean and then dry it thoroughly.
4. Try a Vinegar and Olive Oil Mixture:
Create a natural, scratch-removing solution by mixing equal parts white vinegar and olive oil. Apply this mixture to the scratch using a soft cloth and gently rub in a circular motion. The vinegar helps to lift the scratch while the olive oil moisturizes and protects the wood. Wipe away any excess solution with a clean cloth and buff the area.
5. Use a Magic Eraser:
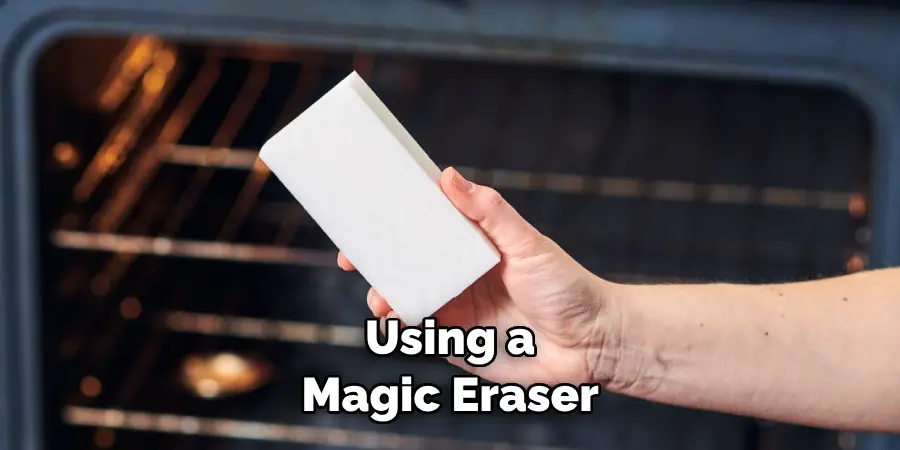
For tougher scratches, you can try using a magic eraser. Wet the eraser and gently rub it over the scratch until it is filled in. Be sure to test this method on a small, inconspicuous area first to make sure it does not cause any damage to the finish. Once the scratch is removed, use a clean cloth to buff the area and restore shine.
6. Sand It Down:
If you have deeper scratches or gouges on your wooden table, sanding may be the best option. Start by sanding with fine-grit sandpaper and then gradually move to coarser grits until the scratch is removed. Once done, use a clean cloth to wipe away any dust or debris and apply a new coat of finish if needed.
7. Use Wood Filler:
For very deep scratches or holes in the wood, you can use a wood filler to fill in the imperfection. Follow the instructions on the product and then sand it down once dry. This method may require multiple applications for larger scratches, but it will leave your table looking like new. Using a wood filler also allows you to match the color of your table’s finish.
8. Try a Wood Repair Kit:
If you have multiple scratches or imperfections on your wooden table, a wood repair kit may be the way to go. These kits come with everything you need to fill in and repair scratches, chips, and other surface damage. Be sure to follow the instructions carefully for best results. This method may be more time-consuming, but it will leave your table looking like new.
9. Use a Steam Iron:

For shallow scratches or surface imperfections, you can try using the heat from a steam iron to remove them. Place a damp cloth over the scratch and then use the steam function on your iron to heat up the area. The heat will help to raise the wood fibers, making shallow scratches less noticeable. Be sure to move the cloth frequently and avoid applying too much heat in one spot.
10. Seek Professional Help:
If none of these DIY methods work for your wooden table, it may be time to seek professional help. A furniture repair specialist will have the expertise and tools needed to remove any scratches or imperfections without damaging the wood or finish. They can also provide tips on how to prevent future scratches and maintain your table’s appearance.
Following these tips, you can easily remove scratches from your wooden table and restore its beauty. Remember to always test any method on a small area first and use caution when sanding or using chemicals.
With proper care and maintenance, your wooden table will remain a beautiful piece of furniture for years to come. So don’t let scratches get in the way – try these methods and keep your wooden table looking its best! Happy cleaning!
Additional Tips and Tricks to Remove Scratches From a Wooden Table
- Use a mixture of equal parts lemon juice and olive oil to create a natural polish for your wooden table. After the scratches have been removed, apply this mixture to bring back the shine of your table.
- If you don’t have lemon juice or olive oil on hand, you can use mayonnaise as an alternative. Apply a small amount of mayo to the scratches and let it sit for a few minutes before wiping it off with a damp cloth.
- Another household item that can help remove scratches is toothpaste. Simply apply a small amount to the scratches, rub gently with a soft cloth, and then wipe clean.
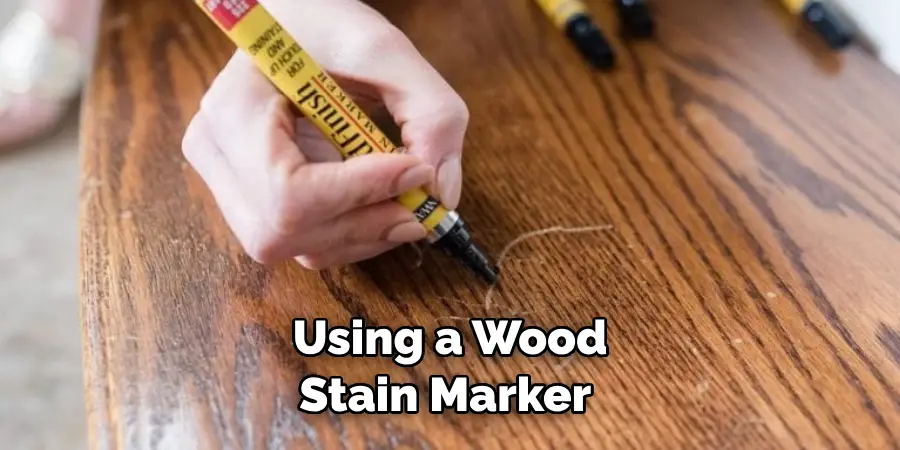
- For deeper scratches, try using a wood stain marker or wax crayon in the same shade as your table to fill in the scratch. Once dry, use a soft cloth to buff the area and blend it with the rest of the table.
- Prevention is key when it comes to keeping your wooden table scratch-free. Use coasters or placemats under hot dishes and glasses to avoid heat damage, and place a protective cover on top of your table when doing activities that could potentially cause scratches.
- Regularly dusting and cleaning your table with a soft cloth can also help prevent scratches. Avoid using harsh chemicals or abrasive materials when cleaning, as they can damage the surface of your table.
- If you have pets that tend to scratch at furniture, try using a pet repellent spray on your wooden table to discourage them from causing any damage.
- Lastly, if none of these methods work, consider hiring a professional furniture restorer to help remove the scratches from your wooden table. They have specialized knowledge and techniques that can effectively restore the surface of your table.
By following these additional tips and tricks, you can keep your wooden table looking beautiful and scratch-free for years to come. Remember to always be gentle when dealing with scratches on wood, and use natural, gentle methods whenever possible to avoid causing further damage.
With proper care and maintenance, your wooden table can continue to be a centerpiece in your home for many more years. So don’t give up hope if scratches appear on your beloved table – with a little effort and know-how, you can bring it back to its former glory. Happy polishing!
Precautions Need to Follow for Removing Scratches From a Wooden Table
- Make sure to clean the table surface before attempting any scratch-removal techniques.
- Test any cleaning or polishing product in a small, inconspicuous area first to ensure it does not cause further damage.
- Use soft, lint-free cloths when applying products to avoid leaving behind scratches from the cloth itself.
- Always follow the manufacturer’s instructions when using any type of wood care product.
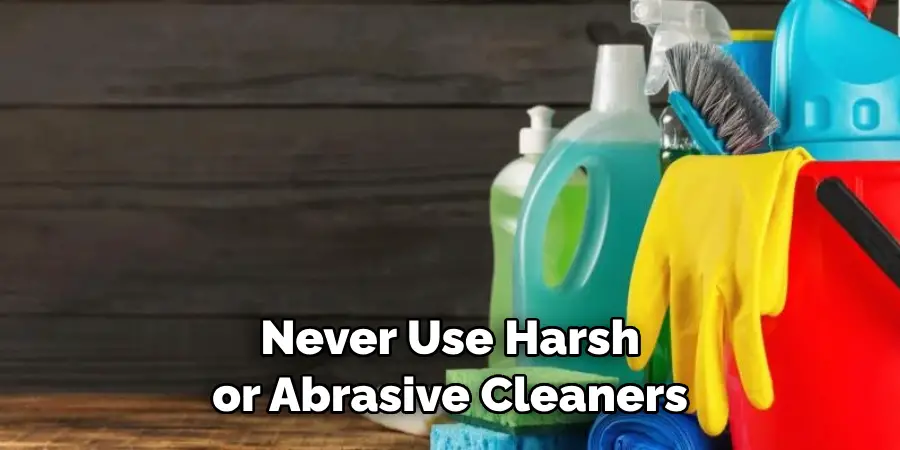
- Never use harsh or abrasive cleaners on a wooden table as they can strip away the finish and cause more damage.
- Avoid using colored cloths or sponges as they may transfer color onto the wood surface.
- Do not apply too much pressure when removing scratches as this can also cause additional damage to the wood.
- Work in small sections at a time and buff the area in a circular motion to evenly distribute any cleaning or polishing product.
Following these precautions can help prevent further damage to your wooden table while attempting to remove scratches. It is also important to note that not all scratches can be completely removed. Some may still be visible, but with the right techniques and products, you can minimize their appearance.
Things You Should Consider to Remove Scratches From a Wooden Table
1. Type of Wood:
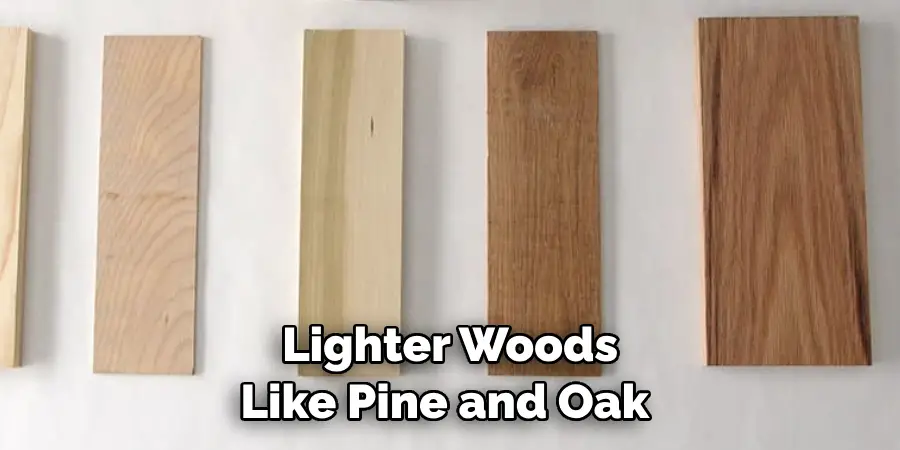
The type of wood used to make your table will determine the kind of treatment you need to use. Lighter woods like pine and oak are easier to treat compared to harder woods such as mahogany and cherry. Hardwoods tend to have a higher density, making it more challenging for scratches to be removed. So, if you have a hardwood table, you may want to consider seeking professional help.
2. Depth of Scratches:
The depth of scratches on your wooden table will determine the treatment method you need to use. Superficial scratches that only damage the top layer of the finish can be easily fixed with simple DIY methods. However, deeper scratches that penetrate through the wood require more time and effort to repair.
4. Clean and Prepare the Surface:
It is essential to thoroughly clean and prepare the surface before starting any treatment on your wooden table. Use a soft cloth to wipe away any dust, dirt, or debris from the surface. If there are sticky residues, use a mild cleaner to remove them.
5. Sanding Technique:
For superficial scratches, gently sand the affected area with fine-grit sandpaper in the direction of the wood grain. This will smooth out the surface and remove any rough edges created by the scratches. Once done, wipe away any dust with a damp cloth and let it dry completely.
6. Using Wood Filler:
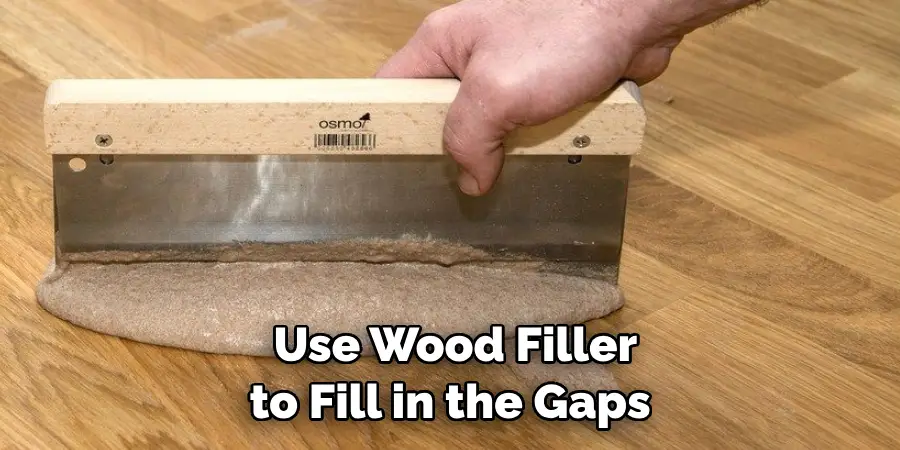
For deeper scratches, you may need to use wood filler to fill in the gaps. Choose a filler that is close in color to your wooden table to ensure a seamless finish. Apply the filler according to the manufacturer’s instructions and let it dry completely. Once dry, use fine-grit sandpaper to smooth out the surface.
Following these considerations and tips will help you effectively remove scratches from your wooden table. Remember to always test any treatment method on a small, inconspicuous area first before applying it to the entire surface. If you are unsure or uncomfortable with the process, it is best to seek professional help to avoid causing further damage to your table. With proper care, your wooden table can be restored to its beautiful and scratch-free state.
Conclusion
Ultimately, removing scratches from a wooden table may seem intimidating and like a complicated task. But, with the right knowledge of materials and helpful techniques, you can restore your wooden table to its original condition and give it a beautiful sheen.
Removing scratches is possible if you arm yourself with the right information and understand how to use the tools required for the job. Have faith in yourself and don’t be afraid to try new things; you might even have fun while polishing your prized furniture!
Remember that using appropriate cleaning products along with some patience will do wonders for restoring your favorite pieces of wooden furniture. Now that you know how to remove scratches from a wooden table, go ahead and give it a try! You’ll be pleased with the results when you see how good your table looks after some TLC.

