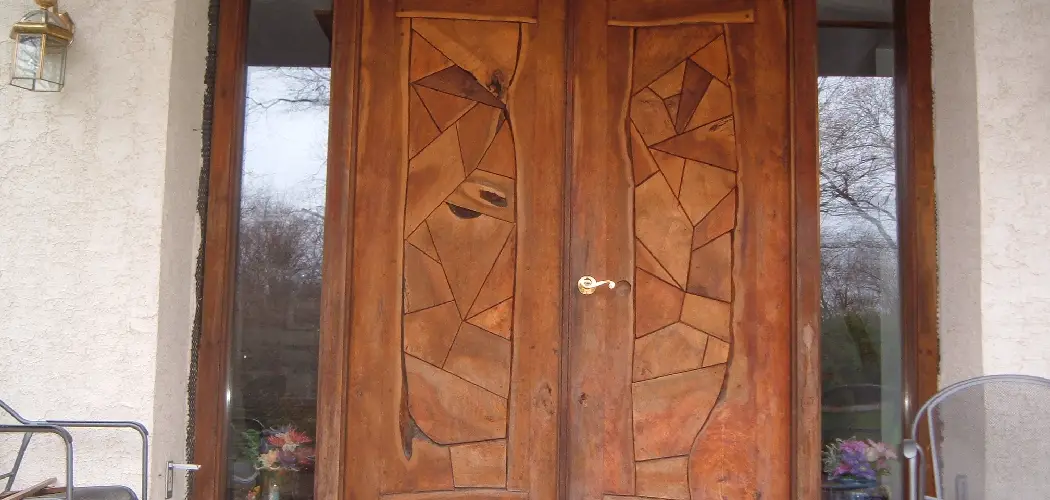
Are you looking to spruce up your exterior door? If so, refinishing the wood can be a great way to reinvigorate the look of any entranceway. Refinishing your exterior door may seem daunting at first, but tackling this project on your own is easy with the right knowledge and tools.
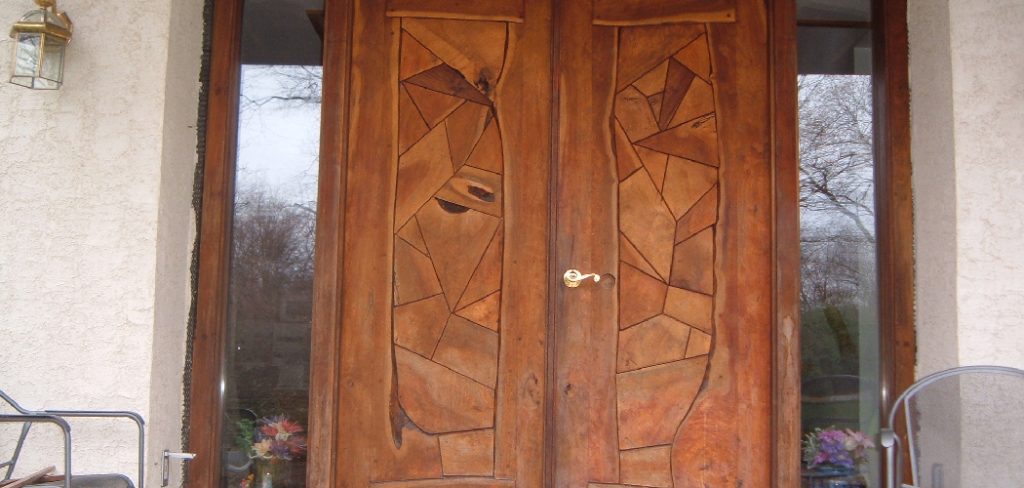
When you follow the right steps, bringing new life to your home’s exterior wood door can be simple. Still, trying to figure out where to start? We’ve got everything you need to know about refinishing an exterior wood door, so no matter what condition it may be in now, you’ll have a beautiful covering that will protect your entryway for years.
In this article, we will walk you through a step-by-step guide on how to refinish an exterior wood door. By following these steps, you’ll achieve a professional finish lasting many years!
What Will You Need?
Before you get started, it’s important to have the proper supplies and tools on hand. Here is a list of what you will need:
- Sandpaper
- Steel wool
- A putty knife
- Paint stripper or chemical remover
- Primer
- Exterior paint
- Paintbrush or roller
- Paint tray
- Drop cloths
Once you have all the necessary supplies, you’re ready to begin!
10 Easy Steps on How to Refinish an Exterior Wood Door
Step 1: Prep the Area
Before removing the existing finish, it’s important to ensure that the area is prepped properly. Start by clearing the area around your door of any debris or furniture and place drop cloths on the ground beneath your workspace. This will help catch any falling paint chips or drips and make clean-up easier.
Step 2: Remove Old Paint and Finish with a Putty Knife
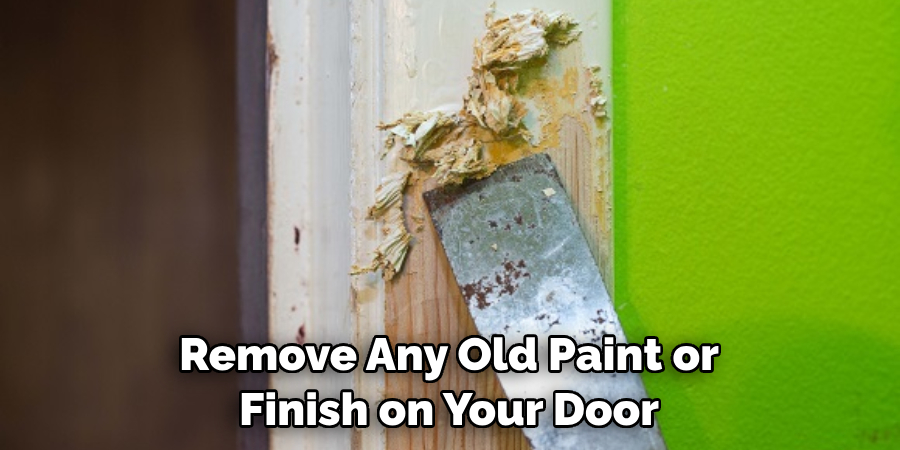
Once the area is prepped, it’s time to remove any old paint or finish on your door. Using a putty knife, carefully scrape away any existing paint or sealant from your door’s surface. If scraping isn’t effective, you may need to use a chemical remover or paint stripper for tougher spots.
Step 3: Sand Away Rough Edges
Once all of the old paint has been removed, it’s time to sand down the rough edges left behind. Using sandpaper, gently sand away any excess material left from scraping off the existing finish until your door is completely smooth. It will also help to use steel wool for a more thorough finish.
Step 4: Clean the Door
Once the rough edges have been sanded down, it’s time to clean your exterior wood door. Using steel wool and a mild detergent, thoroughly scrub the entire surface of your door until it is free from dirt and grime. Once you are finished washing your door with water, allow it to dry completely before moving on to the next step.
Step 5: Apply Primer
Now that your door is prepped for painting, it’s time to apply primer. Start by pouring a small amount of primer into a paint tray and use a brush or roller to spread it evenly over the wood door’s surface. Allow the primer to dry completely before moving on.
Step 6: Paint the Door
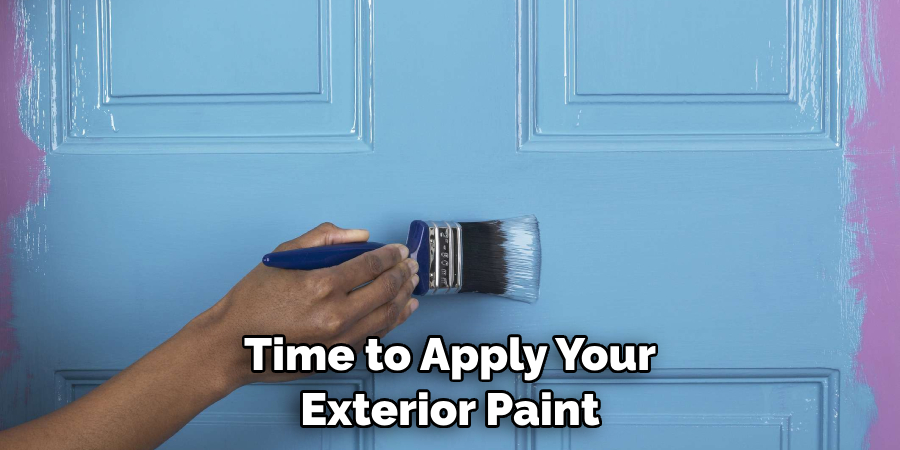
Once the primer has dried, it’s time to apply your exterior paint. Start by pouring a small amount of paint into a paint tray and use a brush or roller to spread it evenly over your wood door’s surface. Allow the first coat of paint to dry completely before adding another layer if needed.
Step 7: Apply Sealant
After painting your exterior wood door, it’s time to protect it with sealant. Using a brush or roller, apply an even layer of sealant over the top of your painted door to protect it from weathering and wear and tear. Allow the sealant to dry completely before using the door.
Step 8: Re-Install Door Hardware
Now that your exterior wood door has been refinished, it’s time to re-install your door hardware. Make sure to take extra care when putting back the lock and handle, as they are essential for keeping your door secure. Assemble the door, making sure to align all of the pieces properly.
Step 9: Test Out Your Refinished Door
Once you have finished re-installing all of your hardware, it’s time to test out your brand new exterior wood door! Place a hand on either side of the newly refinished entranceway and give it a gentle push or pull to make sure everything is secure and working properly. If everything is in good condition, it’s time to enjoy your new look!
Step 10: Enjoy Your New Look!
Once you’ve tested your newly refinished exterior wood door, it’s time to step back and admire your hard work. With the right tools and knowledge, you can bring new life to any entranceway – so enjoy the fruits of your labor and revel in the beauty of your refreshed door! Proper maintenance and upkeep can keep your door looking great for years.
Refinishing an exterior wood door can be daunting if you don’t know what you’re doing, but with these ten easy steps, you can achieve a beautiful finish that will last for many years. So grab those supplies, roll up those sleeves, and prepare to spruce up your entryway with this DIY project!
5 Additional Tips and Tricks
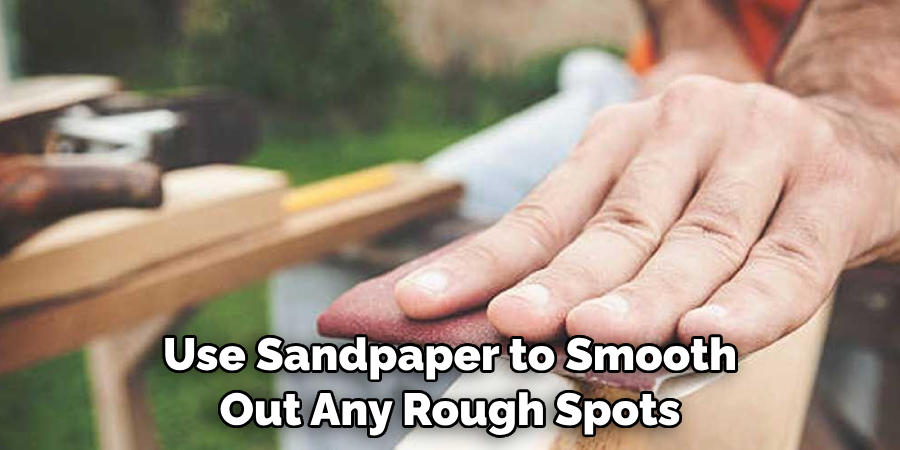
- Use sandpaper to smooth out any rough spots on the door carefully. Pay special attention to any areas that have been damaged, as these will need extra attention.
- Start with heavy grit sandpaper and then move to medium grit before finishing with fine-grit sandpaper to get a smooth surface.
- Use a vacuum or tack cloth to remove dust and debris from the door after sanding.
- Apply primer or wood sealer before painting, which will help protect the door against moisture and other environmental elements.
- Use paint designed specifically for outdoor use to withstand the elements better than regular interior paint would. Be sure to apply several coats of paint to achieve an even finish on your door.
Following these tips and tricks will ensure your exterior wood door looks great after refinishing. Take your time and be thorough with each step to achieve the best possible results.
5 Things You Should Avoid
- Don’t use a power sander for your exterior wood door, as it can cause damage to the wood.
- Avoid using interior paint on an outdoor surface, as its durability is not designed for outdoor elements.
- Never skip priming or applying sealer before painting, as this will reduce the longevity of the finish.
- Avoid using too many bristles, which may leave behind streaks and lines in your paint job.
- Don’t apply too much pressure when sanding or painting, as this can damage the wood over time.
By following these tips and avoiding these mistakes while refinishing an exterior wood door, you can ensure that the process goes smoothly and that your finished result looks great.
What is the Best Treatment for External Wooden Doors?
The best treatment for external wooden doors combines sealing, painting, and staining. Sealing the door with a waterproof sealant can help protect it from rain damage and provide an attractive finish.
Painting the door with outdoor paint will add further protection against environmental elements and give it some style. Finally, applying a stain to the door can enhance its natural wood grain and provide some extra color or texture to the door’s finish.

With all these steps combined, you can have a beautiful exterior wooden door that looks great and lasts for years.
What is the Best Stain for Exterior Wood Doors?
The best stain for exterior wood doors is a semi-transparent or transparent oil-based stain. Oil-based stains are more durable than water-based ones and provide better UV protection, helping protect the door from damage caused by prolonged exposure to sun and rain. The semi-transparent or transparent finish also allows some natural wood grain to show through, giving it an attractive look.
Be sure to apply multiple coats of stain to achieve the desired color and depth.
Additionally, you should test different finishes on a scrap piece of wood before applying it directly to your door. This will help ensure you get the right look for your home’s exterior design.
Overall, with the right preparation and application of stain, you can have an exterior wood door that looks great and easily stands up to the elements.
Is It Better to Oil or Varnish Wood Doors?
The best option for finishing a wood door depends on what type of look you’re going for and the level of protection you need. Oiling the door will provide some moisture protection, but varnishing is a better choice if you want more durable protection. Varnish also provides a tougher finish that will help keep your door looking great for longer periods.
If you do choose to oil the door, be sure to apply several coats to achieve full coverage and protection. Additionally, it’s important to use a quality oil specifically designed for outdoor use to stand up against harsh weather conditions better than regular interior oils would.
No matter which option you choose, applying several coats of the finish is essential to get the best results. With a little time and effort, you can have a beautiful exterior wood door that looks great and stands up to the elements.
Conclusion
Finishing your exterior wood door is a great way to increase its longevity and make it look better. You don’t need to hire somebody to come in and get the job done – you can do it yourself with minimal tools and materials. Remember, thoroughly clean the surface and use painter’s tape to cover any areas you don’t want paint on before beginning the project. Once painted, avoid exposing the door too frequently to harsh weather, which will detract from long-term quality.
With a little bit of elbow grease and flexibility with different methods of approach, you can add many years onto the life of your door – both for aesthetics and performance!
Hopefully, this guide on how to refinish an exterior wood door provided insight into how you can refinish an exterior wood door on your own. Good luck and happy painting!

