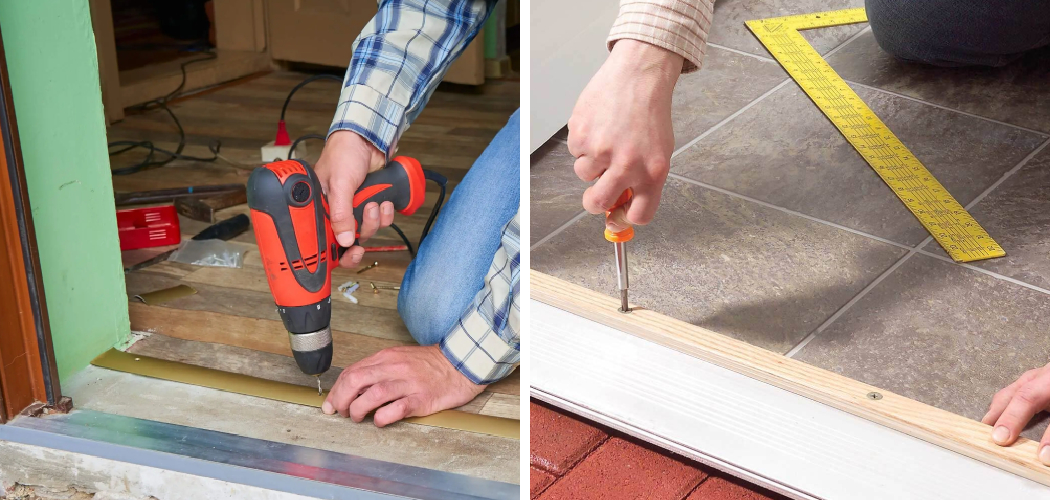
Keeping the exterior door threshold sealed properly is essential to prevent moisture, dirt, or other debris from entering your home. The seal around a door threshold helps keep out insects and pests and keep energy costs down by creating an airtight barrier against outside temperatures. Additionally, sealing your exterior door thresholds can help prolong the door’s life.
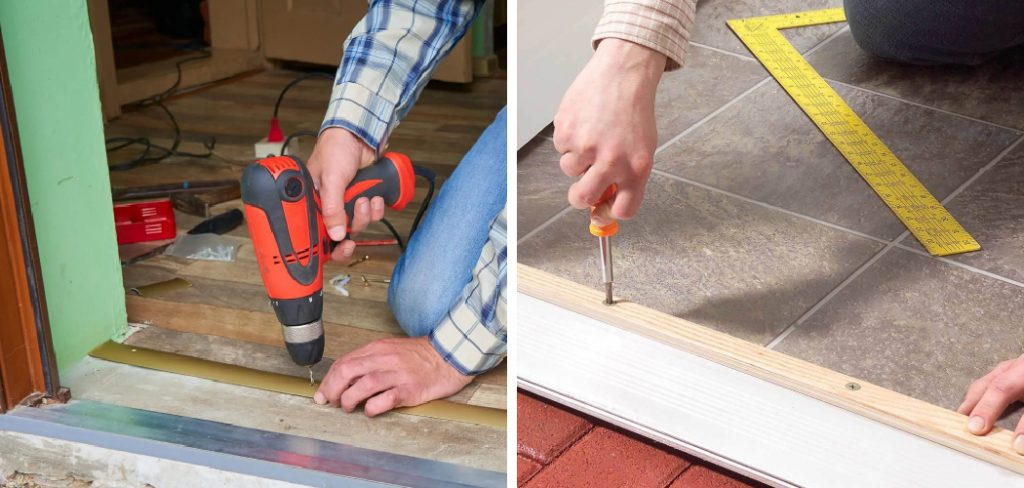
Sealing a door threshold provides many benefits, including preventing air and water infiltration, reducing energy costs, and improving the overall look of your home. It is also much easier to clean when the threshold is sealed. Sealing an exterior door threshold helps to maintain a comfortable temperature inside your home while preventing outside elements from entering. In this blog post, You will learn in detail how to seal exterior door threshold.
Materials You Will Need
- Exterior door threshold
- Caulking gun
- Tub and tile silicone caulk (clear)
- Utility knife
- Masking tape
- Putty knife or another tool to assist in removing old caulking
- Vacuum cleaner or broom and dustpan for debris removal
- Metal putty knife for scraping away old caulking
- Heavy-duty scraper for scraping away stubborn old caulk
- Sandpaper for smoothing surfaces
Step-by-Step Processes for How to Seal Exterior Door Threshold
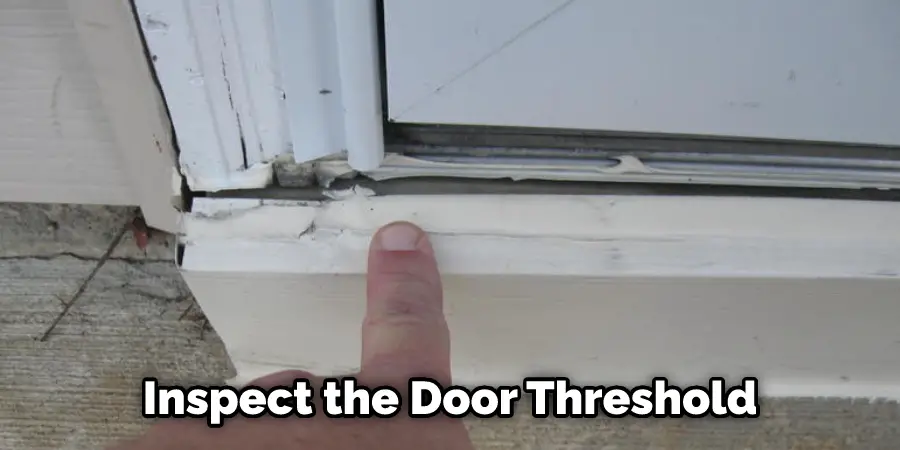
Step 1: Inspect the Door Threshold
Inspect the door threshold and determine whether it needs to be replaced or repaired. This will depend on the condition of the threshold, as well as any gaps and cracks. If you need to replace the existing threshold, remove it by unscrewing it from its anchor points. Make sure to also uninstall any weatherstripping, insulation, and caulk before proceeding.
Step 2: Clean the Threshold
Clean the door threshold with a soft cloth and an all-purpose cleaner. Ensure that any dirt, dust or debris is removed before proceeding. Once you finish cleaning, let the threshold dry completely. Install new weatherstripping and insulation around the threshold to help keep moisture and drafts out. Cut both of these materials to fit the size of your door frame and attach them in place with screws or nails.
Step 3: Seal Around the Door Threshold
Apply a bead of caulk around the edges of the door threshold. Make sure that you also fill in any gaps or cracks to ensure a tight seal. Let the caulk dry completely before moving on to the next step. If you replaced the existing threshold, now is the time to install the new one. Ensure that it fits snugly into place and is secure with screws or nails.
Step 4: Apply Polyurethane Adhesive
Apply a bead of polyurethane adhesive around the sides of the threshold. This will help to secure the threshold further and fill any gaps between it and the door frame. Let the adhesive dry completely before proceeding. Install new weatherstripping along the sides of the threshold. This will help to keep moisture and drafts out and ensure a tight seal.
Step 5: Caulk Around Weatherstripping
Apply a bead of caulk around the edges of the weatherstripping. Make sure that you also fill in any gaps or cracks to ensure a tight seal. Let the caulk dry completely before moving on to the next step. Install a door sweep along the bottom of the threshold. This will help keep moisture further and drafts out while adding an extra layer of insulation.
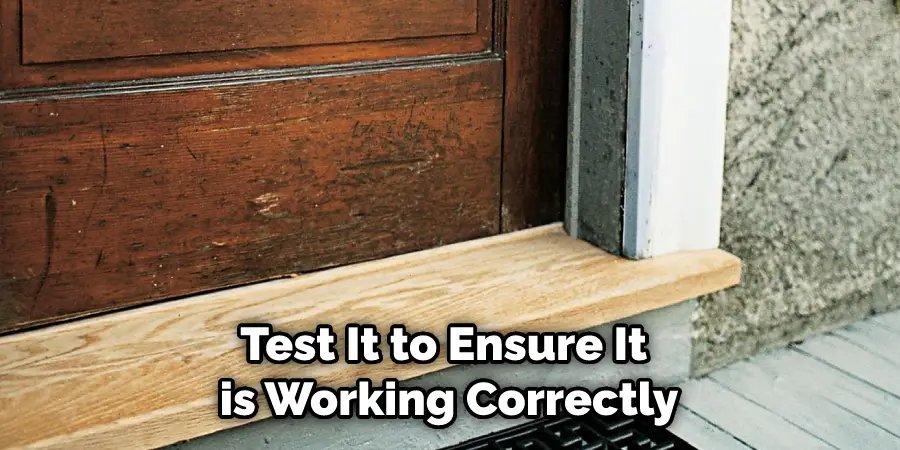
Step 6: Test the Threshold
Once you have finished installing and sealing the threshold, test it to ensure it is working correctly. Open and close the door a few times to ensure that there are no drafts or leaks of air coming in. If all goes well, you should now have a properly sealed exterior door threshold.
This process will help keep your home warm, comfortable, and energy efficient. It is also an important part of maintaining your home’s overall safety and security. By regularly inspecting and sealing your door threshold, you can ensure that it remains in good condition for many years to come.
Tips for How to Seal Exterior Door Threshold
- Wear safety gloves and safety glasses when performing any maintenance on a door threshold. This protects your hands and eyes from harm in case of splinters or sharp edges.
- Make sure the area around the door threshold is clear of any obstructions before beginning work. Any debris can create a tripping hazard or could potentially cover up small cracks and crevices that can lead to water seeping in.
- Use a putty knife to remove any old sealant, paint, or adhesive from the exterior door threshold. This will help create a clean surface for your new sealant.
- Apply the sealant in a steady, smooth motion and ensure no gaps or holes in the seal. It is important that the entire perimeter of the door threshold is sealed properly to ensure water does not seep through.
- Allow ample time for the sealant to cure before painting over it or exposing it to rain or snow. The drying time can vary depending on the type of sealant used, so double-check the package instructions before proceeding.
- Inspect the exterior door threshold periodically for any signs of wear or cracks in the sealant. If you notice any damage, reapply the sealant to ensure its integrity is not compromised.
By keeping these tips in mind, you can protect your home from water leaks and maintain a safe environment. Small maintenance tasks, such as sealing an exterior door threshold, can help keep your home in good condition and prevent costly repairs.
How Can You Maintain a Sealed Exterior Door Threshold?
- Inspect the threshold regularly for any signs of wear or damage such as cracking, chipping, or gaps in the seal.
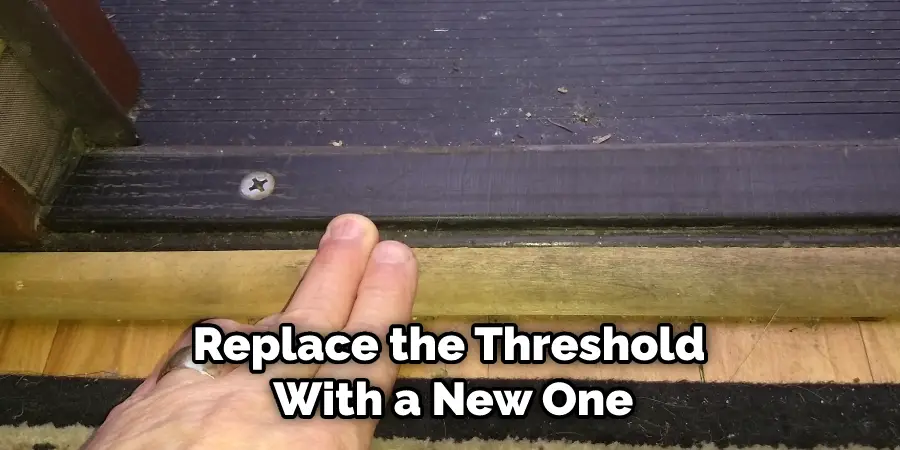
- If you find any signs of damage, replace the threshold with a new one that is designed for your door type and size.
- Apply a bead of clear caulk along all sides of the threshold where it meets the door frame.
- Smooth out the caulk with your finger and make sure there are no gaps in the seal.
- Allow the caulk to dry for 24 hours before opening or closing your door.
- To ensure that your newly sealed exterior door threshold remains sealed, apply a thin coat of paint to the threshold. This will help protect the caulk from external elements like rain and sun.
- If you live in an area that experiences extreme weather conditions, it is recommended that you inspect your door every year to ensure it remains well-sealed.
Following these steps ensures that your exterior door threshold remains sealed and protected for many years. This will help to keep the weather out of your home and prevent energy loss due to drafts.
How Can You Clean Up an Exterior Door Threshold After Sealing It?
- Allow the sealant to cure for several hours before cleaning up the area. This can be done by waiting 24-48 hours or as directed on the sealant label.
- Use a razor blade scraper to remove any excess caulk from around the edges of the threshold and door frame. Be sure to angle the blade away from the threshold so that you don’t damage it.
- Remove any bits of caulk residue with a damp cloth and mineral spirits.
- Vacuum up any dust and debris left behind after scraping and wiping down the area.
- Once everything is clean, add a finish to protect the sealant, such as paint or a clear finish.
Your threshold should be sealed and protected to withstand extreme weather conditions for years to come. Following these steps will help ensure that your exterior door threshold is sealed correctly and remains looks great.
How Can You Prevent Water From Getting Into Your House Through an Unsealed Exterior Door Threshold?
One of the most common sources of water infiltration into your home is through an unsealed exterior door threshold. If you want to keep water out, it is important to seal the area around your external thresholds properly. Here are a few tips on how to do so:
- Start by inspecting the exterior door threshold and ensuring it is in good condition. Look for any signs of cracks, holes, or damage to the threshold. If you find any of these issues, repair them immediately before attempting to seal the door.
- Next, apply high-quality silicone caulk around the edges of the exterior door threshold and make sure that it’s pressed firmly into any gaps or crevices. Silicone caulk is a flexible sealant that adheres well to door frames, and it creates an airtight barrier against water infiltration.
- If you have a wood threshold, use a brush or roller to apply a coat of paintable acrylic latex caulking around the perimeter of the threshold. Paintable acrylic latex caulk is a great option for wood thresholds because it’s flexible, easy to apply, and available in various colors.
- Finally, if your exterior door has weather stripping, inspect it to ensure that it isn’t cracked or worn away. If necessary, replace the weather stripping with new material to create an extra layer of protection against water infiltration.

By following the tips above, you can help ensure that your exterior door threshold is properly sealed and protected from water damage. This will help keep your home safe and secure while also preventing costly repairs down the road.
Conclusion
In conclusion, sealing an exterior door threshold is a simple and necessary step to protect your home from water, wind, and pests. Sealing the gap between the door and the threshold will create a watertight barrier that keeps moisture out of your home and prevents air or insect infiltration.
You can ensure your home is secure from water damage by properly preparing the surface area with a wire brush, applying the appropriate sealant, and caulking along the sides and bottom of the threshold. With a little attention to detail, you can have peace of mind knowing that your exterior door threshold is properly sealed and protected. I hope this article has been beneficial for learning how to seal exterior door threshold. Make Sure the precautionary measures are followed chronologically.

