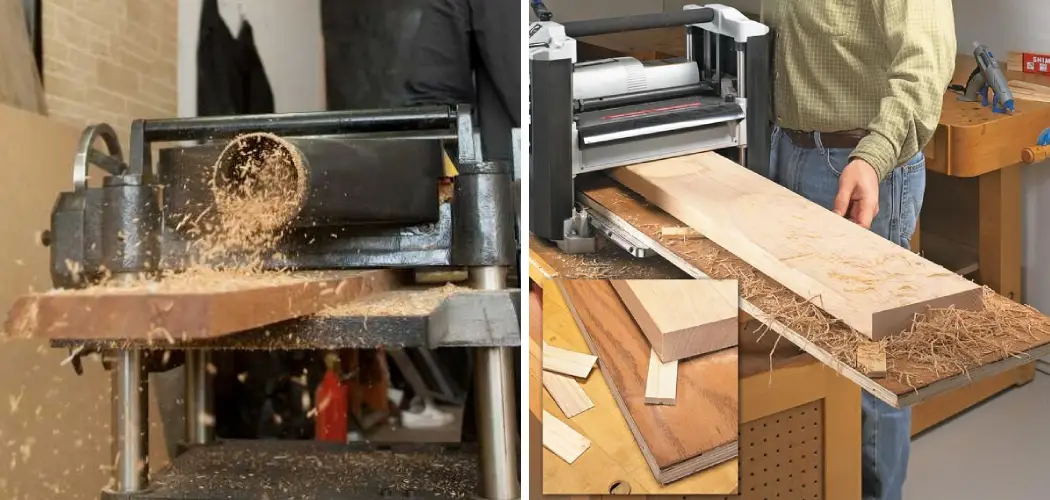
Reducing the thickness of a wood board is a popular project for those who want to create something special while working with their hands. In this guide, we will outline how to reduce board thickness from start to finish. Following these instructions and using the right tools will make the process easy and straightforward for anyone interested in trying it.
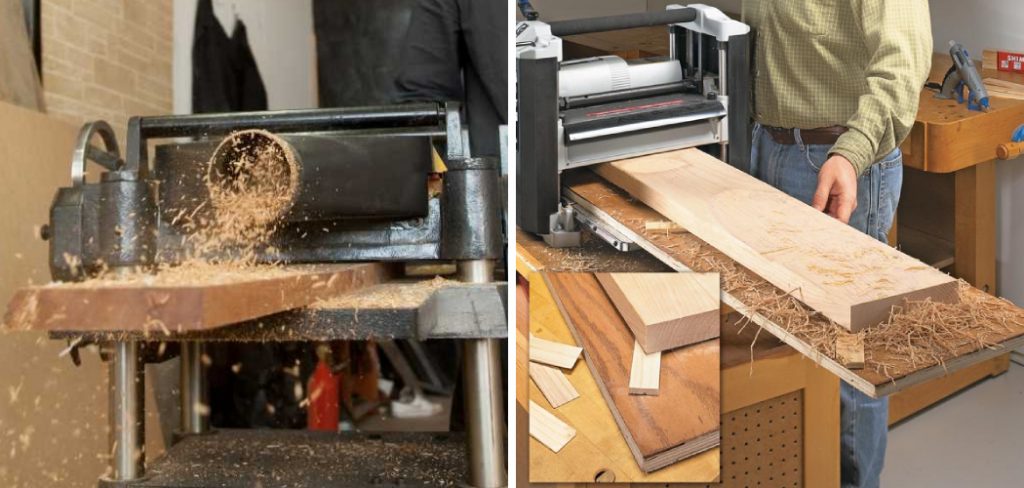
So, read on if you are looking to reduce the thickness of a board for a specific project or are simply curious about how it’s done!
What Is Board Thickness?
If you’re working with wood, you need to know about wood board thickness. The thickness of a wood board is measured in inches, which refers to solid wood’s thickness. This is different from the nominal thickness, which may include the thickness of any veneer or laminate on top of the solid wood.
When you’re buying lumber, you need to be aware of both the nominal and actual thickness so that you can choose the best board for your project. In general, thicker boards are stronger and more durable but are also more expensive.
Thinner boards are more affordable, but they’re not as strong and may not be suitable for certain projects. Ultimately, it’s up to you to decide what thickness is best for your needs.
Why Might You Need to Reduce Board Thickness?
Board thickness is an important consideration in many woodworking projects. In some cases, you may need to reduce the thickness of a board to make it fit into a smaller space. For example, if you’re building a bookshelf and want the shelves to be flush with the sides of the unit, you’ll need to use thin boards to fit inside the spaces between the vertical supports.
In other cases, you may need to reduce board thickness to save money on materials. If you’re working with a particularly hard or expensive species of wood, for example, thinning the boards may help to stretch your material budget. Reducing board thickness is a straightforward process that can be accomplished with a few simple tools.
Needed Materials:
To reduce board thickness, you will need the following materials:
- A Wood Board of Your Desired Starting Thickness
- Measuring Tape or Ruler
- Pencil or Marker
- Saw (Hand Saw, Circular Saw, or Table Saw)
- Sandpaper or Electric Sander
- Clamps (Optional)
How to Reduce Board Thickness In 8 Easy Ways
There are a few ways to reduce the thickness of a wood board. The most common is to use a planer. A hand plane can also be used, but it takes more time and effort. If you don’t have either of these tools, you can sand the board down to the desired thickness.
Here are some tips on how to do it:
1. Use a Hand Plane
If you don’t have a planer, you can use a hand plane to reduce the thickness of your boards. This is a more traditional way of doing it, and it will take some practice to get the hang of it. Start by setting the plane’s blade to take a very thin shaving. Then, hold the plane at a 45-degree angle to the board and start pushing it along the length of the board.
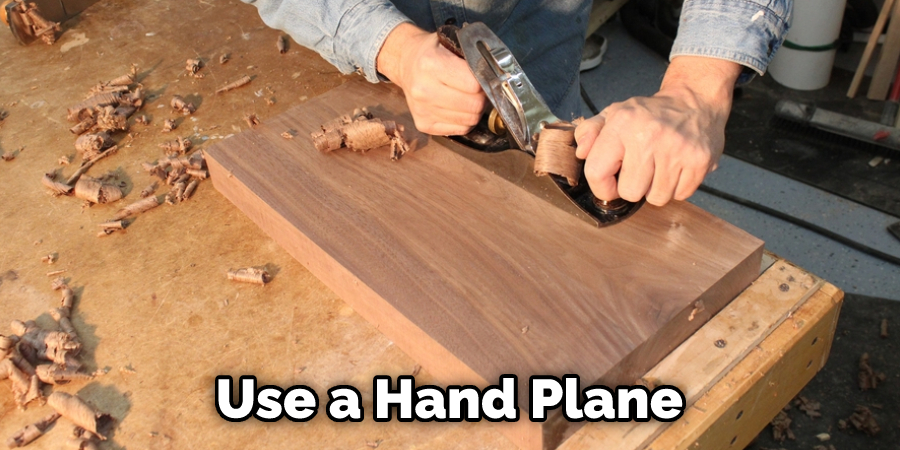
Apply even pressure as you go, and try to keep the plane’s blade from digging too deeply into the wood. As you get more practice, you’ll be able to take thicker shavings and reduce the thickness of your boards more quickly.
2. Use a Power Planer
If you want to quickly reduce the thickness of your board, using a power planer is the way to go. Just be sure to wear ear and eye protection, as the process can be quite loud and create a lot of wood chips.
Start by setting the depth of cut on your planer and then slowly feed the board through, making sure to apply even pressure. Remember, take your time and go slowly at first to avoid removing too much material.
3. Use a Sander
If you have a sander, you can use it to reduce the thickness of your board. Start by setting the sander to a low speed and sanding the entire surface of the board. Then, increase the speed of the sander and sand the board again. Repeat this process until you’ve reached the desired thickness.
This method is more time-consuming, but it can be a good option for those who don’t have access to other tools. The key is to be patient and take your time to avoid over-sanding.
4. Use a Saw
If you have a saw, you can use it to reduce the thickness of your board. First, mark the thickness that you want to remove from the board. Second, set the saw to the correct depth. Third, make sure the saw is lined up with your mark. Fourth, cut along the marked line.
Finally, sand down the edges of the board to smooth it out. You can also use a jigsaw or circular saw to make the cut, depending on your preference. It’s important to use a sharp blade and go slowly to ensure an even cut.
5. Use a Router
If you have a router, you can use it to remove material from your board and reduce the thickness. First, set the router to make a shallow cut. Then, slowly move the router along the surface of the board, taking care not to remove too much material at once. If you do remove too much material, you can always sand it down to the desired thickness.
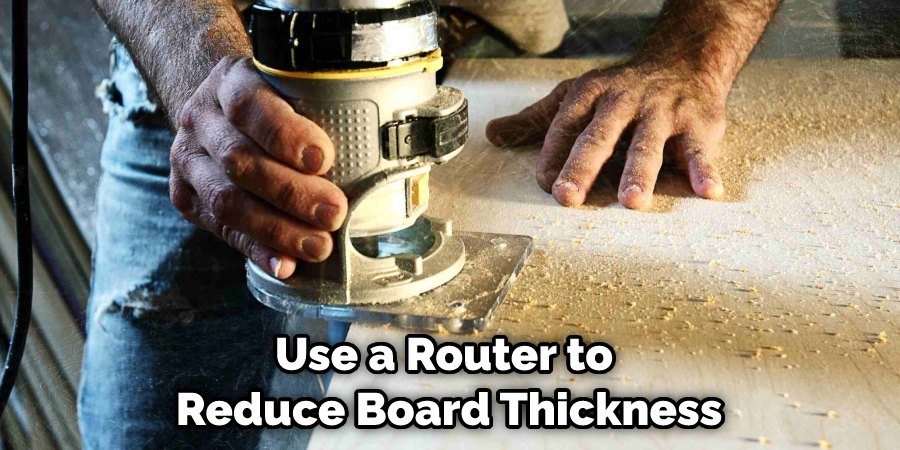
The router is a great tool for creating precise and consistent cuts. If you plan on using a router frequently, invest in a high-quality router and ensure that the bit is sharp for best results.
6. Use a Planing Jig
If you have multiple boards that need to be thinned, using a planning jig can save you time and effort. A planing jig is a simple device that holds the board in place while you use a hand plane or power planer to remove material from the surface. It’s a great tool for beginners or those who need to thin multiple boards at once.
If you don’t have a planning jig, you can easily make one with some scrap wood and screws. It’s a great addition to any woodworking toolkit. Although it may take some time to set up, a planning jig can save you time and effort in the long run.
7. Use Handheld Power Tools
Another option for reducing board thickness is to use handheld power tools such as a rotary tool or an oscillating sander. These tools allow for more precision and control than traditional hand tools, making them a popular choice among woodworkers. However, they may be more expensive and require some practice to use effectively.
You may also need additional sanding to achieve a smooth finish. But overall, using handheld power tools can be a quick and efficient way to thin boards.
8. Combine Methods
In some cases, you may need to use a combination of methods to achieve the desired thickness for your board. For example, you may need to use a saw to remove large chunks of material and then finish with a sander for more precise adjustments. The key is to experiment and find the best method for your specific project.
That’s it! You’ve now learned how to reduce board thickness. Just remember to take your time and go slowly at first. With a little practice, you’ll be able to quickly and easily reduce the thickness of your boards.
How to Reduce Board Thickness with A Chop Saw
A chop saw is a powerful tool often used to cut lumber or other materials into smaller pieces. While a chop saw can be a very handy tool, it can also be dangerous if not used properly. One way to reduce the risk of injury when using a chop saw is to reduce the thickness of the cut material.
This can be done by setting the blade of the chop saw to a lower depth or by using a thinner blade. Additionally, it is important to ensure that the piece of lumber is firmly secured before beginning to cut. By following these simple safety measures, you can help to reduce the risk of injury when using a chop saw.
How to Trim a Board’s Thickness
The first step is to set the fence on your table saw perpendicular to the blade. Then, cut a test strip off of the end of your board. This will help you determine the tallest your blade can be without cutting into the top or bottom of your board.
Once the fence is set, measure the thickness of your test strip and adjust the blade accordingly. Finally, cut your board to size, keeping an eye on the fence to ensure it doesn’t move. By following these simple steps, you’ll be able to trim your boards easily.
Disadvantages of Reducing Board Thickness
Boards used in construction are typically made out of lumber cut into smaller pieces. One of the most common ways to reduce the thickness of lumber is by using a planer. However, a few disadvantages to reducing wood board thickness should be considered before deciding to do so.
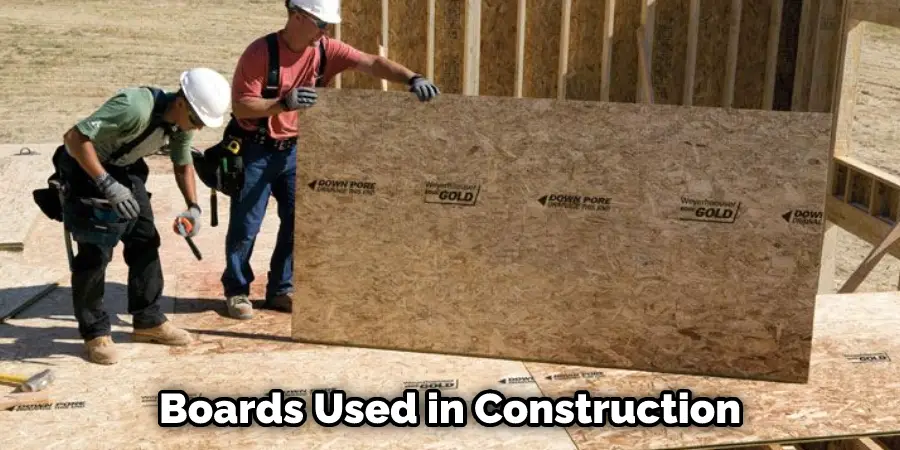
One disadvantage is that it can weaken the boards. This is because the grain of the wood is not running in the same direction as it would be if the board was left thicker. As a result, the boards are more likely to break or splinter when they are subject to stress.
Another disadvantage is that it can increase the amount of waste generated. For example, when boards are planned down, a significant amount of sawdust and shavings are produced. This waste must either be disposed of or recycled, which can add to the cost of the project.
Finally, reducing wood board thickness can also make it more difficult to work with. Thinner boards are more delicate and can be challenging to nail or screw into place without damaging them. For these reasons, it is important to weigh the pros and cons of reducing wood board thickness before making a decision.
Which Materials Are Best Suited for Reducing Board Thickness?
In order to reduce board thickness, the three most popular materials used are graphite, Kevlar, and carbon fiber. However, out of those three, Kevlar is the best suited for reducing board thickness. The main reason is that Kevlar is five times stronger than steel. It also has a very high melting point, making it ideal for high-temperature applications.
Lastly, it doesn’t conduct electricity, which makes it perfect for electrical insulation. These properties make Kevlar the best-suited material for reducing board thickness. However, all three materials have their benefits that should be considered when choosing the right one for your application.
What Are the Benefits of Reducing Board Thickness?
Reducing wood board thickness can have several benefits. First, it can save money. Thinner boards require less lumber and, therefore, cost less. Second, thinner boards are easier to work with. They can be cut more easily and are less likely to split or crack when nailed or screwed. Third, thinner boards are lighter, making them easier to carry and manipulate.
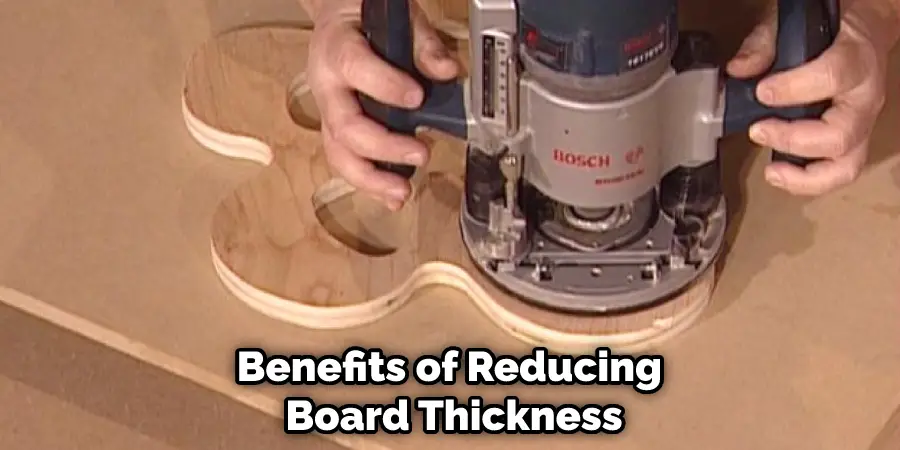
Fourth, thinner boards take up less space, making them ideal for smaller projects or for use in tight spaces. Finally, thinner boards can be more aesthetically pleasing than thicker boards, lending a sleek and modern look to any project. Whatever the reason, reducing wood board thickness can offer several advantages.
Additional Tips:
- Always Wear Protective Gear When Using Power Tools, Such as Safety Glasses and Earplugs.
- Take Breaks Frequently to Avoid Fatigue and Maintain Concentration.
- Use a Push Stick or Another Tool to Keep Your Hands Safe While Pushing the Board Through the Saw.
- Keep Your Work Area Clean and Free of Debris to Prevent Accidents.
- Consult With a Professional if You Are Unsure About Using a Particular Tool or Technique. Safety Should Always Be Your Top Priority.
- Remember to Measure Twice and Cut Once to Avoid Any Mistakes.
- It’s Okay to Take Your Time and Work Slowly When Reducing Board Thickness, Especially if You’re New to Using Power Tools. Practice Makes Perfect! as You Gain More Experience, You May Find That You Can Work Faster Without Sacrificing Safety.
- Make Sure Your Chop Saw is Properly Maintained and in Good Working Condition Before Use.
- Consider Using a Feather Board to Help Keep the Board Firmly Against the Fence While Cutting. This Can Help Prevent Kickback and Ensure an Accurate Cut.
- When Sanding Down Material, Start With a Coarse Grit Sandpaper and Work Your Way Up to a Finer Grit for a Smooth Finish.
- Always Unplug the Chop Saw When Not in Use and Store It Safely Out of Reach of Children.
By following these tips, you can ensure a safer and more efficient experience when using a chop saw to reduce board thickness. Remember to always prioritize safety and take your time when working with power tools. Happy cutting!
You Can Check It Out To Make Bean Bag Boards Slippery
Frequently Asked Questions:
Q: Can I Use a Hand Plane to Reduce Board Thickness?
A: Yes, you can use a hand plane to reduce board thickness. However, it may require more skill and physical effort compared to using power tools such as planers or sanders. The key is to take your time and make small, controlled cuts to achieve the desired thickness.
Q: How Much Should I Reduce the Thickness?
A: The amount you should reduce the thickness by depends on your specific project and needs. It is important to plan ahead and determine the desired thickness before making any cuts. Remember to always measure twice and cut once to avoid removing too much material.
Q: Are There Any Special Precautions I Should Take When Using Power Tools?
A: Yes, there are several precautions you should take when using power tools to reduce board thickness. Always read the manufacturer’s instructions and operate the tool according to their guidelines. Wear appropriate safety gear, such as goggles and gloves, and never remove guards from the tool. Additionally, it is important to always unplug or turn off any power tools before making adjustments or changing blades.
Q: Can I Reduce the Thickness of Other Materials Besides Wood?
A: Yes, you can also reduce the thickness of other materials such as plastic or metal, using specialized tools or techniques. However, it is important to research and follow proper safety measures when working with these materials, as they may require different methods and precautions compared to wood. Always consult with a professional if you are unsure about how to properly reduce the thickness of a specific material.
Conclusion
We hope that this blog post has helped you understand the different ways to reduce board thickness. If you have any questions or would like more information, please don’t hesitate to contact us. Thanks for reading our post about how to reduce board thickness.
You Can Check It Out To Dispose of Wood Fence

