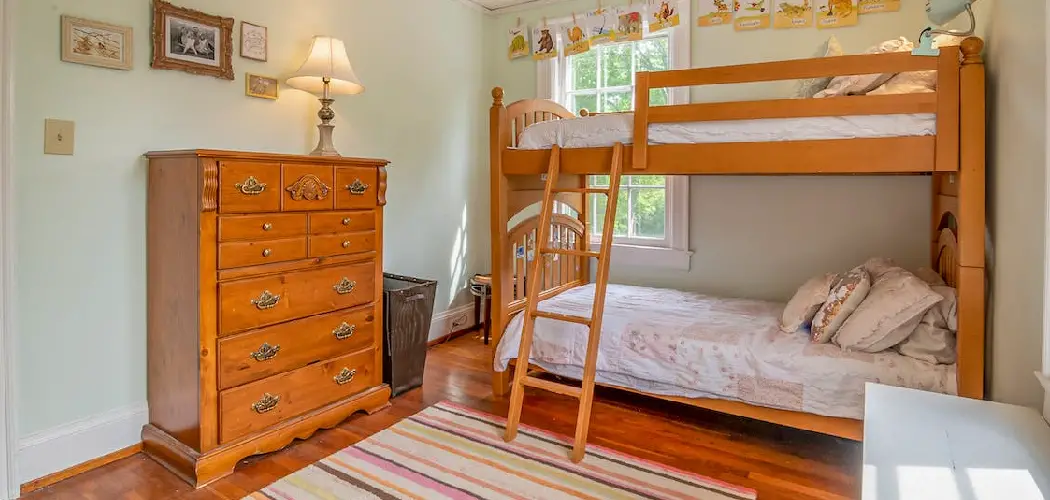
Are you looking for a way to maximize the space in your children’s bedrooms? Bunk beds offer the perfect solution. Not only are bunk beds aesthetically pleasing, but they also provide extra space for siblings or sleepovers. Plus, with some helpful instructions and a few supplies, they’re not as daunting of a project as you may have initially thought!
In this blog post, we’ll teach you exactly how to put together wooden bunk beds so that your loved ones can bask in newfound levels of comfort and convenience.
Needed Supplies
- Wooden Bunk Bed Kit
- Screwdriver
- Drill
- Screws and Nails
- Sandpaper
- Paint or Stain (optional)
- Mattresses (twin size)
12 Step-by-step Guidelines on How to Put Together Wooden Bunk Beds
Step 1: Prepare the Area
Before you start assembling your bunk beds, make sure you have enough space to work with. Move any furniture or obstacles out of the way and lay down a protective covering to prevent scratches or damage to your floor. You may also want to enlist the help of a friend or family member to make things easier and quicker.
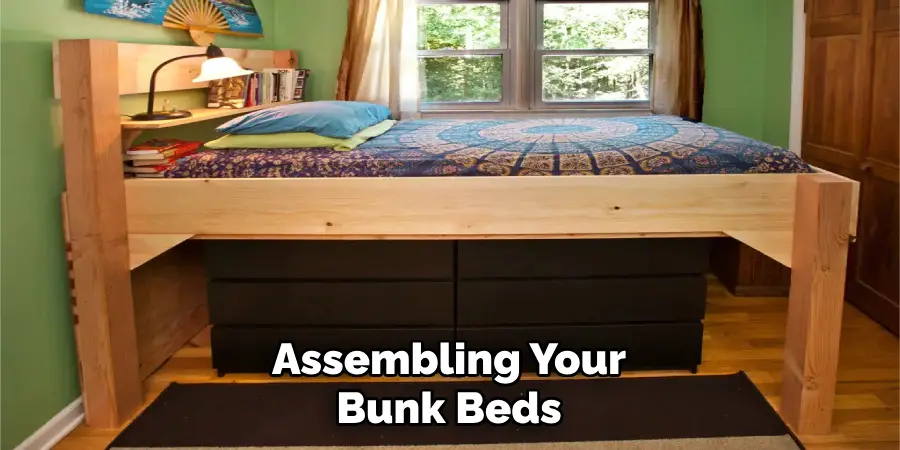
Step 2: Unpack the Kit
Unpack all of the pieces from your bunk bed kit. Make sure you have all the necessary components before beginning assembly. It’s always a good idea to double-check the instructions and make note of any missing pieces. This will save you time and frustration later on. If you do notice any missing items, be sure to contact the manufacturer for replacements.
Step 3: Sort and Identify the Pieces
After unpacking, sort out all the pieces according to their size and function. This will help you keep track of everything and make it easier to assemble your bunk bed later on. Use the instruction manual as a guide to identify each piece. It’s also important to check for any defects or damages at this point. If you notice any, contact the manufacturer before proceeding.
Step 4: Prepare the Headboards and Footboards
Take out the headboards and footboards, and place them side by side on the ground. Use a sandpaper to smooth out any rough edges or imperfections in the wood. This will ensure a more polished finished product. You can also stain or paint the headboards and footboards before assembling them, but this step is completely optional.
Step 5: Attach Side Rails
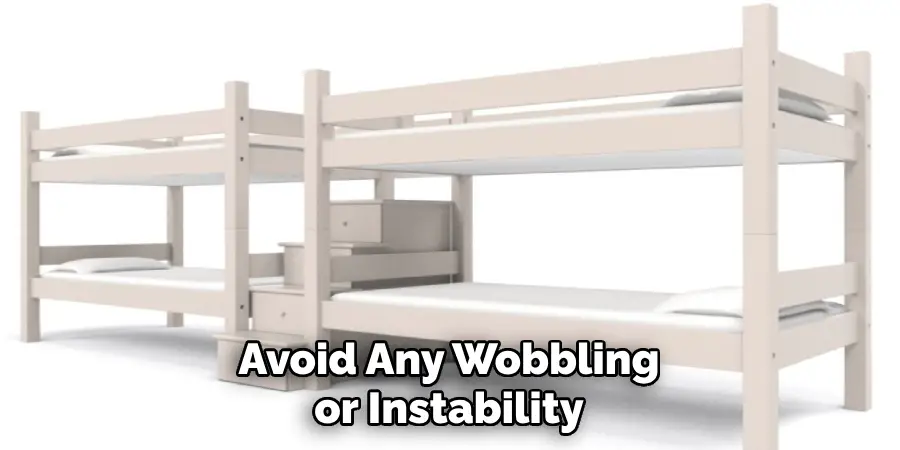
Take the side rails and attach them to the headboards and footboards using screws. Make sure they are securely fastened to avoid any wobbling or instability in your bunk bed. It’s a good idea to have someone hold the pieces in place while you screw them together for easier assembly. However, if you’re working alone, you can also use clamps to hold the pieces together temporarily.
Step 6: Install Slats
Next, install the slats by placing them horizontally across the frame. Use screws or nails to secure them in place. Make sure they are evenly spaced and properly secured for safety reasons. Otherwise, they may slip or come loose over time. It’s also important to check that all the slats are the same length and have no defects. You can trim them if necessary or contact the manufacturer for replacements.
Step 7: Attach Ladder
If your bunk bed includes a ladder, attach it to the frame according to the instructions. It may require screws or bolts to secure it in place. You can also opt for a detachable ladder if you prefer. It’s important to ensure the ladder is properly attached and sturdy enough to support weight, especially for younger children. But don’t worry, most bunk bed kits come with ladders that are specifically designed for safety and durability.
Step 8: Add Guard Rails
Guard rails are essential for the top bunk to prevent anyone from falling off while sleeping. Attach them to the sides of the bed frame using screws or bolts. Make sure they are high enough and securely fastened. You can also add guard rails to the bottom bunk if you prefer extra security. If your kit does not include guard rails, you can purchase them separately and attach them according to your personal preference.
Step 9: Test Stability

Before moving on to the next step, it’s important to test the stability of your bunk bed. Give it a good shake and make sure there is no wobbling or movements that could indicate a problem. If you notice any instability, go back and double-check the screws and connections to ensure everything is properly tightened. But if everything checks out, you’re ready to move on to the next step.
Step 10: Place Mattresses
Once you’ve ensured the stability of your bunk bed, it’s time to place the mattresses. Make sure they fit snugly and there is no gap between the mattress and frame. You can also add a cushion or padding for extra comfort. It’s important to check that the top bunk has enough headroom for the person sleeping on it. It’s also a good idea to add a safety rail on the top bunk for added protection.
Step 11: Add Finishing Touches (optional)
Now that your bunk bed is fully assembled, you can add some finishing touches if desired. This could include painting or staining the wood, adding decorative pillows or bedding, or even installing a reading light. Get creative and make your bunk bed unique to your personal style. It’s also a great idea to involve your loved ones in this step and let them have a say in the design of their new bunk bed.
Step 12: Enjoy Your New Bunk Bed!
Congratulations! You have successfully put together your wooden bunk bed. It may have been a long process, but the end result is worth it. Enjoy your new bunk bed and make many wonderful memories with your loved ones in their newfound levels of comfort and convenience. Remember to always follow safety precautions when using bunk beds, especially for young children. And if you ever need to disassemble or move your bunk bed, simply reverse these steps to take it apart easily.
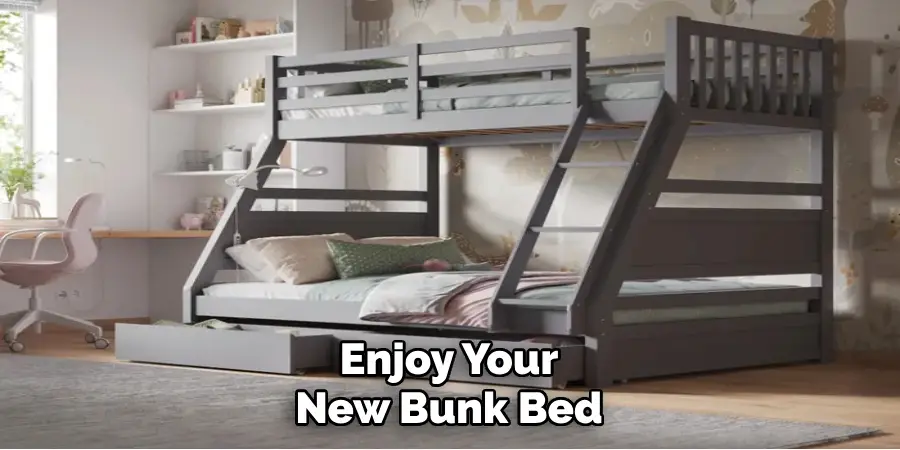
Following these steps on how to put together wooden bunk beds will ensure that your bunk bed is assembled safely and securely. It’s important to follow the instructions carefully and double-check all connections for proper stability.
A well-assembled bunk bed can provide years of comfort, convenience, and space-saving benefits. Remember to involve friends or family members in the process to make it more enjoyable and efficient. And don’t forget to add your personal touches for a unique and personalized bunk bed experience!
Things to Consider When Choosing a Bunk Bed
- The Size and Weight Limit of the Bunk Bed to Ensure It Can Safely Accommodate Your Needs.
- The Material and Construction of the Bunk Bed for Durability and Safety.
- The Space Available in the Room to Ensure Proper Placement and Use of the Bunk Bed.
- The Age and Size of Its Intended Users to Ensure It Can Comfortably Fit Them.
- Additional Features, Such as Storage or Trundle Beds, to Maximize Functionality.
- Personal Preferences and Style to Make Sure You Choose a Bunk Bed That Fits Your Aesthetic.
Bunk beds can be a great addition to any room, providing extra sleeping space while also saving valuable floor space.
By following these steps and considering all factors when choosing a bunk bed, you can ensure a safe, comfortable, and practical bunk bed experience for yourself or your loved ones. So go ahead and add a bunk bed to your furniture collection and enjoy all the benefits it has to offer! Happy assembling!
Frequently Asked Questions
Q1: Can I Assemble the Bunk Bed Alone or Do I Need Help?
A1: While it’s possible to assemble a bunk bed alone, it’s recommended to have at least one other person assist you for easier and safer assembly. It’s also more fun to have someone help you and share the experience together.
Q2: How Long Does It Take to Assemble a Bunk Bed?
A2: The time it takes to assemble a bunk bed can vary depending on the size of the bed, your level of experience with assembling furniture, and if you have any help. On average, it can take anywhere from 1-3 hours.
Q3: Do I Need Any Special Tools or Equipment?
A3: Most bunk bed kits come with all the necessary tools and equipment for assembly. However, you may need additional tools such as a screwdriver or hammer. It’s always helpful to read through the instruction manual beforehand to prepare for any required tools or equipment. So make sure to have them ready before you start assembling your bunk bed.
Q4: Is It Safe for Adults to Sleep on the Top Bunk?
A4: While most bunk beds are designed and tested for children, there are also bunk beds that can safely accommodate adults. However, it’s important to always follow weight restrictions and safety precautions when using a top bunk. Consult the manufacturer’s guidelines for more information on weight limits.
Conclusion
Taking the time to put together wooden bunk beds can be a tricky job, but it is incredibly rewarding when you complete the job! Not only do you have priceless memories of completing the project and learning new skills, but now you have comfortable and stylish wooden bunk beds in your home. You’ll be sure to get many years of peaceful sleep and joy from them.
And for those feeling overwhelmed by the prospect of putting together whatever type of bed for their home, don’t worry: there are plenty of professionals out there who can help make your dreams come true. So get cracking on assembling your wooden bunk bed–you won’t regret it! Thanks for reading this article on how to put together wooden bunk beds.

