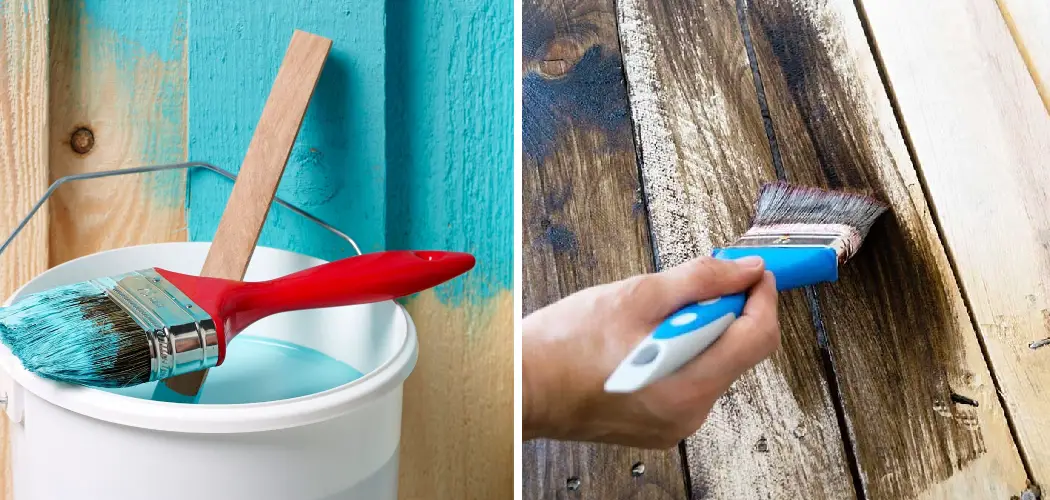
Painting-treated lumber is a great way to enhance the look of your outdoor deck, porch, railing, or other projects. It’s easy to do and will make your wood more weather-resistant and beautiful for years to come.
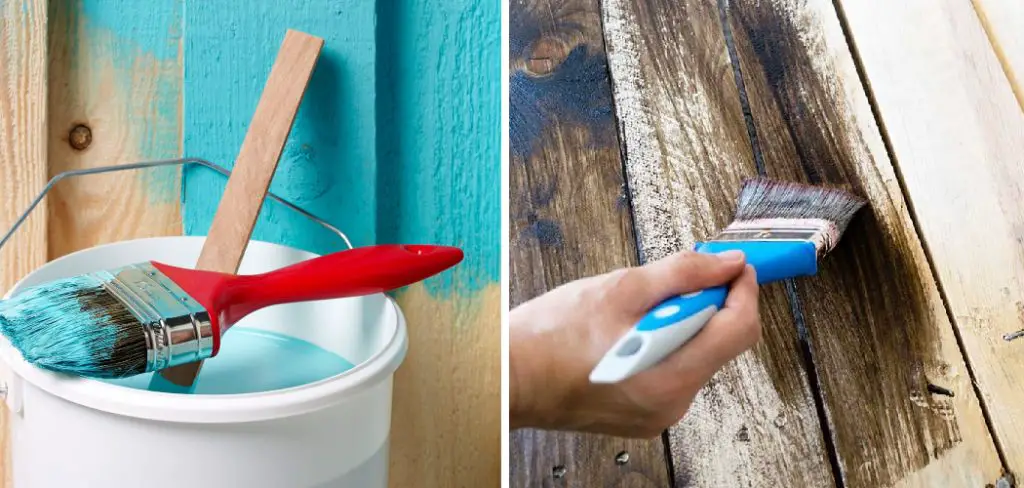
In this article, we’ll give you step-by-step instructions on how to paint treated lumber, including what supplies you need, proper preparation methods, and recommended products that are ideal for this type of project. We’ll also discuss some tips and tricks that can help ensure the best results so that you can confidently tackle any painting job involving treated wood!
Supplies You Will Need to Paint Treated Lumber
- Paintbrush
- Pressure washer
- Sandpaper or a sander
- Primer (Oil or Latex)
- Exterior paint in the color of your choice
- Drop cloths and plastic sheeting for protection
Step-by-Step Guidelines on How to Paint Treated Lumber
Step 1: Prepare the Lumber
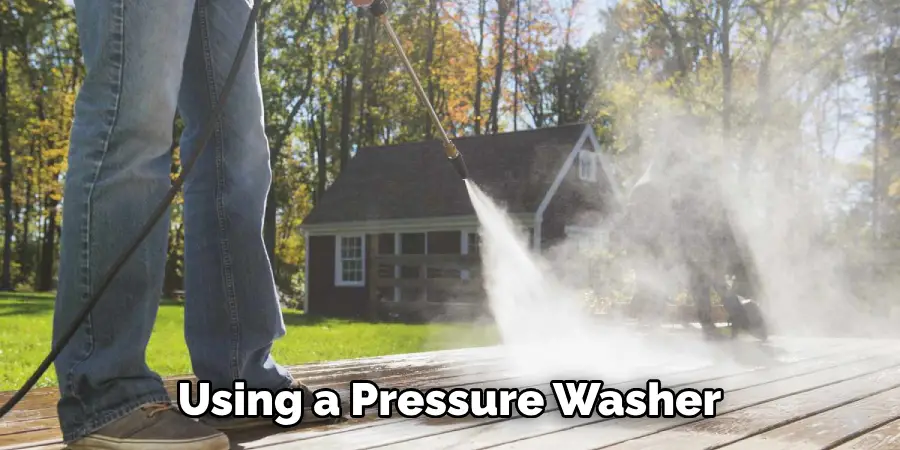
The first step in painting treated lumber is to thoroughly clean it. This can be done using a pressure washer, or by hand with a brush and some soap. Be sure to remove all dirt, debris, and any mold that may have accumulated on the wood. Preparing the surface properly will help ensure that the paint adheres to it.
Step 2: Sand and Prime the Lumber
Once the lumber has been cleaned, you’ll want to sand it with either an electric sander or sandpaper. This will smooth out any rough patches and help the primer adhere more securely. Once you’ve finished sanding, it’s time to apply the primer.
Depending on what type of wood you are using (pressure-treated or cedar), a different type of primer might be needed. Oil-based primers work best for pressure-treated lumber while latex primers are better suited for cedar.
Step 3: Choose Your Color
Now that your lumber has been prepared, it’s time to select the color of paint you’d like to use. Choose a color that is complementary to the surrounding environment and one that will last for several years in direct sunlight. The type of paint you need will depend on the environment. If your wood will be exposed to rain, choose an exterior grade of paint.
Step 4: Apply the Paint
Once you’ve chosen the perfect color, it’s time to start painting your treated lumber. Start at the top of the wood and work your way down, using a paintbrush or roller for larger surfaces. Be sure to use even strokes and be careful not to miss any corners. Once you have painted one side of the wood, let it dry completely before turning it over and painting the other side.
Step 5: Finishing Touches
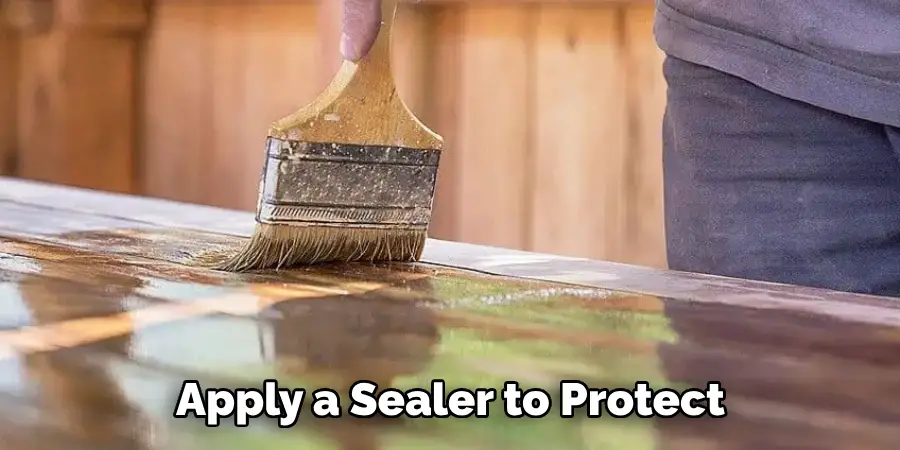
After your paint has dried, you can apply a sealer to protect it from the elements. This is an especially important step for pressure-treated lumber. If desired, you may also choose to add a second coat of paint for extra protection against UV rays and moisture. Finally, clean up any excess paint and debris and enjoy your newly painted treated lumber!
Painting-treated lumber is a great way to spruce up any outdoor space. With the right supplies, preparation methods, and paint products, you’ll be able to create a beautiful look that will last for years to come. Now that you know how to paint treated lumber, why not give it a try? You’ll be glad you did!
Additional Tips and Tricks to Paint Treated Lumber
- When you are painting treated lumber, it is important to use a quality brush or roller. A good outcome can be achieved with either method but for a more even application, it is best to use a brush.
- If the painting area has been exposed to direct sunlight, ensure that the wood surface is not too hot when you start the painting process as this could cause paint to dry too quickly and create a mottled effect.
- To prevent the paint from peeling or bubbling in the future, apply two coats of paint. This will give your treated lumber an even finish and more protection against wear and tear over time.
- It is recommended that you use a primer coat before applying the top coat of paint. Primer helps to reduce the chances of peeling, bubbling, or fading over time and allows for better adhesion of the final paint coat.
- If there are any cracks in the wood, fill them with wood filler before painting to provide a smooth finished surface. This will also help prevent moisture from entering into the treated lumber and causing further damage over time.
- Make sure you clean the surface of the treated lumber before painting it, to get rid of any dirt or grime that may be present. This will help ensure that your finished paint job looks good and lasts longer.
- After cleaning the wood, lightly sand it with fine-grained sandpaper to create a smooth finish for painting.
- If you are using oil-based paint, always use a paintbrush. This is because the brushes are designed to be able to handle the thicker consistency of oil-based paints.
- To minimize wastage and for an even finish, always stir your paint thoroughly before you start painting.
- Allow each coat of paint to dry completely before adding another layer in order to get the best results.
Following these tips and tricks will help you achieve a professional-looking finish when painting treated lumber and ensure that your project looks great for years to come. With the proper preparation, you can be confident in getting a quality finish on all your outdoor projects. Good luck!

Precautions Need to Follow for Painting Treated Lumber
- Wear protective gear such as gloves, goggles, and a mask whenever you are handling treated lumber.
- Allow the treated lumber to completely dry before painting it. This could take up to several days depending on the climate.
- Make sure that any surface dirt and debris is removed from the lumber prior to painting using a wire brush or sandpaper.
- Priming the treated lumber is essential for a successful paint job. Use a stain-blocking primer, such as an oil-based or latex-based primer, before applying your paint.
- Make sure that you are using only exterior paints when painting treated lumber, and use several thin coats rather than one thick coat to ensure better adhesion and coverage.
- Use a brush or roller to apply the paint, and make sure to keep a wet edge when painting.
- Allow the treated lumber to dry between coats according to the manufacturer’s instructions. This could take up to several hours depending on the climate.
- After you have finished painting your treated lumber, inspect it for drips, runs, or missed spots and touch up as needed.
Following these precautions will ensure that your painted-treated lumber looks great and lasts for years to come. With some simple steps and a little bit of patience, you can have a beautiful painted surface in no time!
Frequently Asked Questions
What Type of Primer Should I Use for Treated Lumber?
You should use a quality exterior primer on the treated lumber. Be sure to thoroughly sand the surface before application, and apply additional coats after the initial coat has dried. Since treated lumber is often damp when purchased, it’s important to take extra precautions and ensure that all surfaces are thoroughly dried before any primers or paints are applied.
What Type of Paint Should I Use for Treated Lumber?
You should use quality exterior paint on treated lumber. Be sure to choose one with a high-grade finish that will stand up to weather conditions. For best results, use two coats of paint and allow one coat to dry before applying the second.
How Should Treated Lumber Be Prepared Before Painting?
Before painting treated lumber, the surface should be thoroughly sanded and cleaned. Any dirt or debris on the surface can impact how well the paint adheres to the wood. Once the surface is clean, apply a quality exterior primer and allow it to dry before applying any paint.
What Else Should I Know About Painting Treated Lumber?
It’s important to note that treated lumber can shrink and expand due to temperature and moisture changes. You may need to touch up the paint on your treated lumber annually in order to maintain a clean, attractive look. Additionally, choose a quality exterior paint with ultraviolet protection for best results. This will help minimize fading from exposure to the sun.
Can I Paint Treated Lumber With a Roller?
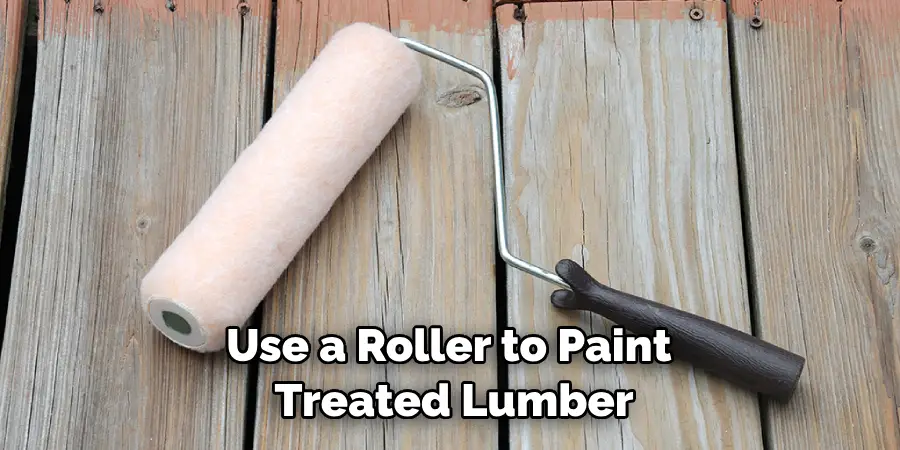
Yes, you can use a roller to paint treated lumber, but it is best to brush out any bubbles or lines that may form when using the roller. For best results, use quality paint and primer, as well as two coats of paint to ensure a thorough, even finish. Additionally, you should allow each coat to dry before applying the next.
Conclusion
All in all, knowing how to paint treated lumber correctly can be a great way to add a touch of charm and style to any outdoor space or structure. Treat the lumber with care, use quality materials, and pay attention to details such as sanding and priming for best results. By following these simple instructions you’ll be sure to have an attractive finish that will last for years to come.

