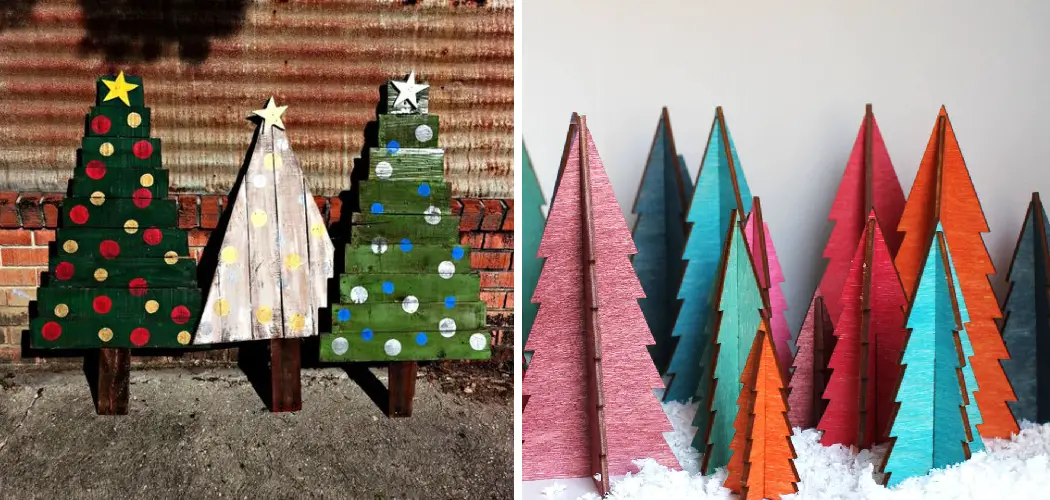
Are you looking for a creative and unique way to decorate your home or office this Christmas? If so, why not try painting your own wooden Christmas tree?
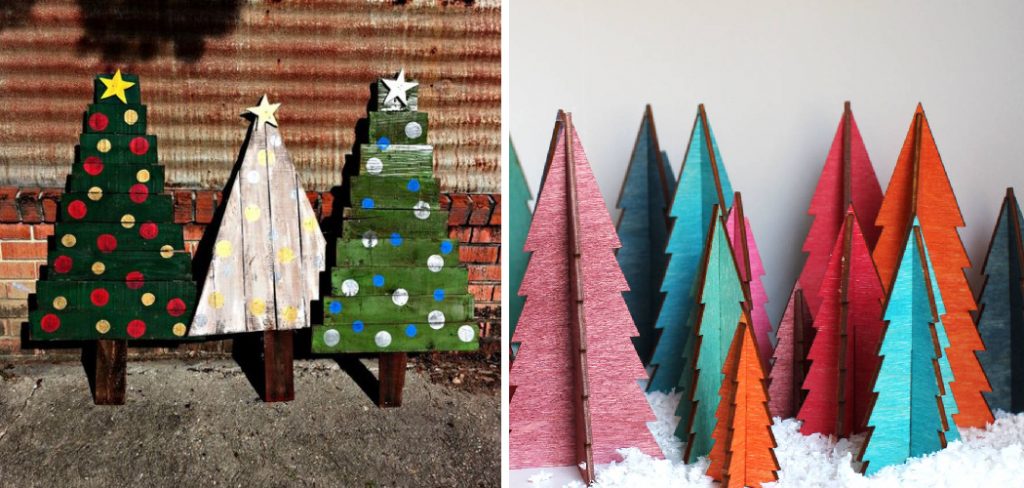
This DIY project is easy enough to do with the help of a few basic supplies and tools, is cost-effective, and will add festive cheer to any space. This is also an excellent family activity that kids can join in on; imagine all those beautiful memories created as you create something special together.
Whether you decide to make a one-of-a-kind wooden tree using a unique painting technique or simply replicate the traditional Christmas colors of red and green – your wooden Christmas tree masterpiece will surely be both charming and captivating!
Ready to find out more about how to paint a wooden christmas tree? Then keep reading!
What Will You Need?
First, you’ll need a wooden Christmas tree. If you don’t already have one, you can easily purchase them online or find them in any well-stocked craft store.
Regarding painting supplies, some options include acrylic paints, spray paint (for fast and even coverage), stencils to create intricate patterns, or helpful guides such as pre-painted templates.
You’ll also need a few other materials, such as brushes, sandpaper, sealant, or varnish to protect your painted tree from the elements (especially if it will be outdoors), and maybe some glitter for extra sparkle and shine!
10 Easy Steps on How to Paint a Wooden Christmas Tree
Step 1. Prep Your Wooden Christmas Tree:
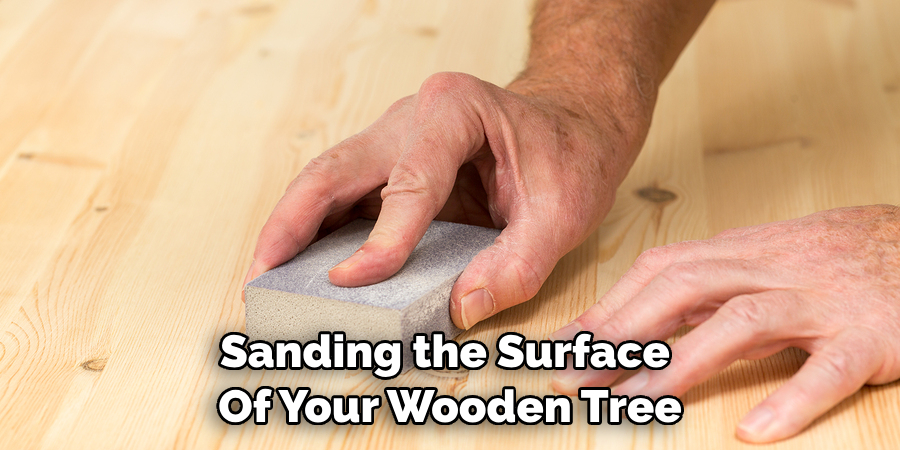
Start by sanding the surface of your wooden tree with some coarse-grit sandpaper to remove any bumps or blemishes. Then, wipe away any dust using a damp cloth. Try to remove as much dust as possible, as this will help ensure that the paint adheres properly.
Step 2. Choose Your Color Scheme:
Once you’ve prepped your tree, decide on the colors and design you want to use. Do a little research if needed; there are so many different color schemes (traditional red and green, pink and silver, icy blues, etc.) that you can pick from! If you’re feeling extra creative, try mixing different colors and designs together for a more unique look.
Step 3. Prepare Your Paints:
Once you’ve chosen the colors you want to use, prepare your paints accordingly. Mix them with either water or a medium (like an acrylic retarder) if necessary. Also, make sure that your paints are ready for use; if they’re too thick, add some water or a medium to thin them out.
Step 4. Begin Painting:
Now it’s time to start painting! Start at the top of the tree and work your way down in sections. If you’re using stencils, ensure you evenly cover all the edges as you’re tracing. Try to be as precise and detailed as possible when applying the paint.
Step 5. Let Dry:
Let each coat of paint dry before applying a new one. This could take anywhere from 30 minutes to 2 hours, depending on the paint type and medium you used. Once dry, move onto the next step!
Step 6. Apply Sealing or Varnishing:
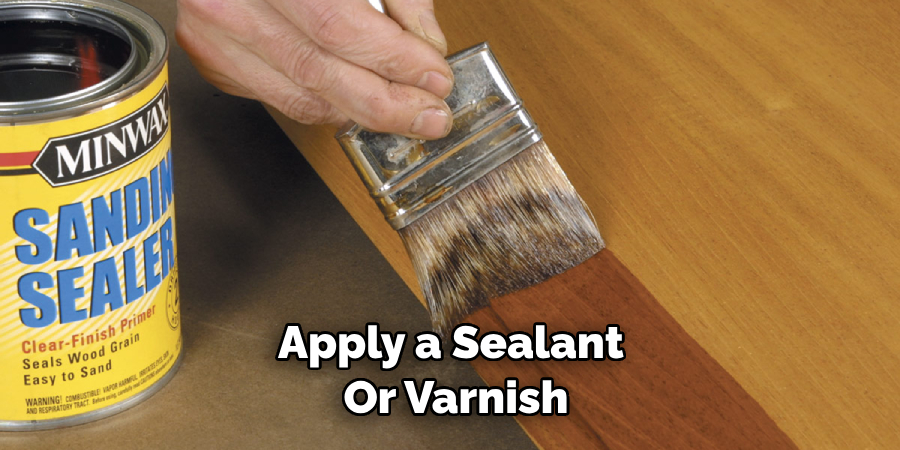
If you want to protect your wooden Christmas tree from the elements, apply a sealant or varnish after painting. This will ensure that all of your hard work is preserved for years to come! You can add some glittery accents or other decorative elements if desired.
Step 7. Clean Up:
Make sure to clean up any leftover paint or other materials that you use. This includes your brushes, containers, and any surfaces that were painted! Be careful not to leave any materials in the open, as this could result in a messy cleanup later.
Step 8. Let Dry Again:
Once you’ve finished cleaning up, let your wooden Christmas tree dry completely before displaying it. This could take anywhere from 24-48 hours, so make sure that you plan accordingly! Don’t forget to take a few photos of your masterpiece so you can look back fondly on all the effort you put into making it.
Step 9. Add Lights and Decorations:
Once your tree is parched, add some lights and decorations to give it even more festive cheer! You can choose from traditional ornaments, colorful paper chains, ribbons, candy canes, and any other decorative elements that you like. This is also a great time to add any glitter or sparkly details you may have missed earlier.
Step 10. Display Your Artwork:
Finally, it’s time to display your amazing work of art! Place it where everyone can admire it and show your beautiful masterpiece to all your friends and family. Your handmade wooden Christmas tree will add extra holiday cheer and bring joy to any space.
And there you have it – 10 easy steps to paint a wooden Christmas tree! You can also use these tips and techniques for other projects, such as making decorations or wall art. Enjoy the process of transforming something simple into something special; the possibilities are endless!
5 Additional Tips and Tricks
- For a more layered look, consider adding ornaments and ribbons that are painted in different colors.
- When painting your Christmas tree, use a foam brush for the best results. This will help avoid any streaks or brush strokes from ruining the paint job.
- If you want your wooden Christmas tree to look extra festive, try embellishing it with glitter and sequins.
- To protect your wooden Christmas tree from chipping or fading, use a sealant such as polyurethane after painting it.
- You can customize your wooden Christmas tree to reflect the season’s colors by adding extra details with paint pens or brushes. Have fun experimenting with different designs!

You’re now ready to paint your wooden Christmas tree! You can create a festive decoration that lasts many years with a few tips and tricks.
5 Things You Should Avoid
- Don’t use regular paint for your wooden Christmas tree – it won’t stick to the wood properly. Instead, opt for acrylic or spray paint specifically designed for wood surfaces.
- Avoid smearing the paint job by using a primer before painting your wooden Christmas tree. This will help the colors maintain vibrancy and create a smoother overall finish.
- Don’t paint a wooden Christmas tree with glossy or metallic paints, as these may cause it to chip or flake off over time.
- Use less glitter or sequins – this can make your decoration look messy and unprofessional.
- Never leave your wooden Christmas tree outdoors – the elements will damage the paint job and cause it to lose its shine.
Now that you’re aware of the things you should and shouldn’t do when painting a wooden Christmas tree, you’re ready to start crafting your own festive decoration! Have fun creating something unique that will bring joy to your home this holiday season.
How Do You Finger Paint a Christmas Tree?
Finger painting a wooden Christmas tree is a great way to get creative with your decorations. It’s also perfect for those who don’t have the time or supplies to paint with a brush.
To finger paint a wooden christmas tree, you will need the following:
- Acrylic paint of various colors
- A foam brush (to help spread the paint)
- A piece of canvas (to serve as a painting surface)
- Masking tape (to secure the canvas to the wooden tree)
- Paint markers, glitter, and other embellishments (optional)
Once you have all your materials ready, here are the steps you should follow:
- Clean the surface of your wooden Christmas tree with a damp cloth and let it dry completely.
- Secure the canvas to the back of the wooden tree with masking tape.
- Squeeze acrylic paint onto your painting surface and use your fingers to spread it around, forming shapes, figures, or patterns as desired.
- Allow each layer of paint to dry before adding a new one.
- When you’re finished, use a foam brush to blend the colors and give the tree an even look.
- If desired, Add details with paint markers, glitter, or other embellishments.
- Allow your painted wooden Christmas tree to dry completely before display.

Painting a wooden Christmas tree with your fingers is an easy and fun way to create a festive decoration! With practice and creativity, you can make something truly unique that everyone will admire.
Conclusion
Painting is the way to go if you’re looking for a fun and creative way to make your unique wooden Christmas tree. Once you understand the basics of painting, adding festive touches and personalizing them is easy.
Regardless of your skill level, you can create something that will be admired for years. You may even create several trees each year with different designs or color palettes as time goes on. Allow your creativity to run free to make something that stands out in any holiday home decor display. After all, nothing says “Christmas spirit” more than an artfully crafted wooden Christmas tree!
Hopefully, the article on how to paint a wooden christmas tree has inspired you to make your festive decorations. With a few supplies and some imagination, the possibilities are endless. So go ahead and give it a try! You only know what masterpieces you can create once you try. Happy holidays!

