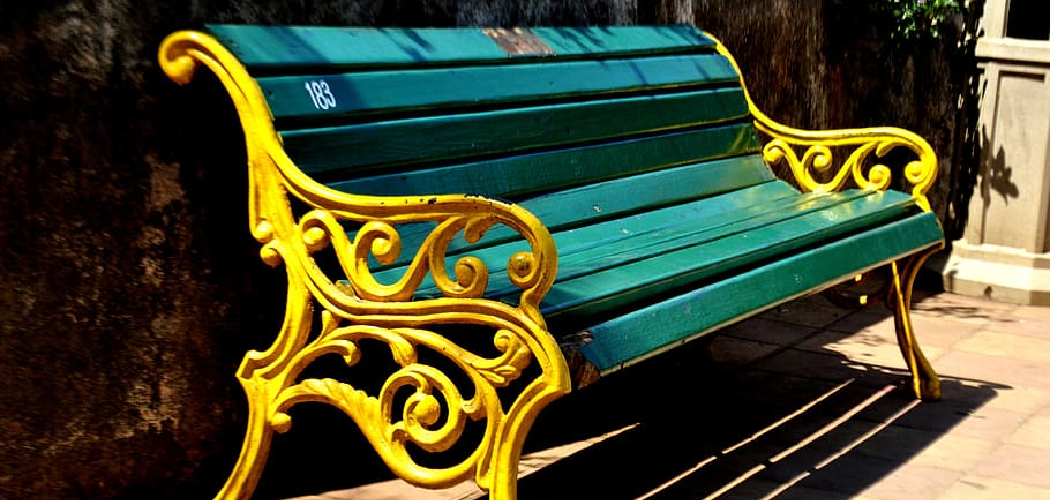
Do you have a wooden bench that needs some sprucing up? Painting it is easier than you think, and with the right tools and techniques, you can create a fantastic transformation. Painting your bench will not only give it a new lease on life; it will also save you money as opposed to purchasing or constructing one from scratch – all in a few hours’ time!
In this guide we’ll cover how to paint a wooden bench, detailing everything from sanding the bar down to selecting the perfect color for the job. By following these easy steps, even novice painters can gain professional results with minimal effort.
Tools and Materials You Will Need to Paint a Wooden Bench
- Sandpaper (for sanding down the wood)
- Protective gloves and eyewear
- Primer and paint
- Paintbrush or roller (for applying the primer and paint)
- Painter’s tape (to cover areas that you do not wish to paint)
- Dropcloth (to protect the surrounding areas from paint splatters)
Step-by-Step Guidelines on How to Paint a Wooden Bench
Step 1: Start by Sanding Down the Wood
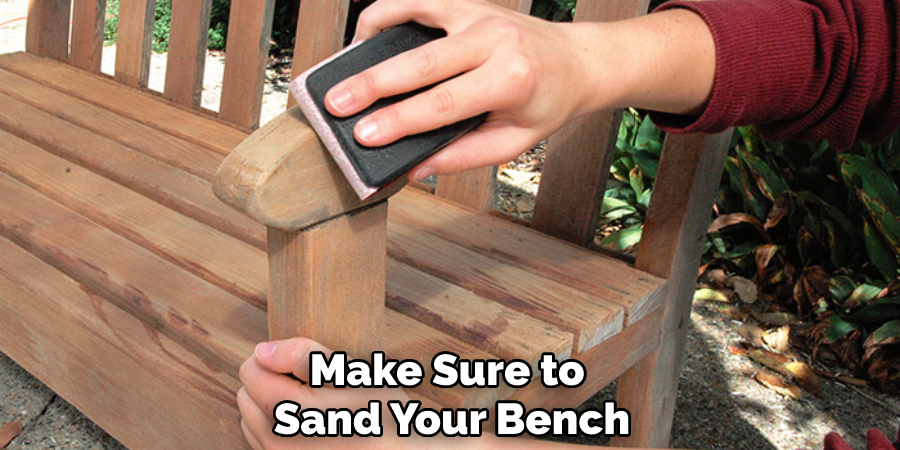
Sandpaper helps remove any bumps or uneven surfaces, making your surface smoother and easier to paint. Make sure to use a light grit sandpaper for this step – too coarse and you may end up damaging the wood, while too fine and it will take longer to sand. Be sure to cover any areas that you don’t wish to paint with painter’s tape before you start sanding.
Step 2: Apply the Primer
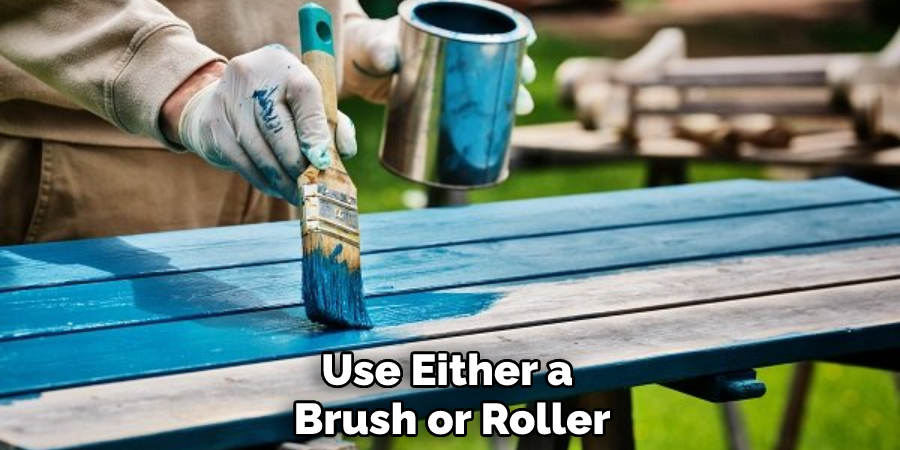
Once your wooden bench has been properly sanded, apply a coat of primer. This will help the paint adhere better to the wood, as well as protect it from wear and tear. Use either a brush or roller to apply the primer – whichever you feel more comfortable with.
Step 3: Paint Away!
Now it’s time for the fun part: painting your wooden bench! Start by choosing a color that complements the rest of your home’s décor. It can be bold and daring or subtle and calming – it’s up to you! Once you’ve decided on a color, start painting away. Use either a brush or roller for this step as well, covering all areas evenly.
Step 4: Finishing Touches
Once the first coat of paint has dried, it’s time to add some finishing touches. If you like the look of a glossier finish, apply one or two coats of varnish after painting. This will help protect your bench from weather damage as well as give it an extra shiny effect.
Congratulations! You have officially painted your wooden bench. With these simple steps, you can now enjoy the beautiful transformation of your outdoor space and impress your guests with a one-of-a-kind piece of furniture. Happy painting!
Additional Tips and Tricks on How to Paint a Wooden Bench
1. Use a high-quality brush or roller to apply the paint. A good brush will help ensure an even coating of paint and help you avoid any drips or streaks in the finish.
2. Make sure to sand your bench before applying any paint or primer. You may need to use multiple grades of sandpaper to achieve the desired finish.
3. If you are painting a stained bench, you may need to use a primer before applying the paint. Primer helps ensure that your paint adheres well and prevents the color from bleeding through.
4. Make sure to wear protective gear such as glasses, gloves, and a mask when painting to protect your eyes, hands, and lungs from fumes.
5. Apply several thin coats of paint instead of one thick coat to ensure a professional finish that will last longer. Allow each coat to dry completely before applying the next.
6. Add a layer of protective sealant after you are finished painting to help protect the surface from dirt and moisture.
7. For extra protection, move the bench indoors or to a covered area when not in use. This will protect it from harsh weather conditions that can cause the paint to fade or chip over time.
Following these tips and tricks will help you create a beautifully painted bench that can last for years to come! With a little time and effort, you can transform an ordinary wooden bench into a beautiful piece of furniture. Good luck!
Things You Should Consider While Painting a Wooden Bench
1. Preparing the Bench:
Before you begin painting, you will need to prepare the bench for painting properly. This includes sanding down any rough edges, filling in any cracks or imperfections with wood filler, and cleaning off any dirt or dust. If you prepare your bench correctly, you can ensure a better result when it comes to painting.
2. Choosing the Right Paint:
When choosing paint for your wooden bench, it is important to select a type of paint that will provide good coverage and adhere well to the surface of the bench. Depending on your preferences and budget, there are many different types of paints available, from oil-based to water-based and even spray paint.
3. Applying the Paint:
Once you have chosen the right paint for your bench, you can begin applying it to the surface. For best results, use a brush or roller to apply a thin and even coat of paint. Make sure that each area of the bench is completely covered and allow each coat to dry before applying a new one. Depending on the type of paint you choose, you may need to apply multiple coats.
4. Finishing Up:
Once you have applied the desired number of paint coats, it’s time to finish up your project. You will want to allow the paint to dry completely before adding any decorations or sealants. After the bench has dried, you can add a sealant or varnish to help protect the paint and make it last longer.
With these following considerations, you can paint your wooden bench successfully and get the desired result. Although it may be time-consuming, the end results will be worth it! With a little bit of patience and the right supplies, painting a wooden bench is an enjoyable project that can bring years of enjoyment. Good luck!
Common Mistakes in Painting a Wooden Bench
1. Not Preparing the Surface:
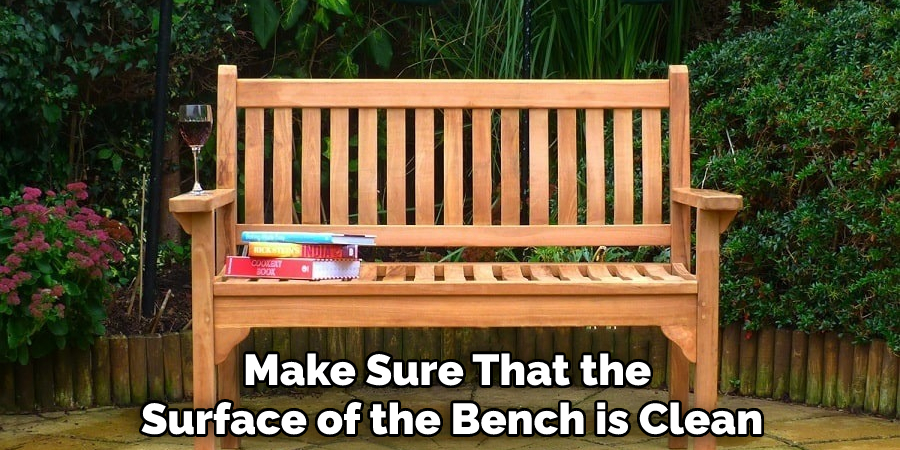
Before painting, you should make sure that the surface of the bench is clean and free from dirt and debris. Use sandpaper to lightly scuff up the surface before applying any paint. This will ensure that your paint adheres better to the bench and prevents it from chipping off in the future.
2. Not Using Primer:
When painting a wooden bench, it is important to use a primer before applying the top coat of paint. Primer helps paint adhere better to the surface and provides a more uniform finish when done correctly. It also helps protect the bench from moisture and other elements that can cause damage over time.
3. Not Applying Enough Coats:
When painting a wooden bench, it is important to apply multiple coats of paint in order to get the best results. Each coat should be allowed to dry before applying the next one. This will help create a more even finish and give your bench a longer lifespan. If you are using spray paint, make sure to apply several thin coats instead of one thick coat.
4. Not Using the Right Paint:
Choosing the right type of paint is essential when it comes to painting a wooden bench. You should use exterior latex paint as this will provide the best protection against moisture and other environmental factors that can damage the wood. Make sure to select a color that will match or complement your outdoor furniture and decor.
5. Not Applying an Outdoor Sealer:
In order to protect the finish of your new paint job, it is important to apply an outdoor sealer once the paint has dried completely. This will help keep moisture out and prevent any fading or chipping of the paint over time. Be sure to select a sealer that is specifically designed for outdoor use. This will ensure that it holds up well in various weather conditions.
Good luck with your painting project! With a little bit of preparation and effort, you can have a beautiful wooden bench that looks good and lasts for years to come.
Frequently Asked Questions
What Kind of Paint Should I Use on a Wooden Bench?
It is best to use oil-based outdoor paint, such as porch and floor paint. This type of paint is fade-resistant and will help protect the wood from weather damage. For extra protection, consider using a primer before painting your bench.
What Kind of Brush Should I Use?
For best results, use a high-quality synthetic brush. Natural bristle brushes may absorb paint more easily but will be hard to clean afterward. A small foam roller can also be used for larger areas, such as the sides and top of a bench.
Do I Have to Sand the Wood Before Painting?
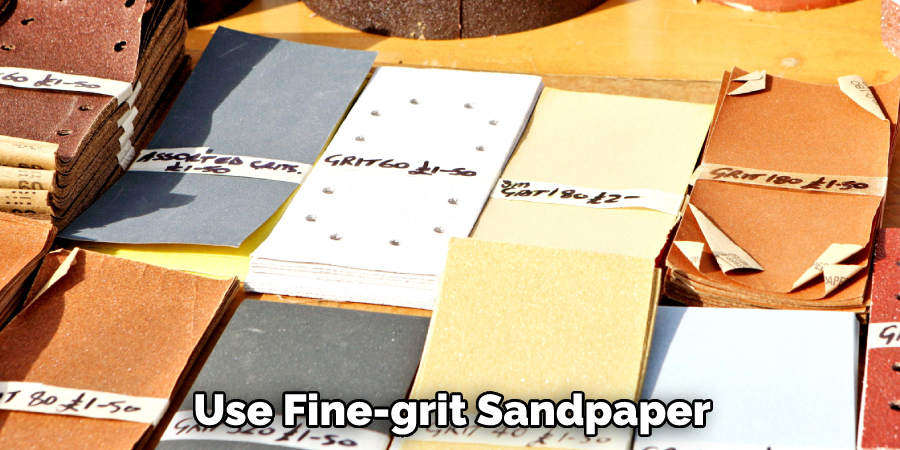
Yes, it is important to sand the wood before painting. Sanding will help remove splinters, smooth out the surface of the wood, and make it easier for the paint to adhere. Be sure to use fine-grit sandpaper so you don’t damage the wood.
Conclusion
Now that you’ve read through this guide on how to paint a wooden bench, you are one step closer to creating your own masterpiece. The first step – preparing the surface – is key in achieving success. Once that’s done, you’re ready to show off your custom painting skills.
And when it is time for the final sealer and coat of paint, a successful job will result in an even and polished look. When finished, you’ll be left with a unique piece of furniture created entirely by you – a treasured addition to any room or outdoor space. So grab your brush and get started! With just a few simple steps, you can make a personalized piece of art for yourself, or for someone special as a gift!

