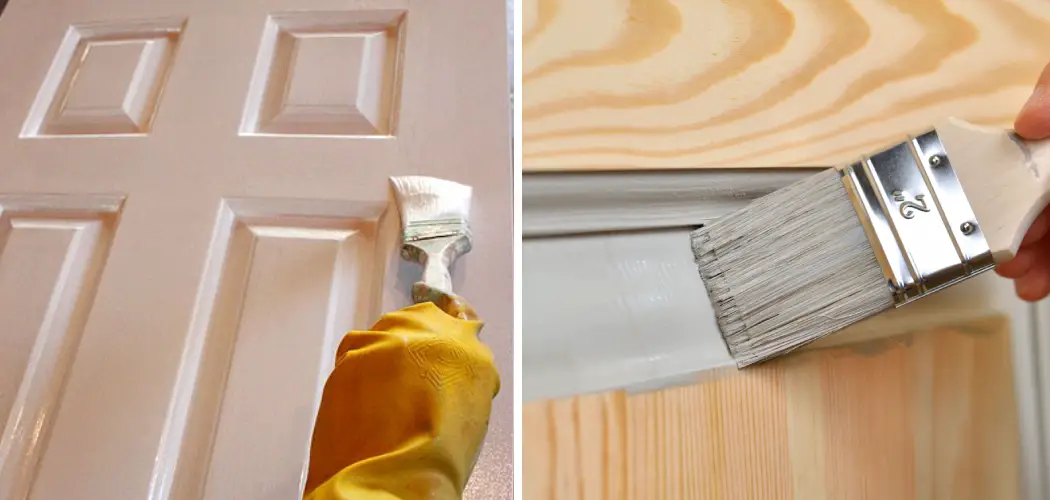
Painting a paneled door can instantly freshen up the look of any room and give it a new lease on life. Whether you want to change the color of your existing door or refresh its current paint job, painting a paneled door is a relatively simple and cost-effective way to update your interior decor.
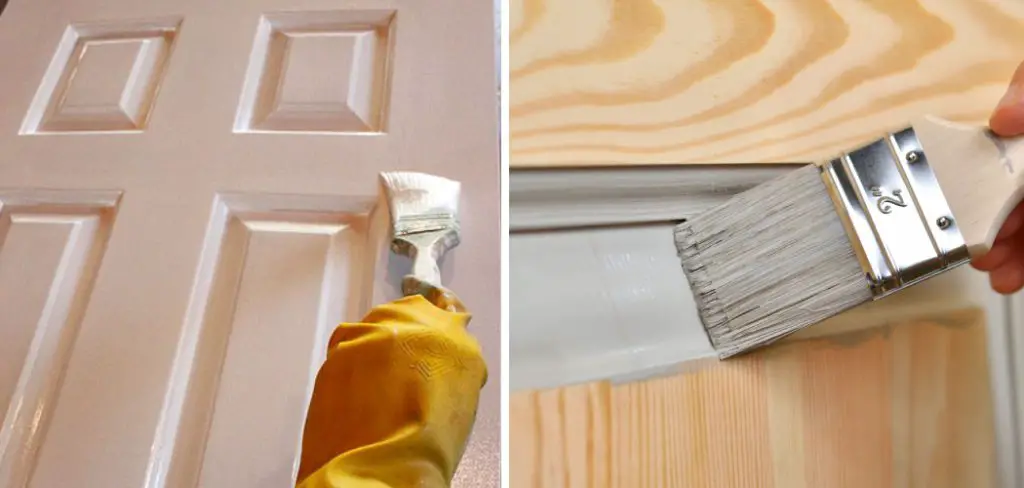
While the task may seem daunting at first, with the right preparation, tools, and techniques, you can achieve a professional-looking finish. In this guide, we will walk you through the step-by-step process of how to paint a paneled door, providing you with the knowledge and confidence to transform your doors and enhance the overall aesthetic of your home.
From preparation and priming to applying the final coat, we will cover all the essential steps to ensure a smooth and flawless paint job.
What Is the Best Way to Paint a Panelled Door?
The best way to paint a paneled door is with an airless sprayer. An airless sprayer will ensure a smooth and even coat of paint on the door’s panels, making it look great when finished. You’ll also be able to get into all of the nooks and crannies between the panels easily with an airless sprayer.
Before you begin painting, make sure the door is clean and free of any dirt or debris that could interfere with your finished paint job. You can use a vacuum to get rid of any dust and then wipe down the surface with a damp cloth to remove any remaining particles.
Once the door is prepped for painting, you can start spraying. Use a good quality primer if necessary and spray it evenly on the panels. Start at the top of the door and work your way down in overlapping strokes, making sure to cover all areas of the panels. Allow the primer to dry completely before moving on to the paint.
Necessary Tools and Materials
Before starting the painting process, gather all the tools and materials you will need. These include:
- Drop cloths or plastic sheets
- Painter’s tape
- Sandpaper (medium and fine grit)
- Tack cloth or damp cloth
- Primer
- Paintbrushes (angled brush and foam brush)
- Small paint roller and tray
- High-quality paint in your desired color
- Paint can opener and stir sticks
- Painters’ pyramids or small blocks
9 Methods How to Paint a Paneled Door
Method 1: Prepare the Door
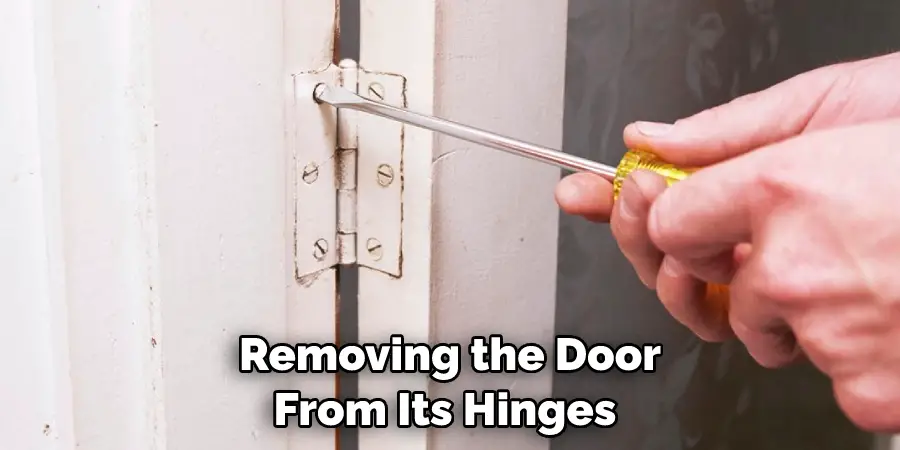
Begin by removing the door from its hinges and placing it on a stable work surface. Protect the surrounding area with drop cloths or plastic sheets. Use painter’s tape to cover any hardware, glass, or areas you want to keep free from paint.
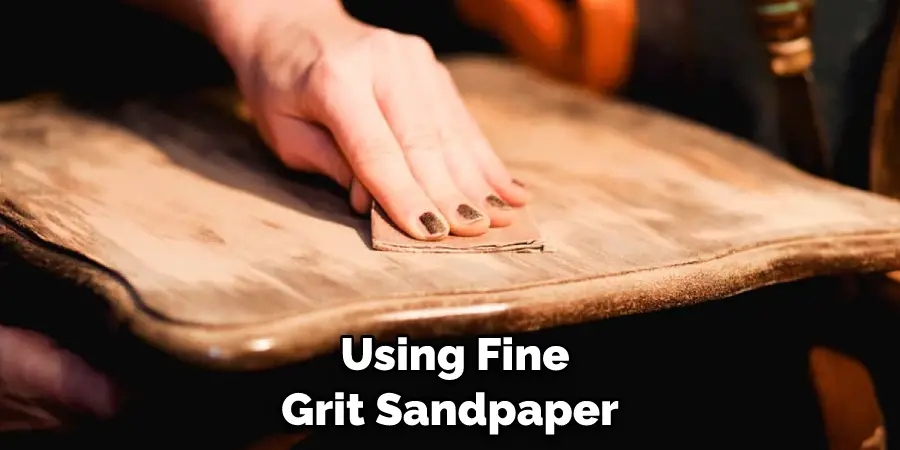
Next, clean the door thoroughly using mild detergent and water. Rinse off the soap residue and allow the door to dry completely. Once the door is dry, inspect it for any imperfections such as dents, holes, or scratches. Fill in any cracks or holes with wood filler and sand any rough spots. Use a fine-grit sandpaper to ensure the surface is smooth once you are finished.
Method 2: Remove the Existing Paint or Finish
If your door has an existing paint or finish that is in poor condition, it’s essential to remove it before proceeding. Use medium-grit sandpaper or a paint stripper to strip off the old paint or finish. Sand the surface evenly, removing any roughness or imperfections. Be sure to wear protective gloves, goggles, and a mask if using a chemical stripper.
Once you’ve removed the existing paint or finish, clean the door thoroughly with a damp cloth to remove any dust or residual chemicals. If you’re having difficulty removing the paint, use a solvent such as denatured alcohol or mineral spirits.
Method 3: Sand the Door Surface
To ensure proper paint adhesion, lightly sand the entire door surface using fine-grit sandpaper. This step helps smooth out any remaining imperfections and creates a rough surface for the paint to adhere to. Use a tack cloth or a damp cloth to remove any dust or debris from sanding. Before painting, make sure to wipe down the door once more with a clean damp cloth.
This will help remove any remaining dust and oils and ensure your paint has a smooth finish. Make sure to use a clean cloth so you don’t transfer dirt or oil from the cloth onto the door. Finally, any hardware on the door should be removed or covered. This will help prevent paint from getting onto it and ensure a nice even finish.
Method 4: Apply Primer
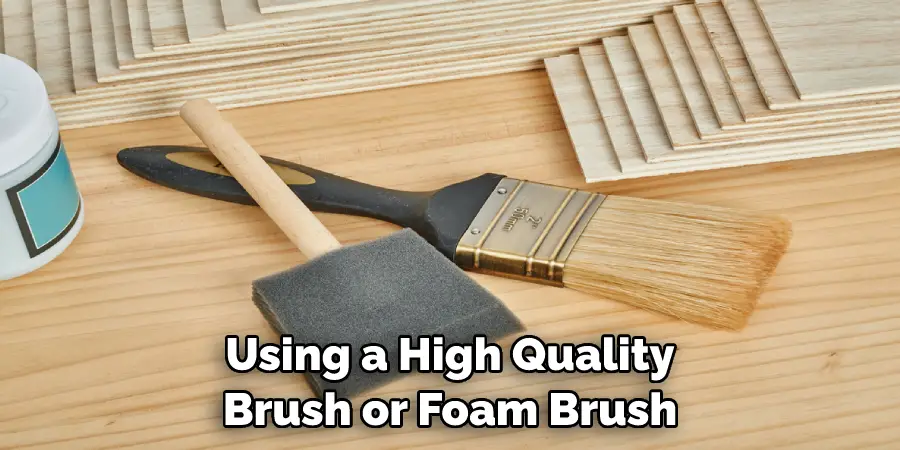
Priming the door is crucial for achieving a durable and long-lasting paint finish. Apply a coat of primer using a high-quality brush or foam brush. Start with the recessed panels, working your way to the raised panels and edges. Ensure even coverage and smooth out any drips or excess primer.
Allow the primer to dry completely according to the manufacturer’s instructions. Once the primer has dried, lightly sand the door with a fine grit to make sure it is smooth. Vacuum and wipe away any dust or debris. After cleaning thoroughly, repeat the priming process and allow it to dry again. Your door is now ready for painting.
Method 5: Caulk the Joints and Cracks
Inspect the door for any visible gaps, joints, or cracks. Apply a bead of paintable caulk along these areas to create a seamless and professional look. Use a caulk gun for precise application, and smooth the caulk with a damp finger or caulk tool.
Allow the caulk to dry completely. Once the caulk has dried, apply a coat of primer to seal and protect the area. Wait for the primer to dry before painting two coats of desired paint color. Allow each coat of paint to cure before applying the next layer. Finally, after the paint has completely dried, apply a clear sealer in order to protect the paint job.
Method 6: Apply the Base Coat
Once the primer and caulk have dried, it’s time to apply the base coat of paint. Stir the paint thoroughly to ensure consistent color. Using a high-quality brush or foam brush, start by painting the recessed panels first.
Work your way to the raised panels and edges, ensuring even coverage and smooth brush strokes. For a smoother finish, lightly run a small foam roller over the painted surface. Allow the base coat to dry completely. Once dry, inspect the paint job, looking for drips, brush strokes, or missed spots. Touch up to perfection with a small brush and more paint.
Method 7: Sand and Apply Additional Coats
After the base coat has dried, lightly sand the painted surface using fine-grit sandpaper. This step helps remove any brush marks or imperfections. Wipe away the dust with a tack cloth or damp cloth. Apply additional coats of paint following the same technique as before. Repeat this step until you achieve the desired depth of color and even coverage.
Allow each coat to dry completely before applying the next. Once the desired number of coats is achieved, finish with a coat of quality clear sealer. This will add a layer of protection and help prolong the life of your paint job. Allow the sealer to dry as directed before reinstalling the door. Your newly painted paneled door is now ready for use.
Method 8: Add Decorative Finishes
If desired, you can add decorative finishes to enhance the door’s appearance. Consider techniques like distressing, antiquing, or glazing to create unique and personalized effects. Experiment on a small area or a sample board before applying the finish to the entire door.
After the door has been painted and all of the desired decorative finishes have been applied, let it dry thoroughly before reinstalling. Use a level to ensure that the door is properly aligned in its frame. Reinstall the hinges, door knob, and other hardware as necessary.
Method 9: Apply the Final Protective Coat
To protect the painted surface and ensure its longevity, apply a clear protective topcoat. This coat will shield the door from daily wear and tear, making it easier to clean and maintain. Choose a topcoat specifically designed for the type of paint you used and follow the manufacturer’s instructions for application and drying times.
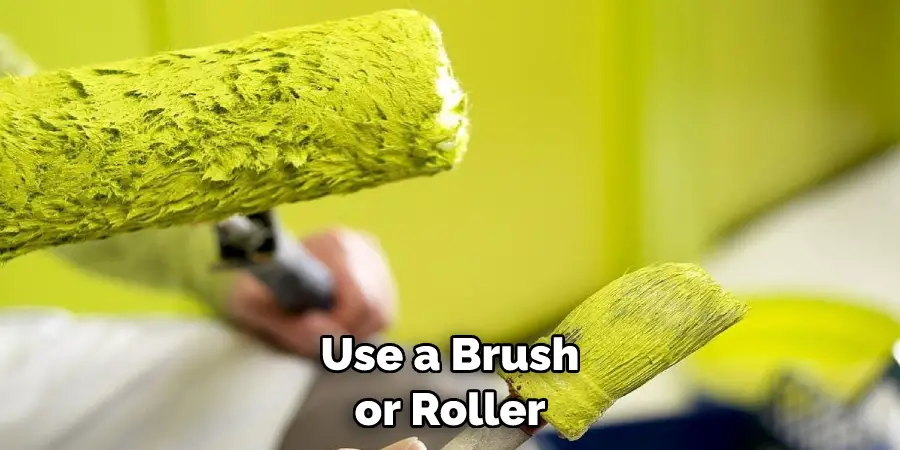
Start at the top of the door and work your way down. Use a brush or roller to apply an even coat of the protective finish, making sure to reach all of the edges and corners. Allow ample time for drying before hanging your newly painted paneled door.
Conclusion
Painting your panelled door is an effective and inexpensive solution for improving the look of your home. By following the instructions provided, you can easily transform your entranceway and make it stand out from the rest of your house. Thanks to a few simple steps, you can quickly create a dramatic effect with just a little effort.
Additionally, you don’t have to worry about messing up as long as you take precautions like covering the bottom of the door panel with tape before painting and using painter’s tape along the edges of each panel to get clean lines. Thanks for reading, and we hope this has given you some inspiration on how to paint a paneled door!

